
How to Make Traditional Napa Cabbage Kimchi at Home
Kimchi (how long does kimchi last?), a staple in Korean cuisine, is a traditional dish that boasts a wealth of flavors, from spicy to deeply savory, often accompanied by a refreshing crunch. The process begins with Napa cabbage, which is meticulously pickled in a salty brine, allowing it to soften and become receptive to the flavors of the accompanying seasonings. Key ingredients such as hot pepper flakes or powder, garlic, ginger, and often daikon or Korean radish, contribute to kimchi's unique taste. The blend of these components is not merely about spiciness; it's about creating a complex flavor profile that can vary from household to household in Korea.
The practice of kimchi-making is a time-honored ritual that reaches its peak in the late autumn as part of the kimjang tradition, where families gather to prepare large quantities of kimchi to last through the winter months. Yet, this cherished dish is not solely reserved for experts; it's quite possible to create authentic kimchi at home. The key lies in the fermentation process, driven by lactic acid bacteria, which transforms the seasoned cabbage into a probiotic-rich, flavorful side dish over time. Salt, whether coarse sea salt (how long does sea salt last?) for the initial curing or as part of a saltwater solution, plays an essential role in drawing out excess water from the cabbage and creating an environment conducive to fermentation.
While traditional recipes might call for fish sauce (how long does fish sauce last?) or fermented shrimp to enhance depth and umami, it's also feasible to customize the recipe for a vegan palate. The condiment can be stored in airtight containers, kept away from direct sunlight, and allowed to ferment at room temperature for a couple of days or weeks depending on desired sourness. As homemade kimchi ferments, its flavor develops and deepens, providing a dynamic accompaniment to dishes like kimchi jjigae (kimchi stew) or simply served as a side to add a burst of flavor to any meal.
Prepping the Napa Cabbage
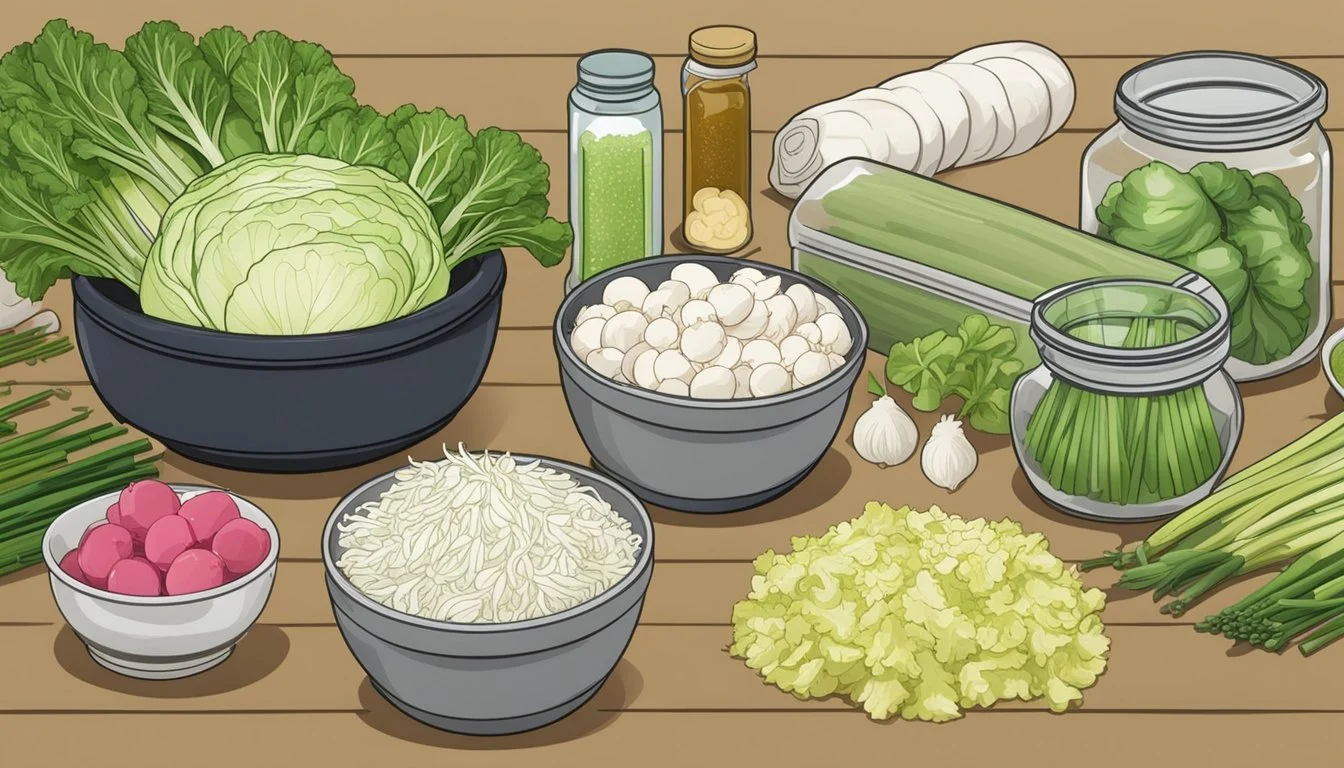
Preparing Napa cabbage correctly is crucial for creating a successful batch of kimchi. The process involves cleaning, cutting, and salting to prepare for the crucial fermentation step.
Selecting Fresh, Crisp Napa Cabbage
One should begin by selecting fresh Napa cabbage that is crisp and vibrant in appearance. The leaves should be firm to the touch with no signs of wilting, as fresh ingredients are foundational to the final flavor and texture of the kimchi.
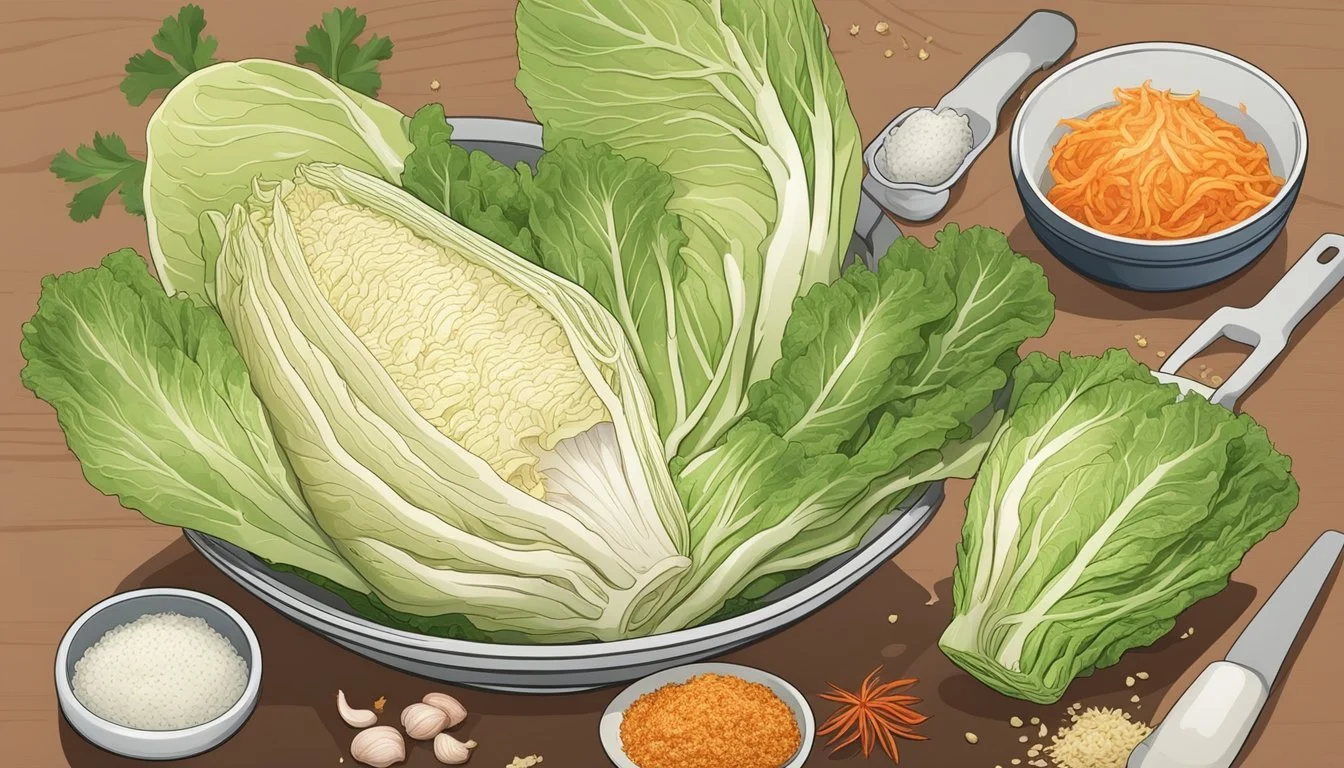
Cutting the Cabbage into Bite-Sized Pieces
Using a sharp knife, the cabbage should be cut into quarters and then further into bite-sized pieces. This size is ideal for both fermentation and serving. It's important to maintain consistency in size to ensure even fermentation.
Salting and Brining the Cabbage
The cabbage pieces are then salted generously, commonly with coarse sea salt, and left to soak in salt water made from cold water and cups of water — the ratio is typically 1 cup salt to 1/2 gallon of water. This brining step is fundamental as it draws out excess water from the cabbage, creating the proper conditions for fermentation. After soaking for about 3 to 4 hours, the cabbage must be thoroughly rinsed to remove excess salt and then drained to eliminate any excess water.
Making the Kimchi Paste and Seasonings
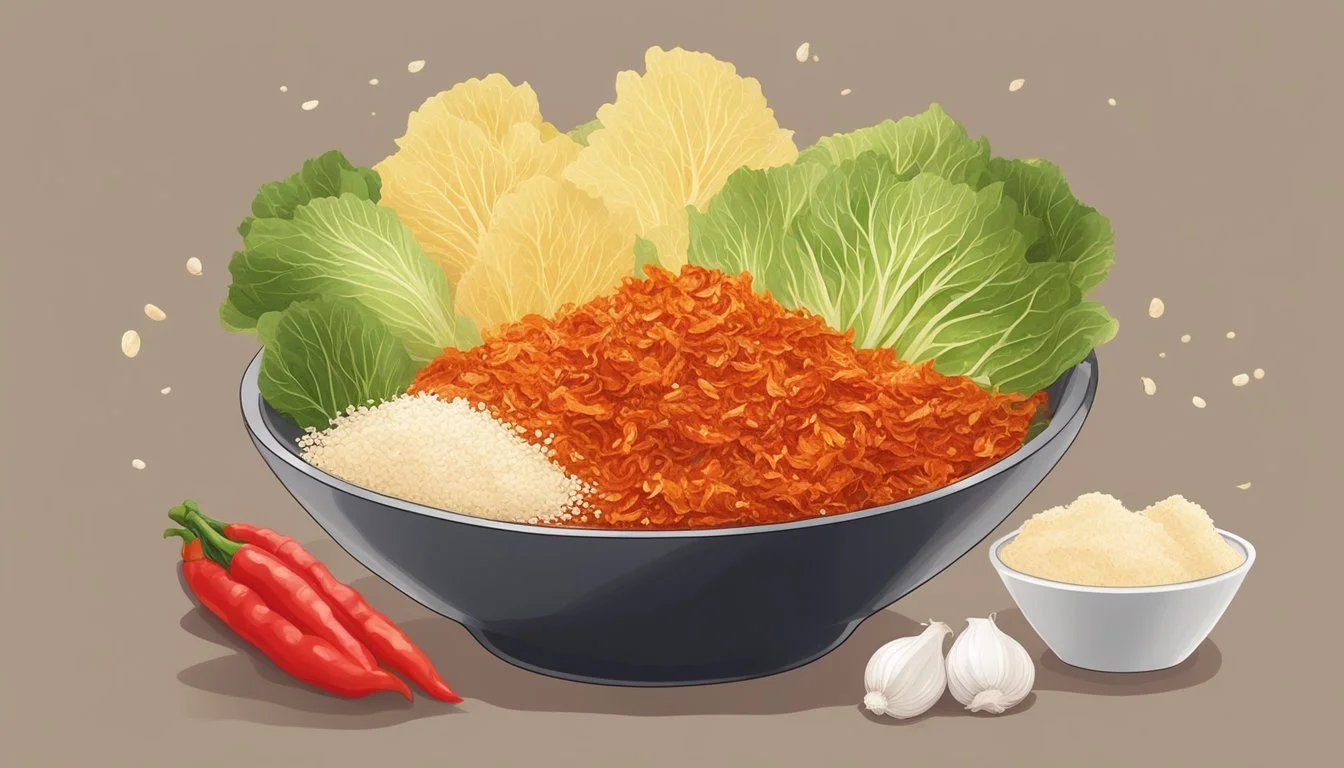
The kimchi paste is crucial in defining the flavors of your homemade kimchi, establishing its spicy, tangy profile, and setting the stage for the fermentation process. This mixture is the heart of Korean kimchi, containing all the necessary elements to develop its characteristic taste and aid in preservation.
Traditional Kimchi Paste Ingredients
For authentic kimchi seasoning, you'll need a blend of:
Korean chili flakes (Gochugaru): Adjust according to spice preference.
Fish sauce or fermented shrimp: Provides depth of flavor.
Daikon radish or Korean radish: Sliced into matchsticks for crisp texture.
Green onions: Chopped for a mild onion flavor.
Garlic and ginger: Minced for aromatic spice and zing.
Granulated sugar: To balance the spiciness and aid in fermentation.
Combine these primary ingredients to achieve a rich, complex flavor profile essential in Korean cuisine.
Putting Together the Kimchi Seasoning
Begin by peeling and mincing garlic and ginger, then finely chop the green onions. Slice the daikon or Korean radish into thin matchsticks. If using Asian pears, grate them to contribute a mild, sweet accent to the mix. Prepare a salt water solution by dissolving 1 cup kosher salt (how long does kosher salt last?) per 1/2 gallon of cold water.
Mix all these components in a medium bowl, ensuring a consistent and thorough blend. This preparation of the raw seasonings sets the foundation for a robust kimchi flavor.
Mixing the Kimchi Paste
To create the paste:
Start by making a porridge with 2 tablespoons of glutinous or sweet rice flour (how long does rice flour last?) and 1 cup of water. Cook over medium heat until it thickens, then cool this mixture.
In a food processor, combine the cooled porridge, the primary seasoning ingredients, a few tablespoons of the salt water solution, and any additional sweeteners into a smooth paste.
Add the Korean chili powder to the paste gradually, tasting as you go for preferred heat levels.
Dress each piece of cabbage thoroughly with the kimchi paste, making sure to reach under each cabbage leaf. This ensures even flavor and proper fermentation of the kimchi. Transfer the coated cabbage pieces into airtight containers or a fermentation crock, pressing down to eliminate air pockets. The kimchi should then ferment at room temperature away from direct sunlight before being stored in the refrigerator.
Assembling and Fermenting the Kimchi
In making traditional Napa cabbage kimchi, proper assembly and fermentation are crucial for developing the dish's characteristic taste and texture. Here's how to execute these steps with precision.
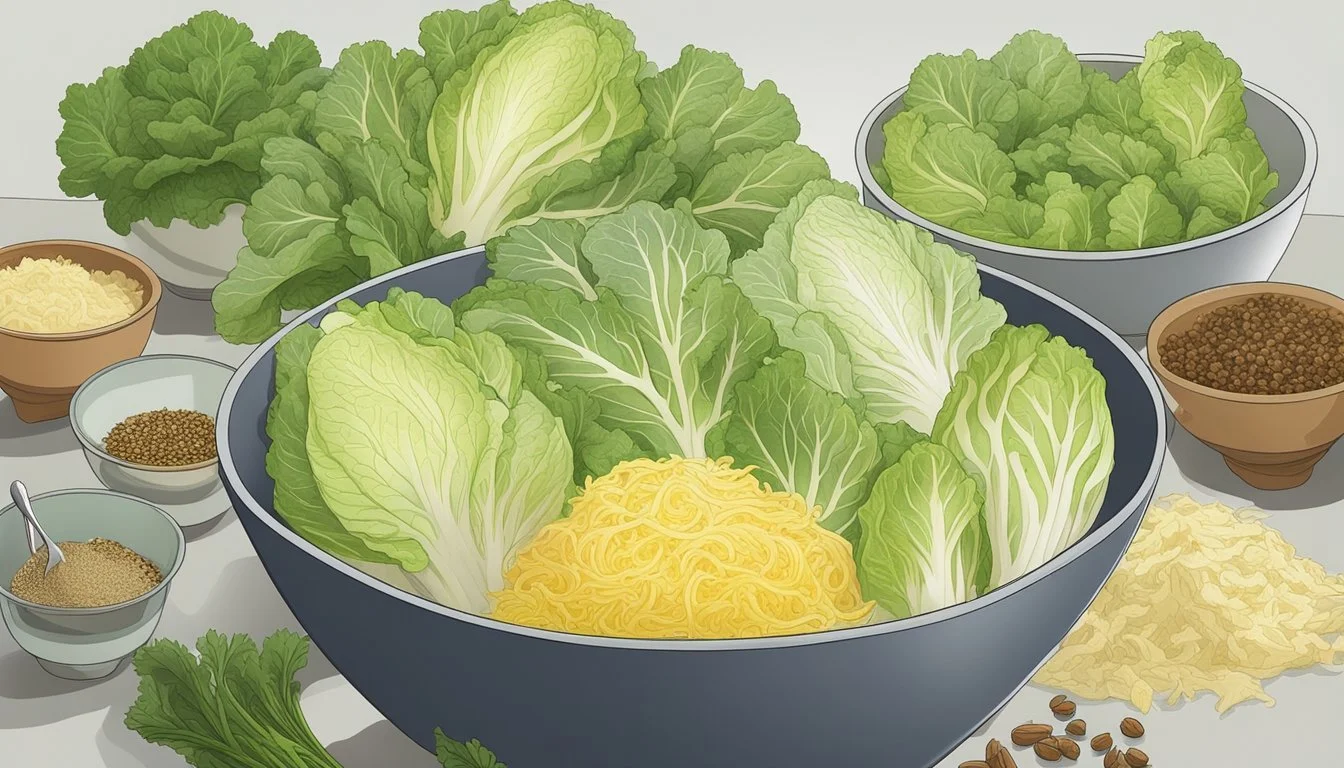
Combining the Cabbage and Paste
After rinsing the salted cabbage and ensuring it's free of excess water, carefully spread the leaves to apply the kimchi seasoning, a paste typically made from Korean chili flakes, garlic, ginger, grated daikon radish or Korean radish, and often fish sauce or fermented shrimp for added depth. Assemble the ingredients in a mixing bowl and use a food processor if needed to create a smooth paste. Apply the paste evenly between each cabbage leaf, ensuring all sections are well-coated to absorb the flavors fully.
Packing the Kimchi into Jars
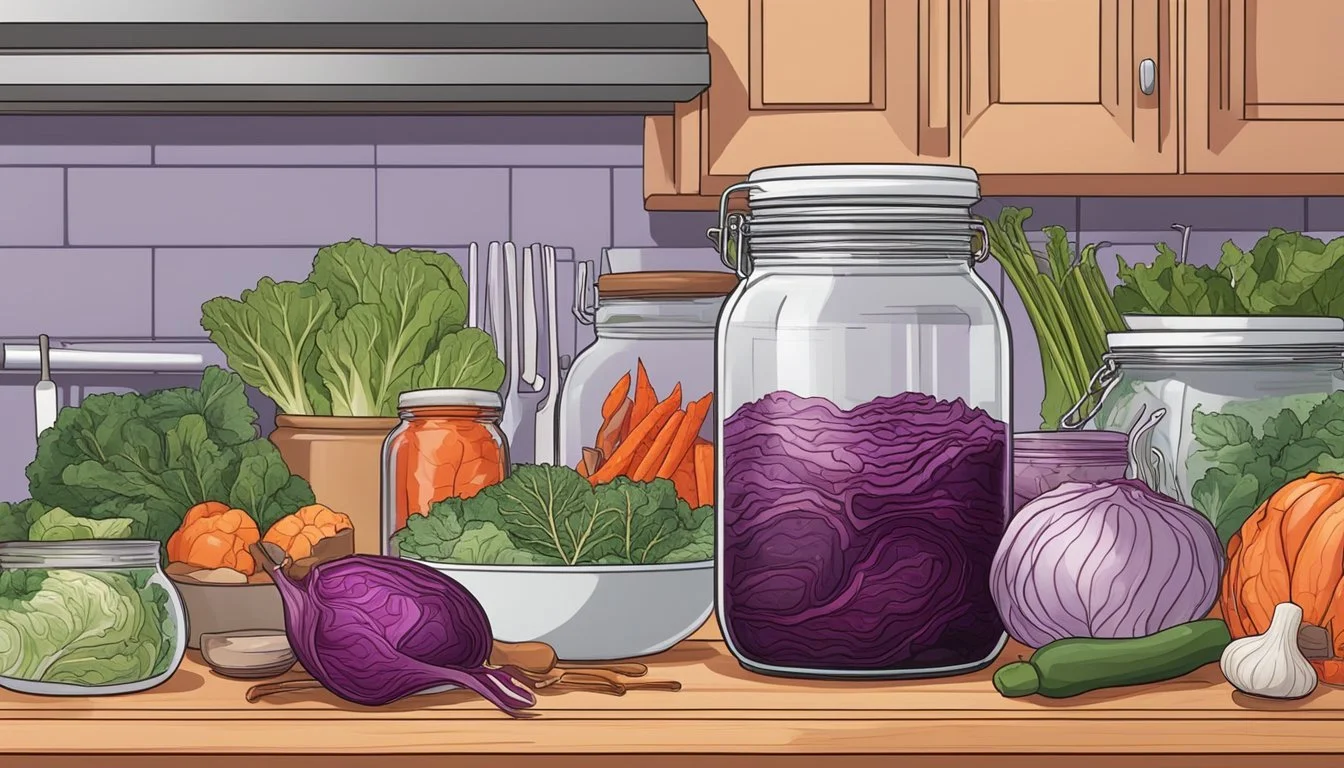
Take each cabbage quarter and begin packing it into airtight containers. It's important to press down firmly to eliminate air pockets which could interfere with the fermentation process. Whether you use plastic wrap, a plastic container, or a specialized fermentation crock, the objective remains consistent: create an environment where lactic acid bacteria can thrive. The kimchi should be submerged in its own salty brine to encourage proper fermentation.
Storing and Fermenting the Kimchi
Store the packed kimchi at room temperature initially, out of direct sunlight to kickstart fermentation. After about 1-2 days, when you notice the kimchi begins to effervesce, indicating that fermentation has started, it's time to transfer the containers to the refrigerator. The kimchi's flavor and texture will continue to develop over time. A cold storage slows down the fermentation, thereby preserving the kimchi and allowing its flavor to become more complex. Homemade kimchi can last anywhere from a couple of days to a couple of months, and as it ages, the flavor will transition from fresh and crisp to more sour and deep.
Serving and Storing Your Finished Kimchi
After laboriously preparing your homemade kimchi, it's essential to understand how to properly serve and store it to maintain its distinct flavor and ensure longevity. This section provides clear guidelines to do both.
Refrigerating and Freezing Kimchi
Refrigerating: Seal your kimchi in airtight containers and place it in the refrigerator. The cold temperature slows down the fermentation process, allowing your kimchi to stay fresh and edible for a couple of months. It's crucial to press the kimchi down to eliminate air pockets which could lead to unwanted bacterial growth.
Freezing: While freezing is not traditionally recommended, as it can change the texture of the vegetables, it's possible to freeze kimchi if you plan to cook with it later, for example, in dishes like kimchi jjigae. Freeze in small portions for ease of use.
Tips for Adjusting Flavor and Spice
To modify the taste of your kimchi post-fermentation:
Sourness: If it's too sour, add a pinch of granulated sugar to balance the flavor.
Spiciness: Adjust the heat by adding more Korean chili flakes or powder to a batch that's too mild or by rinsing off excess spice if it's too hot.
Always remember to taste test your kimchi before making adjustments.
Enjoying Kimchi in Korean Cuisine
Kimchi is more than a condiment; it's a staple in Korean cuisine. It's typically served in small dishes as a side but can also star in a variety of dishes:
As a side: Enjoy fresh kimchi with a simple bowl of rice.
In recipes: Use in traditional dishes such as kimchi jjigae (stew) or kimchi bokkeumbap (fried rice).
Remember that the flavor of kimchi can evolve, enhancing the overall taste of your dish.
