
How to Can Cabbage at Home

Canning foods and canning cabbage at home is a popular and effective way to preserve versatile vegetables while maintaining their nutritional benefits and flavor. There are various methods of canning cabbage, but the most common approach involves pickling and pressure canning, ensuring the acidity level is safe for long-term storage. Cabbage when canned can serve as a tasty ingredient in various dishes or simply enjoyed as a side dish on its own.
The process of home canning plain cabbage involves several steps, including thorough cleaning, preparation, and selection of the appropriate canning method. Choosing fresh, crisp cabbages is essential to achieving the best results. After removing the thick outer leaves and stems, the cabbage can be sliced or chopped according to the desired recipe. Using a canning liquid consisting of salt, sugar (how long does sugar last?), and vinegar, or a blend of spices can enhance the flavor and extend the shelf life of cabbage when canned cabbage.
When canning cabbage, it is important to follow proper canning techniques to ensure food safety and preservation. Using high-quality glass jars, lids, and a pressure canner or boiling water bath will help achieve a successful final product. Following these guidelines will result in delicious and safely preserved cabbage that can be enjoyed throughout the year.
Factors to Consider Before Starting

Before diving into the process of canning cabbage at home, it's essential to understand some crucial factors. Preparing and gathering the necessary materials will ensure a successful canning experience.
Firstly, gather the required ingredients like cabbage, vinegar, salt, and sugar. A recommended vinegar to use is white or cider vinegar. When it comes to using salt, choose canning or pickling salt because they don't contain additives that may affect the canning process. Brown sugar can also be used, but remember that it may alter the taste and color, especially with red cabbage.
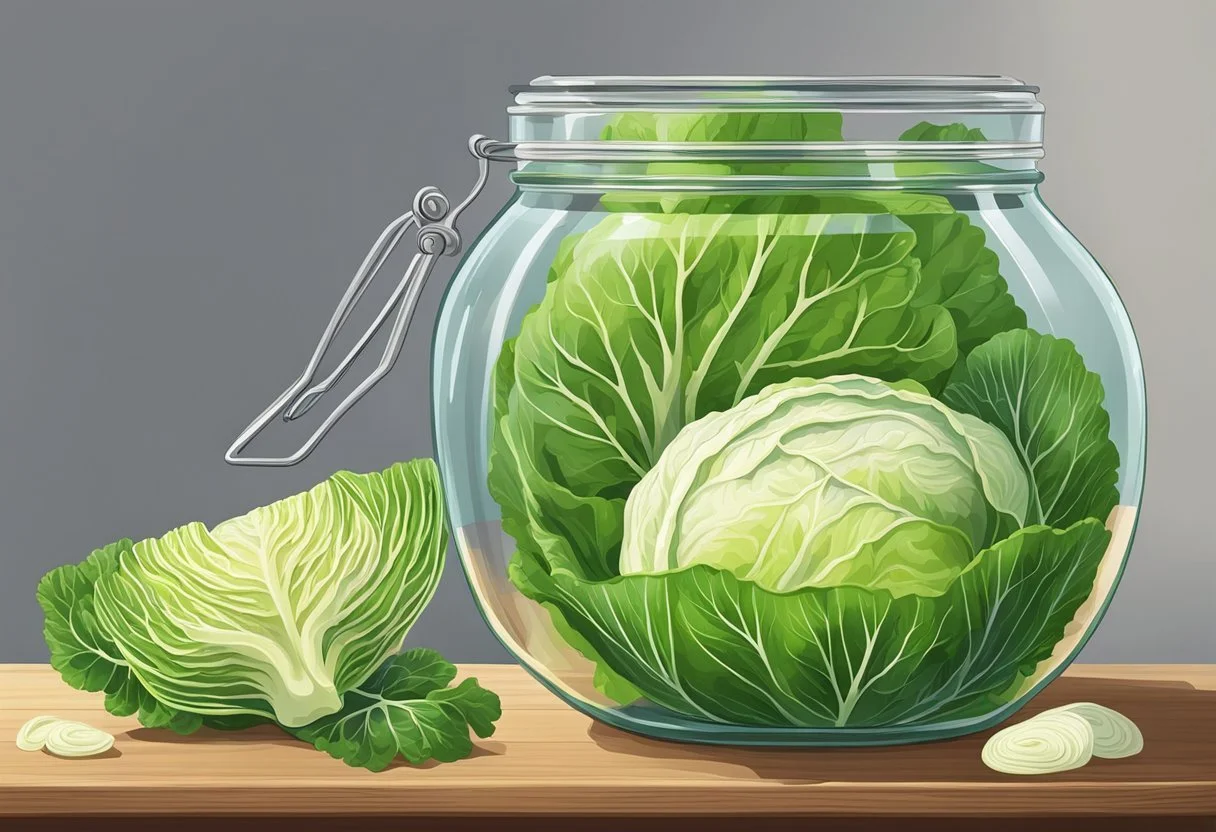
The choice of vegetables significantly influences the final result. Select fresh, tender cabbage without any illness or blemishes, and ensure that they are thoroughly washed and chopped. To maintain a high-quality product, use a sharp knife and cutting board to avoid bruising.
Next, prepare the necessary equipment, including canning pint jars, or quart jars lids and rings, a canning pot or pressure canner, a jar lifter, tongs, a ladle, funnel, bubble remover, and a strainer. Ensuring that all of your equipment is clean and in good condition is critical for safe canning.
When it comes to canning cabbage, there are two primary methods: water bath and pressure canning. Low-acidity vegetables like cabbage require pressure canning to eliminate the risk of botulism. However, if you're making acidic condiments such as pickles or chutneys, water bath canning is possible. Make sure to follow guidelines from credible sources like the National Center for Home Food Preservation or the USDA when pressure canning, as they provide precise instructions on the process and psi settings depending on the altitude of your location.
Lastly, it's crucial to include spices to enhance the flavor of cabbage when canned, like mustard seeds (how long do mustard seeds last?), cloves (how long do cloves last?), cinnamon sticks, (how long do cinnamon sticks last?) mace, (how long does mace last?) peppercorns, allspice, and garlic. Enclosing spices in muslin cloth prevents them from dispersing in the solution, enabling a consistent flavor. While preparing the canning liquid, make sure it reaches a boil for 5 minutes before turning off the heat.
Taking these factors into account before starting the canning process is essential. Proper preparation of ingredients, equipment, and preserving method will lead to a successful and safe canning experience.
Preparing the Cabbage
Before you begin the home food preservation, it's crucial to properly prepare the cabbage. Start by selecting fresh, firm heads of cabbage, and remove any damaged or wilted outer leaves. Next, use a sharp knife and cutting board for the following steps.
First, rinse the cabbage under cold water to clean it. Then, place the cabbage on the cutting board with the stem side up. Using your sharp knife, carefully cut the cabbage into quarters, removing the core in the process. Be sure to hold the cabbage firmly in place during this step to avoid any accidents.
Once the cabbage is quartered, it's time to shred it. You can use either a knife or a mandoline slicer for this purpose. With a knife, cut the quarters into thin slices to create shreds. If you're using a mandoline slicer, set it to the thinnest setting and carefully pass the cabbage quarters over the blade. Remember to watch your fingers and use a safety guard if possible.
Here's a summary of the necessary tools and steps in a table format:
After shredding the cabbage, transfer it to a large bowl or pot. You will need this cabbage to be evenly packed in pint jars or quart jars during the canning process. Your cabbage is now ready for the next steps.
Creating a Brine
To can plain cabbage at home, you will need to create a brine that not only imparts flavor but also acts as a preservative. Here's all the information you need to prepare that perfect brine.
First, you should choose the right type of water for your brine. Spring water or filtered water is recommended as it is free of chemicals and chlorine, with spring water having the added benefit of containing beneficial minerals. Be sure to avoid using tap water, as it may contain additives that can interfere with the pickling process.
The next crucial ingredient is salt. For making brine, use non-iodized salt (how long does iodized salt last?), such as sea salt (how long does sea salt last?) or kosher salt, (how long does kosher salt last?) as iodized salt can hinder the fermentation process. A general rule of thumb is to use 2-3 tablespoons of salt per quart (liter) of water.
For added flavor and depth, you can use different types of vinegar in your brine. Apple cider vinegar (how long does apple cider vinegar last?) and white vinegar are popular choices. Apple cider vinegar has a sweeter flavor, whereas white vinegar is milder and more neutral. Use a 1:1 ratio of water and vinegar when creating the brine.
To further enhance the taste of your plain cabbage when canned, you can include a variety of spices and aromatics in the brine. Consider using some of the following:
Sugar: Adding a small amount of sugar can help balance the acidity of the brine. Use approximately 1-2 tablespoons of sugar per quart (liter) of brine.
Mustard seed: A teaspoon per quart (liter) of brine adds a subtle spicy flavor.
Garlic: Include 2-3 peeled and crushed cloves per quart (liter) of brine for a pungent, earthy taste.
Whole cloves and cinnamon sticks: These spices add a warm, aromatic undertone to the brine. Use 4-5 whole cloves and 1-2 cinnamon sticks per quart (liter) of brine.
Allspice and mace: Use 1/2 teaspoon of each per quart (liter) for a fragrant and slightly sweet addition to the brine.
Combine all your chosen ingredients, making sure to thoroughly dissolve the salt and sugar in the water and vinegar mixture. Once ready, pour the brine over the prepared cabbage in your canning jars, ensuring it covers the cabbage entirely.
Following these guidelines, your homemade cabbage when canned will be packed with flavor, beautifully preserved for future enjoyment, and reflect your confident and knowledgeable approach to home canning.
Canning Process
Cleaning the Jars
Before starting the canning process, it's important to ensure that the canning jars, canning lids, and bands are clean and sterilized. Wash all components with warm, soapy water and rinse thoroughly. The jars should then be submerged in boiling water for at least 10 minutes to sterilize them. Additionally, prepare the lids and bands according to the manufacturer's instructions.
Packing the Cabbage
To prepare the cabbage for canning, first wash it thoroughly under running water, removing any dirt or debris. Remove the outer leaves and cut the plain cabbage into quarters. Remove the core and shred the plain cabbage to your desired thickness.
For added flavor, you can mix in other vegetables such as onion, carrots, green tomatoes, and bell pepper. A combination of celery seed, canning salt, and sugar can also be added to enhance the taste. Make sure all the vegetables are cleaned and chopped uniformly, so they can be evenly distributed in the jars.
Filling the Jars with Brine
To ensure a safe and flavorful result, a brine solution is used when canning cabbage. A simple canning brine can be made by combining water, salt, sugar, and vinegar. Bring the brine to a boil in a saucepan.
Using a funnel, ladle the hot brine into the jars, leaving about a 1/2-inch headspace at the top of the jar. This allows for expansion during the canning process.
Closing and Sealing the Jars
After filling the jars with the cabbage mixture and brine, use a non-metallic spatula or a similar tool to remove any air bubbles. Wipe the rims of the jars clean with a damp cloth to ensure a proper seal.
Place the lids on the jars and screw the bands down until they are fingertip-tight. Do not overtighten the bands, as this can cause the lids to buckle during processing.
Processing the Jars
Green cabbage and other vegetables are low acid foods, pressure canning is the recommended method for canning cabbage, as stated by the USDA. Make sure to follow the instructions of your pressure canner, as each model may have slightly different requirements.
Place the sealed jars on the rack of the pressure canner, ensuring that they are not touching. Add water according to the canner's directions and close the canner lid securely.
Heat the canner over high heat until steam is released steadily, then continue venting the steam for 10 minutes. Place the dial gauge or weighted gauge on the canner and follow the processing instructions for your specific altitude and recipe.
