
Canning Spinach at Home
Canning spinach (What wine goes well with spinach?) at home is an efficient method to preserve its freshness and nutritional value for an extended period. By following a proper canning process, not only does it prevent the spinach from going bad, but it also allows one to enjoy the leafy green's health benefits for up to eight months. This versatile preservation technique is suitable for various recipes, providing a convenient solution to prevent spinach from wilting and spoiling.
To begin canning spinach, one must first prepare the greens by washing them thoroughly. It is essential to blanch the spinach in boiling water to retain its vibrant color and improve its shelf life. This process involves immersing the spinach in hot water for a brief period before transferring it to cold water, stopping the cooking process and enabling the spinach to drain well.
To ensure the highest-quality canned spinach, it is necessary to use a pressure canner throughout the process. This equipment guarantees a proper sealing of the jars and effectively eliminates any harmful bacteria. By paying close attention to each stage of the canning process, one can enjoy delicious, nutrient-packed canned spinach for months to come, allowing a touch of green goodness to be added to various home-cooked meals.
Understanding Spinach and Its Nutritional Value
Spinach is a leafy green vegetable that is highly regarded for its impressive nutritional profile. Rich in vitamins, minerals, and antioxidants, it is considered to be a significant source of nutrients that can benefit one's health.
When it comes to its nutritional value, raw spinach contains around 23 calories, 2.9 grams of protein, 3.6 grams of carbs, and 2.2 grams of fiber per 100 grams. Spinach is also a great source of iron, containing 2.7 milligrams per 100 grams in its raw form. This is particularly important, as iron plays a critical role in the body's production of red blood cells and maintaining overall energy levels.
In addition to iron, spinach is packed with other essential nutrients such as:
Vitamin A
Vitamin C
Vitamin K
Folate
Calcium
Potassium
These nutrients play a crucial role in supporting eye health, bone health, immune function, and cardiovascular health.
Although canned spinach has a slightly different nutritional profile compared to fresh spinach, it still retains essential nutrients. A typical 1/2 cup serving of canned spinach may have around 20-30 calories, less than 1 gram of total fat, and 3-4 grams of carbohydrates. However, it is essential to note that canned spinach can be higher in sodium, which may be a concern for those watching their salt intake. To address this issue, consider opting for low-sodium varieties or rinsing canned spinach thoroughly before consumption.
During the canning process, some nutrients in spinach may be lost, but it still maintains a reasonable level of nutritional value that can contribute to a healthy diet. By understanding the nutrients present in spinach, one can make informed decisions about incorporating this leafy green into their everyday meals, whether using fresh or canned varieties.
Harvesting and Preparing Spinach for Canning
To begin the canning process, it is essential to harvest your spinach at its peak freshness. Pick the spinach leaves from your garden when they are young, tender, and vibrant in color. This ensures optimal flavor and nutrition when preserved through canning. Remember, freshly harvested greens make for the best canned spinach.
Follow these steps to prepare your spinach for canning:
Examine the leaves: Inspect the fresh greens for any signs of disease, insect damage, or wilting. Discard any leaves that appear bad, as they can compromise the quality and safety of your canned goods.
Wash thoroughly: Rinse the spinach leaves under cold water, removing any dirt or debris. This step is crucial, as contaminants can affect both the flavor and safety of your preserved spinach.
Remove stems: Take off the stems from the leaves, as they can be tough and fibrous, reducing the overall quality of your canned spinach. Use a sharp knife or your hands to separate the stems from the leafy greens.
Once your spinach leaves are clean and trimmed, you can proceed with packing them into jars and preparing to can them. The key to successful canning is ensuring that your spinach is as fresh and clean as possible, allowing you to enjoy delicious and nutritious greens all year round.
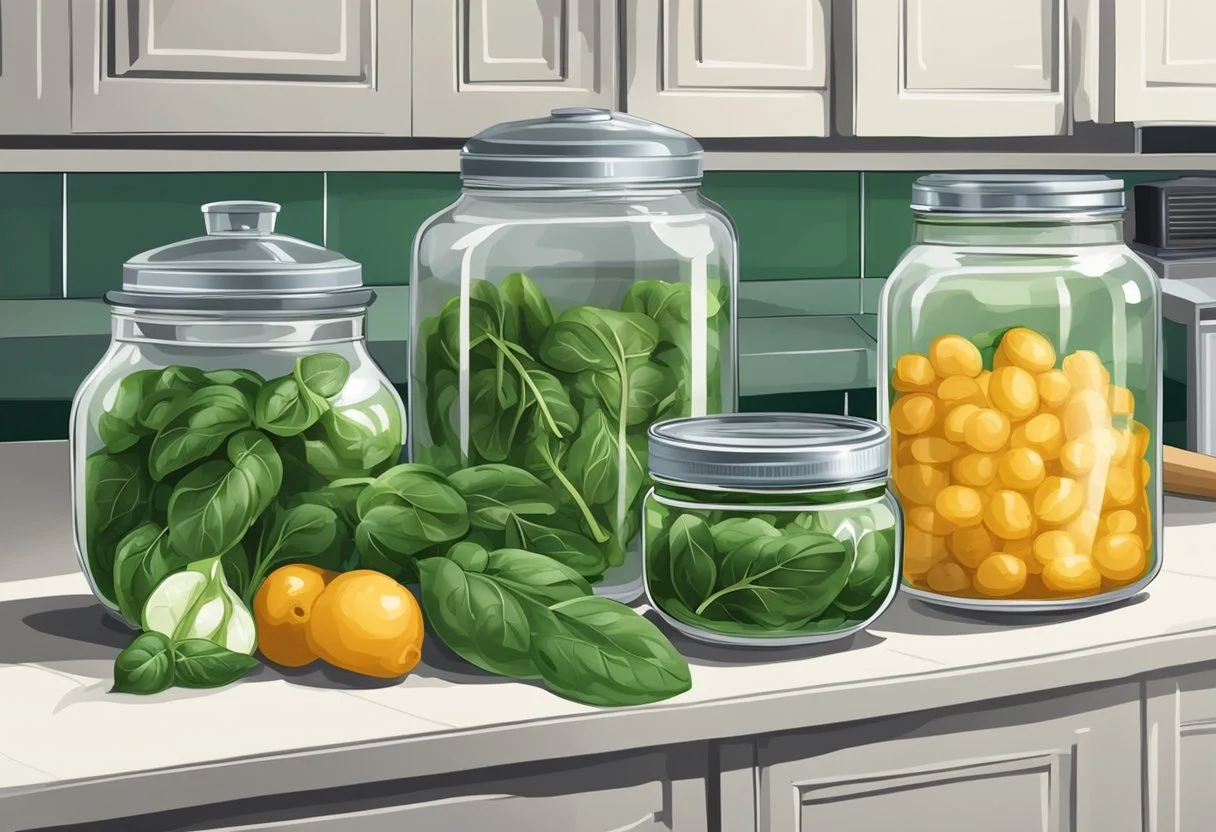
The Right Equipment for Canning Spinach
When it comes to canning spinach at home, having the right equipment is crucial to ensure a safe and effective process. This section will discuss the essential items needed for canning spinach, so you'll be well-prepared to start preserving this nutritious vegetable.
First and foremost, a pressure canner is required for canning spinach, as it is a low-acid food. Pressure canners come in two types - dial-gauge and weighted-gauge. Dial-gauge canners are suitable for those living at higher altitudes, as they allow for precise pressure adjustments. Weighted-gauge canners have weights for 5, 10, or 15 pounds pressure, placed over the vent, which rock or jiggle when the correct pressure is reached.
In addition to the canner, we must also consider the canner load. For an adequate canner load, you will need approximately 28 pounds of spinach to fill 7 quart-sized jars or 18 pounds to fill 9 pint-sized jars.
Next, you'll need a large pot for blanching the spinach leaves. This process helps prepare the leaves for canning and ensures that they maintain their quality during storage. To blanch, boil the spinach leaves briefly before plunging them into ice water, which stops the cooking process.
Canning jars, also known as mason jars, are necessary for containing the spinach during the canning process. They come in various sizes, so you can choose one depending on the quantity of spinach you want to preserve – typically quart or pint-sized jars. Make sure to check the jars for any cracks or chips before using them.
Along with the jars, you'll also need canning lids that fit your chosen jars. The lids create an airtight seal during the canning process, preserving the spinach's quality and preventing potential spoilage. Remember to use new lids each time you can, as reused ones may not seal effectively.
Lastly, you'll need canning salt. Though it is an optional ingredient, adding salt can help improve the flavor and preservation of canned spinach. If you choose to include salt, measure 1/2 teaspoon per quart-sized jar or 1/4 teaspoon per pint-sized jar.
In summary, to effectively can spinach at home, be sure to have the appropriate equipment, such as a pressure canner, large pot, canning jars, canning lids, and canning salt. With these tools on hand, you'll be well-prepared to preserve your spinach safely and effectively.
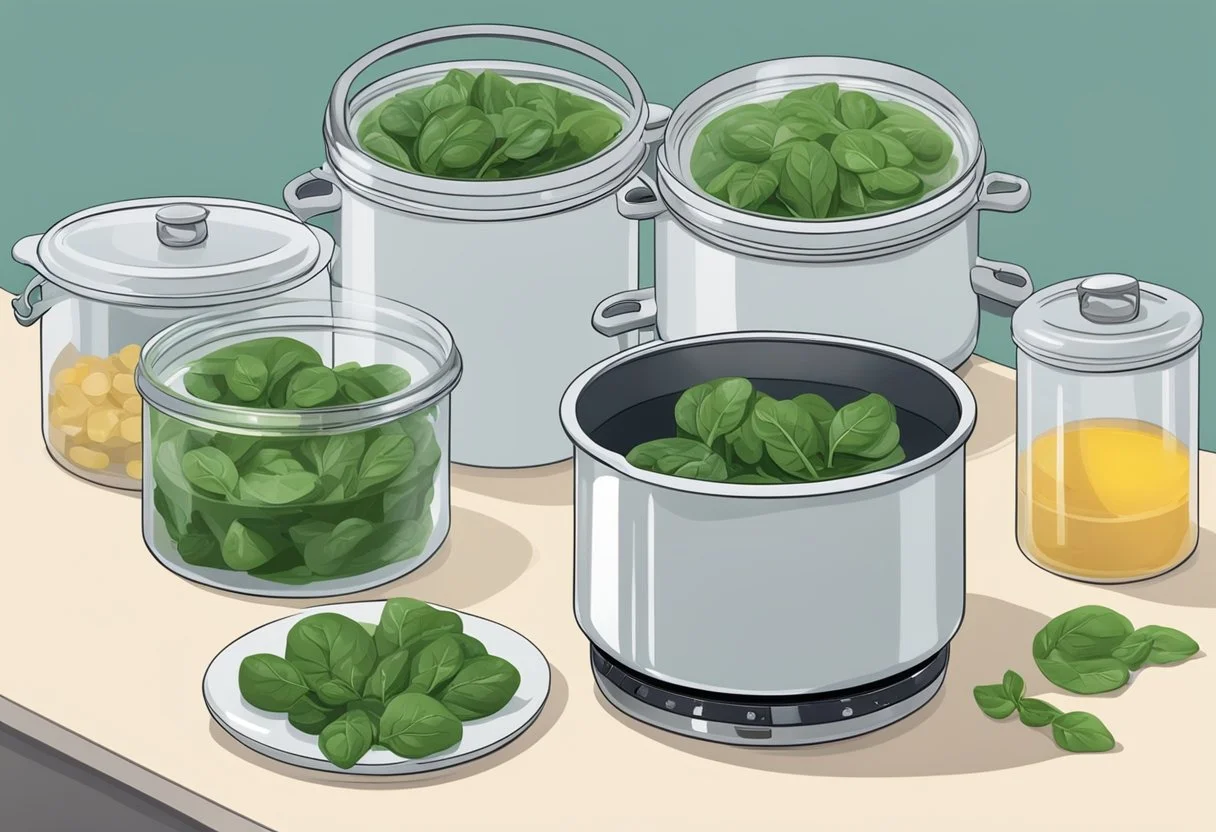
Crucial Steps in Blanching Spinach
Before canning spinach at home, it's essential to properly blanch the leaves. Blanching is a cooking process that involves briefly boiling or steaming vegetables and then cooling them rapidly in ice-cold water. This step is crucial to preserve the color, nutrients, and texture before canning. Here are the significant steps to follow when blanching spinach:
1. Prepare the spinach: Begin by thoroughly washing the spinach leaves to remove any dirt. If desired, remove the stems using a small, sharp knife.
2. Set up your equipment: For ease and convenience, prepare a large pot of boiling water and an ice bath, a bowl filled with ice and cold water. Ideally, have a cheesecloth bag or a blancher basket for dipping the spinach leaves in and out of the boiling water.
3. Blanch the spinach: Place the spinach leaves in a cheesecloth bag or blancher basket and submerge them into the boiling water. Blanch the spinach for 3 to 5 minutes or until the leaves are wilted but still crisp. In general, blanching time depends on the quantity and type of spinach.
4. Cool the spinach in an ice bath: Once the spinach leaves are wilted, promptly transfer them to the prepared ice bath. This step is crucial for stopping the cooking process while retaining the bright color and texture. Ensure there is enough ice and water to rapidly cool the blanched leaves.
5. Drain and dry the spinach: After the leaves have cooled in the ice bath for a few seconds, remove them and drain them well. When the leaves are free from excess water, they are ready to be canned.
Proper blanching is essential not only for preserving nutrients but also for inactivating enzymes, which can cause the spinach to spoil or lose flavor during storage. By following these crucial steps in blanching spinach, one can ensure that their canned spinach will remain fresh, flavorful, and nutritious for an extended period.
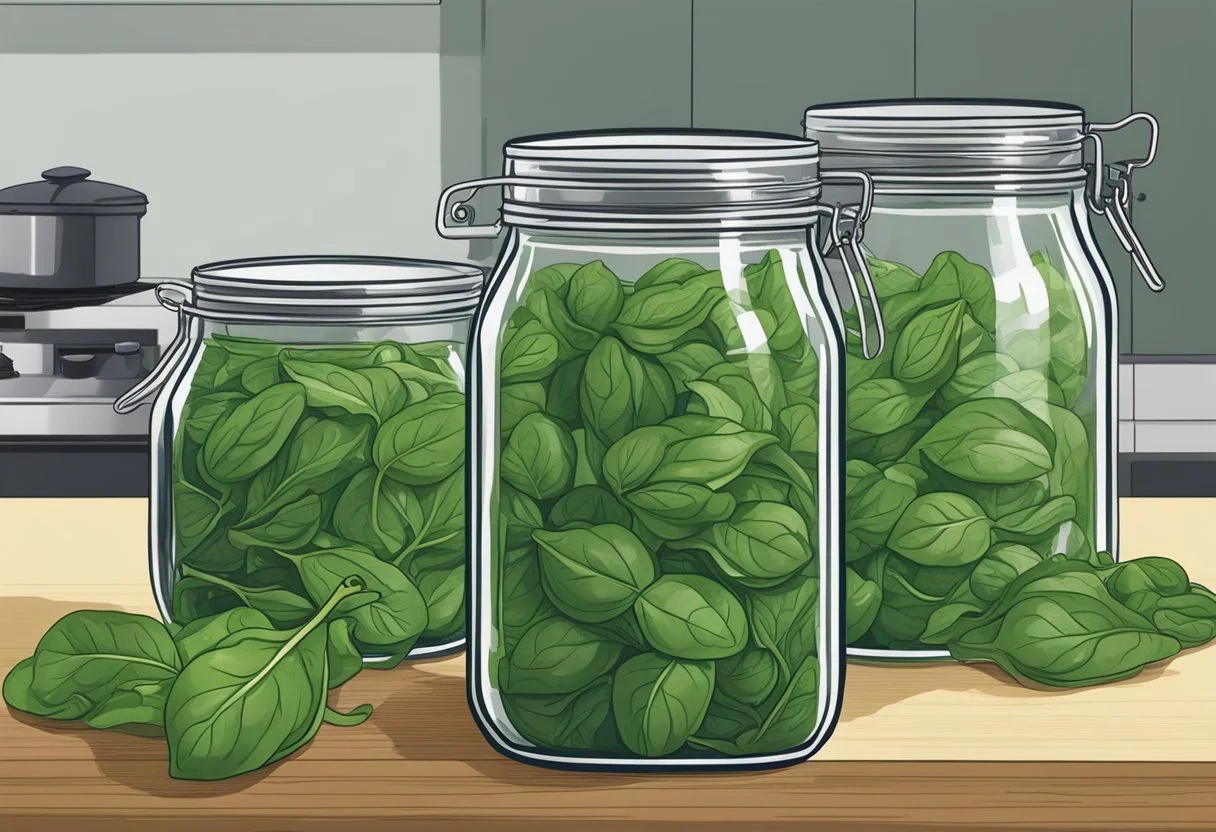
Packing the Spinach into Jars
Before packing the spinach into jars, ensure that you have cleaned and sterilized your jars. This process is crucial in maintaining the quality and safety of the canned spinach.
To begin, prepare fresh and crisp spinach by washing and discarding any wilted or soggy leaves. Once the spinach is clean, blanch the leaves in boiling water for a brief period to preserve taste and color. After blanching, use a slotted spoon to transfer the spinach from the boiling water to the jars.
When packing your spinach into jars, make use of quart jars, which are ideal for canning vegetables. It's important to pack the spinach tightly to make efficient use of the space; however, be careful not to overfill the jars. As a general rule, maintain a 1-inch headspace between the top edge of the jar and the spinach to allow for expansion during the canning process.
During packing, it is optional to add 1/2 teaspoon of salt to each quart jar. The salt enhances the flavor of the canned spinach, but it is not necessary for preservation purposes. Once the jars are filled with spinach, pour boiling water over the spinach until it reaches the 1-inch headspace.
Before sealing the jars, use a spatula to remove air bubbles between the spinach leaves. This ensures a consistent headspace, as air bubbles can lead to inaccurate headspace measurements. Wipe the jar rims with a clean cloth to remove any residue or spinach particles. This step is essential to ensure a proper seal between the jar and the lid.
Finally, place lids and bands on the jars, and tighten them according to the manufacturer's recommendations. The jars are now ready for processing in a pressure canner. Follow the appropriate pressure canning guidelines based on your altitude and the size of the jars.
Procedure for Pressure Canning Spinach
Pressure canning is an effective method for preserving spinach at home, maintaining the flavor and nutritional value. To ensure a safe and high-quality end product, follow the steps below:
Preparation: Begin by thoroughly washing the spinach leaves in warm or cold water. Repeat this process until the water is clean and free of dirt. Trim the ends, remove any tough pieces, and discard yellowed or damaged leaves.
Blanching: Pour water into a large pot and bring it to a boil. Blanch the spinach leaves in batches of 1 pound, either using a steamer or a blanching basket. Steam for 3 to 5 minutes, until the leaves are wilted. Next, immediately transfer the leaves to cold water to stop the cooking process. Drain the spinach well and set it aside.
Filling jars: Loosely pack the spinach into clean quart jars, leaving a 1-inch headspace. Optionally, add 1/2 teaspoon of salt to each jar for flavor. Pour fresh boiling water over the spinach, maintaining the 1-inch headspace.
Canning: Choose either a dial-gauge pressure canner or a weighted-gauge pressure canner for the canning process. Before using the canner, check the manufacturer's instructions to ensure proper operation. Place the filled jars on the canner's rack, secure the lid, and adjust the pressure according to your canner's instructions.
Processing: Process the jars at the recommended pressure for your altitude. Typical processing times are as follows:
Cooling: After the processing time is complete, turn off the heat and let the pressure canner cool naturally. Do not attempt to open the canner until it has reached zero pressure. Carefully remove the jars using a jar lifter, and place them on a towel or wire rack to cool undisturbed for 12 to 24 hours.
By following this procedure, you'll have successfully canned spinach at home using a pressure canner. Store the jars in a cool, dark place and enjoy your preserved spinach throughout the year.
Significance of Correct Processing Time
The significance of correct processing time in canning spinach at home cannot be overstated. Adhering to proper processing times is vital for several reasons, most importantly, for ensuring food safety and preventing the growth of harmful bacteria.
One of the main concerns when canning spinach is the potential growth of Clostridium botulinum, a bacteria responsible for causing botulism, a life-threatening illness. These bacteria thrive in low-acid, low-oxygen environments like those created during the canning process. Spinach is considered a low-acid food, which further necessitates appropriate processing time.
To effectively neutralize Clostridium botulinum and minimize the risk of botulism, it is crucial to follow these guidelines during the canning process:
Use a pressure canner: Due to the low-acid content of spinach, pressure canning is the recommended method for home preservation. A pressure canner allows for higher temperatures and pressures, ensuring that Clostridium botulinum is effectively destroyed.
Follow proper preparation steps: Make sure to thoroughly wash and clean the spinach before canning. Select fresh, tender leaves, discarding any that are discolored or wilted.
Adhere to specified processing times: Optimal processing times depend on the size of the jars, with larger jars requiring more time. Accurate processing times prevent the growth of bacteria, ensuring that the canned spinach remains safe for consumption.
By observing these guidelines and paying close attention to the correct processing time, you can successfully can spinach at home while maintaining its nutritional value and taste. This process will also significantly reduce the risk of harmful bacteria growth, such as Clostridium botulinum, ensuring that the end product is safe and enjoyable for you and your loved ones.
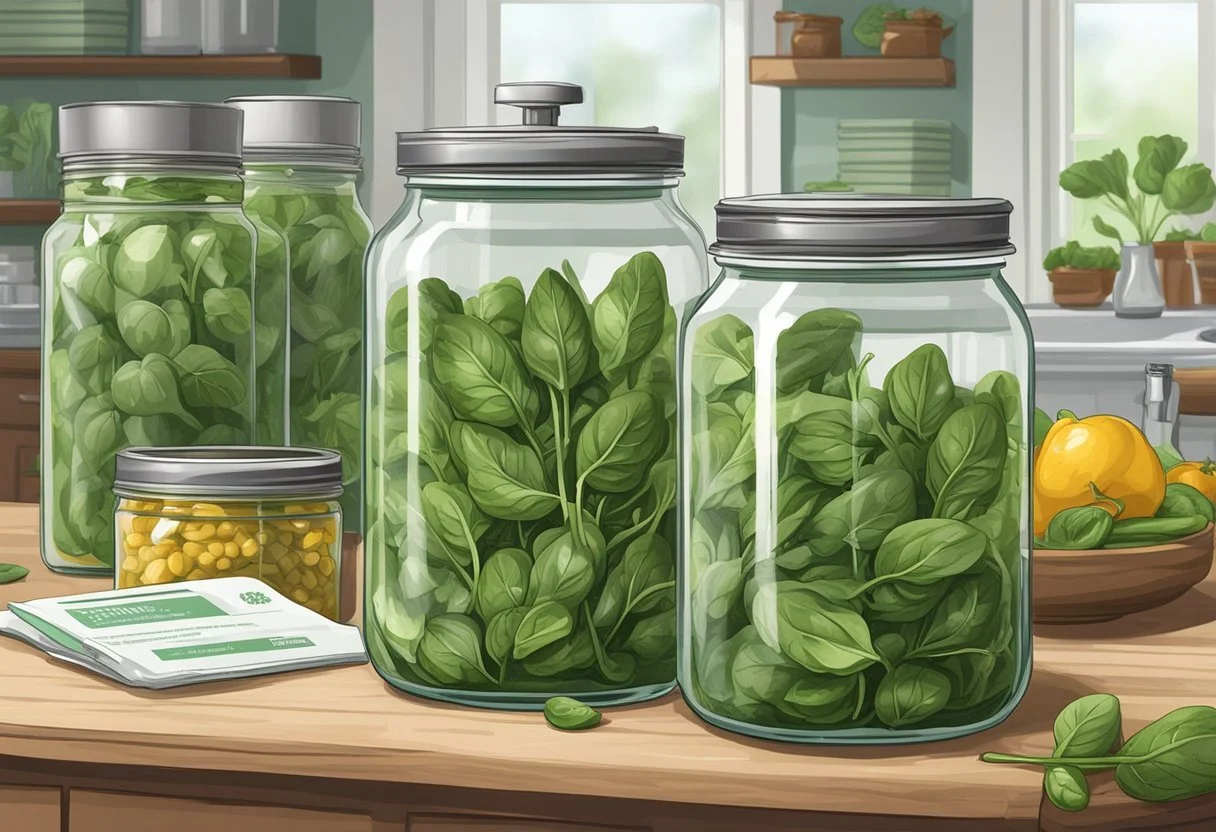
Quality and Storage of Canned Spinach
When canning spinach at home, it's crucial to maintain the quality and taste of the vegetable. To do so, always start with fresh, firm spinach leaves. Discard any old, wilted, or soggy leaves as they can negatively impact the overall taste and color of the canned spinach.
Canned spinach should be stored in a cool, dark place to preserve its quality. Ideal storage locations include a dark kitchen cupboard, pantry shelves, an unheated basement, or a low-humidity root cellar. If these areas aren't available, canned spinach can also be stored in a garage or attic, provided that it remains shielded from direct sunlight and extreme temperatures.
Proper storage is essential for preserving the canned spinach's shelf life. Generally, canned spinach can last for up to 12-18 months if stored correctly. However, it's important to inspect the can for any signs of spoilage or contamination, such as bulging, leaks, rust, or foul odors, before consuming the contents.
When opening a can of properly-stored spinach, the spinach should retain its vibrant green color. Discolored spinach may be a sign of spoilage or poor canning practices. To ensure the best taste and quality, consume canned spinach within recommended timeframes.
In summary, the quality and storage of canned spinach play a significant role in maintaining its taste, color, and firmness. By selecting fresh leaves, storing them appropriately, and regularly checking for signs of spoilage, you can enjoy nutritious and delicious canned spinach at home.
Common Issues and Solutions in Canning Spinach
Canning spinach at home can be a rewarding process, but it comes with its own set of challenges. In this section, we will address some of the most common issues encountered while canning spinach and provide solutions to help you achieve optimal results.
Issue 1: Sealing Failures
A common problem in canning is jars not sealing properly. This can be due to nicks in the jar rim, food residue, or overflowing jars. To avoid this issue, ensure that the rims of your jars are free of any damage, and clean them thoroughly before filling. Additionally, avoid overfilling jars by following specific headspace recommendations for canning spinach.
Issue 2: Discolored Spinach
Spinach may discolor during the canning process due to exposure to air, overprocessing, or improper storage. To minimize discoloration, use the proper processing time recommended for canning spinach and store your jars in a cool, dark place. Note that some discoloration is natural and does not affect the taste or safety of the canned spinach.
Issue 3: Floating Spinach
Floating spinach can be caused by trapped air bubbles in the jar or improper packing. To prevent floating, ensure that you pack spinach firmly but gently into the jars. Additionally, use a bubble remover to remove any trapped air before sealing your jars.
Issue 4: High Acidity
Spinach, like most greens, is a low-acid food, which can create a favorable environment for harmful bacteria like Clostridium botulinum. To ensure safety, always use the pressure canning method to can low-acid foods like spinach. Adding salt to the jars can also help in preserving the spinach while canning, but it's not mandatory.
Issue 5: Tough or Overcooked Spinach
To maintain the tender texture of spinach and avoid overcooking, it is essential to follow the recommended processing times for canning spinach. Blanching spinach before canning can help in preserving both its color and texture. Steam blanch the spinach for about 5 minutes before processing in jars.
By understanding these common issues and their solutions, you can confidently can spinach at home and enjoy the fruits of your labor for months to come.
Alternatives to Canning Spinach
Freezing Spinach
One popular alternative to canning spinach is freezing. This method retains most of the spinach's nutrients and is relatively easy to perform. To freeze spinach, follow these simple steps:
Wash the spinach thoroughly to remove any dirt or grit.
Blanch the spinach in boiling water for 1-2 minutes to preserve its color and nutritional value.
Immediately transfer the blanched spinach to a bowl of ice water to stop the cooking process.
Drain the spinach well, squeezing out any excess water.
Pack the spinach into airtight containers or freezer bags, leaving a small headspace for expansion.
Label the containers or bags with the date and contents, then store them in the freezer.
Dehydrating Spinach
Dehydrating is another method for preserving spinach and other vegetables that offers some advantages over canning and freezing. By removing the water content from spinach, the risk of bacterial growth is reduced, and the resulting product takes up less storage space. To dehydrate spinach, follow these steps:
Wash and dry the spinach thoroughly.
Remove any thick stems.
Arrange the leaves in a single layer on dehydrator trays, making sure they do not overlap.
Set the dehydrator to the recommended temperature for leafy greens, typically around 125°F (52°C).
Dry the spinach for 4-6 hours, or until crispy and fully dehydrated.
Store the dehydrated spinach in airtight containers, such as glass jars or vacuum-sealed bags.
These alternatives to canning spinach offer homeowners the flexibility to choose the preservation method that best suits their needs, available equipment, and preferences. Both freezing and dehydrating spinach are useful methods to prolong the shelf life of this nutritious leafy green vegetable and enjoy its benefits year-round.
Utilizing Canned Spinach in Various Recipes
Canned spinach is a versatile ingredient that can be incorporated into a variety of recipes, providing a convenient way to enjoy the health benefits of this leafy green vegetable. Home-canned spinach can be equally delicious and nutritious, making it a perfect addition to any meal.
One popular and easy way to use canned spinach is in a Baked Spinach Gratin. In this recipe, combine the spinach with sautéed onions, cream cheese, nutmeg (how long does nutmeg last?), pepper, and salt. To create a delicious topping, mix Parmesan cheese with crushed crackers, and then bake the gratin until golden brown. This dish makes for an excellent side to any meal.
Another enticing dish featuring canned spinach is a Spinach Casserole (What wine goes well with casseroles?). For a creamy and cheesy side dish, mix spinach with sharp cheddar cheese, dry mustard, cayenne pepper, and Worcestershire sauce (how long does worcestershire sauce last?). Adding sauteed onions offers a touch of sweetness that complements the casserole's tangy flavors.
Canned spinach can even be incorporated into appetizers or finger foods. For instance, consider preparing Spinach Bites by combining spinach, breadcrumbs, Parmesan cheese, and seasonings to form small patties. Bake these bites until they're crispy on the outside and tender on the inside, making for a guilt-free indulgence.
For a lighter option, try mixing canned spinach with scrambled eggs for a hearty and nutritious breakfast. Season with salt and pepper, and add some sauteed onions for extra flavor. The combination of eggs and spinach creates a satisfying and flavorful meal.
Canned spinach can also be used in less traditional dishes. Incorporate it into a Salsa by blending it with tomatoes, onions, garlic, cilantro, and jalapeño peppers for a healthy twist on a classic snack. Additionally, consider creating a unique spin on pickles by combining canned spinach with brine, vinegar, and your favorite pickling spices (how long does pickling spice last?), allowing the mixture to marinate for a savory and tangy side dish.
In summary, canned spinach is a versatile ingredient that can be used in a wide array of recipes, from traditional side dishes to more unconventional creations. Its ease of use and nutritional value make it an excellent addition to any home cook's pantry.
Conclusion and Additional Resources
Canning spinach at home is a practical and efficient way to preserve its nutritional value and enjoy it all year round. To ensure a safe and successful canning process, it's essential to follow proper guidelines and techniques.
One excellent resource to consult is the National Center for Home Food Preservation, which offers a wealth of information on home canning and food preservation. This authoritative source provides evidence-based recommendations, ensuring both safety and quality of preserved foods.
In particular, the Complete Guide to Home Canning, published by the USDA, is a valuable publication for canners at all levels of experience. This guide covers the pressure canning process in detail and even specifies the processing times for various jar sizes, ensuring that spinach and other greens are properly preserved at different altitudes.
Here are some important tips to consider when canning spinach:
Be sure to prepare the pressure canner, jars, and lids properly to avoid contamination.
Use fresh spinach, discarding damaged or wilted leaves.
Properly wash the spinach, removing all grit and debris.
Blanch the spinach for 3 to 5 minutes prior to placing it in jars.
Fill the jars with spinach and boiling water, leaving a 1-inch headspace at the top.
For further guidance and educational resources, consider visiting the National Center for Home Food Preservation's website. Their “How Do I? Can Vegetables” section will provide directions specifically tailored to canning spinach and other greens. Be sure to consult these resources before embarking on your spinach canning journey. With proper technique and confidence, you can enjoy the benefits of home-canned spinach all year long.
