
How to Make Perfectly Fried Arancini
Mastering Crispy Risotto Balls
Arancini, the quintessential Sicilian appetizer, epitomizes the rich and delectable essence of Italian cuisine. These crispy, golden risotto balls create a symphony of flavors and textures with each bite, combining tender, savory rice and gooey stretched cheese, all encased in a crunchy breadcrumb shell. Originating from the sun-drenched island of Sicily, arancini have found their way into the hearts of food lovers worldwide, celebrated for their versatility and the creativity they inspire in the kitchen.
The art of making arancini involves a sequence of steps to ensure they are perfectly fried. It begins with chilled risotto, which is molded into orb shapes with a piece of mozzarella tucked inside for an irresistible cheese pull. Each risotto ball is then meticulously coated in a classic dredging station of flour, beaten eggs, and breadcrumbs to create the essential outer layer that will crisp up beautifully in hot oil.
As a beloved snack, arancini not only embody the vibrant culinary spirit of their Sicilian roots but also offer an opportunity for home cooks to master an iconic dish that's perfect for entertaining or enjoying as a hearty treat. The key to perfect arancini lies in maintaining the right temperature for frying, ensuring that the oil is hot enough to cook the balls quickly, achieving that ideal golden color without compromising the delicate interior.
Understanding Arancini
Arancini are delightful Sicilian treats, consisting of risotto balls that are coated in breadcrumbs and deep-fried to golden perfection. These crispy snacks have a rich history and are traditionally made using leftover risotto, embodying a delicious combination of convenience and flavor.
Ingredients:
Cooked risotto
Cheese (commonly mozzarella)
Breadcrumbs for coating
Eggs (for binding)
Flour (for dredging)
Characteristics:
Shape: Usually round or pear-shaped.
Size: Can vary, but typically 2-3 inches in diameter.
Filling: Often contains a piece of cheese in the center.
Texture: Crispy on the outside while creamy and soft on the inside.
The process of making arancini includes forming the cooled risotto into balls, inserting a piece of cheese such as mozzarella for a melting center, and then passing them through a standard breading procedure before frying. While Sicilian heritage leans on risotto as the base, variations exist, with different regions incorporating local flavors and ingredients.
To create impeccable arancini, the balance of a crispy exterior and a creamy, cheesy interior is key. They can be a luxurious appetizer or a hearty snack, showcasing the versatility and resourcefulness of Italian cuisine through the use of leftover risotto. Arancini not only make for an inventive way to repurpose leftovers but also stand on their own as a staple of Italian street food.
Ingredients
For the base of arancini, chefs often choose high-starch Arborio rice, which lends itself well to the creamy texture of risotto, a vital step before transforming it into these crispy delights.
To achieve the desirable golden exterior, breadcrumbs are essential. They recommend using either traditional breadcrumbs or panko for a lighter, crispier finish. Incorporating an egg into the mix will act as a binder, ensuring the risotto balls hold their shape during cooking.
The filling is often the soul of the arancini, and small cubes of mozzarella are commonly nestled in the center for a gooey, cheesy surprise. For an extra touch of saltiness and flavor, they might include Parmesan cheese in the risotto.
Enhancements to the mixture may include prosciutto, mushroom, or peas. These ingredients are finely chopped and mixed into the risotto before forming the balls, offering bits of texture and layers of flavor.
To sauté the initial ingredients, a good quality olive oil is preferred for its richness and fragrance. For deep frying, they choose a vegetable oil with a high smoke point to ensure the arancini are perfectly fried to golden brown without any burnt taste.
Lastly, the foundation of any risotto involves a flavorful sauté of garlic and often butter, setting the stage for the rice to absorb the stock and seasonings effectively.
To serve, a side of marinara sauce is recommended for dipping, providing a tangy counterbalance to the rich, crispy arancini.
Preparing the Risotto Base
The foundation of delectable arancini is a flavorful and creamy risotto. Begin by selecting the right type of rice; Arborio rice is the traditional choice due to its high starch content, which contributes to the risotto's creaminess.
Ingredients:
1 cup Arborio rice
2 tablespoons unsalted butter
1 small onion, finely chopped
2 cloves garlic, minced
1/2 cup white wine
4 cups warm chicken stock
1/2 cup grated Parmesan cheese
Salt and pepper to taste
Instructions:
In a heavy-bottomed pan, melt the butter over medium heat. Add the chopped onions and cook until they're translucent, about 3 minutes.
Stir in the minced garlic and cook for an additional minute, making sure the garlic does not burn.
Add the Arborio rice to the pan, stirring continuously, and cook until the grains are coated in butter and slightly toasted, about 2 minutes.
Pour in the white wine, stirring until it has been absorbed by the rice.
Gradually ladle in the warm chicken stock, one cup at a time, allowing the rice to absorb the liquid before adding more. Stir continuously to encourage the rice to release its starch.
Once all the stock has been incorporated and the rice is al dente with a creamy consistency, remove it from the heat.
Fold in the grated Parmesan cheese, and season with salt and pepper to taste.
Allow the risotto to cool to room temperature before forming the arancini balls, as this will make the mixture easier to handle and ensure that the balls hold their shape when cooking.
Shaping and Stuffing the Arancini
Properly shaping and stuffing arancini is crucial for achieving the perfect texture and taste. This section outlines step-by-step instructions to form the rice balls, incorporate the filling, and ensure they are seamlessly closed and shaped for frying.
Forming the Rice Balls
To begin forming the risotto balls, take about two tablespoons of cooled risotto and press it flat onto your palm. One should ensure their hands are wet to prevent sticking, aiding in a smoother process. The risotto should be compact enough to hold its shape without falling apart.
Adding the Filling
Place a small piece of mozzarella cheese in the center of the flattened risotto. The cheese should be cut into cubes, approximately a half-inch in size. The mozzarella acts as a creamy heart to the arancini, providing a pleasant, melted texture when cooked.
Closing and Shaping the Arancini
Once the filling is placed, the next step is to wrap the risotto around the cheese, using a gentle but firm motion. The goal is to enclose the cheese completely, ensuring there are no gaps or weak spots that could cause the arancini to break open during cooking. Finally, roll the stuffed ball between the palms to create a smooth, even exterior. If needed, use plastic wrap to compress and firm the shape before they go into the coating process.
Breading the Arancini
Proper breading is crucial for achieving the signature crispy exterior of arancini. This section will guide you through setting up an efficient dredging station and ensuring each risotto ball is evenly coated.
Setting Up the Dredging Station
To prepare for breading, one should set up a dredging station with three separate bowls. The first bowl will contain all-purpose flour, which will help the subsequent layers to adhere to the arancini. In the second bowl, have whisked eggs, which will act as a binder. The final bowl should be filled with breadcrumbs. For a crispier texture, panko breadcrumbs can be used as they are larger and create a crunchier shell.
Flour Bowl
Fill with all-purpose flour.
Egg Bowl
Add eggs and whisk thoroughly.
Breadcrumb Bowl
Pour in desired breadcrumbs (regular or panko).
Coating with Eggs and Breadcrumbs
Once the station is ready, take a risotto ball and roll it in the flour until it's fully dusted. This initial coat helps the egg to adhere to the ball's surface. Next, dip the floured ball into the whisked eggs, ensuring it's completely covered. The final step is to roll the egg-coated ball in breadcrumbs until it is uniformly covered. Each layer must be applied methodically to prevent bald spots and ensure the arancini will fry up to golden perfection.
Flour: Roll ball until covered.
Eggs: Dip to coat entirely.
Breadcrumbs: Roll for even coverage.
The dredged risotto balls should then be set aside on a tray until all are breaded and ready to be fried to a delicious golden brown.
Cooking the Arancini
Before diving into the specifics of cooking arancini, it's crucial to understand that achieving a perfect golden brown exterior is all about maintaining the right oil temperature and using appropriate cooking methods to ensure even heat distribution.
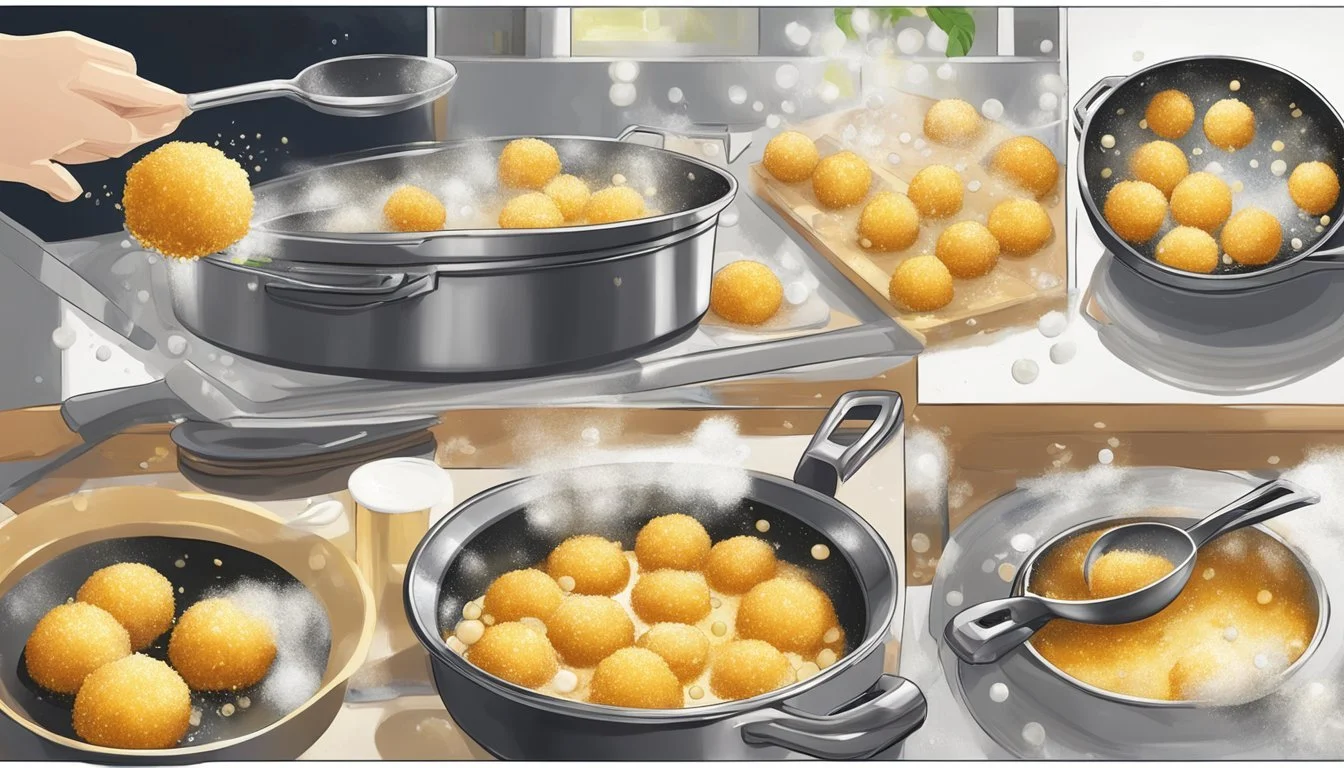
Deep-Frying to Golden Brown
For traditional frying, one first lines a tray with paper towels to absorb excess oil after frying. They heat 3-4 inches of oil in a deep heavy-bottomed pan or deep fryer to 375°F. Carefully, they lower the risotto balls, which should be chilled to maintain their shape, into the hot oil using tongs. They fry the arancini in small batches, no more than 3 to 4 at a time, to avoid dropping the temperature of the oil. Each ball is turned occasionally to achieve an even golden brown color, typically requiring about 4 minutes total.
Important Factors for Even Frying:
Oil Temperature: Maintaining 375°F is ideal.
Batch Size: Frying 3 to 4 balls at once prevents overcrowding.
Turning the Balls: Ensuring each side gets equal contact with the oil.
Alternative Cooking Methods
Aside from deep-frying, arancini can be cooked in an air fryer or oven for a healthier version. For air frying, one preheats the air fryer to 375°F and places the breaded risotto balls into the basket in a single layer with space between. They lightly drizzle with olive oil or spray with cooking spray. The arancini are baked until golden brown, which typically takes 12-15 minutes, and they turn the balls periodically to ensure even cooking.
For oven baking, it's necessary to preheat the oven to a similar temperature and prepare a baking sheet by lining it with aluminum foil and greasing it with cooking spray. The risotto balls are placed on the baking sheet, generously sprayed with cooking spray, and baked until golden brown, requiring attention to turning them occasionally to promote even browning.
Key Points for Alternative Cooking:
Preheating: Ensuring the air fryer or oven reaches 375°F before cooking.
Positioning: Arancini should not touch to allow airflow and even heat distribution.
Rotation: Frequent turning achieves an all-around golden crust.
Serving and Presentation

When presenting arancini, one is showcasing a classic Italian delicacy that is both comforting and sophisticated. Serving these crispy risotto balls while they're warm enhances their appealing texture and rich flavor. They are best served as appetizers or as a delectable snack.
A common and appealing way to present arancini is with a side of marinara sauce. Warm marinara sauce acts as a perfect dipping accompaniment, adding a tangy contrast to the crispy, golden exterior of the risotto balls. Arrange the sauce in a small bowl positioned centrally on the serving platter, encouraging guests to dip their arancini into the sauce.
Garnishing is just as vital for visual appeal as it is for taste. A light sprinkle of grated Parmesan over the arancini lends a savory note that complements the richness of the risotto. Additionally, finely chopped parsley not only adds a fresh color contrast but also introduces a subtle earthiness which pairs beautifully with both the arancini and marinara sauce.
Here's a simple presentation suggestion:
Place the arancini on a serving platter around the bowl of warm marinara sauce.
Drizzle the marinara sauce lightly with high-quality olive oil for added richness.
Sprinkle grated Parmesan cheese over the arancini.
Scatter a generous amount of chopped parsley across the platter for a pop of color and freshness.
Remember to serve arancini on a platter that contrasts their golden brown color, such as a white ceramic or slate board, which will accentuate their appeal and invite guests to enjoy this delightful Italian creation.
Storing and Reheating

Proper storage and reheating methods preserve the taste and texture of Arancini. Understanding these techniques ensures that these delightful risotto balls are enjoyed with their original crispy exterior and creamy interior at a later time.
Refrigeration and Freezing
Refrigeration: Freshly made Arancini can be refrigerated for up to three days. To refrigerate, one should:
Cool the Arancini to room temperature.
Place them in an airtight container.
Separate layers with parchment paper to prevent sticking.
Freezing: For longer preservation, Arancini can be frozen. Here's how:
Allow them to cool completely after cooking.
Arrange them on a baking sheet and freeze for a few hours.
Once firm, transfer to a freezer-safe bag or container.
They can be stored in the freezer for up to one month.
Reheating Instructions
To enjoy Arancini at their best, reheating should restore the dish's warmth without compromising their signature texture.
Preheat the air fryer to 350°F (180°C).
Arrange arancini in the basket, not touching.
Heat for 4-8 minutes, until thoroughly warm and crisp.
In a Skillet with Oil:
Heat oil to 350°F in a pan.
Place Arancini in oil for 1-2 minutes.
Remove and rest on a wire rack for 2 minutes.
Microwave (Not Recommended): Though one could use the microwave as a last resort, it's important to note that this method will not maintain the Arancini's crispness. If necessary, heat in the microwave in short 10-20 second bursts before finishing in the air fryer or skillet.
Variations and Customizations
Cheese Options: Traditional Arancini feature a heart of gooey mozzarella, but other cheeses like provolone or gouda can offer a unique taste. Chefs might experiment to find their favorite cheesy centers.
Proteins: Adding chopped meat can elevate Arancini to a meal. Cooked ground beef, pancetta, or even shredded chicken are great choices. They should ensure the protein is appropriately seasoned and fully cooked before adding it to the rice mixture.
Vegetable Twists: Finely diced vegetables such as bell peppers, mushrooms, or spinach add both flavor and nutritional value. For best results, they should be sautéed first to remove excess moisture.
Breading Alternatives:
Classic: Breadcrumbs for that traditional crispy exterior.
Gluten-Free: Ground almonds or gluten-free panko for a crunchy texture.
Cooking Methods:
Method Description Deep Frying For that classic, deeply golden crust. Air Frying A lighter option, still achieving a crunchy layer. Baking Brush with oil and bake until crisp for a healthier version.
Recipes often recommend chilling the formed balls before cooking to ensure they hold their shape. They remind cooks to maintain a consistent temperature of the cooking medium, whether oil or oven, to achieve a uniform crunchiness. By following these steps and embracing variations, chefs can customize their arancini recipes to personal tastes or dietary needs, yielding a delicious result every time.
Health and Dietary Considerations

When preparing Arancini, the cook needs to keep health and dietary restrictions in mind, especially considering the frying method and the ingredients involved.
Salt: Moderation is key. They should use salt sparingly to accommodate those monitoring sodium intake. Consider using unsalted butter in the risotto base to control the overall sodium content.
Oils: Choosing the type of oil is critical. While olive oil and extra virgin olive oil are popular in Italian cooking, they should be aware that extra virgin olive oil has a lower smoke point, making it unsuitable for high-heat frying. Opt for regular olive oil or another oil with a higher smoke point to ensure a healthier fry.
Butter: Unsaturated butter is preferable for those mindful of their cholesterol levels. It can be used in the risotto base to cater to dietary preferences without compromising on the traditional creamy texture.
Dietary Considerations: Arancini commonly contain cheese and are coated in a breadcrumb mix. For gluten-free diets, they should use gluten-free breadcrumbs. For dairy-free diets, they could omit the cheese or find a suitable vegan alternative.
Health Aspects: While fried Arancini are indulgent, they should strive for balance. Use a spoon to measure oil when drizzling to avoid excess and consider offering a baked version for those seeking fewer calories.
Dietary Need Ingredient Consideration Low Sodium Salt, Unsalted Butter Use in moderation High Cholesterol Unsalted Butter Substitute with unsalted version Gluten Sensitivity Breadcrumbs Use gluten-free options Dairy-Free Cheese Remove or replace with non-dairy alternatives General Health Oil Choose high smoke point oils, measure quantity
In conclusion, chefs should tailor their Arancini to suit various health and dietary needs without sacrificing the authentic flavors that make these Sicilian risotto balls a beloved dish.
