
How to Grow Your Own Sprouts for Salads and Sandwiches
A Step-by-Step Guide
Growing your own sprouts is a straightforward process that adds a fresh, nutritious crunch to salads (What wine goes well with salads?) and sandwiches (What wine goes well with sandwiches?). Sprouts are the germinated seeds of vegetables, legumes, and grains and can be cultivated in small spaces with minimal equipment. They are a powerhouse of nutrients, offering a concentrated source of vitamins, minerals, and antioxidants which makes them a healthy addition to any meal.
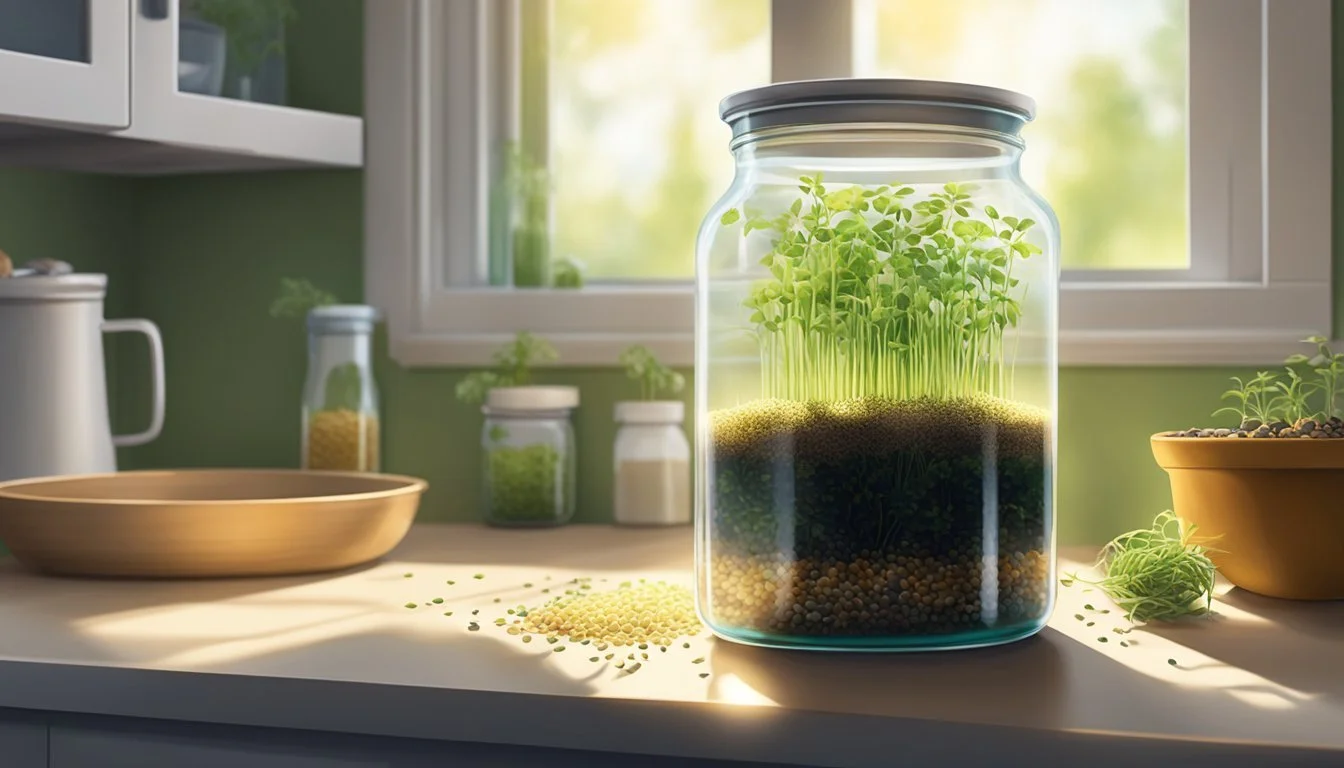
The process of growing sprouts involves soaking the seeds, rinsing them regularly, and providing a clean environment for them to grow. This can be achieved indoors, in a simple glass jar with a mesh lid for easy drainage, or any well-ventilated container that allows for regular rinsing and draining. Most sprouts are ready to be harvested and enjoyed within a week, making them a quick crop to grow.
They require little maintenance beyond ensuring they are kept in a spot away from direct sunlight and heat to prevent spoilage. By following basic hygiene practices and using clean equipment, one can have a continuous supply of fresh sprouts to enhance their meals. They not only boost the flavor profile but also the nutritional content of salads and sandwiches, making them an excellent choice for health-conscious individuals.
Understanding Sprouts
Sprouts are a powerhouse of nutrition, capable of enhancing meals with their crisp texture and delicate flavor. They are simple to grow in the home kitchen, requiring minimal equipment.
Nutritional Benefits
Sprouts boast a significant concentration of vitamins, minerals, and other beneficial nutrients such as protein, antioxidants, iron, vitamin C, and folate. Their fiber content is also noteworthy, contributing to digestive health. They can enhance diets by providing essential nutrients that support overall well-being.
Common Sprout Varieties
Numerous seeds, grains, nuts, and legumes can be sprouted, each offering unique flavors and textures. Common varieties include alfalfa, mung bean, lentil, radish, red clover, beans like chickpeas, and seeds such as sunflower and broccoli seeds. For those looking to experiment, quinoa sprouts can be a unique addition to salads and sandwiches.
Potential Health Risks
While sprouts are highly nutritious, they may sometimes harbor bacteria like E. coli and Salmonella. To minimize potential health risks, proper sanitization of sprouting equipment and thorough washing of the sprouts before consumption are critical steps.
Difference Between Sprouts and Microgreens
Sprouts and microgreens are often confused but are distinct in growth and parts consumed. Sprouts are eaten just after the seeds have germinated and include the root, stem, and undeveloped leaves. Microgreens are harvested later when the first true leaves have developed and do not include the roots.
Role of Sprouts in a Balanced Diet
Incorporating sprouts into a balanced diet can provide health benefits due to their high nutrient density. They serve as a versatile ingredient that can be added to various dishes, enhancing both the nutritional value and flavor profile of everyday vegetables and salads.
Equipment and Supplies Needed
Growing your own sprouts for salads and sandwiches is a straightforward process that requires specific supplies. Using the right equipment will ensure a successful and hygienic sprouting experience.
Selecting the Right Seeds
One must choose non-GMO, organic sprout seeds to guarantee the healthiest and purest sprouts. These seeds can be alfalfa, lentils, chickpeas, or another sproutable variety, depending on personal preference. Ensuring seeds are intended for sprouting is crucial, as some sold for planting may be treated with chemicals.
Choosing Your Sprouting Container
A mason jar or any glass jar is commonly used as a sprouting container and it should be kept on the kitchen counter where it is easily accessible. The jar needs to be paired with a sprouting lid or cheesecloth secured with a rubber band to allow for adequate air circulation and drainage while keeping out contaminants.
Other Essential Tools
Additional tools needed include:
Water: For soaking and rinsing the seeds (filtered water is preferred).
Salad Spinner: Useful for drying sprouts after rinsing.
Refrigerator: For storing sprouts post-harvest to maintain freshness. Regular rinsing is vital for sprout growth and can be performed with either a sprouting jar with a mesh lid or a mason jar covered with cheesecloth. It's important to have these tools ready to ensure the sprouts are clean, healthy, and ready to eat.
Preparing to Sprout
Before starting the sprouting process, one must ensure the equipment is sanitized, seeds are adequately soaked, rinsed, and drained, and the water quality is suitable to encourage healthy growth.
Cleaning and Sanitizing Equipment
To reduce the risk of bacterial contamination, one should thoroughly clean and sanitize all equipment. One can disinfect jars by soaking them in a bleach solution using ¾ cup of bleach per gallon of water for at least 5 minutes, followed by a thorough rinse with clean water. Alternatively, boiling equipment in tap water for 10 minutes effectively sterilizes the items. One should always wash hands well before handling seeds and equipment.
Soaking the Seeds
Sprouting seeds require pre-soaking to initiate the germination process. The soak breaks the seeds' dormancy and begins absorption, making them ready to sprout. A typical soaking period ranges from 6 to 12 hours. It's best to use filtered water to ensure purity and place the seeds in a jar with enough water to cover them by approximately one to two inches.
Rinsing and Draining
After the initial soak, the sprouting seeds should be drained and rinsed using clean, filtered water. This procedure should be done thoroughly every 8-12 hours to ensure the seeds do not dry out. Proper rinsing and draining are critical as they reduce the chances of mold and bacterial growth and supply the seeds with moisture necessary for growth.
The Role of Water Quality
Water quality plays a significant role in the development of sprouts. Using clean, filtered water at all stages—from soaking to rinsing and draining—prevents the introduction of contaminants and provides a safe environment for the seeds to germinate and grow. Unfiltered water may contain impurities that can affect the taste and health of the sprouts.
The Sprouting Process
Growing sprouts is a simple and rewarding process that involves germination, exposure to specific light conditions, and regular monitoring for successful growth. This guide covers the necessary steps to sprout seeds effectively for salads and sandwiches.
Germination Conditions
The germination of sprout seeds requires a controlled environment with the right balance of moisture and warmth. To initiate germination:
Soak the seeds in water for 6-12 hours to awaken them from dormancy.
Drain the water and rinse the seeds with fresh water.
Place them in a sprouting vessel, like a jar with a mesh lid or cheesecloth, which allows for proper air circulation and drainage.
Maintain a consistent temperature between 65°F-75°F (18°C-24°C) to optimize the germination process.
Moisture should be regulated through rinsing and draining the seeds two to three times daily to keep them damp but not waterlogged.
Light Requirements
Sprouts generally need to be kept in the dark or in indirect sunlight during the early stages of growth to prevent the growth of unwanted organisms and to encourage root development. After a few days:
Sprouts may be exposed to indirect sunlight to enhance chlorophyll production, which will turn them green as they develop leaves.
Keeping the sprouts in a dark place until the leaves start appearing is often recommended, after which a few hours of indirect light each day helps improve the quality of the sprouts before harvest.
Monitoring Growth and Health
Monitoring the health of the growing sprouts is essential to produce a quality final product.
Rinse and check sprouts daily to ensure they do not dry out and to remove seed hulls that may harbor bacteria.
The environment should be kept clean and sanitary to minimize the risk of contamination.
Harvest time for sprouts generally falls between 3-7 days after germination, once leaves have formed and the sprouts have reached the desired length.
After harvesting, sprouts should be dried gently with a clean towel and can be stored in the refrigerator in a perforated bag or container with air holes to maximize freshness. They taste best when consumed within 2-3 days of harvesting.
By providing ideal germination conditions, managing light exposure, and monitoring their growth, one can ensure a consistent supply of fresh and healthy sprouts.
Harvesting Your Sprouts
Harvesting sprouts at the right time ensures maximum freshness and flavor for your salads and sandwiches. Proper washing, drying, and storage extend their shelf life while maintaining crispness.
Determining Harvest Time
Sprouts are generally ready to harvest when the leaves are fully developed, which typically takes 3 to 7 days. They should be green and open, and the hulls should begin to fall away. It's crucial to harvest them before they become overcrowded in their container to prevent mold and spoilage.
Washing and Drying Sprouts
Once harvested, rinsing your sprouts thoroughly under cold water removes any remaining hulls. A salad spinner can be particularly effective; it gently dries sprouts by enabling water to drain away quickly without handling delicate shoots too roughly.
Wash the sprouts in a bowl of water — hulls often float and can be easily discarded.
Transfer to a salad spinner or lay them on a clean towel.
Gently spin or pat dry to remove excess moisture.
Storage and Shelf Life
For storage, place the sprouts in a perforated plastic bag or an airtight container with air holes to ensure they have enough ventilation. Store them in the refrigerator to maintain freshness. Properly stored, homegrown sprouts can last for up to a week, although they taste best within 2-3 days of harvesting.
Keep in a cool, dry part of the refrigerator.
Avoid compressing to prevent mushiness.
Using Sprouts in Recipes
Sprouts make a crunchy and nutritious addition to salads, sandwiches, wraps, and even stir-fries. They can also be blended into a smoothie or mixed into hummus for a raw, enzyme-rich ingredient. Always add sprouts towards the end of cooking to maintain their texture and nutritional value.
Troubleshooting Common Issues
Growing your own sprouts requires attention to detail to avoid common pitfalls like mold, poor germination, and contamination. By maintaining a clean environment and carefully monitoring the watering process, you can enjoy a safe and bountiful harvest.
Dealing with Mold or Bad Smell
If sprouts develop mold or a bad odor, it's often due to excessive moisture and poor air circulation. To combat this:
Ensure consistent air flow by placing sprouts in a ventilated area.
Rinse thoroughly with clean, cool water twice daily.
After rinsing, drain completely by inverting the container at an angle to remove all excess water.
Discard any sprouts that have mold or an off smell to prevent the spread to healthy sprouts.
Addressing Poor Germination
Sprouts may fail to germinate properly for several reasons, such as:
Incorrect soaking time: Seeds should be soaked only as long as recommended for their specific type, usually between 6-12 hours.
Inadequate draining: After soaking, seeds must be drained well; standing water can inhibit germination.
Temperature factors: Extremely low or high temperatures can affect germination. Sprouts generally prefer a mild environment away from direct sunlight and heat sources.
Preventing Sprout Contamination
Sprouts are susceptible to contamination by bacteria such as E. coli and Salmonella. To prevent this:
Sanitize equipment: Soak jars and lids in a bleach solution or boil in water for 10 minutes prior to use.
Maintain cleanliness: Wash hands thoroughly before handling seeds or sprouts and keep surfaces clean.
Proper storage: Store sprouts in the refrigerator to keep them at a safe temperature and consume within a few days.
Regular rinsing: Rinse sprouts with clean water and drain well every 8-12 hours. This not only hydrates the sprouts but also helps wash away any potential contaminants.
Advantages of Homegrown Sprouts
Growing sprouts at home offers several tangible benefits, ranging from cost savings to the enjoyment of fresher, more flavorful additions to one’s diet. Homegrown sprouts ensure that individuals have control over the growth process and can enjoy the healthful advantages of these nutritious greens.
Economic Benefits
Home sprouting is a cost-effective practice. After the initial purchase of seeds, which is relatively inexpensive, subsequent costs are minimal. The seeds yield sprouts in abundance, often resulting in savings compared to store-bought equivalents. Typically, a small number of seeds can produce a substantial volume of sprouts.
Initial seed cost: Low
Yield: High volume of sprouts from a small number of seeds
Comparison to store-bought sprouts: Often less expensive
Enhanced Freshness and Flavor
Sprouts grown in one's kitchen are harvested and consumed at the peak of their freshness, which means they maintain a crisp texture and a robust, fresh flavor that can elevate any salad or sandwich. The health benefits are also at their peak since freshly harvested sprouts contain optimal levels of nutrients.
Freshness: Sprouts are consumed directly after harvesting.
Flavor: Crisper and more flavorful than those that may have spent time in transport or on grocery store shelves.
Control Over Growing Conditions
Individuals who grow sprouts at home have complete control over the growing environment, ensuring that the sprouts are as healthy as possible. They can opt to grow sprouts organically without the use of harmful chemicals and can maintain a clean, controlled environment. The simplicity of using just water and air for growing means that maintaining an organic kitchen garden is quite straightforward. Home growers have the freedom to choose when to harvest for peak flavor and nutrient content.
Organic growing: No need for pesticides or herbicides
Hygiene: Control over cleanliness during the growing process
Water usage: Ability to use clean, fresh water for soaking and rinsing
Creative Ways to Use Sprouts
Sprouts can add a fresh, crisp texture and enhance the flavor profile of various dishes, from raw salads to cooked entrees. They are versatile and can be incorporated into meals throughout the day.
Sprouts in Salads
Sprouts make an excellent addition to salads. They introduce a crisp texture and subtle flavors that complement leafy greens and other salad ingredients.
Mixed Greens Salad: Integrate a handful of alfalfa or broccoli (how long does broccoli last?)sprouts into a salad of mixed greens, cherry tomatoes, and a light vinaigrette to amplify the nutrient content.
Grain Salad: Mix sprouts, such as mung bean or lentil sprouts, with cooked quinoa (how long does cooked quinoa last?) or bulgur, adding nuts and a citrus dressing for a filling dish.
Sprouts in Sandwiches and Wraps
Incorporating sprouts into sandwiches and wraps adds a nutritious crunch and freshness. They work well with both hot and cold fillings.
Turkey & Avocado Sandwich: Layer crisp clover sprouts on a sandwich with turkey, avocado, and whole grain mustard on whole wheat bread.
Vegetarian Wraps: Roll up hummus, mixed bell peppers, cucumber, and sunflower sprouts in a whole-grain wrap for a wholesome lunch.
Cooked Sprout Dishes
While sprouts are popular in their raw form, they can also be gently cooked to add a nutritious boost to warm dishes.
Stir-Fry: Toss bean sprouts in a stir fry with vegetables, tofu, or chicken and a savory sauce, adding the sprouts just before the dish is done to retain their crispness.
Sprouted Grain Pasta: Enhance the nutritional value of pasta dishes by including cooked mung bean or lentil sprouts into the sauce.
Sprouts in Beverages
Sprouts can also be used in beverages, such as smoothies, for an extra dose of nutrients.
Green Smoothie: Blend spinach, fresh pineapple, banana, and a small amount of wheatgrass or barley grass sprouts for a revitalizing smoothie.
Juiced Sprouts: Juice broccoli or alfalfa sprouts with carrots and apples to create a nutrient-rich drink that supports well-being.
Conclusion
In this guide, they’ve uncovered the simplicity of sprouting and the substantial benefits that come with these tiny powerhouses. Growing sprouts at home is a straightforward process that yields highly nutritional rewards.
Summary of Sprouting Benefits
Sprouts are known for their nutritional benefits, which include a high content of essential vitamins, minerals, and enzymes that support overall health. They are a rich source of protein, vitamin C, and fiber, among other nutrients, and can contribute significantly to a balanced diet. The process of sprouting increases the availability of these nutrients, making them easier for the body to absorb.
Encouragement to Grow Your Own
One can effortlessly grow sprouts at home, making it a convenient and cost-effective way to enhance their diet with fresh and organic produce. The simple steps involved in the DIY sprouting process can turn a few seeds into a continuous supply of sprouts for salads and sandwiches. They encourage individuals to explore the varieties of sprouts and enjoy the freshness and flavor that home-grown sprouts bring to every meal.
