
Best Way to Reheat Danish Pastry
Tips for a Flaky, Buttery Treat

Danish pastries, with their flaky layers and rich, buttery flavor, are a cherished indulgence around the globe. When served fresh, they offer a delightful taste experience, but maintaining that perfect texture and taste can be a challenge when reheating leftovers. For those looking to savor their pastries beyond the day of purchase, discovering the best way to reheat them is essential. The goal is to recreate the fresh-baked quality, ensuring the pastry remains flaky and buttery without becoming soggy or overly dry.
Heating methods vary, but the oven is a commonly preferred tool for warming Danish pastries. To preserve the delicate layers and rich flavor, careful attention must be paid to both the temperature and the timing. A moderate oven temperature, typically around 350°F (175°C), is recommended to revive the pastry evenly without burning it. It is important to allow the oven to preheat fully before warming the pastry, ensuring a consistent and conducive environment for reheating.
Proper preparation before reheating contributes substantially to the quality of the rewarmed pastries. Danishes should be placed on a baking sheet, allowing space for heat to circulate around each one. Covering them with foil can help to prevent excessive browning while the interior warms through. This method caters to the connoisseur's desire for a Danish that emerges as enticing as when it first left the oven, with its divine flakiness and buttery presence intact.
Understanding Danish Pastries
To appreciate the art of reheating Danish pastries, one must first recognize their unique characteristics and the meticulous lamination process involved in creating their distinct layers.
Characteristics of Danish Pastry
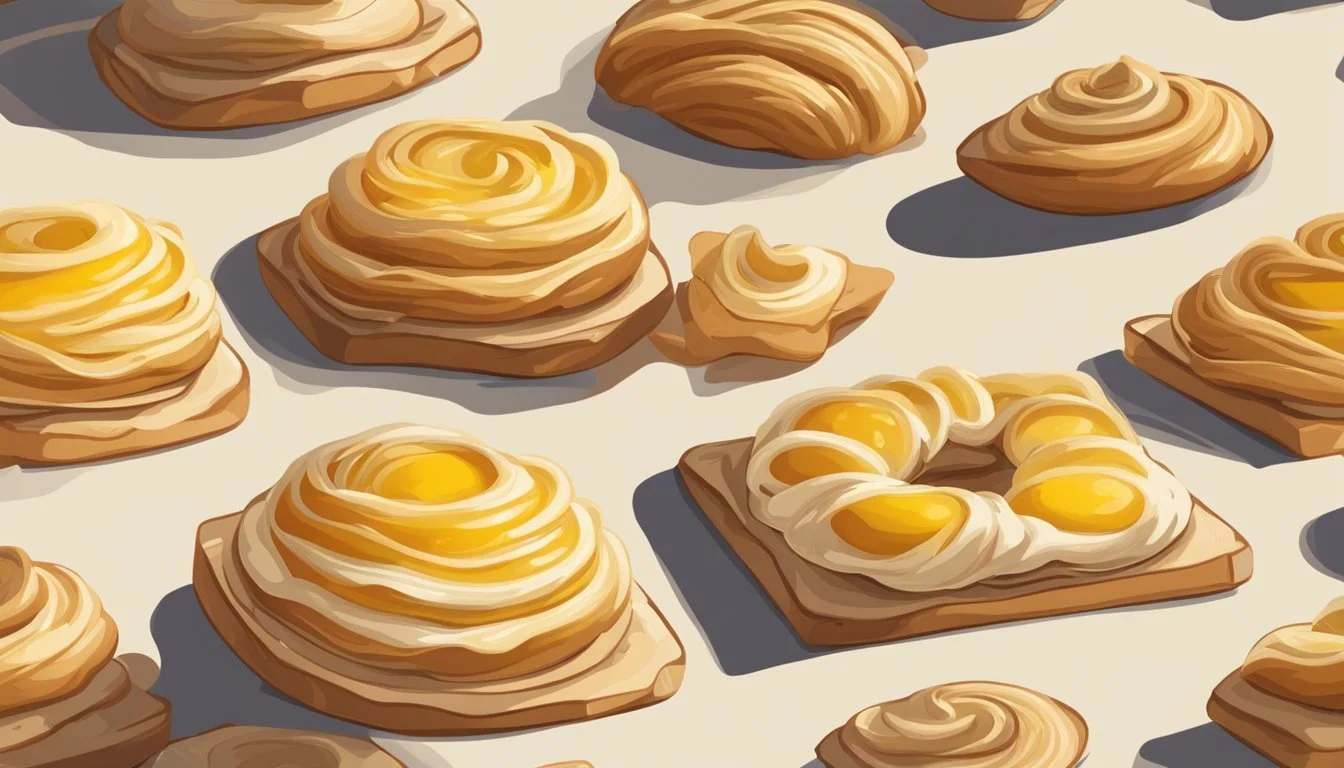
Danish pastries, known for their flakiness and buttery taste, are a beloved treat around the globe. These pastries are light and airy as a result of the high butter content, which creates steam during baking and puffs up the dough. Typically, Danish pastries are sweetened with sugar and may include fillings such as fruit, cream cheese, or custard.
Key Characteristics:
Flakiness: Achieved through the lamination process.
Buttery Flavor: Butter is a primary ingredient, lending richness to the pastry.
Sweetness: Generally sweetened with sugar.
Variety of Fillings: From fruit to cream cheese, fillings add diverse flavors.
Ingredients and Lamination Process
The main ingredients for Danish pastry dough include flour, yeast, sugar, salt, milk, and, crucially, butter. In contrast to other pastries, Danish pastry dough is laminated, which involves a series of folds that incorporate layers of butter between the dough.
Lamination Process Overview:
Detrempe Creation: A basic dough (detrempe) is made with flour, milk, yeast, sugar, and salt.
Butter Incorporation: A slab of butter is then enclosed in the dough.
Folding and Rolling: The dough is rolled and folded multiple times, creating thin layers.
Each fold in the lamination process builds up multiple thin layers of dough separated by butter, resulting in a laminated dough with unique 27 layers or more, depending on the number of folds. This multilayer structure is essential to the pastry's texture, as the butter melts in the oven, creating steam that lifts the layers apart.
Essential Ingredients:
Flour: Serves as the structure, providing gluten.
Butter: Key for flavor and creating the laminated layers.
Yeast: Helps the dough rise and become light.
Sugar: Adds sweetness and affects browning.
Salt: Enhances flavor and regulates yeast.
Milk: Adds richness, softens dough, and activates yeast.
Understanding these aspects of Danish pastries is fundamental in ensuring that reheating methods preserve their distinctive flaky texture and rich flavor.
Storing Danish Pastries

Proper storage of Danish pastries is essential to maintaining their flaky texture and rich taste. There are methods for short-term enjoyment as well as techniques for longer preservation through freezing.
Short-Term Storage Methods
For short-term storage, Danish pastries can be kept at room temperature for up to two days. They should be placed in an airtight container to protect them from drying out. If storing for slightly longer, Danish pastries maintain their quality better when refrigerated. They should be individually wrapped in aluminum foil or plastic wrap and then placed inside a container or resealable plastic bag to prevent them from absorbing other odors in the fridge.
Room Temperature: Up to 2 days in an airtight container.
Refrigerator: Wrap individually, place in a container or bag for up to 3 days.
Freezing and Thawing Danish Pastries
For extended storage, freezing is an excellent option. Pastries should be completely cooled to room temperature before being individually wrapped in aluminum foil or plastic wrap to guard against freezer burn. They can then be placed in a freezer-safe bag or airtight container. When ready to eat, thaw them at room temperature or in the fridge before reheating to ensure they return to their delightful texture.
Freezing: Individually wrap, place in freezer bag or container, can be stored for about 1 month.
Thawing: Thaw at room temperature or in the fridge, then reheat.
By adhering to these storage methods, Danish pastries can be enjoyed as if freshly baked even after some time.
Preparation for Reheating
Successful reheating begins with proper preparation that focuses on retaining the Danish pastries' inherent flakiness and buttery flavor. By setting up the pastries and oven correctly, one ensures that the final product will emerge warm, with a crisp exterior and a soft interior.
Bringing Danishes to Room Temperature
First Step:
Remove the Danish pastries from the refrigerator.
Allow them to sit at room temperature for about 10-15 minutes before reheating.
This step ensures an even reheating process, as the pastries gradually lose their chill.
Preheating the Oven
Second Step:
Preheat the oven to 350°F (175°C).
The preheating period should ideally last around 10 minutes.
A properly preheated oven is crucial for reheating. It provides a steady environment that facilitates the return of the Danish pastries' texture and warmth without drying them out.
Setting up the Baking Sheet
Third Step:
Place the room temperature Danish pastries on a baking sheet.
One may line the baking sheet with aluminum foil or parchment paper for easy cleanup.
Optional: Lightly tent the pastries with aluminum foil to preserve moisture.
By setting up the baking sheet aptly, one allows heat to circulate around the pastries, which assists in achieving a uniformly heated and flaky result.
Reheating Techniques
Reheating Danish pastries correctly is essential to preserve their flakiness and buttery flavor. The goal is to achieve even heating without causing excessive browning or drying out the delicacy.
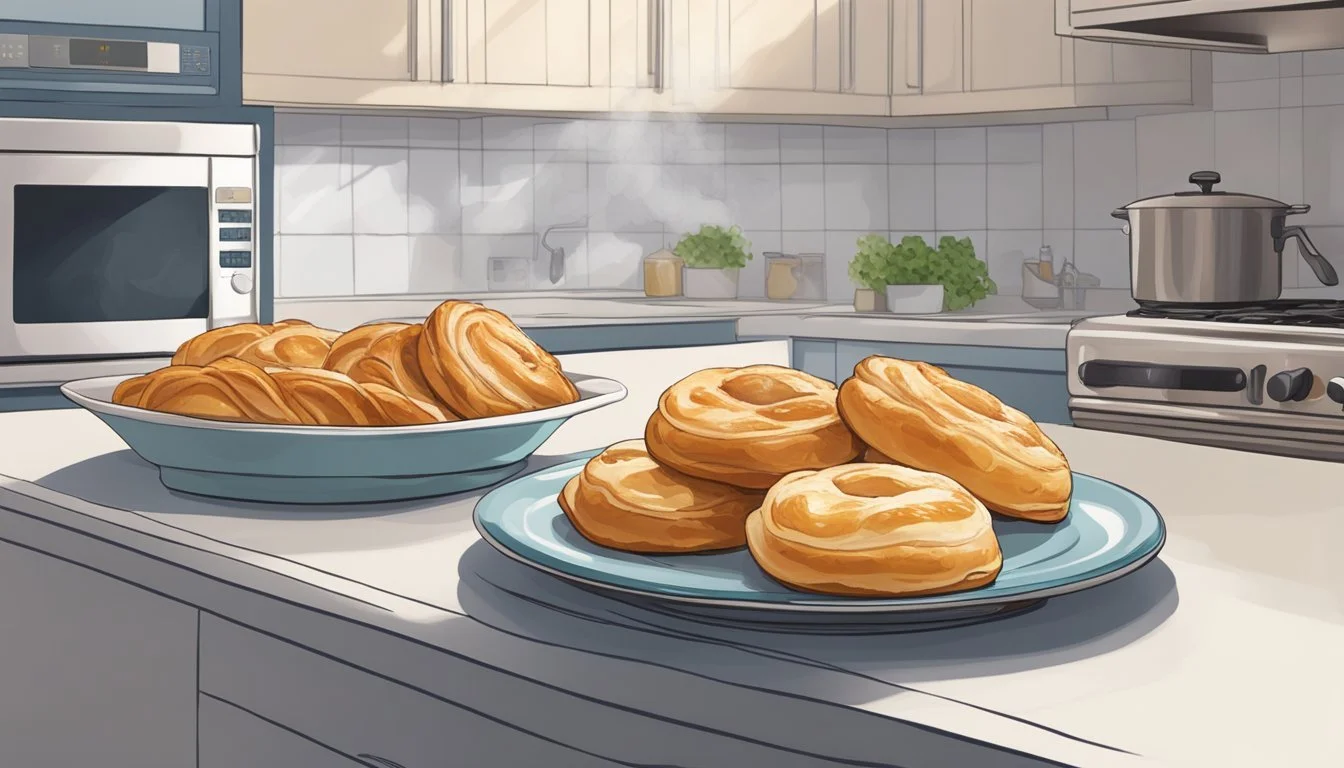
Oven-Reheating Method
The oven method is often preferred for reheating Danish pastries because it provides even heat distribution. Preheat the oven to 350°F (175°C) and place the leftover Danish on a baking sheet. This temperature is ideal for ensuring that the pastry warms through without burning. Reheat the Danish for 5-10 minutes. One should monitor the pastry closely during the reheating process to prevent any undesirable excessive browning.
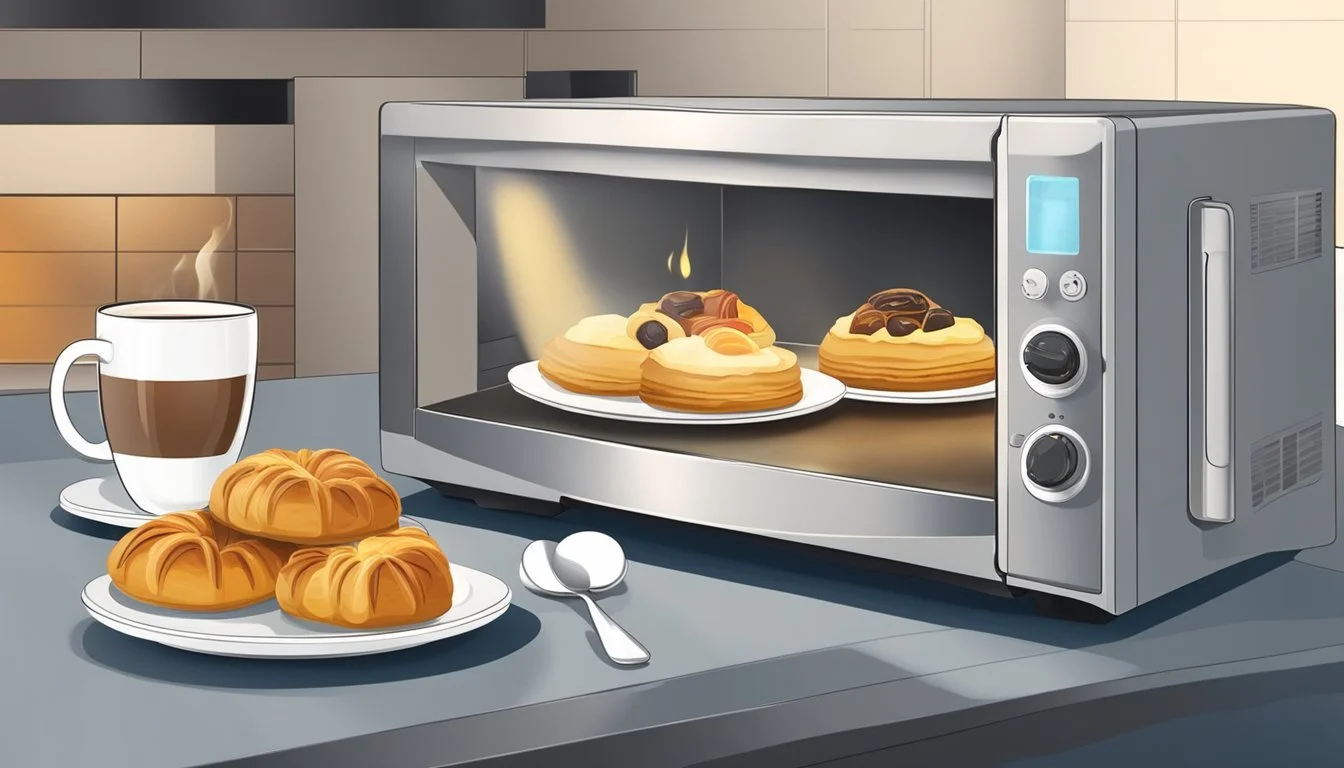
Microwave Reheating Tips
While not ideal for maintaining the optimal texture of Danish pastries, the microwave can be used for a quick reheat. To avoid drying out, wrap the pastry in a paper towel to maintain moisture, and then heat it on a microwave-safe plate. Set the microwave to a lower power setting and heat in 15-second intervals, checking for warmth and avoiding overcooking.
Avoiding Common Reheating Mistakes
When reheating a Danish, it's crucial to avoid certain pitfalls. Firstly, do not reheat at too high a temperature as this can cause the pastry to dry out. Secondly, avoid using a toaster oven as it can heat unevenly. Lastly, always keep an eye on your pastry while reheating to ensure it does not over-brown or burn, which is easy to do if left unattended.
Ensuring Optimal Flakiness and Taste

Reheating Danish pastry requires careful balancing of temperature and technique to maintain its flaky texture and buttery flavor. By following specific steps, one can ensure that the pastry emerges from the oven tasting as good as when it was first baked.
Using Water and Egg Wash
To help the pastry retain moisture and enhance its taste, a light application of water can be beneficial before reheating. After sprinkling a few drops of water over the Danish, the pastry can be prepared for the oven with an egg wash. Mix an egg white with a tablespoon of water and brush this mixture lightly over the pastry. The egg wash contributes to a shiny and appealing surface, adds flavor, and assists in achieving that desired flaky crust.
Monitoring for Golden Brown Finish
As the Danish warms in the oven, keeping a vigilant eye on the color transformation is crucial. Aim for a golden brown finish, which is the hallmark of a well-reheated pastry. It indicates not only visual appeal but also an optimal balance of texture – flaky on the outside, soft and moist on the inside. A preheated oven at 350°F (175°C) usually requires the pastries to be heated for about 5-10 minutes. However, ovens may vary, so one must adjust the timing to ensure the pastry doesn't burn or dry out.
Serving and Pairing Danish Pastries
Danish pastries deliver an exquisite taste when served warm with their flaky texture and sumptuous fillings. The experience is further enhanced with the right pairings that complement the flavors and textures of these pastries.
Best Practices for Serving
Danish pastries are at their best when presented fresh from the oven. The heat accentuates their flaky texture and the aroma of the buttery pastry along with any fruit fillings. For those who prefer a cold pastry, they can be served straight from the refrigerator, though warmth arguably maximizes their appeal.
Presentation: A light dusting of powdered sugar or a drizzle of glaze over the pastries adds a touch of elegance and can enhance the flavor.
Temperature: An optimal serving temperature for a Danish pastry is slightly above room temperature, which allows the pastry's layers to separate easily and the butter to remain rich in texture.
Pairing with Beverages
Pairing a Danish pastry with the perfect beverage can complete a breakfast or brunch experience. Two classic beverages that accompany them well are coffee and tea. Each beverage complements different elements of the pastry.
Coffee: A robust and rich coffee, which can be served black or with cream, cuts through the buttery richness and enhances the sweetness of the Danish.
Strength of Coffee Type of Danish Pastry Strong Espresso Simple, less sweet pastries Mild Coffee Sweet, fruit-filled Danishes
Tea: A hot cup of tea, with its subtle flavors, provides a contrast to the sweetness, balancing especially well with Danishes that have a fruit filling.
Type of Tea Danish Pastry Pairing Black Tea Classic Danishes with a balanced sweetness Herbal or Fruit Tea Pastries with a tart fruit filling
Choosing the right beverage not only complements the taste but can also enhance the entire dining experience, making it more enjoyable and satisfying.
Creative Uses for Leftover Danishes
Leftover Danishes, with their flaky crust and sweet fillings, offer a versatile base for an array of creative culinary repurposing. Ranging from transformed desserts to innovative savory dishes, these ideas breathe new life into day-old pastries.
Transforming into Desserts
Dessert Turnovers: Day-old Danish pastries can be repurposed into delicious dessert turnovers. One simply needs to cut the Danishes into smaller pieces, mix them with fruits like berries or apples, and encase them in puff pastry. Bake until golden brown for a quick, transformed treat.
Cinnamon Danish Bread Pudding: Alternatively, cube the leftovers and toss them with cinnamon and egg custard to create a Danish-inspired bread pudding. It's a heartwarming dessert that makes excellent use of any leftover bear claws or cinnamon twists.
Making Savory Meal Accomplices
Danish Croutons: For those who enjoy a savory twist, leftover Danishes can be cut into cubes and toasted to create sweet and buttery croutons, adding a unique dimension to salads and soups.
Fruity Savory Stuffing: In another savory take, one can chop the Danishes and mix with sautéed onions, herbs, and diced berries to create a fruity stuffing, perfect for filling meats or serving alongside them, thus converting the pastry into a homemade accessory for a savory meal.
Homemade Danish Pastry Recipes
Crafting the perfect homemade Danish pastry revolves around mastering the laminated dough technique and developing a flair for folding and shaping. Consistency in the dough and the right blend of fillings elevate the humble pastry into something remarkable.
Basic Recipe for Danish Pastry
For those aiming to create authentic Danish pastries at home, the process begins with assembling a laminated dough, which is crucial for achieving those desirable flaky layers. One starts by mixing flour, salt, sugar, and yeast. Some recipes suggest incorporating a touch of cardamom to add a warm, aromatic quality to the dough.
The basic recipe usually includes:
Dough Ingredients:
Flour
Salt
Sugar
Active dry yeast
Cardamom (optional)
Unsalted butter
Water, vanilla, and milk mixture
Eggs
Butter is typically integrated into the dough in small amounts at first. The remainder is then rolled or pounded into a rectangle and enveloped within the dough multiple times, a process known as laminating. This method entails a series of folds:
The First Fold: Roll out the dough and do a book fold.
Chilling: Rest the dough in the refrigerator for about 20 minutes.
Subsequent Folds: Repeat rolling and folding at least two more times with chilling stages in between to maintain butter solidity.
Variations of Danish Pastries
Danish pastries revel in versatility, with countless variations to suit different tastes. By altering the shape and choosing different fillings, one can create an array of pastries from a single batch of dough.
Fillings include:
Cheese Filling: A savory mixture often made with cream cheese, sugar, and eggs.
Chocolate: Often melted or in chips, providing a rich, decadent flavor.
Fruit: Complementing the sweet dough with sharpness and tartness, popular options include apple, raspberry, or apricot.
Vanilla: Infusing a sweet, floral note, especially in custard fillings.
After preparing the desired filling, the dough can be shaped into twists, braids, swirls, or the traditional envelope shape. Shaping is not purely aesthetic; it affects the pastry's texture and filling distribution, enhancing the eating experience.
Note: In Danish pastries, it's important the pastries are not overcrowded on the baking sheet since they need space to expand and achieve a uniformly baked exterior. Also, precise oven temperatures contribute to the pastries rising perfectly and turning golden brown.
Final Tips and Tricks

When reheating Danish pastries to maintain their flaky and buttery texture, one must handle them with care. They suggest preheating the oven to 350°F (175°C), as Danish pastries require a moderate temperature to regain their original glory without becoming overly dry.
Experts recommend using a baking sheet for the pastries and advise against overlapping them, to ensure even reheating. An oven is generally preferred over a microwave to keep the puff pastry crisp. For a croissant, or any croissants-styled Danish with a high butter content, being gentle is key to preserve its delicate layers.
In the realm of home baking, when preparing pastries from scratch, they recommend using cold ingredients. A food processor helps to blend butter into all-purpose flour quickly, preventing it from warming up. Alternatively, for a DIY approach, one can use a grater to add frozen butter into the flour, a technique that keeps the butter firm and creates pockets for a flaky texture.
Do's Don'ts Preheat oven to 350°F (175°C) Overlap pastries on the sheet Use a baking sheet Use a microwave for reheating Keep ingredients cold when baking Overwork the pastry dough
They also suggest a brief reheating time, typically 5-10 minutes, watching closely to ensure the pastries do not overcook. By following these tips, anyone can enjoy their Danish pastries as if they were freshly baked.
