
How to Make Homemade Breakfast Danishes
Fruit & Cheese Variations Simplified
Making homemade breakfast danishes is a delightful way to start the day, whether one prefers the creamy richness of cheese or the bright flavors of fruit filling. Danishes are as versatile as they are delicious, offering a canvas for culinary creativity right in one's kitchen. By mastering a few basic techniques, anyone can transform simple ingredients into a pastry that looks as exquisite as it tastes.
The process begins with creating a flaky, buttery dough, which serves as the foundation for any variation of a Danish. Once the dough is prepared and adequately chilled, it can be filled with a selection of fruit preserves or a smooth, sweetened cream cheese mixture. The beauty of homemade danishes lies in the ability to customize the fillings to personal preferences, incorporating seasonal fruits or favorite flavors.
As the danishes are assembled and oven ready, a careful baking process ensures they emerge golden and puffed, with the fillings set just right. Attention to temperature and timing are key, as they can significantly affect the pastry's texture. The end result is a warm, inviting pastry that brightens any breakfast table and offers a homemade alternative to bakery delights.
Overview of Danish Pastries
Danish pastries, or simply "Danishes," have their origins rooted in Austrian baking traditions, evolving into a beloved staple of modern breakfasts and coffee breaks. They arrived in Denmark in the 19th century when Danish bakers went on strike, and Austrian bakers were brought in to fill the void, bringing their own pastry techniques.
Ingredients & Techniques:
Danishes are crafted using a laminated yeast-leavened dough, where a layer of butter is folded into the dough numerous times to create its signature flaky texture. This process, which draws from the same techniques used to make puff pastry, is termed "lamination."
Variety:
They are known for their versatility and come in different shapes and sizes that often include sweet toppings or fillings such as custard, fruit, cream cheese, or almond paste.
Table: Common Danish Pastry Types
Shape Filling Description Swirl Cream Cheese A snail-like shape with a dollop of creamy filling. Pocket Fruit Folded over to encase a bright fruit filling. Crown Custard & Fruit Round with a well for custard and a fruit topping. Braid Various Strips of dough braided with a filling in between.
Danishes are often finished with a glaze or icing, which adds a delicate sweetness and complements the rich, buttery layers. Whether enjoyed as part of a leisurely brunch (What wine goes well with brunch?) or a quick bite on the go, Danish pastries are a testament to the art of pastry making and continue to be a cherished treat across the globe.
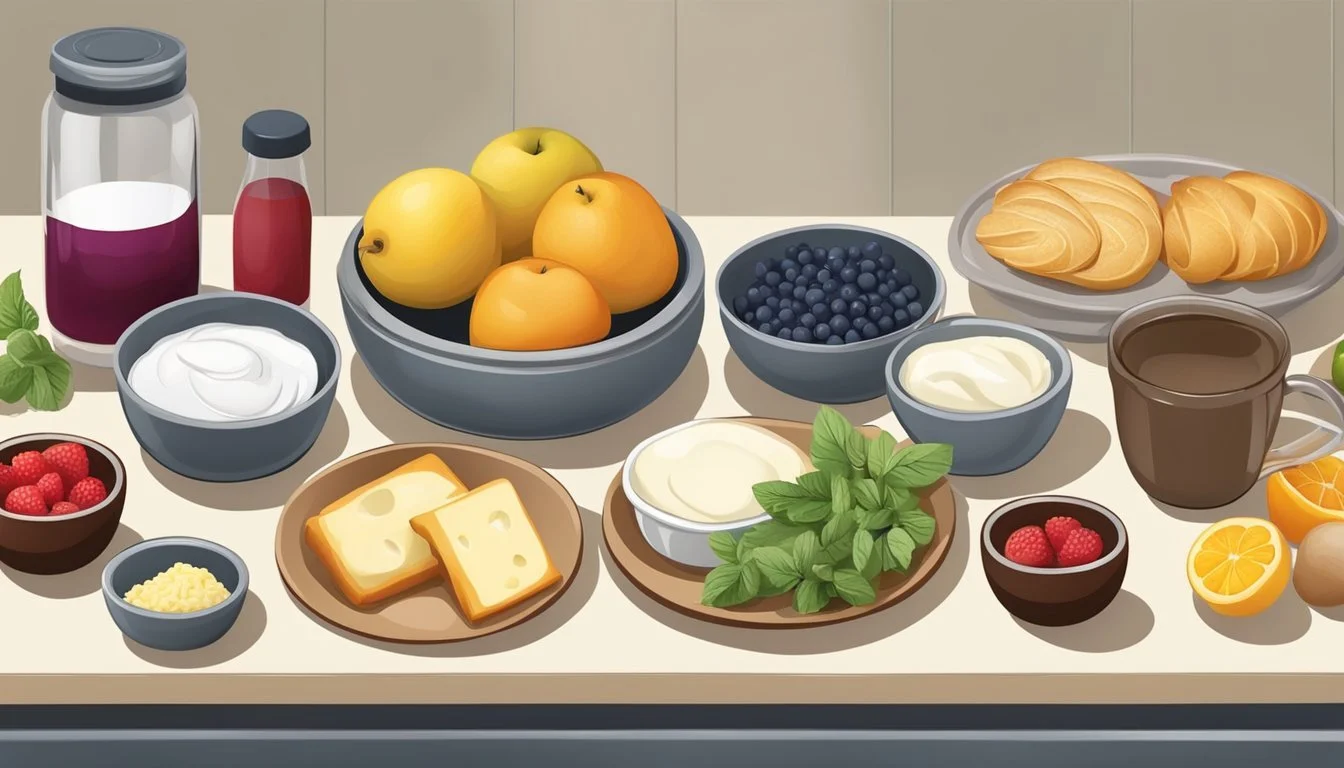
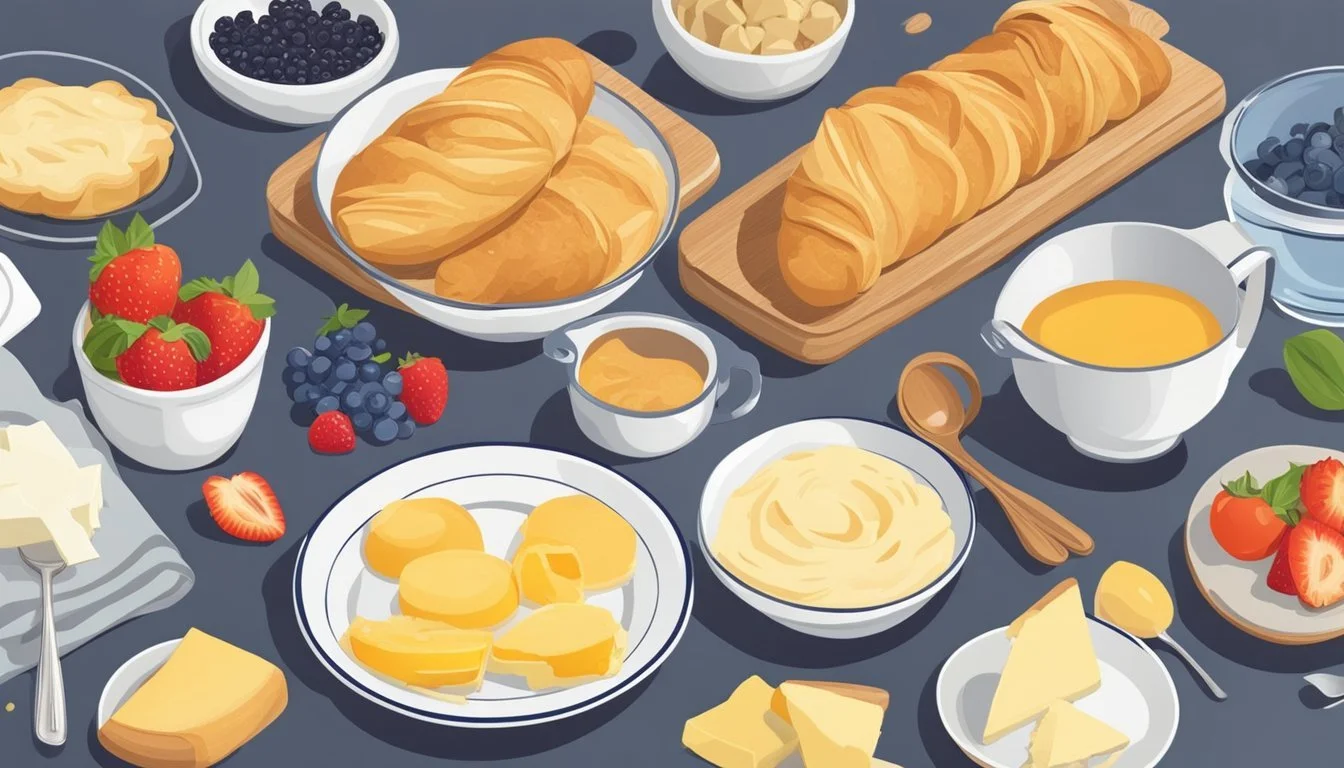
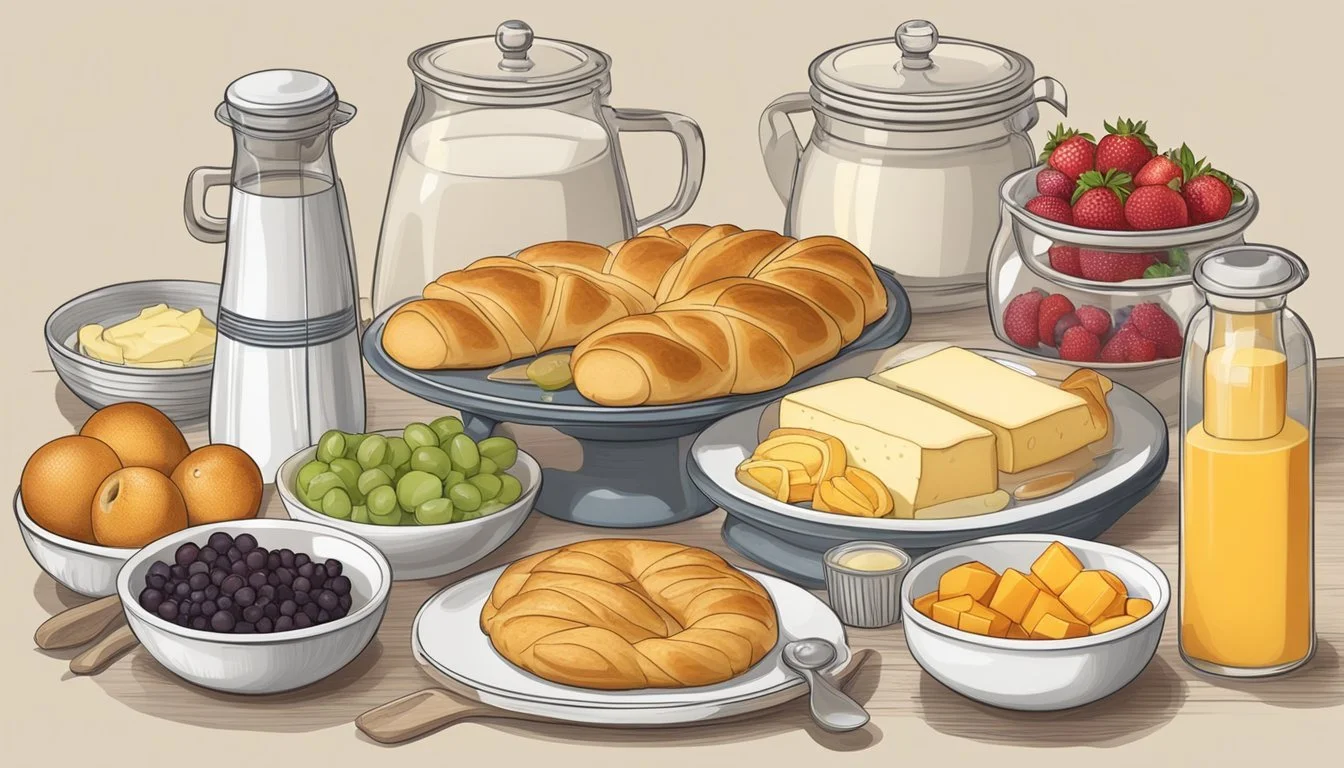
Getting Started: Ingredients and Equipment
Preparing homemade breakfast danishes involves gathering a variety of ingredients for the dough and fillings, as well as assembling the necessary baking equipment. This ensures the baking process runs smoothly and results in delicious, flaky pastries filled with your choice of fruit or cheese.
List of Ingredients
For the pastry dough, the following basic ingredients are generally required:
Butter - Provides richness and flakiness.
Flour - Forms the structure of the dough.
Sugar - Adds a subtle sweetness.
Egg - Binds the ingredients and enriches the dough.
For a cheese filling, gather:
Cream Cheese - Creates a creamy base.
Powdered Sugar - Offers sweetness without grittiness.
Vanilla Extract or Almond Extract - Adds flavor.
Egg Yolk - Gives the filling a smooth consistency.
When opting for a fruit filling, using fresh or quality jam is key. Choose from:
Blueberries, Cherries, Raspberries, Strawberries, Blackberries - Popular options for a fresh tang.
Lemon Zest - Provides a bright, citrus note.
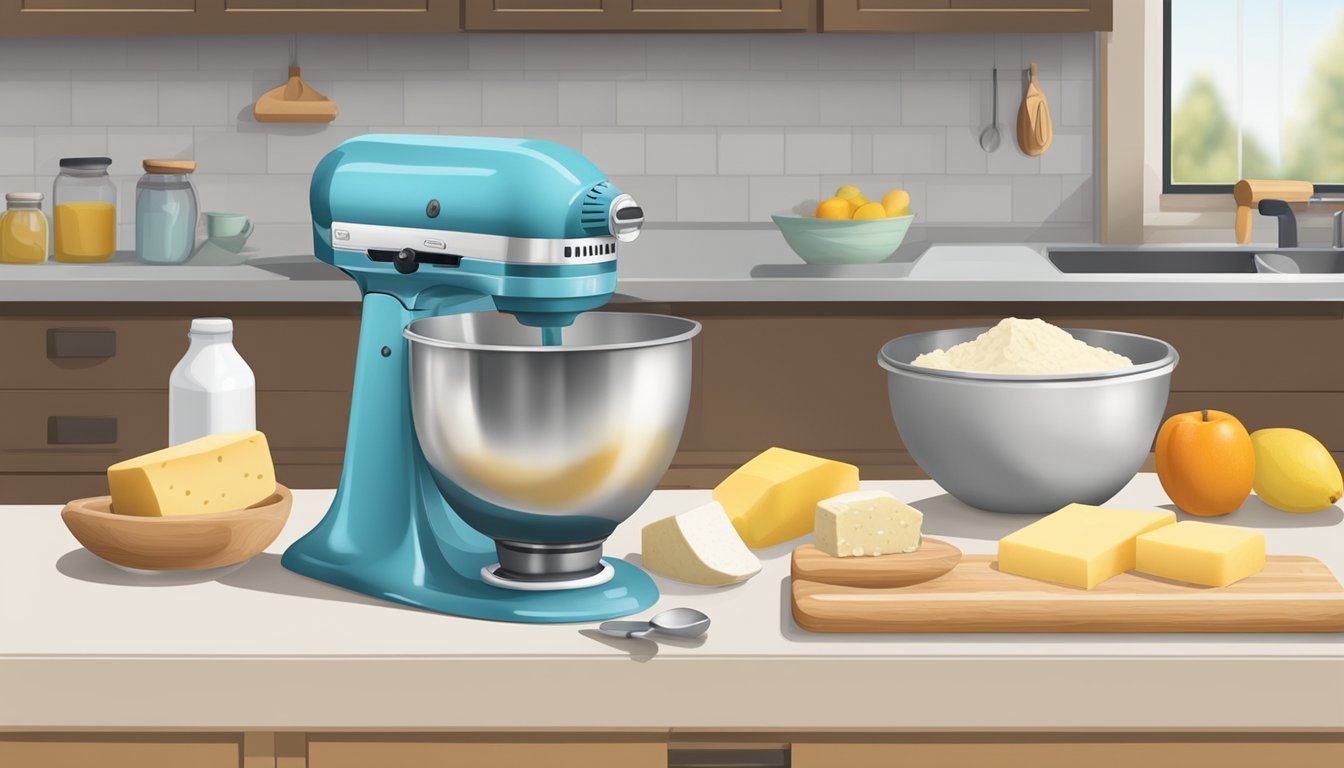
Required Baking Equipment
To make danishes, one should have the following equipment ready:
Stand Mixer with Dough Hook - Aids in dough development.
Rolling Pin - Helps roll out the dough to the right thickness.
Pizza Cutter - Useful for cutting pastry neatly.
Pastry Brush - For applying egg wash.
Baking Sheet with Parchment Paper - Ensures danishes bake evenly and don’t stick.
Large Mixing Bowl - For preparing fillings.
Plastic Wrap - Keeps dough from drying out during resting periods.
With this combination of ingredients and equipment, one will have a solid foundation for crafting a variety of breakfast danishes to enjoy.
Preparing the Dough
The initial step in creating a homemade breakfast Danish is preparing the dough, which can be made from scratch for a custom flakey texture or can involve the convenience of store-bought puff pastry.
Making Danish Dough From Scratch
To make authentic Danish dough from scratch, one begins by mixing flour, a small amount of sugar, and yeast in a large bowl. Dissolving the sugar in warm water, followed by combining with the flour mixture, sets the foundation. They incorporate cold, cubed butter into the mix, creating small lumps that will eventually form the distinctive flakey layers. It's important to handle the dough just enough to bring the ingredients together, maintaining a cool temperature to prevent the butter from melting.
Ingredients:
Flour
Butter
Sugar
Water
Yeast
Salt
Prep Time: The preparation should allow for multiple resting periods for the dough, typically a few hours, to ensure layers can properly develop.
Using Store-Bought Puff Pastry
For those seeking convenience, store-bought puff pastry is a reliable option. Purchasing frozen puff pastry, and then thawing it as per the product instructions, saves time while still providing the desired flakey texture. The key is to work with dough that is cold but pliable.
Instructions:
Thaw the puff pastry if frozen.
Ensure the pastry remains cool to touch.
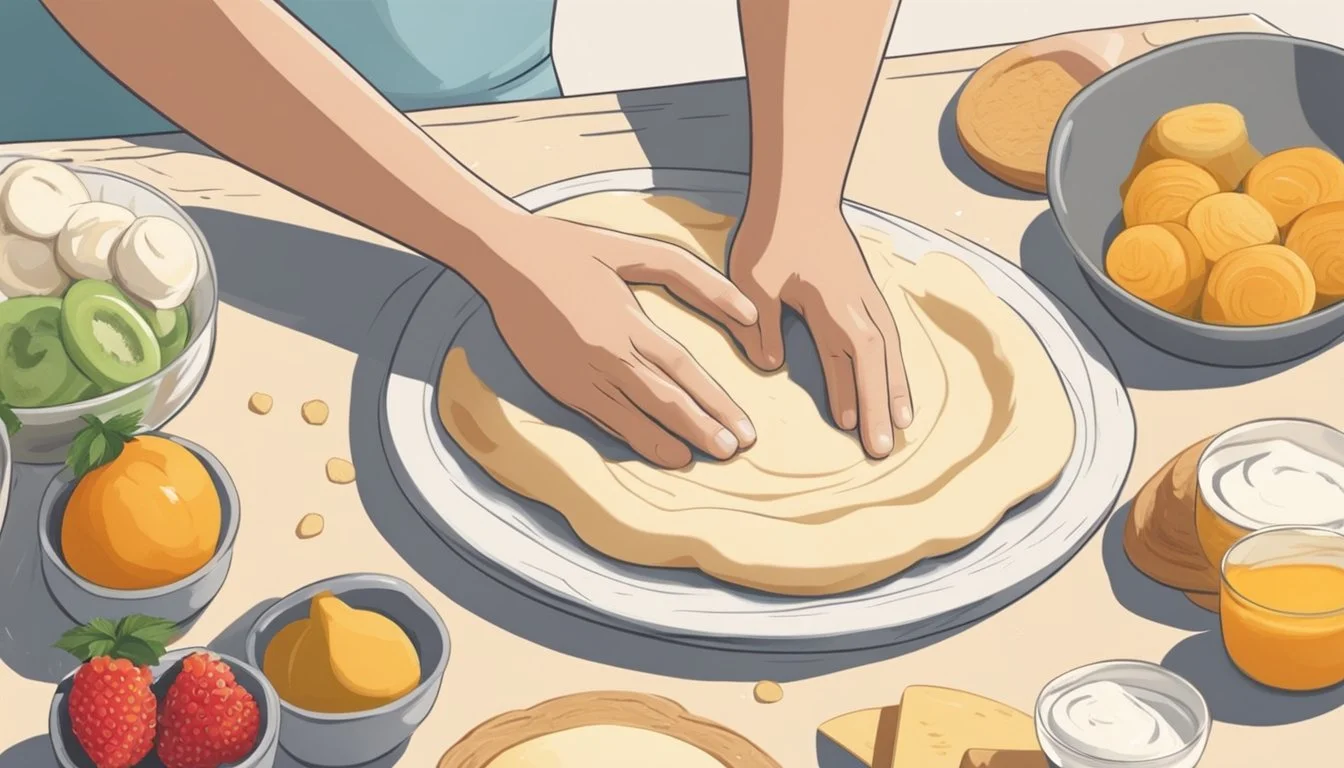
Rolling and Shaping Techniques
Regardless of the chosen method, rolling the dough to an even thickness using a rolling pin is essential for uniform baking. It should be smooth, without any lumps, to achieve the flakey layers. For shaping, one typically cuts the dough into squares or rectangles, and if adding fruit or cheese fillings, they can fold the edges or twist them into shapes to encase the filling.
Tips:
Roll dough to ⅛"–¼" thickness.
Keep the surface and rolling pin lightly floured to prevent sticking.
Creating Fillings and Flavors

Selecting the right filling and incorporating complementary flavors are crucial steps in crafting delicious breakfast danishes. Whether opting for sweet cream cheese or fruit variations, the key is to achieve a balance of taste and texture that will make each bite delightful.
Sweet Cream Cheese Filling
To prepare a sweet cream cheese filling, one should start with plain cream cheese at room temperature to ensure a smooth texture. Typically, the cream cheese is mixed with granulated sugar to add sweetness. Here's a basic recipe:
8 oz cream cheese (room temperature)
1/4 cup granulated sugar
1 teaspoon vanilla extract (or almond extract for a twist)
Mix these ingredients until well-blended and smooth. For those who prefer a more refined sweetness, substituting granulated sugar with powdered sugar can make the filling silkier.
Fruit Filling Variations
Fruit fillings offer a refreshing alternative and can easily be tailored to personal preference or seasonal availability. One can utilize fresh fruit like blueberries, raspberries, strawberries, or even diced apples. Here is a simple guide to making a fruit filling:
2 cups fresh fruit (or equivalent in high-quality jam)
1/4 cup granulated sugar (adjust based on the sweetness of the fruit)
1 tablespoon lemon juice (to brighten the flavor)
For those opting for ease or consistency, quality fruit jams or preserves can be a convenient option. When using jams, one can also mix in textures like small chunks of fresh fruit or a dash of lemon zest for complexity.
Additional Flavor Enhancements
To further elevate the danish fillings, consider adding additional flavor enhancements. These can transform the taste experience:
Vanilla extract: A classic enhancer for both cream cheese and fruit fillings.
Lemon zest: Adds a fresh zing, especially good with berry fillings.
Almond extract: Provides a subtle nuttiness that pairs well with cherries or blackberries.
Lemon curd: Perfect for a tangy twist when swirled into a cream cheese filling.
Understanding how different flavors complement or contrast each other is key to creating a danish that pleases the palate with every bite. One should not be afraid to experiment with combinations, but remember: Balance is everything.
Assembling and Baking
Assembling homemade breakfast danishes is a crucial step before baking. Careful arrangement of the pastries on baking sheets ensures they cook evenly, while an egg wash can add a beautiful shine and color to the finished product.
Arranging the Pastries
One should start by preheating their oven to 400°F (205°C). To prepare for the assembly, they need to lightly flour the surface to prevent the pastry from sticking. Once the pastry dough is rolled out to a thickness of about ⅛"-¼", one can cut it into desired shapes. The cream cheese or fruit filling should be placed in the center of each pastry, taking care not to overfill. After filling, the pastries should be carefully transferred to a baking sheet lined with parchment paper. This prevents sticking and allows for easy removal after baking.
Applying Egg Wash for Shine
For a golden shine, bakers often apply an egg wash just before the danishes enter the oven. To create the egg wash, one should beat an egg with a tablespoon of water until thoroughly mixed. They should then brush the mixture over the top of the assembled pastries using a pastry brush, ensuring an even coat. The egg wash will give the pastries a polished, glossy appearance once baked.
Baking to Perfection
The danishes should be placed in the preheated oven and baked for about 15-20 minutes. The correct duration can vary, so it is best to watch for the pastries to turn golden brown and appear flaky. These are signs that they are done. The precise temperature allows for the pastries to cook through and puff up, offering the ideal balance between a soft interior and a crisp, flaky exterior. Once the danishes reach the desired coloration, they should be removed from the oven to cool slightly before serving.
Finishing Touches and Presentation

The completion of a homemade breakfast Danish is characterized by its eye-catching presentation and a harmonious balance between texture and flavor, achieved through well-crafted glazes, toppings, and garnishes.
Preparing Glazes and Toppings
To create a glaze that adds both sheen and sweetness, one will need powdered sugar and milk. A simple glaze can be made by whisking together:
1 cup of powdered sugar
1 to 2 tablespoons of milk (adjust for desired consistency)
This glaze should be drizzled over the Danishes shortly after they come out of the oven. For a fruit-filled Danish, consider a fruit glaze using reduced fruit puree mixed with sugar to intensify the flavor.
Garnishing for Visual Appeal
Garnishes not only add visual appeal but can also introduce complementary flavors and textures. A dusting of powdered sugar provides a subtle sweetness and a classic look. Additionally, arranging fresh fruit on top of the Danish not only adds fresh flavor but also introduces a vibrant color contrast that makes the pastry more enticing.
To garnish with powdered sugar: A fine sieve should be used for even dusting.
For fresh fruit: Choose fruits that complement the filling, such as berries for a cheese Danish or sliced peaches for a peach filling. Place the fruit neatly on top before serving.
Serving and Storing Danishes

When it comes to homemade breakfast danishes, the way they are served and stored is crucial for maintaining their quality and flavor. Both for immediate enjoyment and future indulgence, there are specific methods that should be followed.
Best Practices for Serving
Serve homemade danishes fresh from the oven to delight family and friends with a warm, flaky pastry during breakfast or brunch. The ideal serving temperature for danishes is slightly warm, which helps to bring out the richness of the cheese and the tang of the fruit fillings. If danishes have been made ahead of time, they can be quickly reheated in the oven for a few minutes at 350°F until just warm to the touch.
Servings: Typically, one danish per person is sufficient, especially if part of a more extensive breakfast spread.
Storage Tips for Freshness
Short-term Storage: Store leftover danishes at room temperature for 1-2 days, ideally in an airtight container to maintain their texture. If the climate is humid, it's best to store them in the refrigerator to prevent sogginess.
Refrigerator Storage: They will keep for up to one week when refrigerated. Place them in an airtight container, separating layers with wax paper to prevent sticking.
Freezer Storage: For longer storage, danishes can be frozen. Here's how:
Allow danishes to cool completely after cooking.
Wrap each danish individually in plastic wrap.
Place wrapped danishes in a heavy-duty freezer bag or an airtight container.
Freeze for up to one month.
To serve again, one must thaw the danishes overnight in the refrigerator or heat them directly from the freezer by placing them in an oven preheated to 350°F, for 10-15 minutes or until fully warmed through. This way, the family can enjoy homemade danishes even on busy mornings.
Total Time for Reheating: Generally takes 10-15 minutes from frozen or a few minutes if thawed.
By following these serving and storage tips, your homemade breakfast danishes can remain a delectable treat for both immediate and future enjoyment, maintaining freshness and flavor as if they were just made.
Alternative Danish Recipes and Ideas
This section explores a variety of recipes and ideas to enhance the conventional Danish, tailoring it to personal tastes and dietary requirements.
Cheese Danish Variations
Cheese Danishes offer a delightful blend of creamy sweetness and flaky pastry. One can experiment with different types of cheese for the filling, such as mixing ricotta with sweet cream cheese for a richer texture. The addition of fruit jams or preserves can complement the cheese with a burst of fruity flavor. Some recipes introduce lemon zest or almond extract to the cheese mixture for an aromatic twist.
Incorporating Chocolate and Spices
Chocolate can transform a simple Danish into an indulgent treat. One might swirl melted chocolate into the cheese filling or sprinkle chocolate chips on top before baking. Another approach is to take inspiration from cinnamon rolls by adding a mixture of cinnamon and sugar within the layers of pastry. Spices like nutmeg or cardamom can be dusted on the Danish for a warm, inviting flavor.
Exploring Savory Opportunities
Not all Danishes need to be sweet. For a savory version, consider adding ingredients like sliced ham, smoked salmon, or crumbled bacon into the cheese filling. Vegetarian options might include sautéed spinach or mushrooms. This twist makes the Danish suitable for any meal, satisfying those who prefer a less sweet start to their day.
Adapting the Recipe to Dietary Needs
For individuals with dietary restrictions, there are alternative ingredients that can be used. Gluten-free puff pastry is available for those with gluten sensitivities. Dairy-free cheese alternatives can be used to make vegan Danishes. Sugar substitutes can accommodate those watching their sugar intake. There are numerous ways to modify a danish recipe to make an easy breakfast cheese danish that suits various dietary restrictions without compromising on taste.
Troubleshooting Common Issues
When making homemade breakfast Danishes, bakers may encounter a few common issues. Here are some solutions to help you achieve the perfect Danish every time:
Lumpy Cheese Filling: To prevent lumps in a cheese filling, one should ensure the cream cheese is at room temperature before mixing. It's also important to mix thoroughly, using either a hand mixer on medium speed or a vigorous hand-stirring method until the mixture is smooth.
Improper Texture: The texture of a Danish should be light and flaky. To achieve this, the dough must remain cold; if it becomes too warm, the butter will melt, resulting in a tough pastry. Use chilled equipment and ingredients, and if necessary, refrigerate dough during the preparation process to keep it firm.
Uneven Baking: If the Danish is not baking evenly, check the oven's temperature with an oven thermometer. Rotate the baking sheet halfway through the baking period to ensure all sides get an even bake.
Burnt Bottoms: To prevent the bottom of the pastries from burning, bake on a parchment-lined baking sheet to protect them from direct heat. Placing the baking sheet on a higher rack can also help.
Issue Solution Lumpy Filling Beat at room temperature till smooth. Tough Texture Keep dough and butter cold. Uneven Bake Use an oven thermometer, rotate the sheet. Burnt Bottoms Line sheet with parchment, adjust oven rack.
Should a baker adhere to these guidelines, they will become adept at creating delicious and visually appealing Danishes, sure to impress any breakfast guest.
Danish Pastry Fun Facts and History
Danish pastries, with their rich texture and diverse fillings, offer a captivating window into cultural traditions and the evolution of baking techniques.
The Origins of Danish Pastries
Danish pastries, known in Denmark as wienerbrød or "Vienna bread," trace their heritage back to the 1850s. When a strike left Danish bakers in short supply, replacements came from Austria, bringing with them the laminated dough technique. This pastry style quickly became integrated into Danish culture and evolved into the unique Danish pastry identified today.
Danish Pastries Around the World
From their origins in Denmark, Danish pastries gained international fame, adapted by bakers worldwide to suit local tastes. In the United States, these pastries are a breakfast staple often filled with fruit or cheese. Sweden and Norway also have their unique versions, infusing local flavors and ingredients into the pastry-making tradition.
Notable Danish Pastry Variants
Kringles: Shaped like a pretzel, the Kringle is the Danish national symbol for bakeries. It typically has almond or marzipan filling.
Cinnamon Snails: Cinnamon is a favored spice in Danish pastries, with the "snail" version being popular for its spiral shape.
Poppy Seed Scrolls: These are rolled in a similar fashion to the snail but showcase poppy seeds as the dominant flavor.
Danish pastries come in many shapes—braids, swirls, and pockets—each filled with everything from traditional custards to modern fruit preserves. They are a testament to the adaptability and enduring popularity of the flaky, buttery treat.
Conclusion
In crafting homemade breakfast Danishes, the baker combines the flakiness of pastry with the richness of a cream cheese or fruit filling. The process is both an art and a science, requiring attention to detail from preparing the pastry to the final bake. A well-executed Danish is golden in color, with a texture that is at once tender and crisp.
One should remember that precision in measuring ingredients and maintaining the correct oven temperature are key to success. Experimentation with various fruit fillings can lead to delightful variations, accommodating personal tastes and seasonal availability. The allure of a homemade Danish lies in its versatility, where it can be enjoyed as a luxurious weekend breakfast or as a sophisticated addition to a brunch spread.
The satisfaction of creating a Danish from scratch is manifold; it brings a sense of accomplishment and the pleasure of sharing a handcrafted treat with others. Home bakers are encouraged to use these guidelines as a foundation and then let their creativity and personal preference shape the ultimate creation.
Summary of Steps:
Prepare Pastry: Ensure dough is cold for flakiness.
Create Filling: Mix cream cheese or fruit filling smoothly.
Assemble Danish: Spread filling and fold pastry with care.
Bake: Monitor for a perfect golden hue and crisp texture.
Serve: Present the Danish fresh from the oven for optimal taste.
They are not only crafting a delicious gourmet experience but also nourishing the tradition of home baking. Each batch of Danishes holds the potential to perfect the craft or to try something new, beckoning connoisseurs and casual bakers alike.
