
Sourdough Ciabatta
Mastering Open Crumb and Crispy Crust Techniques
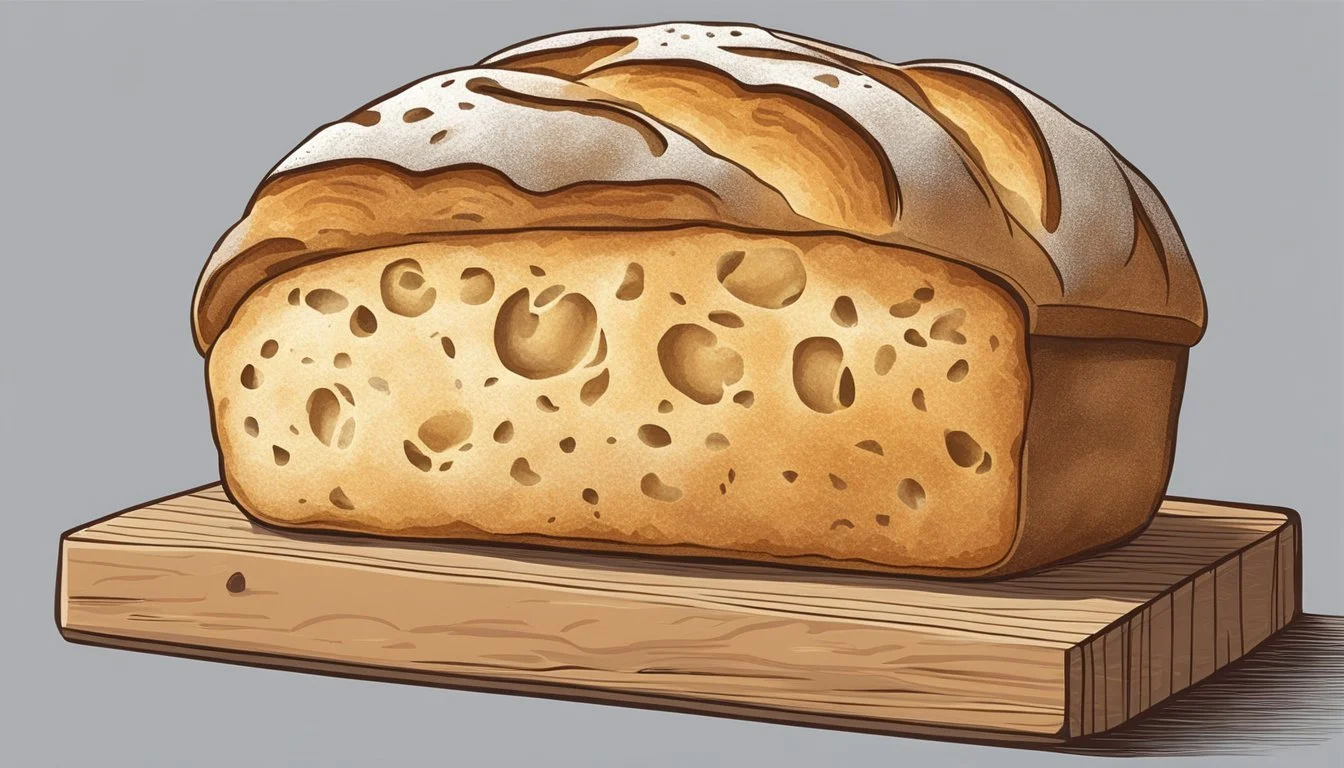
Sourdough ciabatta is revered for its distinctive open crumb and crispy crust, characteristics that are hallmarks of this artisan bread (What wine goes well with bread?). The journey to perfecting a sourdough ciabatta begins with a well-developed starter, which is the backbone of the bread's flavor and texture. It is the subtle art of fermentation that allows for the creation of ciabatta's large, irregular holes, providing that sought-after lightness and complexity of taste.
The methods employed in crafting this Italian classic are as important as the ingredients used. A gentle touch and patience are key to handling the high-hydration dough, which, despite its seemingly challenging nature, rewards bakers with a crust that shatters pleasingly upon the first bite while maintaining a tender, airy interior. The baking process itself is crucial; precise oven temperatures and the introduction of steam work in tandem to achieve the ciabatta's iconic exterior.
In mastering sourdough ciabatta, bakers also learn the importance of rest periods and dough development. Time becomes a crucial ingredient as the dough is allowed to rise slowly, with intervals of rest that contribute to the final bread's structure and flavor. The technique of allowing the dough to ferment and strengthen without disturbance is central to the bread's success, emphasizing the unique characteristics that make sourdough ciabatta so beloved among enthusiasts and novices alike.
The Basics of Sourdough Ciabatta
Crafting the perfect sourdough ciabatta involves understanding the nuances of sourdough fermentation and flour selection, managing dough hydration, and mastering the shaping and baking process to achieve that characteristic open crumb and crispy crust.
Understanding Sourdough Starter
Sourdough starter is a fermented mixture of flour and water, harboring wild yeast and bacteria. For sourdough ciabatta, an active, mature starter – known as levain – is essential as it is responsible for the bread's rise and tangy flavor. This active starter must be fed and kept in a conducive environment to remain vigorous and ready to leaven bread.
The Role of Flour in Ciabatta
The choice of flour heavily influences ciabatta's texture. Bread flour, with a higher protein content, is commonly used for its strength and ability to hold more water, which is crucial for the high hydration dough typically seen in ciabatta bread. All-purpose flour can be used but may result in a less open crumb.
Hydration and Dough Consistency
Hydration refers to the water content in dough, expressed as a percentage of the flour weight. Sourdough ciabatta typically has a wet dough with high hydration, which contributes to the bread's open crumb. A hydration level of around 75% is often considered ideal for achieving the right balance of hole structure and manageability.
Salt's Impact on Flavor and Texture
Salt is crucial for both flavor and gluten structure. In sourdough ciabatta bread, it adds necessary flavor and strengthens the gluten network, providing elasticity and texture to the dough. Typically, about 2% salt relative to the flour weight is used in recipes.
The Essentials of Bread Making
Fundamental principles of bread making revolve around gluten development through mixing and kneading, setting the stage for a well-structured bread. Proper fermentation is also key, allowing the dough to rise and develop its classic sour flavor and texture.
Ciabatta Specifics
Ciabatta is distinct for its rectangular shape and pillowy interior. Achieving this calls for gentle handling of the high hydration dough to maintain the gas bubbles, and careful shaping that often involves stretching the dough to create its characteristic ciabatta rolls or loaves.
Sourdough Ciabatta Recipe Overview
A basic sourdough ciabatta recipe involves a levain made from the starter, water, and flour left to ferment until peak activity. This is then mixed with more flour, water, and salt, creating a high hydration dough. After several folds to develop gluten and structure, the dough is shaped into the signature ciabatta bread form and baked until golden and crispy.
Preparation and Mixing Techniques
Creating the perfect sourdough ciabatta begins with meticulous preparation and mixing techniques. Ensuring precise measurements and understanding the mechanics of dough development are essential for that open crumb and crispy crust.
Measuring and Scaling Ingredients
Precision is crucial in baking. Each ingredient in a sourdough ciabatta recipe must be measured accurately to guarantee the desired outcome. The ratio of water to flour, known as hydration, significantly impacts the dough's texture. A digital scale is recommended for measuring to the gram for consistency.
Mixing and Autolyse Explained
Autolyse is a process where flour and water are mixed and then allowed to rest. This technique, originally developed by bread expert Professor Raymond Calvel, serves to initiate gluten development before the addition of sourdough starter and salt. For sourdough ciabatta, combine the bread flour and water in a mixing bowl and let the mixture rest, covered, for at least 30 minutes.
The Process of Kneading Dough
Kneading is a technique used to further gluten development after mixing. It can be done by hand or with a stand mixer using a dough hook attachment. When kneading sourdough ciabatta dough by hand, use a series of folds and stretches rather than the traditional knead. If using a mixer, mix on a low speed to prevent overheating the dough, which can affect yeast activity.
Gluten Building Techniques
Proper gluten formation gives sourdough ciabatta its characteristic structure. Techniques like stretch and folds are used during bulk fermentation. Gently folding the dough over itself in a series of movements at regular intervals helps strengthen the gluten network without overworking the dough. The windowpane test, stretching a small piece of dough to see if it becomes thin and translucent without tearing, can indicate sufficient gluten development.
Bulk Fermentation Dynamics
Bulk fermentation, also referred to as the first rise, is where the dough is left to increase in volume and develop flavor. During this stage for sourdough ciabatta, the dough should be allowed to double in size, which can often be achieved overnight at a cool room temperature. The duration of bulk fermentation can vary; however, it is paramount to watch the dough and not the clock, judging the dough's readiness by its size, texture, and aroma.
Shaping and Proofing
The shaping and proofing stages are instrumental in defining sourdough ciabatta's characteristic open crumb and crispy crust. Correct shaping provides the ciabatta its traditional rectangular shape, while controlled proofing ensures the desirable airy interior.
Creating the Ciabatta Shape
For sourdough ciabatta, the dough must be shaped gently to retain the gas bubbles that contribute to its open crumb structure. Shaping starts by transferring the dough onto a well-floured surface, taking care not to deflate it. The dough should then be stretched and folded over itself to form a rough rectangular shape. A bench scraper can be a valuable tool during this process, helping to manipulate the dough with precision while minimizing contact with hands, which can potentially deflate the dough.
The Proofing Process
Once the dough takes on a ciabatta's signature shape, it moves on to proofing, which is the final rise before baking. This step is crucial for developing flavor and texture. It typically begins at room temperature until the dough visibly increases in size—about 75% larger than its original volume. To slow fermentation and enhance the development of flavor, bakers often transfer the shaped dough for a second rise in a refrigerated environment. A temperature-controlled setting around 38°F (3°C) can be optimal, with a proofing duration ranging from 8 to 24 hours.
Using Tools for Even Shaping
Tools can greatly aid in achieving an even and consistent shape for sourdough ciabatta. A tear towel or linen couche can support the dough during proofing, helping maintain its rectangular shape and preventing it from spreading out. For the second rise, ciabatta can be placed in a floured couche or inside a plastic bag to avoid drying out. The use of these tools not only supports the dough but also makes transporting it to the oven easier, reducing the risk of degassing and shape distortion.
Baking and Finishing Touches
Mastering the baking and finishing processes is essential for creating sourdough ciabatta with the desired open crumb and crispy crust. The nuances of oven preparation, baking methods, and post-bake handling all contribute to the final quality of the bread.
Preheating and Oven Setup
One must preheat their oven to a high temperature, typically around 475°F (245°C), to ensure proper heat distribution. A baking stone or steel is recommended as it retains heat and mimics a baker's oven, giving the bread a better rise and crust. During preheating, position the stone in the middle of the oven and allow at least 30 minutes for it to reach the desired temperature.
Baking Techniques for Open Crumb
To achieve that characteristic open crumb with irregular holes, one should employ a gentle touch when transferring the dough to the oven to preserve the air pockets formed during fermentation. Transferring with parchment paper can minimize deflation. Baking at high initial heat is crucial as it contributes to oven spring, where the dough rapidly rises and the crumb structure sets.
Achieving the Perfect Crispy Crust
Steam is the secret weapon for a golden brown, crispy crust. Introduce steam by placing a pan of water at the bottom of the oven or by spritzing the oven walls with water right before baking. The moisture delays crust formation, allowing the loaf to expand and promotes the Maillard reaction for that crunchy crust. After the initial steaming period, one should remove the source of steam and reduce the oven temperature to around 425°F (220°C) to finish the bake and develop the crust's color and texture.
Cooling and Storage Tips
Once the sourdough ciabatta has achieved a deep golden color and emits a hollow sound when tapped on the bottom, it is done. Place the bread on a wire rack to cool; this allows air to circulate, preventing the crust from becoming soggy. For optimal texture, resist the urge to slice into the bread immediately; instead, wait until the loaf has significantly cooled. To store, wrap the completely cooled ciabatta in a cotton bag or wax paper. Avoid plastic wrap or plastic bags as they trap moisture and soften the crust.
Serving Suggestions and Pairings
Sourdough ciabatta's open crumb and crispy crust make it a versatile bread that enhances a variety of dishes. Its chewy texture and robust flavor allow it to pair well with other ingredients, becoming a staple for sandwiches and soups.
Ciabatta in Sandwiches and Paninis
Sourdough ciabatta elevates the humble sandwich to a gourmet level. Sandwiches gain a satisfying crunch and chewiness when using this bread. One can create a classic ciabatta sandwich by layering mozzarella, tomato, and basil leaves for a Caprese-inspired lunch. Alternatively, for a hearty meal, ciabatta makes an excellent base for panini; pressed with fillings like chicken, cheese, and greens, it provides a delightful balance of textures.
Complementing Sourdough Ciabatta with Soups and Stews
As a side, sourdough ciabatta complements the rich flavors of soups and stews perfectly. The bread's nooks and crannies are ideal for absorbing broths and sauces, enhancing the dining experience. It can either be served whole on the plate, or cut into chunks and added directly into the soup to soak up savory flavors.
Storing and Reviving Leftover Ciabatta
To maintain freshness, store leftover sourdough ciabatta in a plastic bag on the counter. If the crust becomes too soft, a few minutes in the oven can restore its characteristic crispiness. Simply preheat the oven and place the bread directly on the rack or a cooling rack placed inside a baking sheet. This method revives the bread, bringing back the chewy texture and ensuring none goes to waste.
Troubleshooting and FAQs
Crafting the perfect sourdough ciabatta requires attention to detail and understanding the potential pitfalls. This section provides solutions to common problems, tips for texture and flavor adjustments, and answers to frequently asked questions.
Common Sourdough Ciabatta Issues
Issue Solution Dense Crumb Increase hydration; ensure proper dough development during the mix. Weak Crust Use steam during the initial stage of baking or increase the baking temperature. Excessive Spread Strengthen gluten network with more folds or decrease hydration slightly. Underproofed Dough Extend proofing time; ensure your starter is active and vigorous. Overproofed Dough Shorten proofing time or proof in a cooler environment to slow fermentation. Flat Taste Refresh your sourdough starter more frequently to enhance yeast activity.
Adjustments for Texture and Flavor
Hydration: Sourdough ciabatta thrives on high hydration for an open crumb. However, if handling becomes difficult, reduce hydration by 5% increments.
Salt: Adjust salt within 1.8% to 2.2% of flour weight to balance flavor and crust coloration.
Starter: Use a well-fed and active starter to ensure robust fermentation for maximum flavor development.
Questions on Sourdough Ciabatta Making
How do I know if my ciabatta is proofed?
The dough should have increased in volume by approximately 75% and leave a slight indentation when gently poked.
Can I leave the dough to ferment overnight?
Yes, a cold proof for 12-24 hours in the refrigerator can improve flavor complexities and ease handling.
Why is my crust soft after baking?
Ensure adequate steam during the initial phase of baking and allow bread to cool completely on a wire rack for a crispy crust.
