
Culinary School Secrets to Smart Swapping
Expert Tips for Easier Ingredient Substitutions
Smart ingredient swapping, a core skill taught in culinary schools, helps cooks adapt recipes to available ingredients without sacrificing taste or texture. Whether faced with a missing item or dietary restriction, knowing reliable substitutes saves time, reduces waste, and keeps meals on track.
Culinary students quickly discover that success in the kitchen depends on more than just following recipes; it’s about understanding why certain ingredients work and how to find alternatives that maintain a dish’s balance. Swapping white wine with chicken stock and a dash of apple cider vinegar, for example, delivers similar depth without alcohol.
These practical secrets empower anyone to navigate culinary challenges confidently, turning everyday cooking into a flexible and creative process.
Fundamental Principles of Smart Swapping

Smart ingredient swaps require an understanding of how each component functions in a recipe. Successful swaps preserve both the structure and flavor intended in the original dish.
Understanding Ingredient Swaps
Culinary professionals emphasize the need to know why an ingredient is in a recipe before replacing it. Each component—such as eggs, flour, or fat—performs specific tasks like binding, leavening, or adding moisture.
Swapping without considering these roles can lead to poor results, such as a dry cake or an unstable sauce. For example, applesauce can substitute for oil in some baked goods because both add moisture, though applesauce yields a denser texture.
Culinary schools teach that thoughtful analysis helps maintain recipe integrity. Key steps in evaluation:
Identify the original ingredient’s role
Select substitutes with similar functions
Adjust cooking time or temperature if needed
This process ensures the swap serves both texture and taste demands.
Guidelines for Accuracy and Measurement
Accuracy is crucial in making successful swaps, especially in baking. Measurement errors can cause major differences in outcomes, sometimes ruining entire dishes.
Culinary students are taught to weigh ingredients when possible rather than relying solely on cup measures, which vary by density. They also practice using tables like the one below to guide conversions:
Original Ingredient Suggested Substitute Ratio Butter Coconut oil 1:1 Wheat flour Almond flour 1:1* Sugar Honey 1:0.75
* May require additional binding
Taking careful notes and making small batch tests helps refine the swap. Even minor changes in measurement can affect appearance, structure, or mouthfeel.
Balancing Texture and Flavor
Achieving the right texture and flavor balance is a primary goal in educated ingredient swapping. Texture relies on moisture, fat, and gluten, while flavor comes from sugars, acids, and seasonings.
When replacing flour with a gluten-free option, add a binder like xanthan gum to prevent crumbling. If substituting dairy, such as using coconut milk for cream, expect flavor differences and compensate by adjusting spices or sweetness.
Culinary schools recommend tasting throughout preparation and making incremental adjustments. Proper mixing methods and timing also impact the final product, so students are trained to modify techniques as needed to suit new mixtures.
Essential Culinary School Strategies
Successful cooking in a professional kitchen relies on precise preparation, choosing the right cooking methods, and skillful seasoning. Understanding and using these three elements makes recipes more consistent, efficient, and flavorful.
Mise en Place Mastery
Mise en place—which means “everything in its place”—is the foundation of efficient cooking. Chefs prepare and arrange all ingredients, equipment, and tools before beginning. This approach prevents missed steps and unnecessary stress.
Key elements include portioning ingredients, chopping vegetables uniformly, and grouping items by cooking order. Organized workstations boost speed and allow the chef to react quickly to any changes.
A simple checklist of steps improves accuracy:
Gather ingredients first.
Pre-measure and prep all items.
Organize by cooking sequence.
Keep tools within arm’s reach.
Most culinary schools emphasize mise en place to reduce errors and increase focus, especially when preparing complex or time-sensitive dishes.
Sauté and Sear Techniques
Sautéing and searing are core culinary school techniques that quickly develop flavor. Sautéing involves high heat and a small amount of fat, producing caramelization while keeping food tender. For success, they recommend using preheated pans and not overcrowding the surface, which avoids steaming.
A sear locks in juices for meats and adds a crisp, golden exterior. Timing is crucial: leave the food untouched until a crust forms, then turn. Use oils with high smoke points like canola or grapeseed.
Tips from professionals:
Dry ingredients before cooking to ensure browning.
Listen for the sizzle as a sign of proper heat.
Remove food promptly to prevent overcooking.
Using these tricks, chefs layer textures and flavors to achieve restaurant-quality results at home.
Seasoning Like a Chef
Proper seasoning is more than just adding salt and pepper—it’s about building flavor at each stage of the cooking process. Culinary students learn to taste often and adjust gradually, ensuring balanced flavors.
They use kosher salt for even distribution and add fresh herbs or acids (like lemon juice or vinegar) at the end for brightness. Savvy chefs season proteins before cooking, layer subtle spices as the food cooks, and finish with a sprinkle of finishing salt.
A sample approach:
Season raw ingredients lightly at first.
Taste throughout cooking and adjust.
Add fresh herbs just before serving.
Refined seasoning techniques mean dishes are neither bland nor overpowering, but consistently delicious.
Smart Swaps for Everyday Ingredients
Smart ingredient swaps make recipes healthier and adaptable to dietary needs without sacrificing taste. Swapping out salt, acid, or sugar can help control sodium and sugar intake, while still maintaining strong flavors and appealing textures.
Salt and Acid Alternatives
Culinary schools emphasize balancing salt and acid as a foundation for seasoning. When reducing sodium, they commonly substitute salt with flavor-rich alternatives for depth and brightness.
Use fresh or dried herbs such as thyme, rosemary, or dill to provide savory notes. Spice blends like garlic powder, onion powder, and smoked paprika add complexity without sodium. Acidic ingredients, including lemon juice, balsamic vinegar, and apple cider vinegar, can perk up flavors and compensate for reduced salt.
A basic reference table:
Swap For Try Instead Salt Citrus juice, vinegar, herbs Soy sauce Low-sodium tamari, coconut aminos
Acidic ingredients intensify flavor, making dishes taste complete with less salt. Integrating these swaps allows cooks to lower sodium while delivering bold, satisfying flavors.
Sugar Substitutes in Cooking
Reducing sugar is a frequent challenge, especially in baking and sauces. Culinary instructors teach that the best sugar swaps are those that mimic sweetness without causing drastic texture changes.
Natural options like mashed bananas, unsweetened applesauce, or pureed dates work well in baked goods. These provide structure and moisture, unlike some processed sweeteners. For everyday cooking, monk fruit sweetener, stevia, and erythritol are popular calorie-free swaps that dissolve easily.
Consider the following list for practical swaps:
Use mashed bananas or applesauce for muffins and pancakes
Swap white sugar for monk fruit sweetener in coffee or sauces
Replace honey with pureed dates in dressings or bars
Each alternative has a unique sweetness profile, so taste and adjust as needed. Choosing the right substitute allows for lower sugar intake while maintaining the integrity and enjoyment of each dish.
Protein Swapping and Preparation Secrets
Protein swaps increase flexibility in recipes and can help accommodate dietary restrictions or ingredient shortages. Techniques such as precise egg replacements and effective brining methods influence both texture and flavor, impacting everything from baked goods to juicy meat dishes.
Eggs: Replacements and Precision
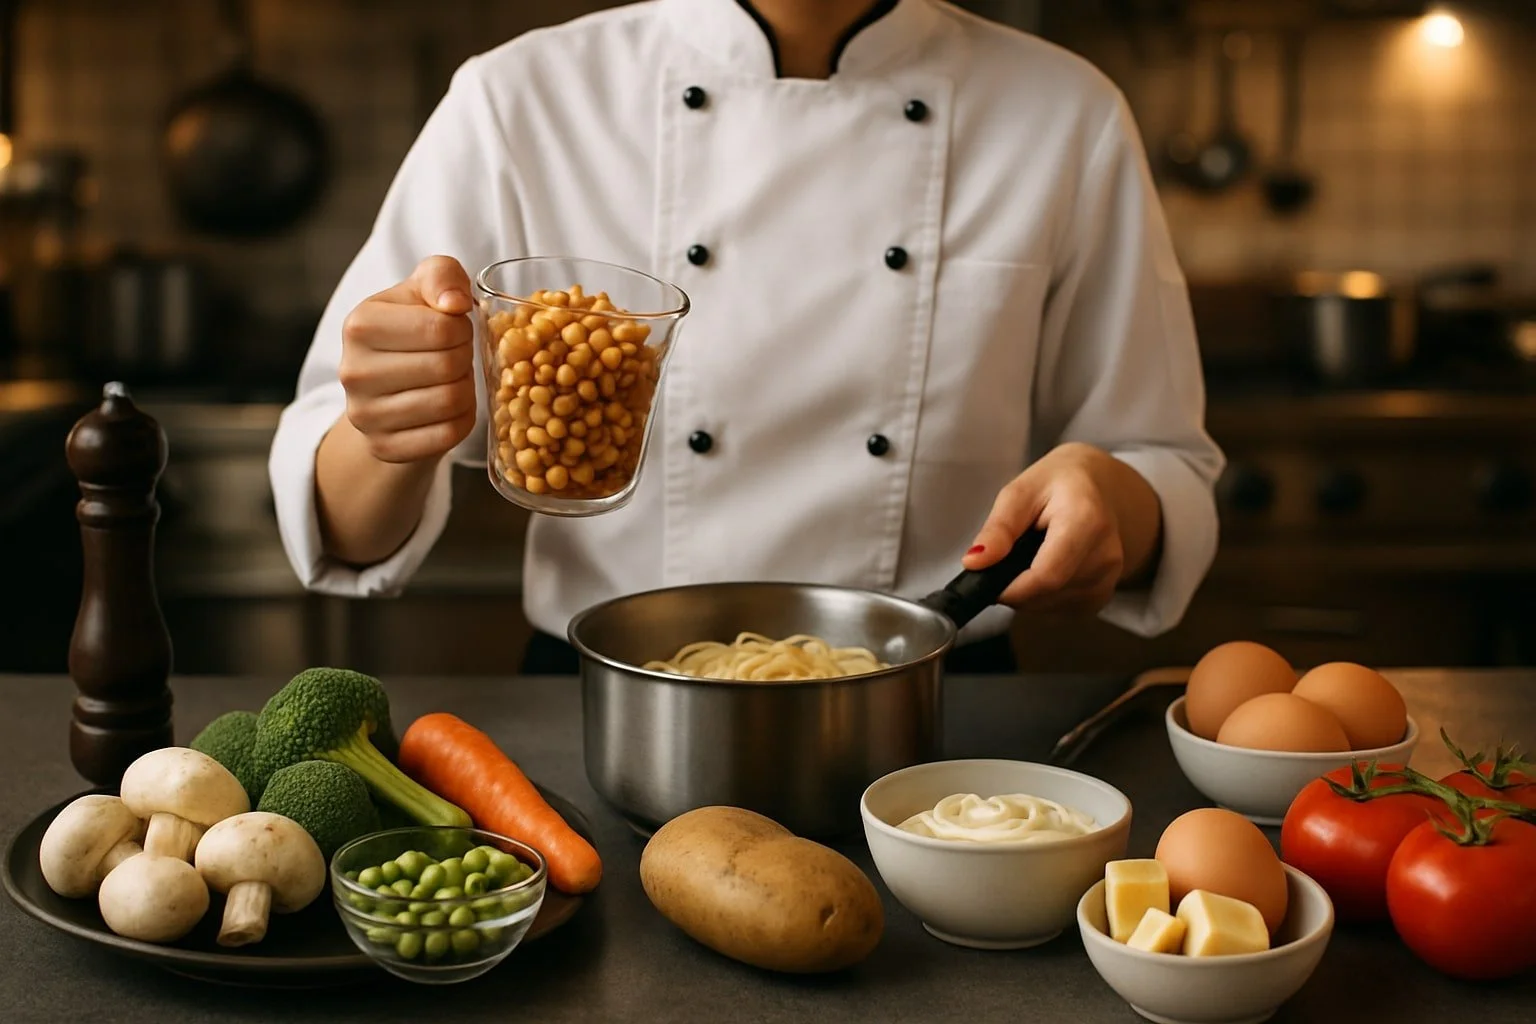
Eggs act as binders, leavening agents, and provide structure to recipes. When replacing eggs, the most common swaps are flaxseed meal mixed with water (1 tbsp flaxseed + 3 tbsp water per egg) or unsweetened applesauce (¼ cup per egg). Both options offer binding but may change texture slightly.
Precision matters when cracking an egg, especially in baking. Using a flat surface instead of a bowl edge reduces shell fragments. Aquafaba (the liquid from canned chickpeas) is often used for meringues or mayonnaise as a direct substitute for egg whites; about 3 tablespoons replace one egg.
Chefs recommend testing substitutes in small batches first. For recipes where eggs provide moisture but not structure, yogurt or mashed bananas can work well. Always note that flavor and consistency may change, especially in delicate cakes or custards.
Expert Advice on Brining and Brine Substitutes
Brining is essential for creating juicy meat by soaking it in a saltwater solution before cooking. Standard ratios are 1/4 cup kosher salt per quart of water, with the addition of sugar and aromatics as desired. Brining breaks down muscle proteins and allows meat to retain more moisture.
For those avoiding traditional brines, dry brining—rubbing salt directly onto the meat and letting it stand uncovered in the refrigerator—provides similar benefits. When pressed for time, buttermilk or Greek yogurt can act as brine substitutes, adding both moisture and tang, which helps tenderize poultry.
A simple brine table:
Method Ingredients Time Wet Brine Salt, water, sugar, spices 8-12 hrs Dry Brine Salt 1-3 hrs Dairy Brine Buttermilk or yogurt, salt 1-4 hrs
Apply brining or substitutes to chicken, turkey, or pork for better flavor and a moist finish.
The Art of Sauce and Broth Substitutions
Sauce and broth substitutions can prevent wasted time and money in the kitchen. With a few targeted swaps, cooks maintain the flavor and integrity of their dishes even when a key ingredient is missing.
Tomato Sauce and Pasta Sauce Hacks
Tomato-based sauces are often at the heart of Italian-inspired dishes. If tomato sauce is missing, a can of diced tomatoes or tomato puree, blended with a pinch of salt, sugar, and oregano, can closely replicate the original flavor.
For a thicker consistency, add a tablespoon of tomato paste or simmer the mixture to reduce moisture. Marinara, spaghetti sauce, or even pizza sauce can stand in for tomato sauce, though each may add extra herbs or spices that subtly shift the dish's profile.
Quick Substitution Table:
If You’re Missing Try This Tomato Sauce Diced tomatoes + tomato paste Pasta Sauce Marinara, pizza, or tomato puree Tomato Paste Reduce tomato sauce or puree
Cream-based pasta sauces can be crafted from scratch with butter, flour, milk, and parmesan if jarred sauce is not available.
Creative Uses for Chicken Broth Alternatives
When chicken broth runs out, several pantry staples can step up. Vegetable broth, beef broth, or even water with bouillon cubes serve as reliable alternatives. Each brings a different depth of flavor—beef broth yields richness, while vegetable broth keeps things lighter and vegetarian-friendly.
Seasoned water can substitute for chicken broth in a pinch. Use about one teaspoon of soy sauce or tamari per cup of water for added umami, or dissolve bouillon granules for a closer match. For a low-sodium option, season plain water with herbs such as thyme, bay leaf, and parsley.
Alternative Broths for Cooking:
Vegetable broth for soups, risottos, and sauces
Beef broth in hearty stews or gravies
Seasoned water for a subtle flavor boost
Each substitute changes the flavor slightly but maintains the body and purpose of the original component.
Practical Vegetable and Pantry Swaps

Home cooks can optimize flavor, reduce waste, and streamline their kitchen routines by rethinking how they use common ingredients and tools. Small changes—like saving vegetable scraps or choosing the right pan—can make a noticeable difference.
Making the Most of Vegetable Scraps
Vegetable scraps, such as onion skins, carrot peels, and celery tops, are often discarded but have valuable uses. Instead of throwing them away, cooks can collect these scraps in a freezer bag until enough has accumulated for homemade stock.
Using a vegetable peeler, they can clean root vegetable peels well before saving. This method not only increases flavor in soups and stews but also helps reduce kitchen waste.
A simple stock can be simmered for 45-60 minutes with the collected scraps, a bay leaf, and black peppercorns. The result is a versatile base for sauces, risotto, or grains, and it costs little beyond what’s already on hand.
Smart Uses for Olive Oil and Nonstick Pans
Olive oil, known for its flavor and health benefits, is best used in moderation. A teaspoon or so can coat vegetables before roasting or sautéing, highlighting their natural taste without excess fat.
When using nonstick pans, less oil is needed. This prevents sticking while also supporting lighter cooking techniques. Nonstick surfaces also simplify cleanup, making it easier to prepare multiple dishes in sequence.
For stir-frying, cooks can combine a splash of olive oil with a nonstick pan, reducing the need for constant stirring and close supervision. A properly heated nonstick pan paired with high-quality olive oil creates even browning and helps maintain ingredient texture.
Unlocking Restaurant-Quality Results at Home
Home cooks can reach professional standards by focusing on specific culinary techniques. Optimal texture and flavor come from understanding methods favored in restaurant kitchens, particularly for meats and pan sauces.
Achieving Crispy Skin and Perfect Steak
Crispy skin and steak doneness are shaped by heat control and preparation. For poultry or fish skin, the meat must be dry before cooking. Blotting with a paper towel removes surface moisture. Sprinkle an even layer of salt, then place the protein skin side down in a hot, lightly oiled pan.
A cast iron or heavy stainless-steel pan aids in even heat retention. Apply gentle downward pressure with a spatula to ensure full contact with the pan for even browning. Avoid moving the protein too soon, letting the skin naturally release when crisp.
For steak, let meat reach room temperature before cooking. Season well. Sear each side on high heat—use the weight of the steak and brief pressing to maximize crust. After searing, reduce heat to desired doneness, checking with a thermometer for accuracy.
Key tools and steps:
Step Details Dry surface Blot with towel High-heat searing Use heavy pan Salt for crust Season generously Resting after cooking 5–10 minutes off heat
Fond, Deglazing, and Building Flavor
Fond is the brown residue left after searing meats. This caramelized layer offers deep, savory notes. After removing the cooked protein, keep the fond in the pan.
To deglaze, pour a small amount of liquid—stock, wine, or even vinegar—into the hot pan. Gently scrape the bottom to dissolve and lift the fond, stirring to combine with the liquid. This creates a robust pan sauce.
Balance is key: adjust liquids and seasoning to taste. Let sauce simmer and reduce for intensity. A small amount of cold butter, added at the end, offers sheen and richer texture.
Examples of deglazing liquids:
Chicken or beef broth for savory notes
Dry white wine or red wine for acidity
Balsamic vinegar for a subtle sweetness
Building flavor with fond and proper deglazing is essential for restaurant-quality results, turning basic proteins into memorable dishes with greater depth.
