
Crafting the Perfect Taco Shell
Your Ultimate Step-by-Step Guide
Crafting the perfect taco shell is an art that transforms the humble corn or wheat tortilla into a crunchy vessel for a variety of fillings. The texture, taste, and overall quality of a taco shell can elevate the taco-eating experience from ordinary to extraordinary. This step-by-step guide provides a clear and confident approach to making taco shells at home, allowing anyone to achieve that desirable crispiness that complements the savory fillings.
Each step in creating a taco shell is crucial, from mixing the right proportions of ingredients to obtaining the ideal thickness and frying or baking to perfection. Whether one prefers to shape them using traditional methods like a tortilla press or employs more unconventional kitchen tools, the process is straightforward and promises to produce consistently impressive results. With a neutral stance on the debate between soft and hard shells, this guide solely focuses on delivering knowledge on how to master the latter.
In crafting taco shells, precision is key, but so is creativity. Understanding the basic principles behind shell-making equips aspiring cooks with the foundation to add their personal touch. By following this guide, anyone can embark on the journey of making taco shells that turn a simple meal into an enjoyable and memorable culinary experience.
Essentials of Taco Shell Ingredients
The foundation of any great taco is its shell, crafted from carefully selected flours and high-quality ingredients to ensure flavor and texture. This section breaks down the essentials of what goes into making the perfect taco shell.
Choosing the Right Flours
Corn-based shells often begin with masa harina, a traditional flour made from nixtamalized corn. This gives corn tortillas their distinctive taste and pliability. For flour tortillas, all-purpose flour or a mix including whole grains may be used to deliver a softer, more bread-like texture. Those seeking gluten-free options might opt for gluten-free flour blends or even almond flour as alternatives, maintaining the integrity of the shell while catering to dietary restrictions.
Corn Tortillas: Masa harina, water, salt.
Flour Tortillas: All-purpose flour/whole wheat flour, water, baking powder, salt, oil or lard.
Gluten-Free Options: Gluten-free all-purpose flour, xanthan gum (if needed), water, salt.
Freshness and Quality of Ingredients
The freshness of the ingredients directly influences a taco shell's flavor. Fresh, high-quality masa harina for corn tortillas ensures an authentic taste, while freshly milled whole grains can add depth to flour tortillas. For gluten-free options, a high-quality gluten-free flour blend is essential to emulate the texture and taste of traditional taco shells. Ingredients must be stored properly to maintain their freshness:
Masa harina/flour: Store in a cool, dry place in an airtight container.
Gluten-Free Flour: Keep sealed and away from strong odors to prevent absorption.
Preparing the Dough
A well-prepared dough is crucial to the final texture and crispiness of taco shells. Precision in mixing the ingredients and allowing the dough to rest is key to achieving a consistenly delicious base for any taco recipe.
Mixing the Ingredients
To start, one should combine 2 cups of all-purpose flour with 1/2 teaspoon of salt in a large bowl to ensure an even distribution. Gradually adding 3/4 cup of warm water while stirring the mixture is essential to creating a homogeneous dough. It is during the mixing process that the dough begins to take shape, and proper technique can affect the resulting texture. Mix until the dough comes together, then transfer it to a flat surface.
Next, knead the dough for 5-7 minutes. Kneading is important as it develops the gluten in the flour, providing elasticity and strength to the taco shells. The dough should be smooth and pliable, which is an indication that it has been mixed thoroughly.
Resting the Dough
Once the dough is well-kneaded, it requires a resting period which allows the gluten to relax and the distribution of moisture throughout the dough to even out. This step is not to be skipped, as it significantly contributes to the versatility of the taco shells, whether they will be baked or fried. The dough should rest, covered with a damp cloth, for at least 30 minutes. This resting period helps prevent the shells from becoming tough when cooked and ensures a more tender and crispy texture upon completion.
Shaping the Taco Shells
In the pursuit of crafting the perfect taco shell, one must pay close attention to the shaping process. The variability in the texture of taco shells, whether aiming for crispy shells with a satisfying crunch or a softer shell that holds authentic flavor, begins with proper rolling and pressing techniques.
Rolling Techniques
To shape a crispy taco shell, one begins with a rolled out piece of dough or a corn tortilla. A rolling pin is essential for achieving an even thickness that contributes to uniform cooking and texture. The dough should be rolled out into thin, even circles, as inconsistent thickness can lead to areas that are overly crisp or undercooked.
Key steps for rolling out tortillas:
Start with a small ball of dough.
Flatten slightly with your palms.
Use a rolling pin to roll outwards from the center, turning the dough 90 degrees after each roll to form a circle.
Using a Tortilla Press
For those who prefer a uniform shape and thickness that ensures an even texture, a tortilla press comes in handy. It simplifies the shaping process and is ideal for making softer taco shells that retain the robust flavors of traditional taco seasoning.
Directions for using a tortilla press:
Place a ball of dough between two sheets of plastic.
Lower the top of the press to flatten the dough into a circular shape.
Remove the flattened dough carefully to maintain its shape.
By focusing on these shaping methods, one embarks on a culinary adventure with the potential to create an array of taco shells suited for a diverse range of fillings and preferences.
Cooking Methods Explained
When crafting the perfect taco shell, the method of cooking is fundamental in achieving the desired texture and crispiness. The heat applied in cooking changes the structure of the tortilla, which determines whether the taco shell is soft or crunchy.
Baking Taco Shells
Preheating the Oven: One must preheat their oven to around 375°F (190°C) to ensure even baking and to avoid sogginess.
Baking Process: Shells require careful monitoring. Baking times generally range from 7-10 minutes.
Ensuring Crispiness: For added crisp, baking on both sides by flipping halfway through is advisable.
Storage: If not using immediately, baked shells can be stored in an airtight container to maintain crispiness.
To bake taco shells:
Preheat your oven to 375°F (190°C).
Drape tortillas over the oven rack or place them between the cups of an inverted muffin tin to form a taco shape.
Bake for 7-10 minutes, monitoring closely to avoid burning.
Allow to cool for a crispy texture.
Frying for Crispiness
Choosing Oil: Select high-heat cooking oil, like vegetable oil, which can tolerate the high temperatures without smoking.
Skillet Heat: Heat oil in a skillet to 350-375°F (175-190°C) before adding tortillas.
Frying Technique: Use tongs to hold tortillas in a taco shape, fry each side until golden and crispy, taking care not to overcook.
For frying taco shells:
Heat a substantial amount of vegetable oil in a skillet over medium-high heat.
Once hot, use tongs to fry individual tortillas, shaping them into the shell.
Fry each side until a golden-brown shade and crispy texture is achieved, typically about 30-60 seconds per side.
Remove and let drain on paper towels.
Seasonings and Flavor Enhancements

Crafting the perfect taco shell transcends its mere shape; it's an invitation to create a thrilling flavor profile that can transform any taco experience. The key lies in selecting the right seasonings and knowing when to introduce these enhancements during the cooking process.
Perfecting Taco Seasoning Blends
A superior taco seasoning blend is more than just a simple mixture of spices; it's a carefully balanced symphony. Start with:
Salt: It brings out the overall flavor.
Cumin: Adds a warm, earthy note.
Chili Powder: Provides the quintessential taco kick.
Garlic: A must-have for depth and pungency.
Oregano: Lends a subtle, herbal touch.
Cayenne: A pinch boosts heat without overwhelming the palate.
Ideal proportions hinge on personal taste, but a foundational guideline can be a ratio of 4 parts chili powder to 2 parts cumin, and 1 part each of garlic, oregano, salt, and cayenne. Mix these spices in a bowl until well combined and store in an airtight container for consistent use.
Infusing Flavors during Cooking
The method of incorporating flavor into taco shells is as integral as the seasoning blend itself. Here are two approaches:
For Baked Shells:
Sprinkle the inside of the tortilla with the seasoning blend before baking. The heat allows the flavors to meld and infuse into the shell.
For Fried Shells:
Add a small portion of the seasoning blend to the oil used for frying. The spices will infuse into the oil and coat the shell with every savory bite.
Remember, the timing of flavor addition is crucial. For baked shells, seasoning before baking ensures an even distribution of flavors, whereas, for fried shells, the taco seasoning integrates with the cooking oil, marrying the seasoning to the shell as it crisps.
Filling Your Taco Shells

Once the ideal taco shell is crafted, either crispy or soft, the next critical step is filling it. The fillings not only add substance but also define the taco's flavors and textures. One must select ingredients that harmonize and offer a balanced profile in every bite.
Selecting Complementary Fillings
When choosing fillings, it is important to consider variety and compatibility. Proteins are fundamental, including seasoned beef, chicken, fish, or vegetarian options like beans or tofu. Cheeses such as cheddar, Monterey Jack, or queso fresco add creaminess and depth. Vegetables provide crunch and freshness, while salsa, guacamole, and sour cream impart moisture and a blend of tangy, spicy, and cool notes.
Ideal Protein Choices:
Beef (ground or shredded)
Beans (black or pinto)
Tofu (seasoned or marinated)
Vegetables and Toppings:
Lettuce or cabbage (shredded)
Tomato (diced)
Onion (chopped or caramelized)
Jalapeños or bell peppers (sliced)
Flavor Enhancers:
Salsa (red or green)
Cheese (shredded or crumbled)
Guacamole
Sour cream
Layering Techniques for Balance
To achieve the perfect bite, one must layer the taco strategically. Begin with the protein as the base, which stabilizes the structure and distributes evenly. Next, add a spoonful of beans if desired for added texture and flavor. Cheese is best added directly after the hot elements, as the heat slightly melts it, enhancing its texture. Then, a mix of crunchy vegetables follows. Finally, top with salsa, guacamole, and a dollop of sour cream. The key is to balance all fillings to prevent overstuffing, which can compromise the integrity of the shell.
Layering Order:
Protein (base layer)
Beans (optional, for varied texture)
Cheese (to melt slightly with heat)
Vegetables (for crunch)
Salsa, Guacamole, Sour Cream (top layer for flavor)
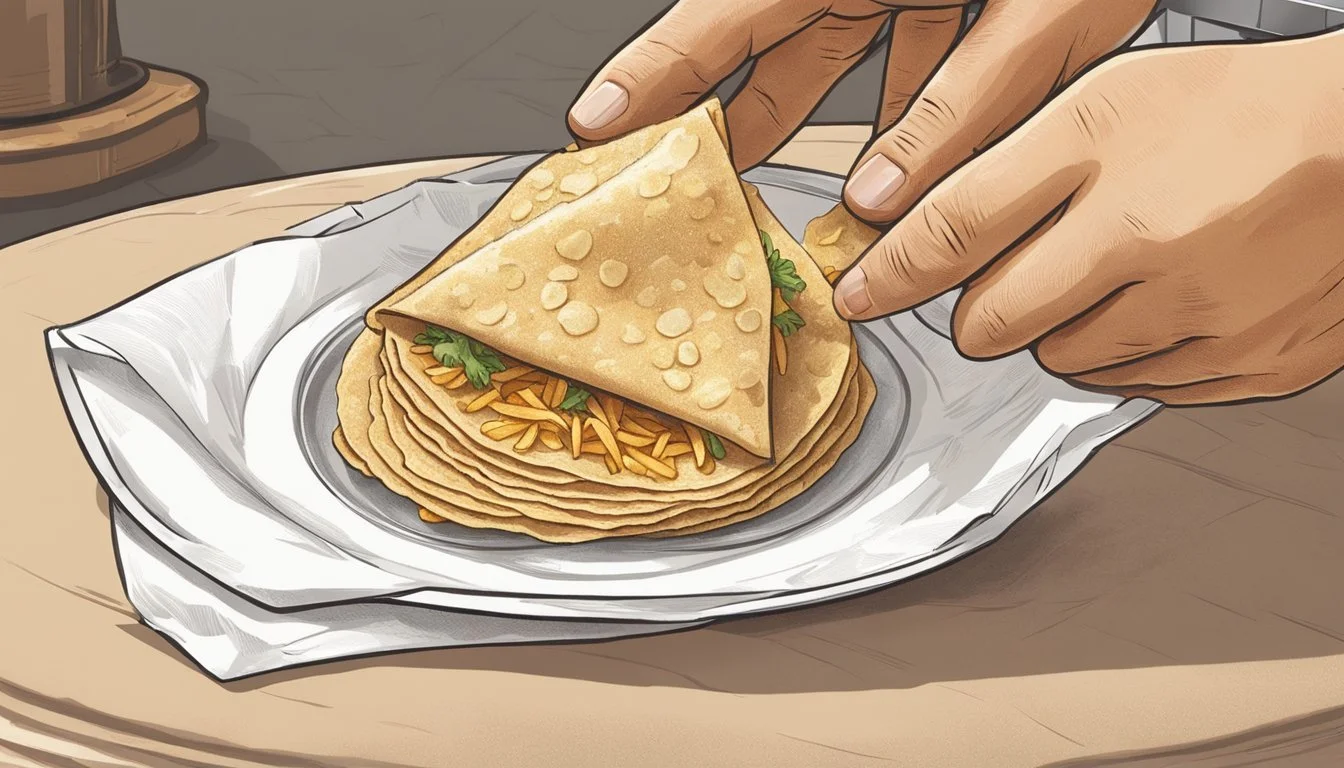
Taco Assembly and Presentation
After preparing the optimal taco shells, either crispy hard shells or pliable soft shells, the art of taco assembly begins. One should carefully layer the fillings to ensure each bite is a harmonious blend of flavors and textures.
Ingredients Placement:
Base Layer: For structural integrity, one starts with a base layer of protein—be it chicken, pork, beef, or shrimp.
Vegetables: Next, they add fresh vegetables such as lettuce, diced tomatoes, and onions for crunch and freshness.
Cheese: A generous sprinkle of cheese follows—cheddar, Monterey Jack, or queso fresco work well.
Sauce and Garnish:
Dollops of salsa, guacamole, or sour cream are placed at the crest.
Final touches often include a sprinkle of fresh herbs like cilantro for a burst of flavor.
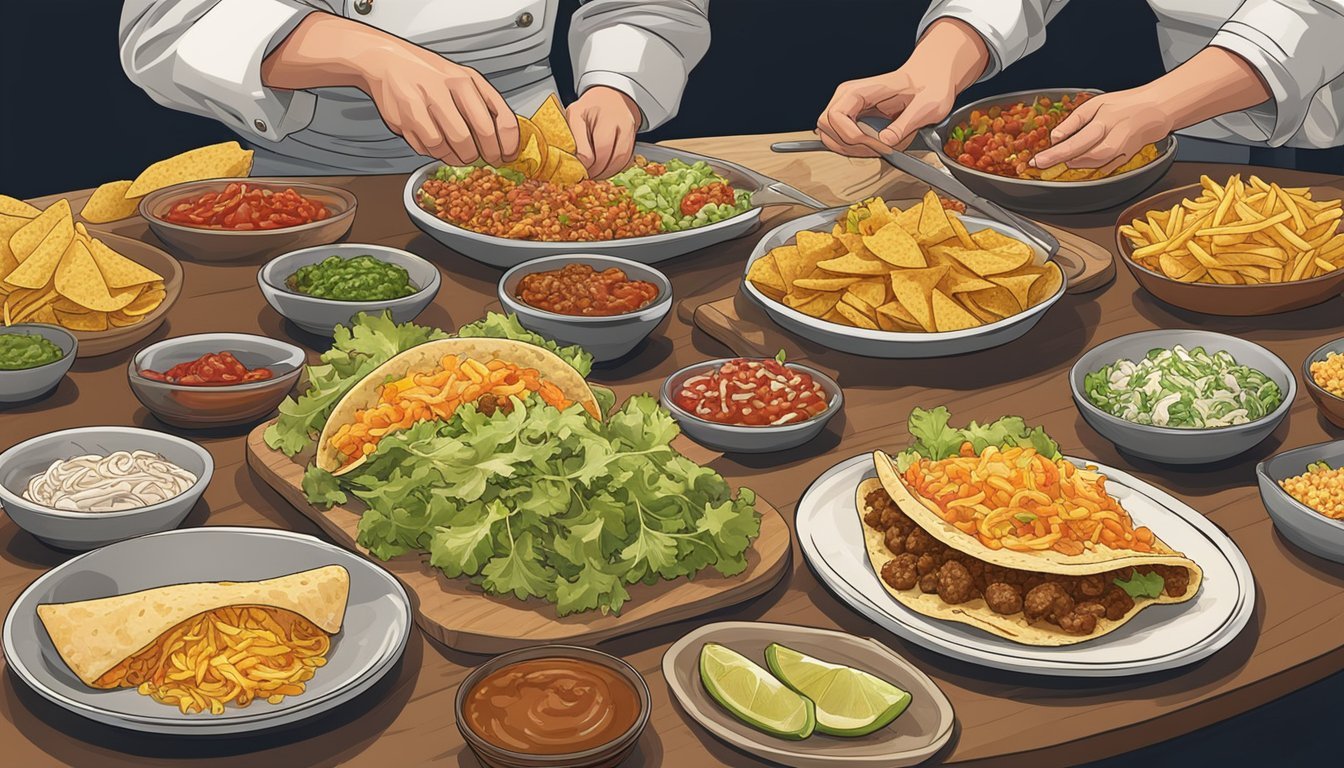
For presentation, chefs often line up the tacos in parallel, allowing each to flaunt their colorful fillings. The cook might also choose to present tacos in a specialty stand to prevent spillage. Whether for a casual meal or a more elaborate occasion, presenting tacos with visual appeal is crucial. One could adorn the serving platter with lime wedges and additional sauce on the side for guests to customize their flavor experience.
Indented plates or taco holders aid in maintaining the beauty and integrity of each taco as diners make their selections. The arrangement and presentation should be as inviting as the taste, with attention paid to the colors and layering of the ingredients inside the shell.
Storing and Reheating
To ensure taco shells maintain their texture and flavor, proper storage and reheating methods are essential. Here's how to keep your taco shells delicious long after you've made them.
Keeping Shells Crispy in Storage
Storing leftover taco shells requires a cautious approach to preserve their crispiness. Firstly, let the shells cool completely to avoid trapping steam. Once cooled, place the shells in an airtight container, ensuring minimal exposure to air and moisture which can make them soggy. For added protection, line the container with paper towels to absorb any excess oil or moisture. Avoid using preservatives as they can alter the flavor and are generally unnecessary for short-term storage.
Best Reheating Practices
When it comes to reheating, the method chosen affects the texture of the taco shells.
Microwave: Place the taco meat in a microwave-safe dish, covering it with a damp paper towel to retain moisture. Reheat in 30-second bursts, stirring in between, until thoroughly warm. However, this may not crispen the shell.
Oven: For the shells, preheat the oven to 350°F (175°C). Spread the taco shells on a baking sheet and heat for 5-7 minutes. This method best preserves the original crispiness and heat distribution.
Stovetop: To reheat meat filling, add a small amount of oil to a pan and heat over medium. Stir the filling occasionally until it is evenly heated, which should take a few minutes.
Always monitor the heat closely as high temperatures can cause taco shells to lose their desired texture and become either too hard or burnt.
Exploring Taco Variations
The quest for the perfect taco extends far beyond the traditional recipes passed down through generations. Taco enthusiasts explore a myriad of fillings and variations suited for every palate and dietary requirement, blending classic flavors with innovative combinations.
Classic and Contemporary Combinations
One can create a multitude of taco experiences by experimenting with fillings and taco recipes. Classic tacos often feature seasoned meats such as beef, pork, or chicken complemented by vegetables like diced tomatoes and onions. However, contemporary combinations take inspiration from global cuisines:
Korean BBQ tacos merge savory and spicy grilled meats with tangy slaws.
Street tacos, typically smaller in size, focus on simple yet flavor-packed ingredients wrapped in soft, corn tortillas.
Breakfast tacos, excellent for starting the day, combine eggs, cheese, and sometimes potatoes, often accompanied by chorizo.
Alternative Dietary Options
Expanding upon traditional meat-centric fillings, tacos can be easily adapted to fit alternative dietary options:
Vegan tacos utilize substitutes like jackfruit, tofu, or tempeh, and are loaded with an array of vegetables and beans.
For gluten-intolerant individuals, corn tortillas typically offer a gluten-free alternative to wheat, pivotal for crafting hard shell tacos or soft ones free from gluten.
Dietary-conscious recipes are also manifesting in restaurants, offering grain-free or low-carb taco shells and an assortment of fillings to cater to these diverse needs.
By embracing this spectrum of taco variations, one can cater to a wide array of tastes, ensuring that tacos remain a versatile and universally cherished dish.
Nutritional Considerations
When making taco shells, consumers should consider the nutritional content of the ingredients to ensure a healthy meal option. Whole grain corn tortillas offer a more nutritious alternative compared to their refined counterparts. Whole grains provide essential fiber, vitamins, and minerals that can contribute to a balanced diet.
Here is a breakdown of the nutritional aspects to consider:
Calories: Homemade taco shells can vary in calorie count, depending on the preparation method. Baking typically results in fewer calories than frying.
Fat: Baked shells contain less fat than fried. Choosing oils with unsaturated fats such as olive or avocado oil can improve the nutritional profile.
Additives: Store-bought taco shells may contain additives and preservatives to extend shelf life. Homemade shells can be free of these substances, making them a cleaner option.
A comparison between store-bought and homemade taco shells:
Aspect Store-Bought Taco Shells Homemade Taco Shells Whole Grains Rarely made with whole grains Can be made with whole grain corn tortillas Additives Often contain preservatives No preservatives required Preparation Method Often fried Can be baked for a healthier option
It is crucial to read product labels if one opts for store-bought taco shells to understand the nutritional content and presence of any additives. Those with dietary restrictions should opt for homemade shells where they can control the ingredients and cooking method, ensuring their taco experience is both delicious and nutritionally sound.
Conclusion
The journey to creating the perfect taco shell is both a culinary adventure and an exercise in simplicity. One's dedication to the craft will yield shells that are both irresistibly crunchy and a delight to the senses. Here's a concise summary of the process:
Initial Preparation: Start by mixing your chosen flour with essential ingredients like salt and baking powder.
Shaping: Roll out the dough to the desired thickness before cutting it into circles.
Cooking Options:
For a Hard Shell: Bake the tortillas in an oven until crisp.
For a Soft Shell: Warm tortillas on a skillet until they are heated through and remain pliable.
The taco shell's texture can make or break a taco experience. Whether one prefers a soft embrace or a crisp bite, the right method ensures a shell that complements the filling without overpowering it. Always remember to handle the shells with care post-cooking to maintain their integrity.
Safety is paramount during this process. One should always be cautious when working with hot ovens or oil to avoid accidents.
Lastly, crafting taco shells at home allows for a customization that store-bought options cannot match, providing a touch of homemade excellence to any taco night. The conclusion is clear: patience and attention to detail in crafting taco shells pay off with an authentic and enjoyable result that one can proudly serve.
