
Preserving Produce in the Fall
Canning seasonal vegetables is a popular food preserving method and a great way to get to know your food and its systems, and also learn a super useful new skill that you can pass on to any eager person to learn without anything except your knowledge, and what you already have in your kitchen arsenal.
In part one of this series we spoke about how preserving food works by using multiple factors to deprive microbes of their preferred or ideal conditions. While there are a few that can withstand the high acidity (acidophiles) or salt levels (halophiles) in brine, and some that prefer oxygen-deprived conditions (anaerobes), hardly any can withstand a combination of these.
Explore creativity in the kitchen with our collection of unique canning ideas, inspiring you to preserve and savor the diverse flavors of Texas in inventive ways.
I’ll take you through the produce that reaches its peak in the cooler fall season, as well as three primary food preserving methods.
Preserving Food and Produce That’s in Season
Cutting produce into appropriate sizes is something that you should consider. Take into account the produce itself, is it hard like radishes or soft like cucumbers? Would it benefit from a bit of cooking first as firm beets (how long do beets last?) would? Also, consider what you’ll use them for; if you pickle radishes for salads or to eat straight from the jar, slicing or quartering them might be best.
Blanching is a very common food preserving method that preserves both color and nutritional value of a vegetable. Blanching only involves boiling the prepared produce for a short amount of time, then shocking them in ice water to immediately stop the cooking process - this helps to preserve the vibrancy of the vegetable. Blanching has many other benefits when you’re preserving such as cleaning the vegetables, killing any present microbes, and exhausting gas from the plant tissue.
Learn the art of pickling fresh vegetables from start to finish with our step-by-step guide, ensuring your pickling journey is a flavorful and rewarding experience.
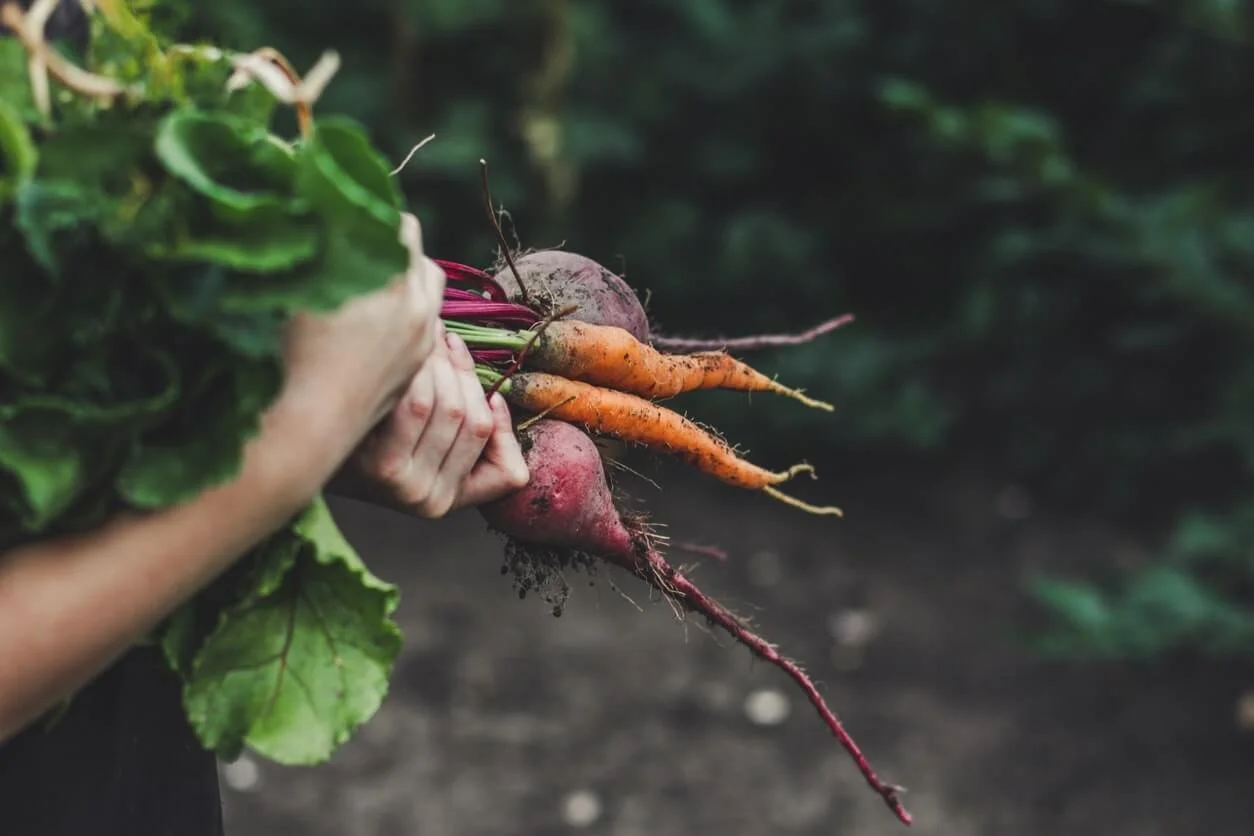
The great thing about going to a farmers market is that they typically only carry what’s in season so you don’t have to put extensive thought into it. Here are some that are in season throughout the fall, that are great for preserving:
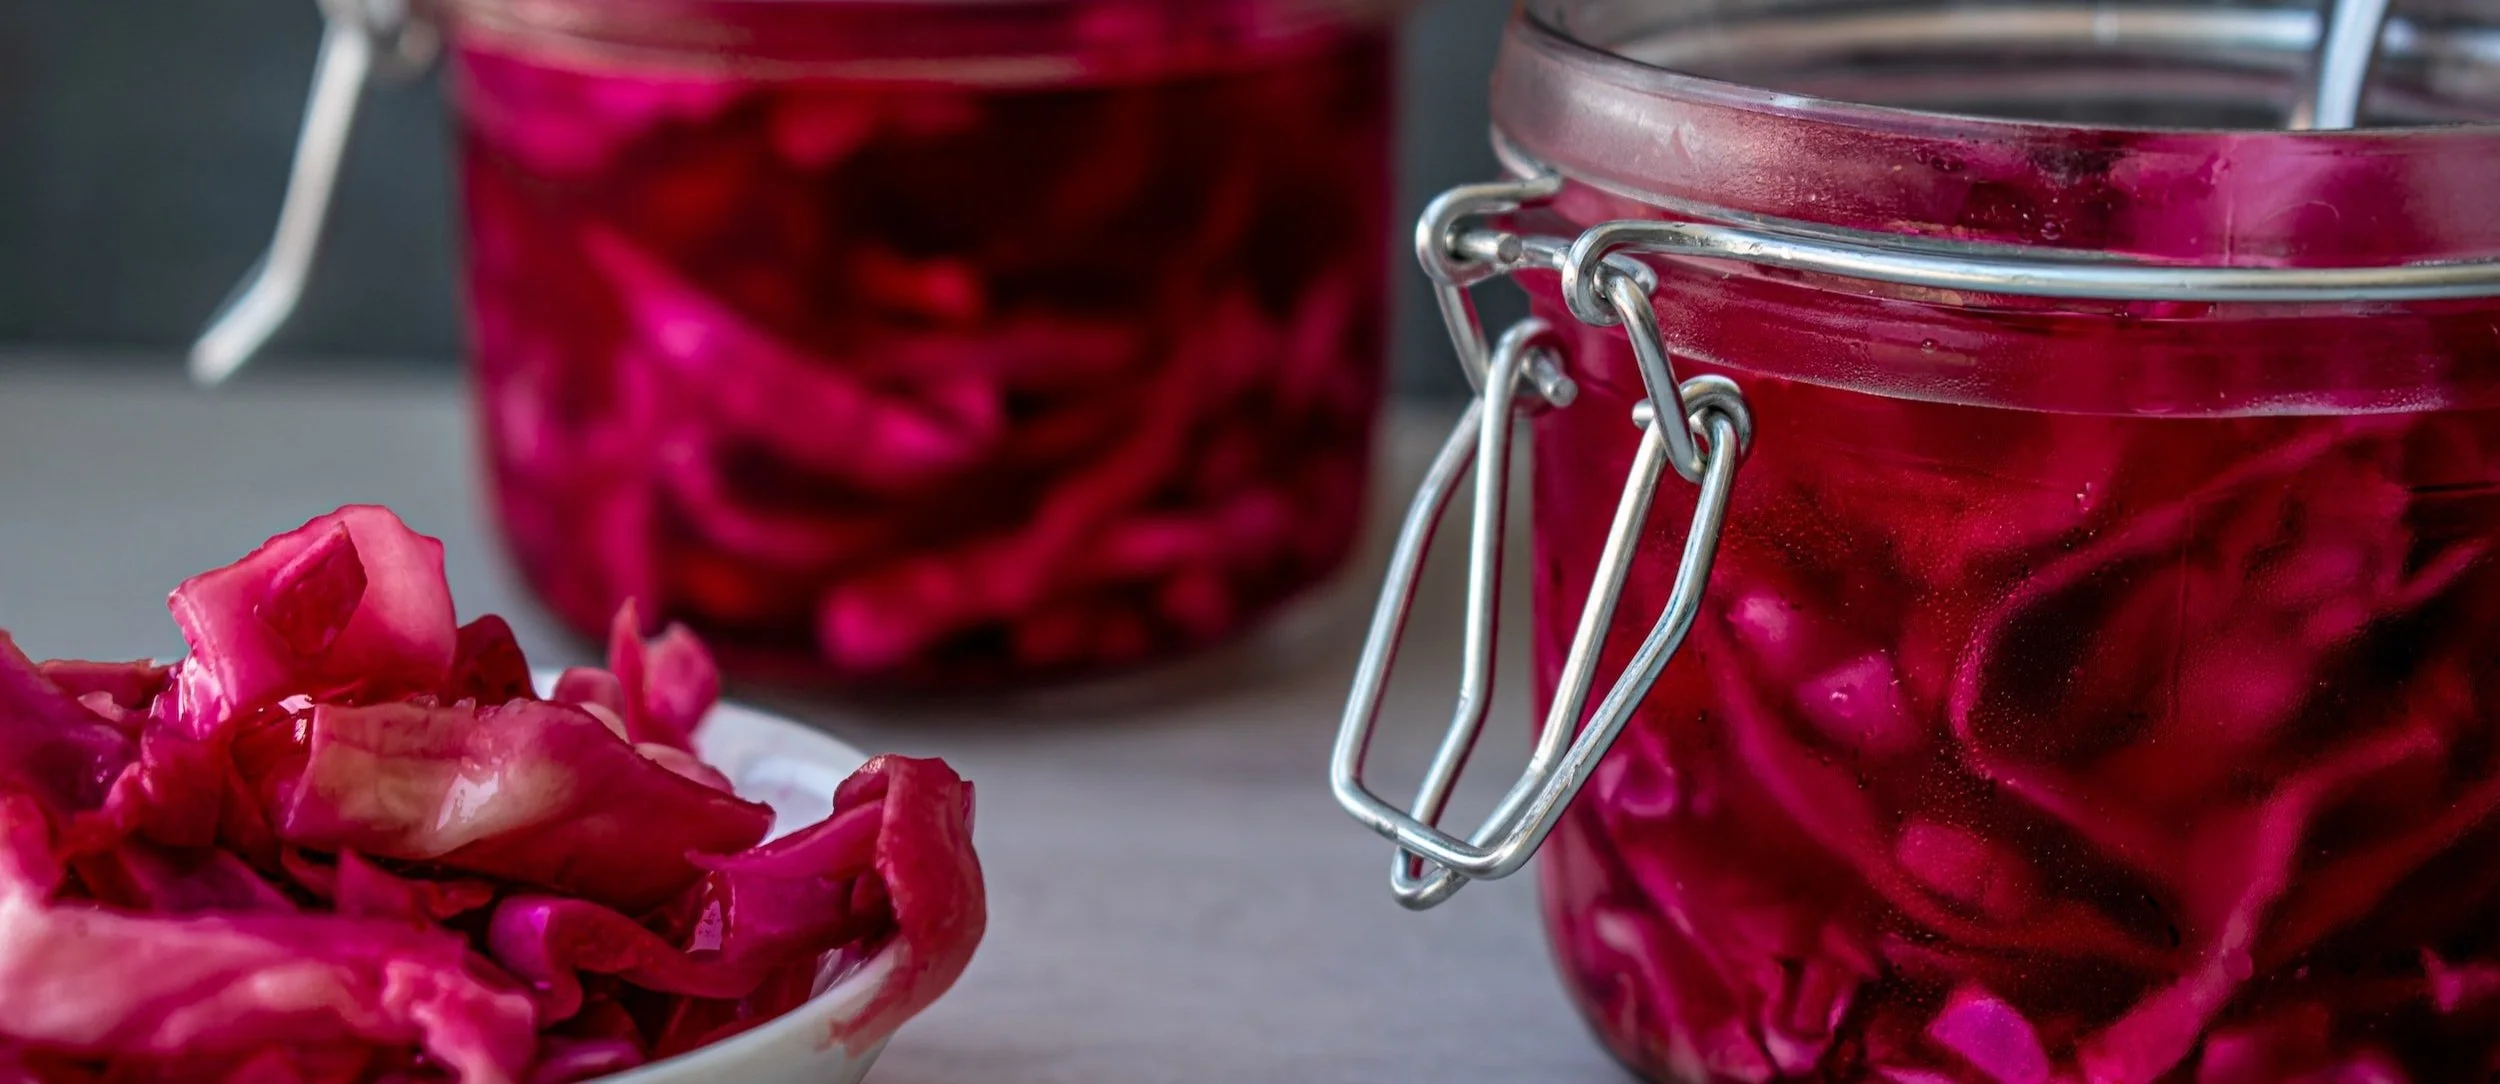
Pickling: Perfectly Salty, Sour, and Spicy
Food preserving through pickling primarily uses heat, vinegar, and salt to preserve food. Blanching the vegetables and pressure sealing the jar adds that extra precaution that that extends shelf life. When you make pickles keep in mind that you add boiling liquid into the jar, hence certain foods (like cucumbers and other soft produce) won’t fare well being blanched prior.
Embark on a culinary adventure as we guide you through the process of making homemade pickles, turning fresh ingredients into delightful and crunchy pickled treats.
Ingredients
Vinegar, pickling salt, and water are all you need to pickle. There are a few things to take note of for each:
Vinegar
You can use pretty much any type of vinegar as long as you know the concentration of acidity. Bottled lemon juice can work well and add a lot to your preserved lemons (how long do preserved lemons last?), but fresh lemon juice can vary a lot in its acidity and is typically weaker than distilled vinegar, and therefore isn’t recommended. It’s also important to note that, typically, pickles use acetic vinegar (acid created by fermenting alcohol), and the acid from lemons and other citrus fruits contains citric acid. (how long does citric acid last?)
You need to use vinegar with an acetic acid content of at least 5%. If you were to use one with less (say rice wine vinegar that typically contains around 4% concentration) you’d have to combine it with another.
This is also where price factors in, because there is a wide range of variety of prices when it comes to vinegar. Distilled white vinegar is the cheapest and most reliable, apple cider and malt vinegar are others that are quite cheap, but things like balsamic vinegar (how long does balsamic vinegar last?), while super tasty, and interesting to pickle with, can get far too expensive when you’re making huge batches. Of course, you could always combine two using a certain ratio of say sherry vinegar and distilled vinegar, or maybe just make a couple jars using a more pricey bottle.
Salt
There is a particular salt made strictly for pickling, canning, and fermenting. It’s known by many names: pickling salt, preserving salt, or canning salt. They are not iodized and don’t have any added anti-caking ingredients that can cause the brine to become cloudy. While it can vary from brand to brand, kosher salt (how long does kosher salt last?) may be a great substitute as most of the time it doesn’t contain any of these extras either. Much of the time, however, it comes in much larger granules that you may have to grind down.
Method
Prep the Veg:
How you cut down what you pickle depends on what you can and how you intend to use it. Hard vegetables like carrots (unless you’re using baby carrots) will have to be cut down. Not all vegetables are made equal, so things like beets you’ll be best off boiling first regardless of how you cut them.
Blanching the vegetables is the second important step and how long you boil entirely depends on what you’re using, and to a lesser extent, preference. If you prefer some crunch to your pickled carrots, you can leave the pieces slightly larger and/or blanch them for a little less time.
Some produce is easy; things like radishes, okra, and green beans can be cut up or pickled whole depending on your use for them. You can never go wrong by making a couple of jars with different flavors - it’ll be fun to do a taste test once they’re ready and find your favorites!
Fill the jars:
As if the process wasn’t fun and interesting enough, this is where it gets better. There are a staggering number of spices and herbs you can use when making pickles from all types of herbs like dill, thyme, or lemongrass, to a wide range of whole spices like garlic cloves, peppercorn, mustard seed, anise, cloves (how long do cloves last?), cardamom, cinnamon, even saffron. There are only two rules I live and die by when it comes to spices, and that is to use them whole and always toast them in a hot, dry frying pan prior to adding them to the jar. Herbs are always better fresh, but you definitely shouldn’t toast them if you’re using dry herbs.
To add your custom flavorings, simply fill the jars with your herbs and spices first, then top with your cut and blanched produce. Placing all the herbs and spices on the bottom is ideal because the extra pressure will force out a lot more flavor compounds.
Make the brine:
The basic ratio for traditional pickles is ⅔ vinegar to ⅓ water and 0.035 grams of salt by weight (around 35g for 2.2 lbs of vegetables, the conversion is easier when you use Kg). Add all these ingredients to a pot and bring them up to boil, make sure the salt is dissolved, and pour it into your jar. Screw the cap on immediately to close and pressure seal.
Storage
Pickles need to be stored in a dark place with a temperature of between 30 °F to 39 °F and 80 – 90% humidity. Of course, these two conditions are not absolute necessities, but that’s how you’ll get the very most out of their shelf life. Once opened, naturally they need to be stored in the fridge and can keep there quite easily for over a month.
How to Tell if Pickles have Spoiled
It’s certainly not uncommon for even the most experienced preservers to see at least a couple of jars go bad in their large batches and it’s important to know what to look for. There are two very obvious telltale signs. The first is visual: if a white foam or film has developed on top of the brine it’s gone bad. The second is the smell: As we all know pickles smell quite pungent anyway but that shouldn’t make much of a difference. There is a clear contrast between good, clean pickles, and rancid ones and you’ll know the difference when you smell it.
10 Best Texan Vegetables for Fermentation
Discover the rich Texan tradition of fermentation with a guide to the 10 best Texan vegetables, perfect for creating delicious and probiotic-rich fermented foods.
Food Preserving Method through Fermentation: It’s Alive
Fermentation takes advantage of lactic acid bacteria called lactobacilli that can be quite good for your gut and digestion. Fermenting can be slightly tricky to make for the long term because, while it’s essential to properly seal them, heat treating them can kill off the lactobacilli that are required for the process. A delicate hand is required, but fermentation is a fascinating process that’ll soon have you hooked.
For the sake of accuracy and better repetition of each batch of ferments, it’s key to measure everything by weight, not by volume. Voluminous measurements include things like teaspoons, tablespoons, ounces, and cups because these can never be 100% accurate. As an example, one tablespoon of coarse kosher salt does not weigh the same as a tablespoon of fine kosher salt. I highly advise investing in a weighing scale.
Ingredients
Many of the same guidelines apply when you’re fermenting as when pickling. The difference with fermentation is that it gets slightly more complex (or less so depending on where you stand), in that you shouldn’t really blanch the produce you’re going to ferment because it could kill helpful bacteria.
That being said, fermentation also uses significantly more salt than pickling, so washing your ingredients under cold water can be sufficient. All those things taken into account, the same rules for cutting down the produce apply in the same way. Practically any vegetable can be fermented and stored for approximately as long as pickles. The difference when it comes to taste is simple: Pickles are acidic and have a sour, spicy bite. Fermented foods have a strong sour more umami flavor. Think of it like the difference between beer and wine. All you need is water and preserving salt.
Jams, Jellies & Preserves for Fall
Celebrate the flavors of fall with our guide to jams, jellies, and preserves, providing delicious recipes to capture the essence of the autumn harvest.
Method
Make the brine:
Remember you can't boil a brine to ferment food, so it may take a little more brute strength to dissolve the salt (which is why finely ground salt is ideal). The concentration of salt depends on the vegetable: The minimum concentration is about 2%. The softer the vegetables are, the more salt you’ll use. You never want to go over 5% concentration in the brine because this too will inhibit lactic acid buildup.
It’s always easier to work with milliliters and grams when you ferment, although this is more for convenience and speed. For 1 liter of brine (1000 ml), you’d need 30-50 grams of salt. One cup of water equals 250ml of water, which comes out to 7.5-12.5 grams of salt.
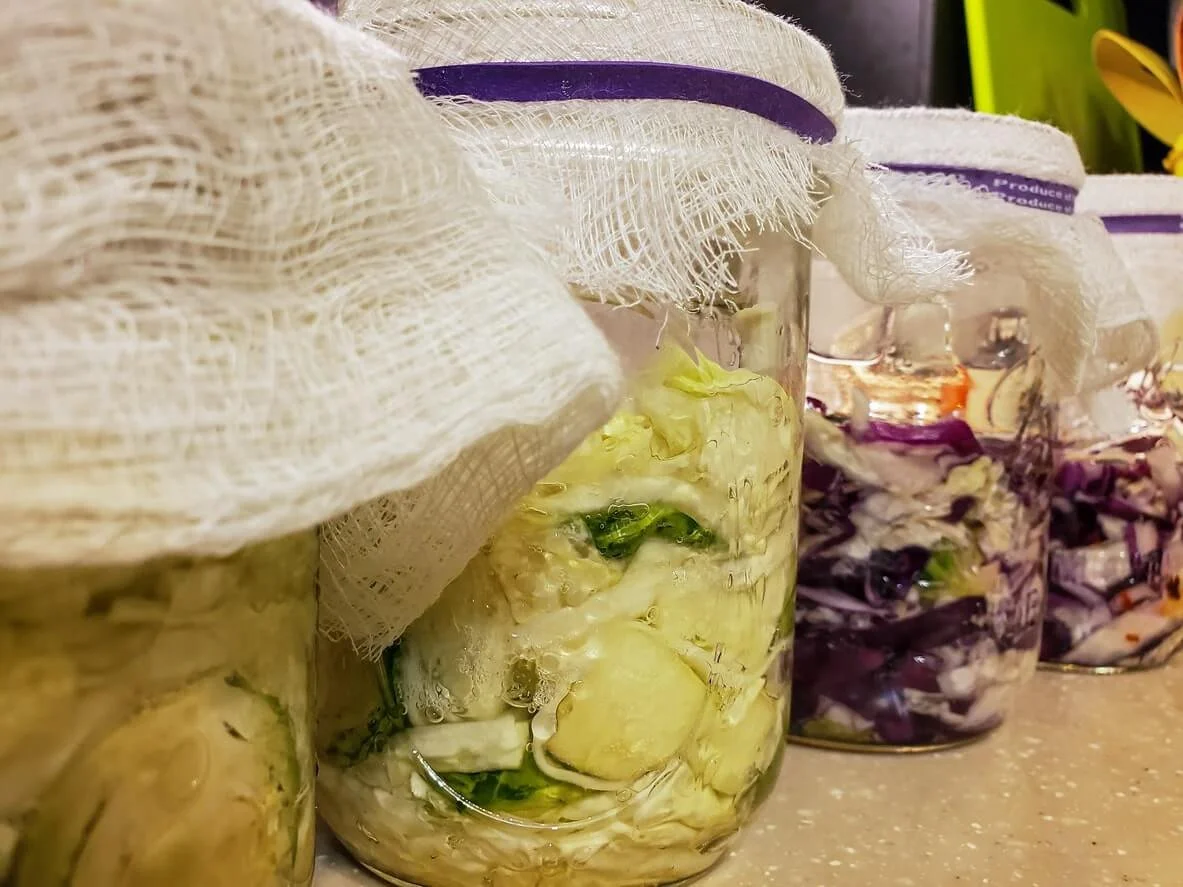
To make the brine all you have to do is combine the water and salt in a mixing bowl or measuring cup and stir it until all the salt is completely dissolved. Pour the brine into your jars with all the produce, pour over the brine until they are fully submerged, then add a fermentation weight so they don’t float to the surface, and minimize contact with oxygen (that nasty culprit!). Then simply top it with a fermentation cloth, seal it with a rubber band, and let it ferment.
Storage
Fermentation is a process unlike pickling because you can achieve it in varying degrees. The longer you leave something to ferment, the more lactic acid will build and the stronger the sour taste will be. You can, however, slow the fermentation process by storing the jars in a cool place. Of course, cold storage will prevent the growth of lactobacilli, while too warm can speed up the process and even harbor dangerous microbes.
Store the container at 70 to 75°F while fermenting. At these temperatures, produce will be fully fermented in about three to four weeks; at 60 to 65°F, fermentation may take six weeks. Below 60°F, the veggies may not ferment. Anything above 80ºF will spoil the produce. Also keep in mind the time frame greatly depends on the size of what you’re fermenting. Sauerkraut (how long does sauerkraut last?) will take much less time to ferment than whole or chunks of beetroot. Fermentation will continue to happen in the fridge just at a much slower rate so if you intend to eat the product within a few weeks simply place a lid over it and store it in the fridge. However, if you intend to store it for months to come the best way to truly stop fermentation in its tracks is to transfer it to another jar and water/pressure seal it.
How to Pressure Seal Using a Pot & Water
To water seal mason jars you’ll need a few things:
A large pot that can hold a few cans at once
Jar lids with an intact rubber seal
Water
Jar lifters
Bubble popper (less essential) - This is used to measure the amount of air between the brine and the mouth of the jar so there is enough air to ensure the jar doesn’t shatter (the fermenting process creates CO2 as a byproduct which can blow a jar if enough pressure builds.) and to remove any excess air bubbles (although this can also be done by tapping the bottom of the jar against your counter)

Homemade Pickling Equipment Guide
Explore the world of homemade pickling with our comprehensive equipment guide, ensuring you have the essential tools for preserving your favorite flavors.
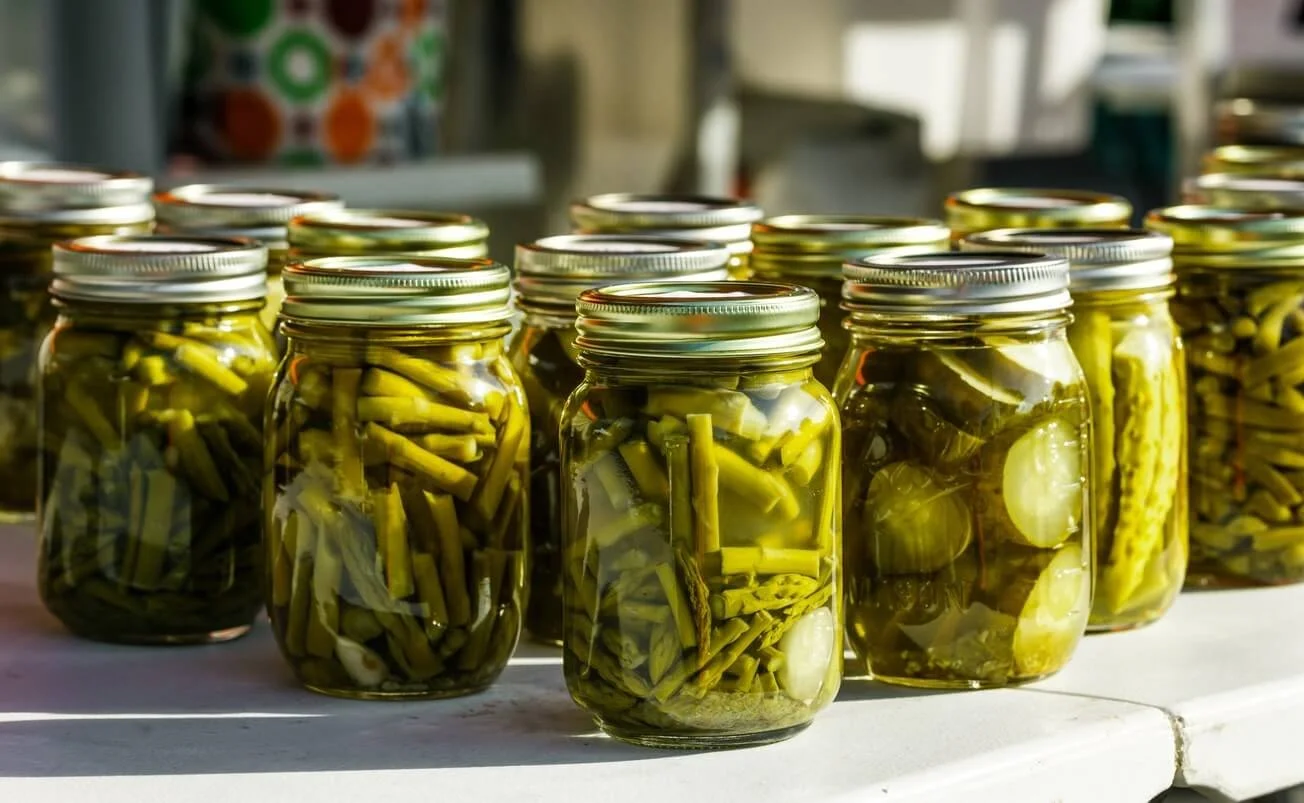
Pickles
Pickles are straightforward enough:
First bring the pot of water to a boil. Make sure the waterline just about covers the entire jar. You may need to add boiling water as needed.
Before the jars go into the boiling water it is essential to not screw them on tightly to allow excess air to escape, or else your jars can explode
Once the water boils, place the jars into the water, cover the lid, and boil them for 10-15 minutes depending on the size of your jar.
Remove them using a jar lifter, then place them on the counter overnight. The slow drop in temperature will create a vacuum in the jar sealing it.
Ferments
You can only pressure seal fermented food after they have finished the fermentation process. The pressure and temperature will kill any lactobacilli that do the fermenting for you.
Once your chosen vegetable has reached your desired stage of fermentation, you can then pressure seal it to stop the process and store it for longer. To do this, simply transfer the ferments into a clean, sterilized jar, and top with the brine, leaving ½ an inch of headspace. Tap it against the counter or on the sides with a wooden spoon to remove any bubbles (oxygen!), simply follow the process as listed above, and store as you would the pickles.
Fermenting, pickling, and canning is a huge learning curve and the odds are you won’t get it 100% right to your liking the first time. There are many factors that go into the whole food preserving process and you shouldn’t go into it expecting those perfect crunchy, sour pickles that you’d otherwise get from a store. Regardless of that, I advise you to keep at it because once you reach a sweet spot they can be used for much more than just a delectable snack. You can use them in cooking, gift them to friends and family, and eventually, start making more complex ferments like kombucha or ginger beer! The world of fermentation is a wonderful one, and once you get your feet wet, I promise you’ll be looking for new ways to experiment. Happy pickling and preserving your food!
