
Texas Chili Preservation and Canning: A Spicy Tradition Worth Preserving
Discover > Texas Home Cooking > Texas Chili Preservation and Canning: A Spicy Tradition Worth Preserving
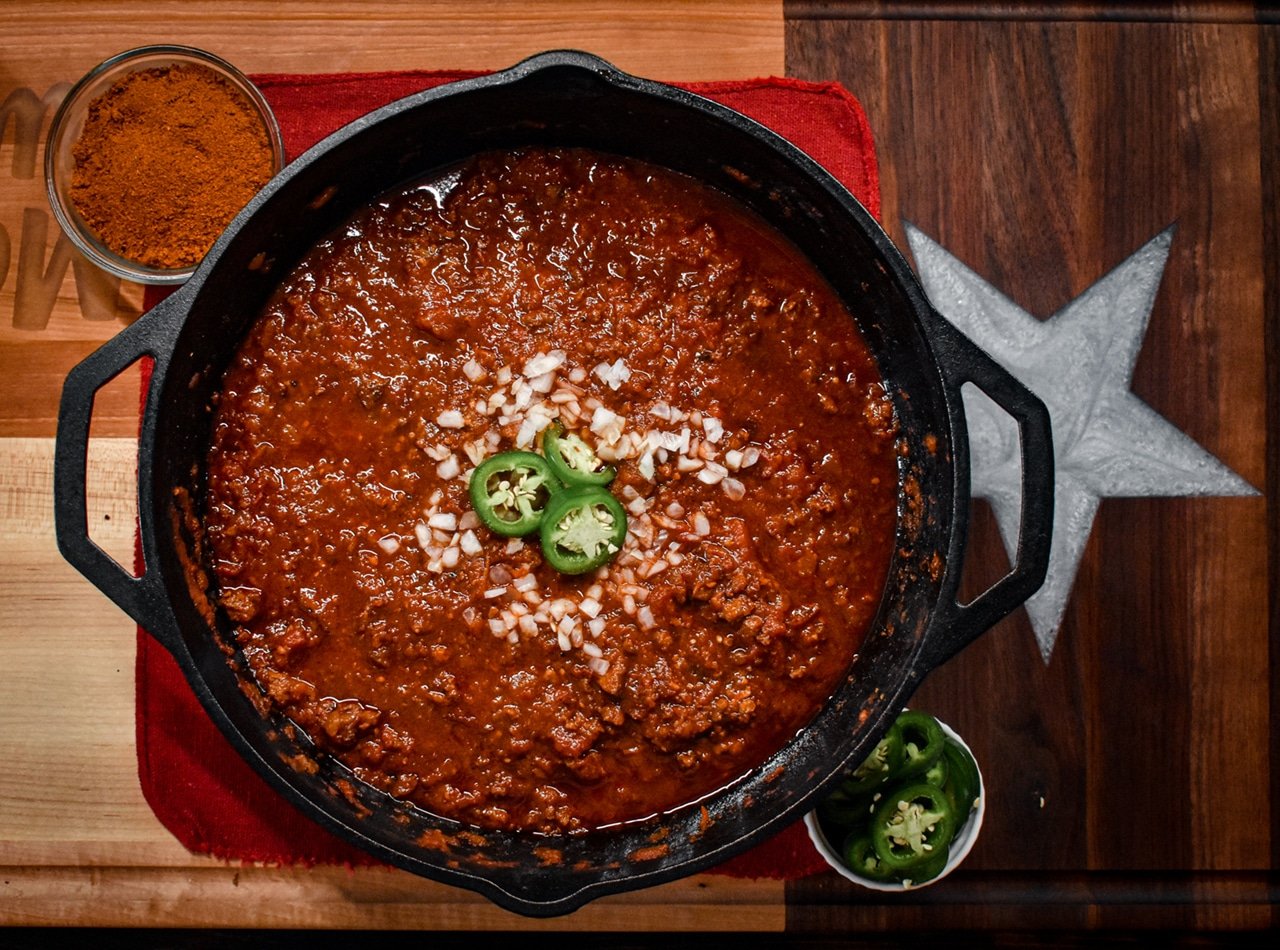
Texas chili is more than just a dish; it's a cultural icon, a symbol of Lone Star State pride, and a cherished tradition that has been passed down through generations. Whether you're enjoying it at a local chili cook-off, a family gathering, or in the comfort of your own home, Texas chili is a source of immense pride and satisfaction. But what do you do when you find yourself with a surplus of this hearty, flavorful concoction? That's where the art of Texas chili preservation and canning comes into play.
In this article, we'll explore the history of Texas chili, the preservation methods used to keep it fresh, and how you can enjoy that bold and spicy flavor all year round.
A Brief History of Texas Chili
Before diving into the preservation and canning techniques, it's essential to understand the rich history of Texas chili. This culinary tradition has deep roots in Texan culture, and its origins date back to the 1800s.

Origins of Chili in Texas
The origins of chili in Texas are somewhat disputed, but it is widely believed to have been inspired by the cooking practices of Mexican and Tejano settlers. These early Texans combined elements of their culinary traditions with local ingredients and spices to create the dish that we now know as Texas chili.
The Chili Queens of San Antonio
In the late 19th and early 20th centuries, San Antonio's Chili Queens became legendary for serving up delicious chili in the city's plazas. These vendors played a significant role in popularizing chili as a Texan culinary specialty.
The Chili Queens' stalls typically consisted of open-air carts or makeshift kitchens where they prepared and served their food to locals and tourists. They often worked late into the night, making them a popular destination for late-night diners, especially after a night of revelry.
Their chili was made with a combination of beef, chili peppers, and various spices, and it was served with a side of tortillas or bread. Customers could customize their meals with toppings like onions, cheese, and crackers. The Chili Queens' food was known for its delicious flavors and the warmth it provided, making it a comforting and hearty meal, especially during cooler Texas evenings.
The Chili Queens' presence in San Antonio not only contributed to the city's culinary culture but also added to its vibrant atmosphere. They were a popular attraction for locals and tourists alike and became a symbol of the city's unique blend of Mexican and Texan influences. Their legacy continues to be celebrated today, with events and festivals in San Antonio often paying tribute to the Chili Queens and the role they played in shaping Texan cuisine.
The Influence of Competition
The history of chili in Texas is closely tied to the influence of competition, particularly through chili cook-offs. These events have played a significant role in shaping the dish and its various regional variations.
Chili cook-offs gained popularity in the 1950s, and they became a platform for both amateur and professional cooks to showcase their chili-making skills. These competitions typically involve participants preparing their own versions of chili and having them judged by a panel or the public. The first documented chili cook-off is believed to have taken place in Terlingua, Texas, in 1967, and it was followed by many more events across the state.
Today, Texas chili continues to be celebrated and enjoyed in various forms, thanks in part to the legacy of chili cook-offs. These events not only helped refine the dish but also contributed to the diversity of chili styles in Texas, making it a cherished and enduring part of Texan culinary culture.
The Art of Texas Chili Preservation
Texas chili is undoubtedly best when it's freshly made, but sometimes you find yourself with a surplus or want to enjoy it beyond its initial preparation. Preserving this hearty dish is essential to savor the flavors of the Lone Star State all year long.
Here are some methods you can use to store and preserve this hearty dish:
1. Freezing Texas Chili

Freezing is one of the best methods to preserve Texas chili. Follow these steps:
- Allow the chili to cool to room temperature.
- Divide the chili into portion-sized containers or resealable freezer bags.
- Make sure to remove as much air as possible to prevent freezer burn.
- Label each container or bag with the date so you can keep track of freshness.
- Store in the freezer for up to 3-4 months. For best quality, consume it within this time frame.
A perfect vacuum-sealed Ziploc bag ready to freeze, marinade, or store anything for longer. No special tools required.
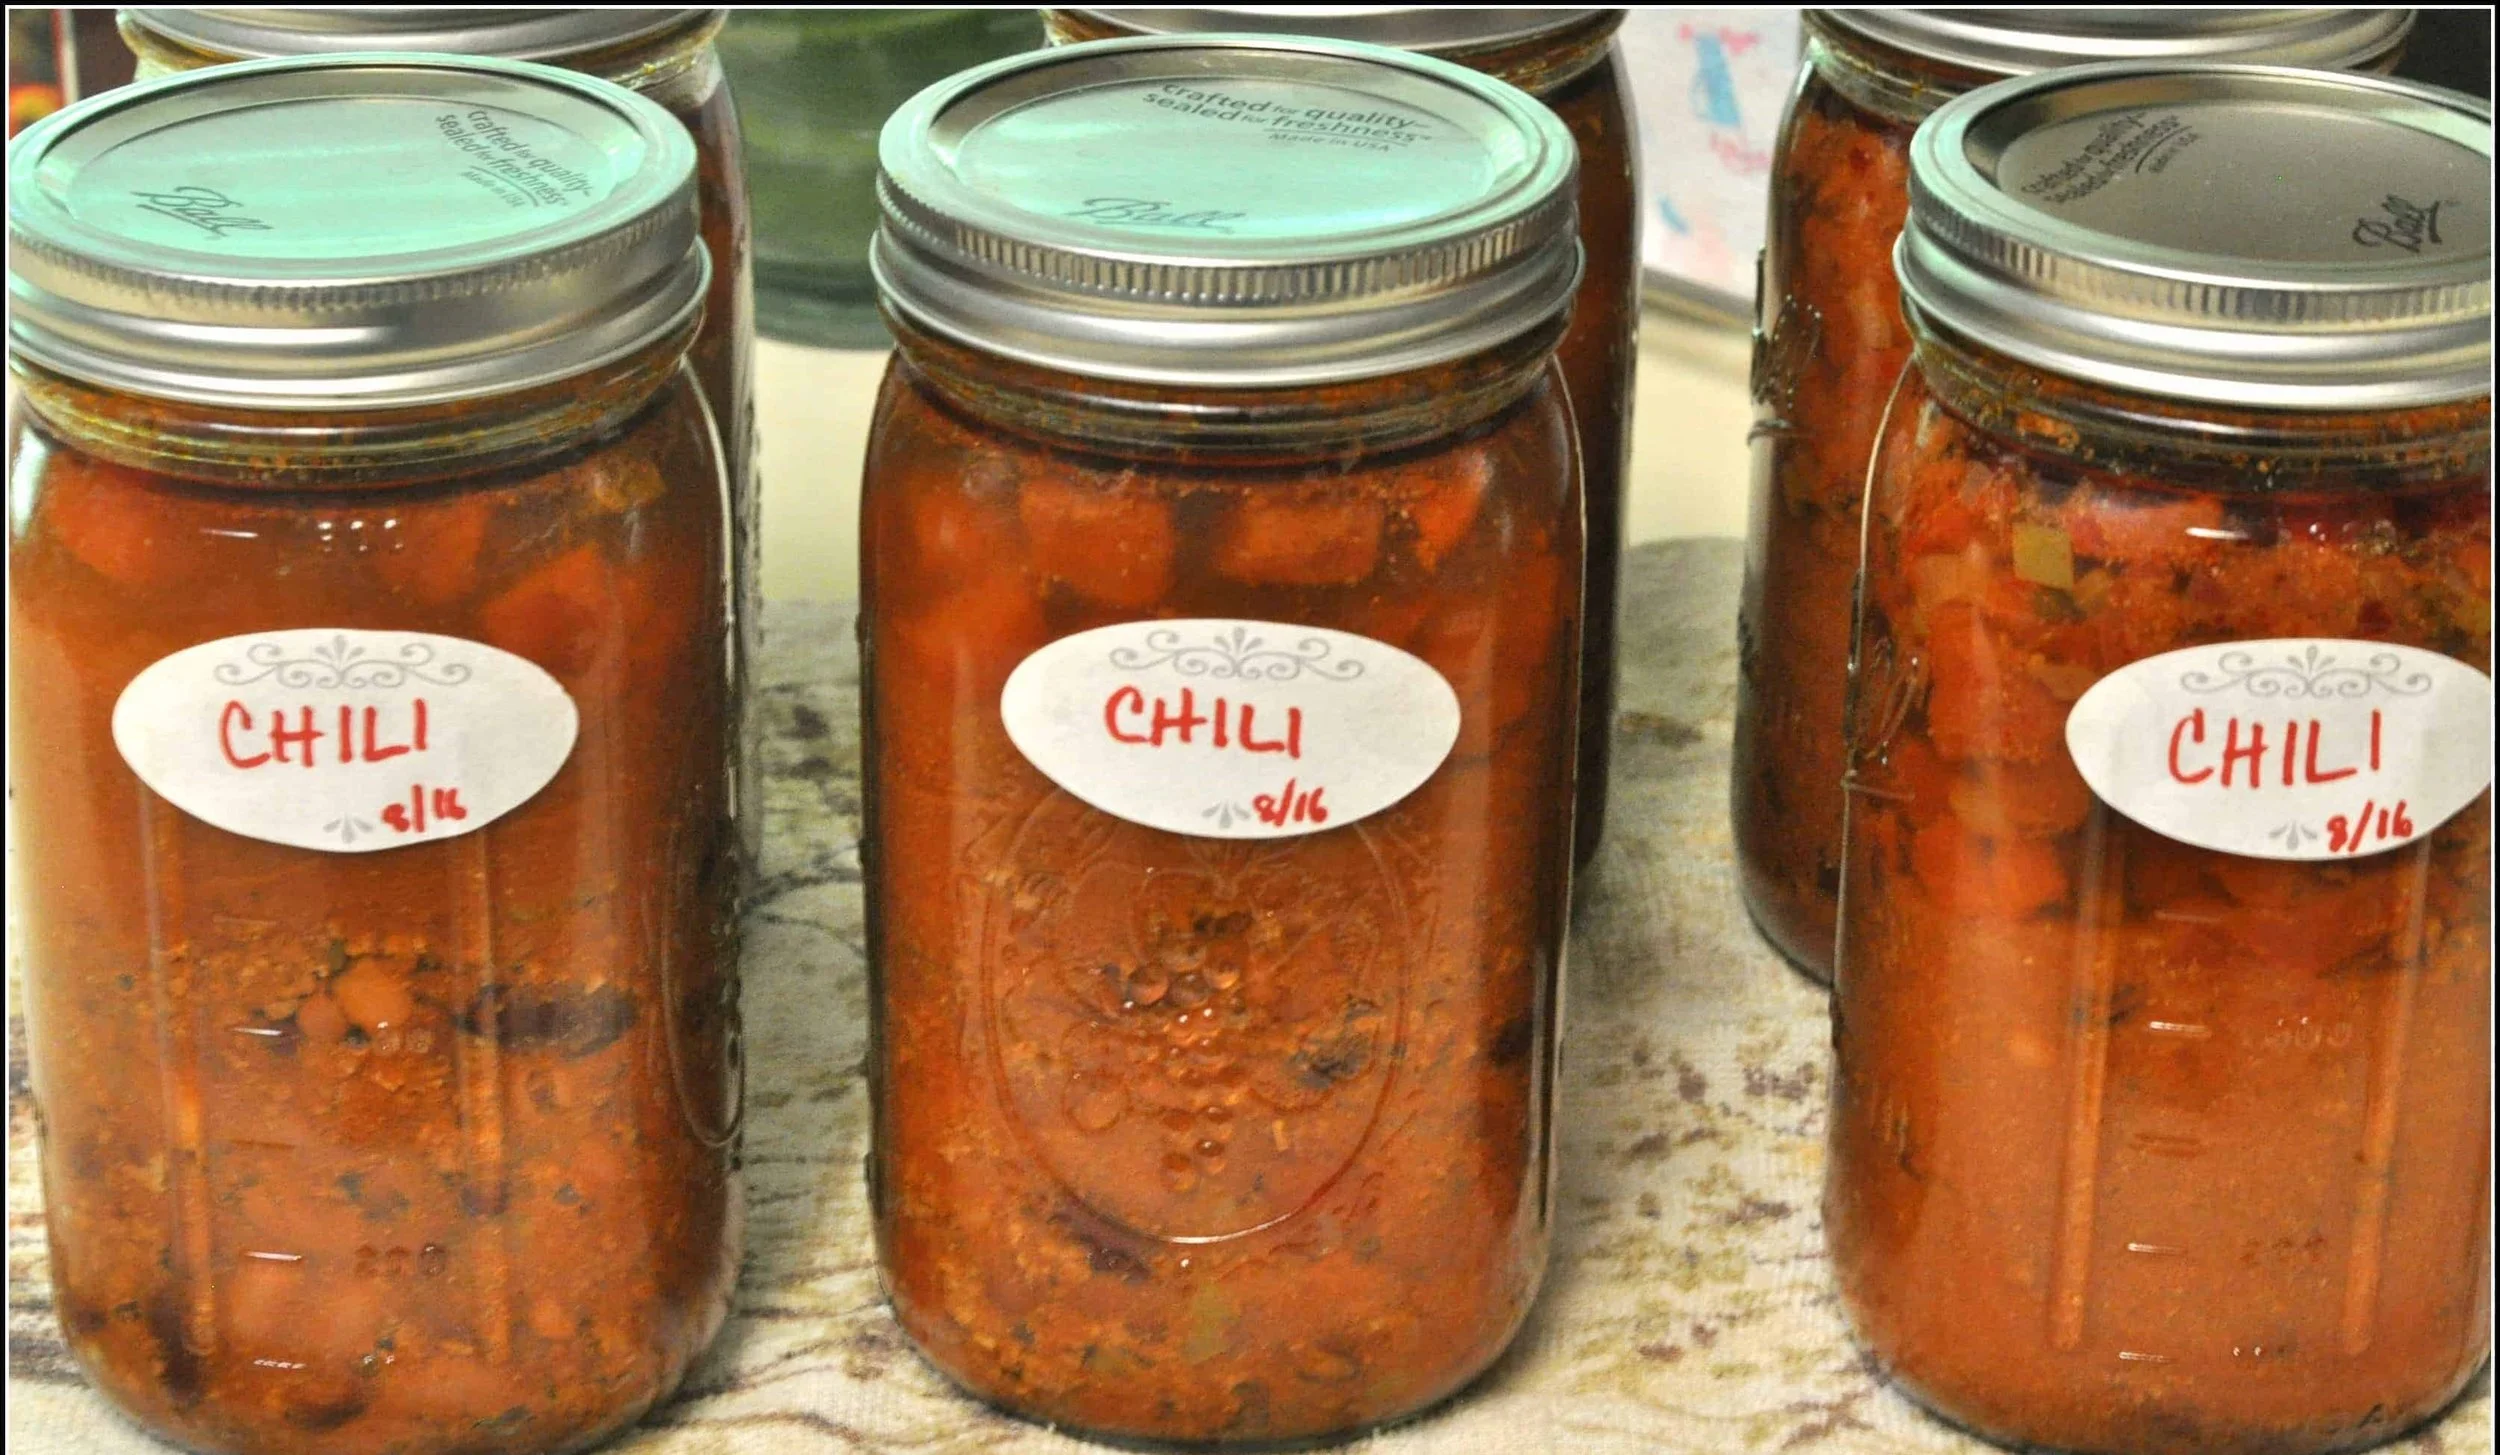
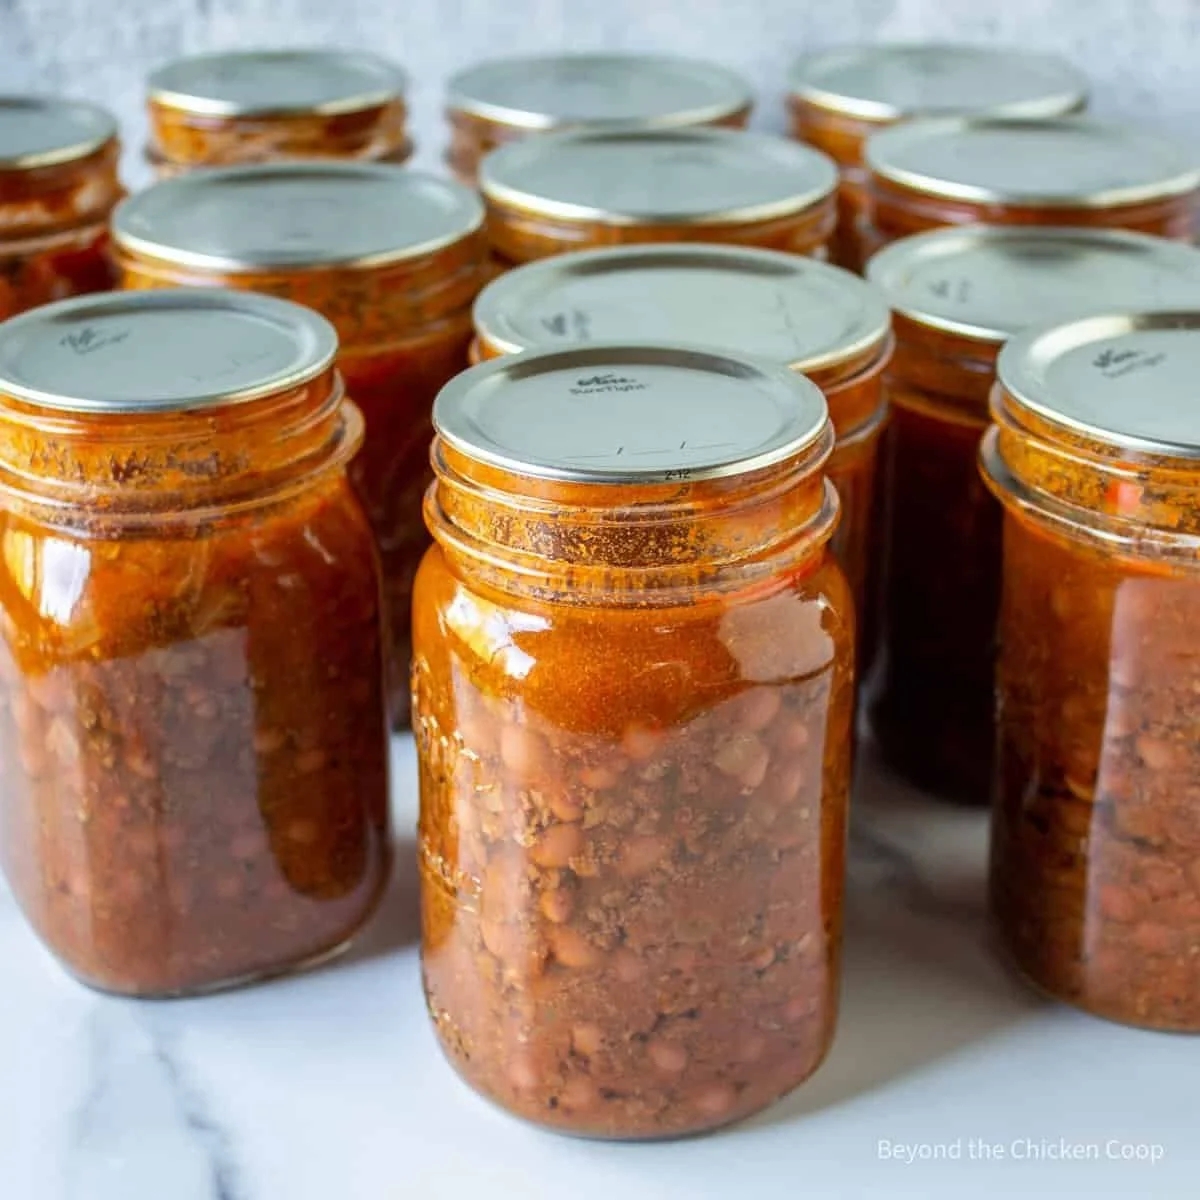
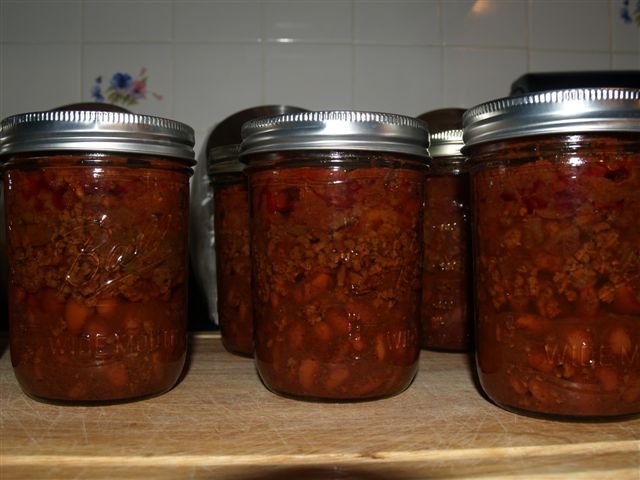
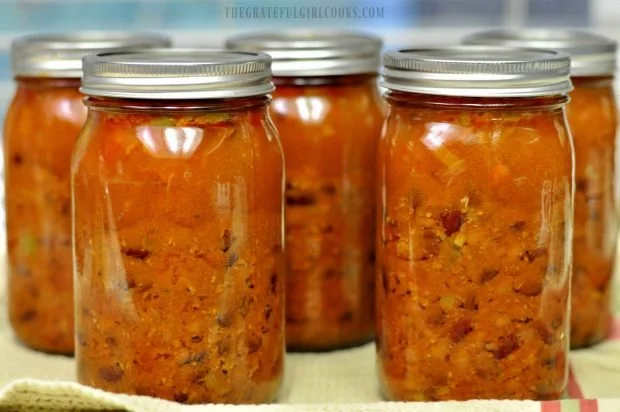
2. Canning Texas Chili

Canning is a traditional method to preserve chili. Follow these steps if you're familiar with canning procedures:
- Prepare your canning jars, lids, and rings by sterilizing them.
- Fill the jars with hot chili, leaving about 1-inch headspace.
- Wipe the jar rims to ensure a clean seal and place the lids and rings on.
- Process the jars in a pressure canner according to USDA guidelines for canning chili.
- Store the sealed jars in a cool, dark place for up to 1 year or as per canning recommendations.
Most people are familiar with canning: fruits, vegetables, and jams. However, we made a list of other fun things to can as well.
3. Refrigerating Texas Chili
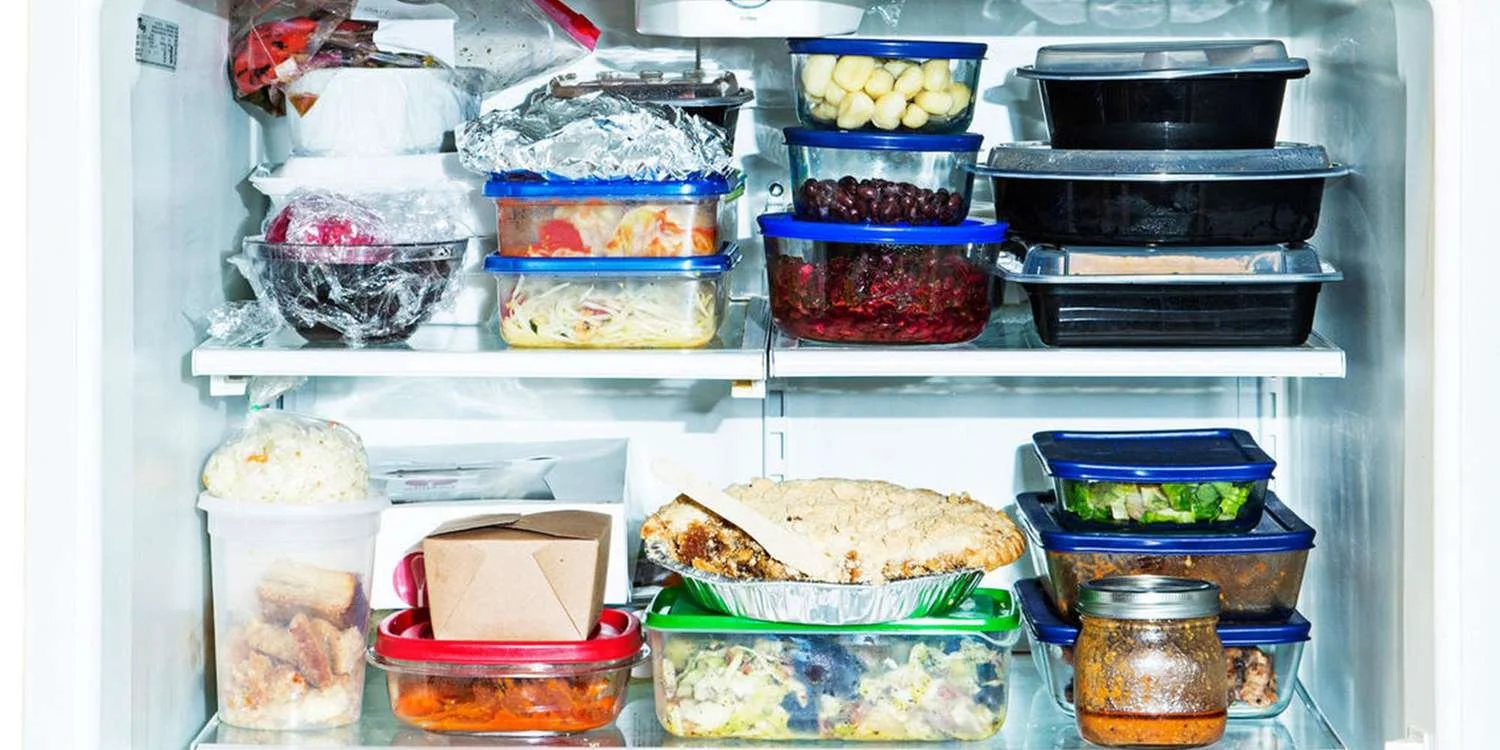
You can refrigerate Texas chili for a shorter period to enjoy it in the upcoming week. Here's how:
- Allow the chili to cool to room temperature.
- Transfer the chili to airtight containers or resealable bags.
- Seal the containers and place them in the refrigerator.
- Consume within 3-4 days for the best quality.
4. Dehydrating Texas Chili
You can also dehydrate Texas chili and turn it into a dry mix for later use. Here's how:
- Prepare a thick batch of chili and let it cool.
- Spread the chili thinly on dehydrator trays.
- Dehydrate the chili until it's completely dry and brittle.
- Crush or powder the dried chili and store it in airtight containers.
- To reconstitute, simply add hot water or broth to the desired amount of chili mix and simmer until it reaches the desired consistency.
Instead of buying processed dried fruits (What wine goes well with dried fruits?) in stores, save precious cash by making your own stash of dried fruits.
Remember to always cool the chili before attempting any preservation method to prevent condensation and potential bacterial growth. Additionally, label your containers or bags with the date to keep track of freshness and ensure you consume your preserved Texas chili within the recommended time frames. This way, you can savor the flavors of Texas chili all year long, even when it's not freshly made.
Ingredients and Equipment for Texas Chili Preservation
Before getting started with the preservation process, you'll need to gather the necessary ingredients and equipment:
Texas chili (your preferred recipe)
Canning jars with lids and bands
A large canning pot
Tongs
Funnel
Ladle
Bubble popper tool
Clean towels
Steps for Preserving Texas Chili
Here is a step-by-step guide to preserving your Texas chili:
a. Prepare the Chili
Start by preparing a fresh batch of Texas chili, following your favorite recipe.
b. Sterilize Jars and Lids
To prevent contamination, ensure that your jars, lids, and bands are clean and sterilized. This can be done by boiling them in a large pot of water for a few minutes.
c. Fill the Jars
Use a funnel and ladle to fill the sterilized jars with hot chili, leaving about one inch of headspace at the top.
d. Remove Air Bubbles
To eliminate air bubbles, use a bubble popper tool to gently release any trapped air in the jar.
e. Wipe Jar Rims
Use a clean towel or cloth to wipe the rims of the jars to ensure a proper seal.
f. Seal the Jars
Place the lids and bands on the jars, ensuring that they are not overly tightened.
g. Process in a Canning Pot
Place the filled jars in a canning pot, making sure they are covered with water. Bring the water to a boil and process for the recommended time (typically around 20-30 minutes, depending on your altitude and recipe).
h. Remove and Cool
After processing, use tongs to remove the jars from the pot and place them on a clean towel to cool.
i. Check Seals
Once the jars have cooled, check the seals by pressing down on the center of the lids. They should not pop back when pressed.
j. Store
Store the sealed jars in a cool, dark place. The preserved Texas chili can be stored for up to a year or more.
Tips for Safely Canning Texas Chili
Your step-by-step guide to preserving Texas chili through canning is comprehensive and well-organized. Canning is an excellent way to ensure your chili stays safe to eat for an extended period. Here are a few additional tips to consider:
Use Proper Canning Techniques
Ensure that you follow USDA or other reputable canning guidelines for canning chili. These guidelines take into account factors like altitude and food safety.
Use New Lids
Always use new canning lids, as they provide the best seal. Rings can be reused as long as they are in good condition.
Keep a Record
It's a good idea to keep a record of the canning process, including the date, recipe used, and processing time. This will help you keep track of what's in each jar and when it was canned.
Check for Spoilage
Before consuming any canned chili (how long does canned chili last?), visually inspect the contents for any signs of spoilage, such as mold, off smells, or unusual texture.
Label the Jars
To make it easier to identify your preserved chili, label the jars with the contents and date. A label maker or waterproof marker can be handy for this purpose.
Rotate Your Stock
To ensure the best quality, consider rotating your canned chili stock by using the oldest jars first. This will help prevent jars from sitting on the shelf for too long.
Store in Ideal Conditions
Store your preserved chili in a cool, dark, and dry place. Extreme temperatures and direct sunlight can affect the quality and safety of your canned goods.
Altitude Adjustment
If you live at a high altitude, make the necessary adjustments to processing times to account for lower boiling temperatures.
Discard Unsealed Jars
If any jars fail to seal properly, do not consume the contents. Instead, refrigerate or reprocess them immediately.
By following these additional tips and your step-by-step guide, you'll be able to enjoy the flavors of Texas chili throughout the year, safe in the knowledge that it's been properly preserved.
Enjoying Preserved Texas Chili
Once you've successfully preserved your Texas chili, it's time to savor the flavors of the Lone Star State throughout the year. Here are some creative ways to enjoy your canned chili:
Quick Weeknight Meals
Heat up a jar of preserved chili for a quick and satisfying weeknight dinner. Serve it over rice, with a side of cornbread, or on top of a baked potato.
Game Day Delights
Texas chili makes for the perfect game day snack. Use it as a topping for nachos, hot dogs, or chili cheese fries.
Camping and Outdoor Adventures
Take your preserved chili on camping trips or outdoor adventures for a hearty and convenient meal.
Host Chili Parties
Host chili parties and taste-testing events with friends and family. Compare different recipes and enjoy the variety of flavors.
Gifting Homemade Chili
Share the love of Texas chili by gifting jars of your preserved creation to friends and loved ones.
Conclusion
Texas chili is more than just a meal; it's a piece of Texan culture and a culinary treasure worth preserving. By understanding the history, taking the time to preserve your chili using proper canning techniques, and considering safety precautions, you can enjoy the bold and spicy flavors of Texas chili all year round. Whether it's a hearty weeknight dinner, a game day snack, or a thoughtful gift, the possibilities are endless. So, embrace the tradition of Texas chili preservation and keep the fiery spirit of the Lone Star State alive in your kitchen.
