
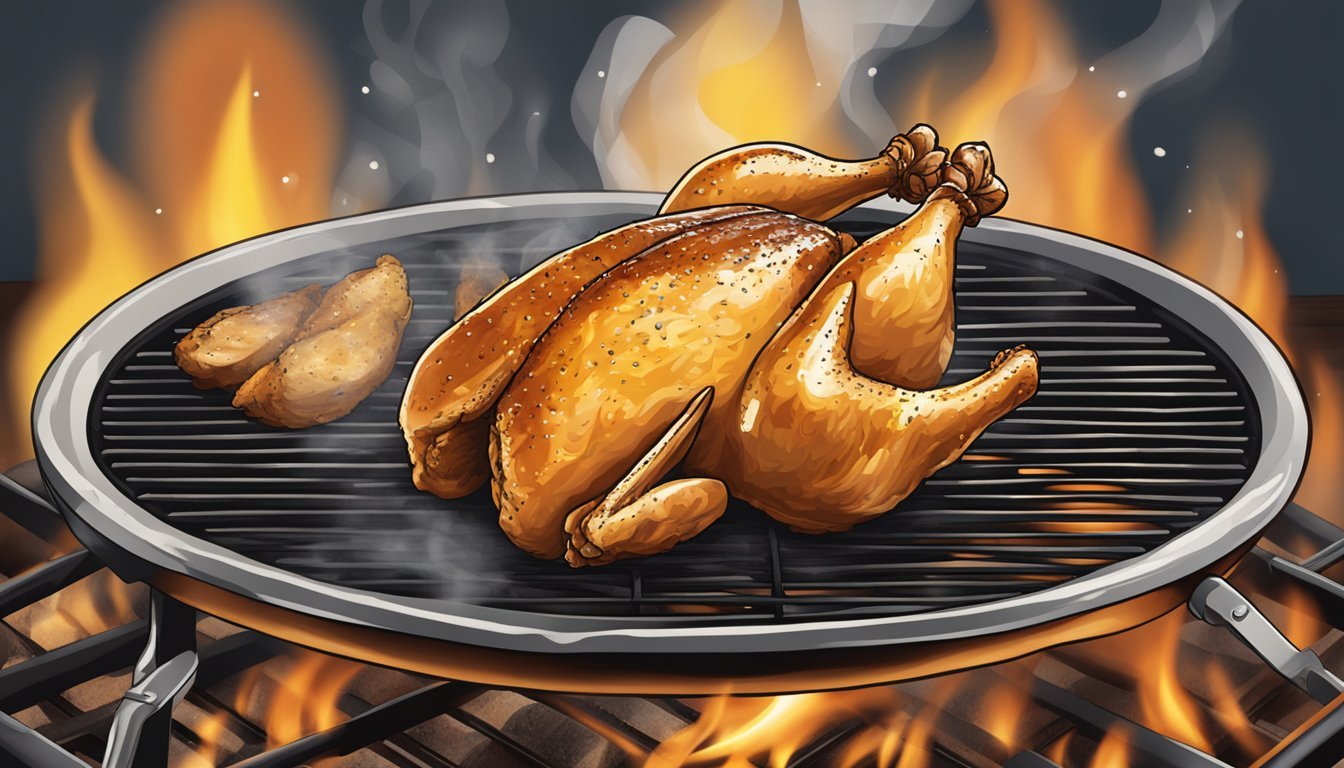
How to Cook a 7.5 lb Chicken
Perfect Roasting Techniques
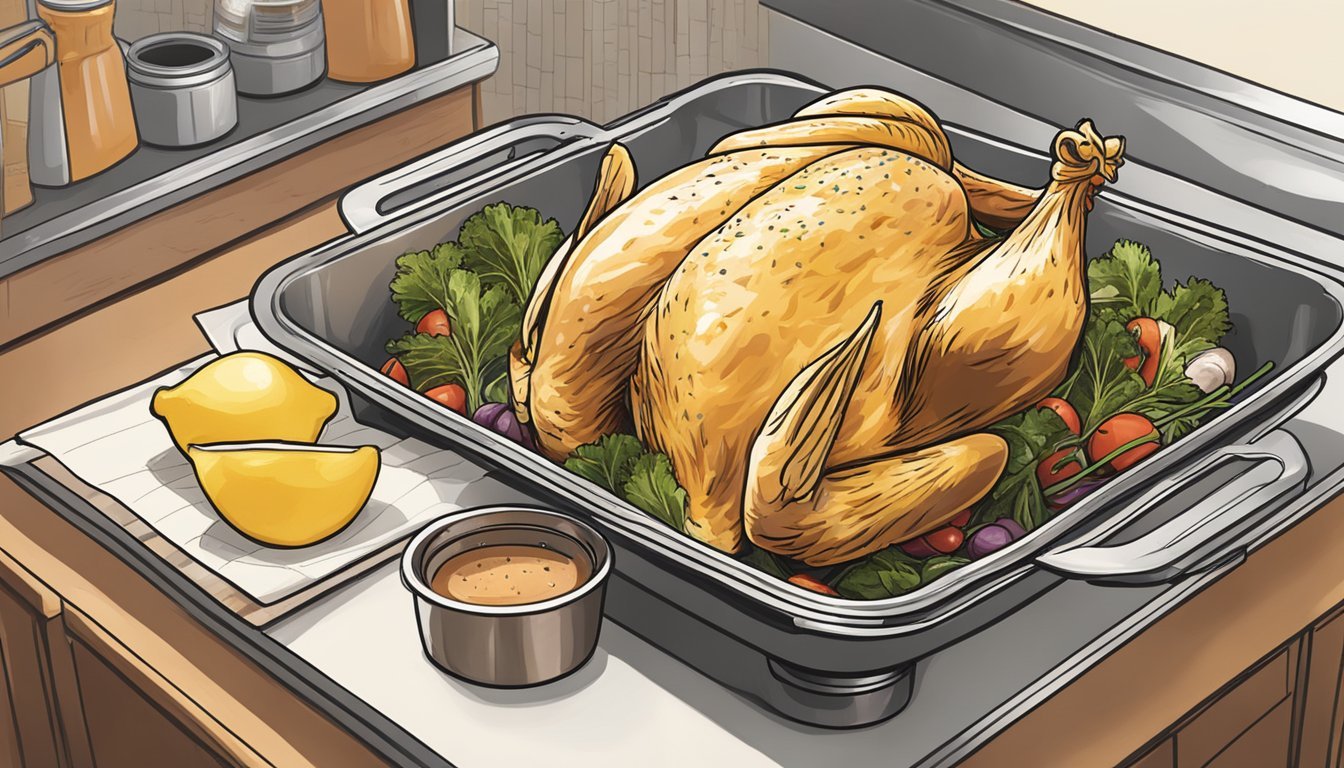
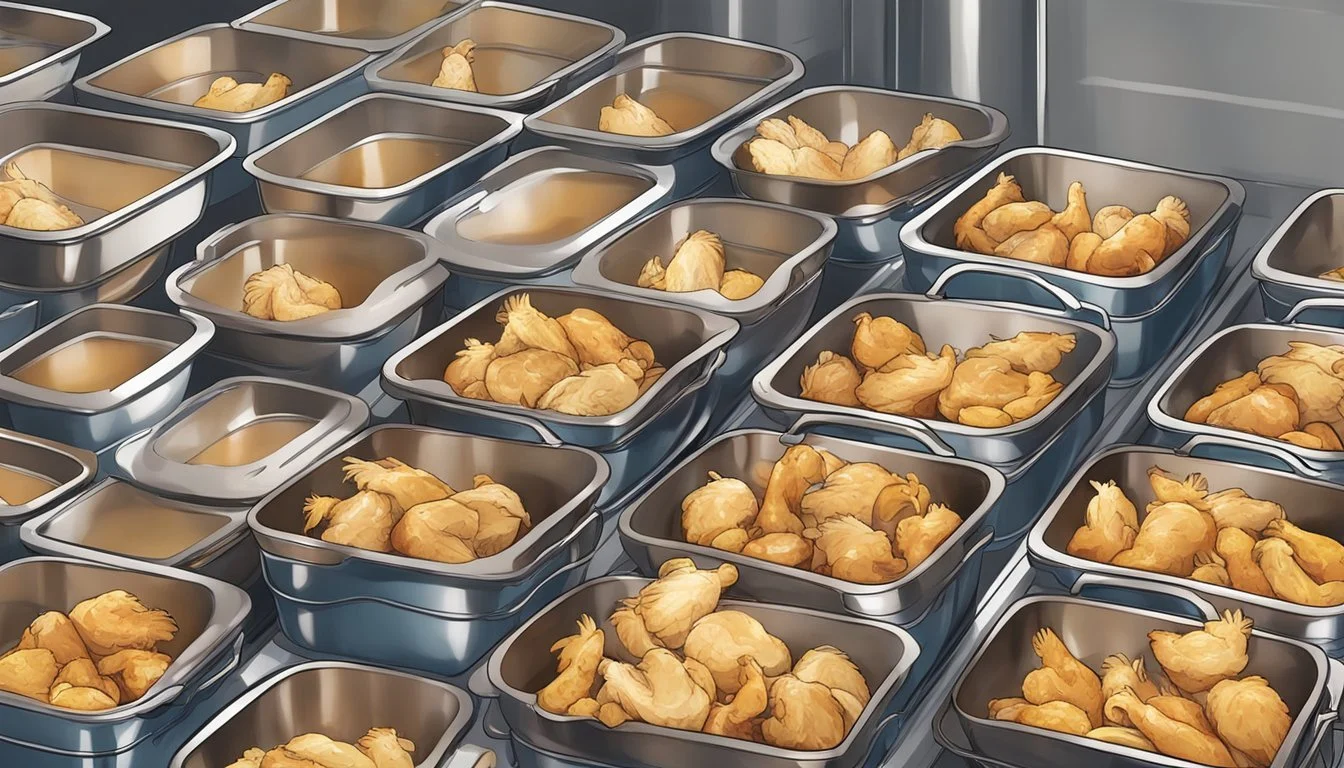
Cooking a 7.5 lb chicken can seem daunting, but with the right techniques, it becomes an achievable culinary feat. To roast a 7.5 lb chicken, preheat the oven to 350°F (175°C) and cook for approximately 2.5 to 3 hours, or until the internal temperature reaches 165°F (74°C). This cooking time allows for the chicken to become tender and juicy while developing a crispy, golden-brown skin.
Preparing the chicken is crucial for achieving a perfect roast. Patting the chicken dry with paper towels and seasoning it generously with herbs, spices, and butter or oil enhances its flavor. Placing the bird on a roasting rack in a pan allows for even heat circulation, resulting in uniform cooking and crispy skin all around.
For added flavor and moisture, cooks can stuff the cavity with aromatics like lemon, garlic, and fresh herbs. Trussing the chicken helps it maintain its shape and ensures even cooking. By following these steps, anyone can create a delicious roast chicken that's sure to impress.
Essential Preparations
Proper preparation is crucial for cooking a delicious 7.5 lb chicken. Selecting a high-quality bird, safely thawing it, and enhancing its flavor through brining are key steps to ensure a mouthwatering result.
Selecting the Right Chicken
Choose a fresh, plump 7.5 lb chicken with smooth, unblemished skin. Look for a bird with a plump breast and firm texture. Avoid chickens with discoloration or strong odors. Free-range or organic chickens often offer superior taste and texture.
Check the expiration date and ensure proper refrigeration. If possible, purchase from a reputable butcher or farmer's market for the best quality. Consider the number of people you'll be serving - a 7.5 lb chicken typically feeds 6-8 adults.
Thawing and Handling Tips
Safely thaw frozen chicken in the refrigerator, allowing 24 hours for every 4-5 pounds. For a 7.5 lb chicken, plan for about 36-48 hours of thawing time. Never thaw at room temperature, as this can promote bacteria growth.
If pressed for time, use the cold water method:
Submerge the sealed chicken in cold water
Change the water every 30 minutes
Allow about 30 minutes per pound
Always wash hands and surfaces thoroughly after handling raw chicken to prevent the spread of bacteria. Use separate cutting boards and utensils for raw poultry.
Brining for Flavor
Brining enhances moisture and flavor. Create a basic brine using:
1 cup salt
1 cup sugar
1 gallon cold water
Dissolve salt and sugar in water. Submerge the chicken in the brine, refrigerating for 8-12 hours. For added flavor, include herbs, garlic, or citrus zest in the brine.
After brining, rinse the chicken thoroughly and pat dry with paper towels. This step removes excess salt and helps achieve crispy skin during roasting. Allow the chicken to come to room temperature for 30 minutes before cooking for even heat distribution.
Preparing the Chicken

Proper preparation is crucial for a delicious roasted chicken. This involves cleaning, seasoning, and trussing the bird to ensure even cooking and maximum flavor.
Cleaning and Drying
Start by removing the chicken from its packaging. Take out any giblets from the cavity. Rinse the chicken inside and out under cold running water.
Pat the chicken thoroughly dry with paper towels, both inside and out. This step is essential for achieving crispy skin during roasting.
Let the chicken sit at room temperature for 30 minutes before seasoning. This allows for more even cooking.
Seasoning and Stuffing
Liberally season the chicken with salt and pepper, both inside the cavity and on the outside. Use about 1 tablespoon of salt for a 7.5 lb chicken.
Create a compound butter by mixing softened butter with minced garlic, chopped herbs, and lemon zest. Gently separate the skin from the breast meat and spread the butter mixture underneath.
For added flavor, stuff the cavity with aromatics:
1 halved lemon
2-3 garlic cloves
Fresh herbs (rosemary, thyme, parsley)
Drizzle the outside of the chicken with olive oil and rub it all over the skin.
Trussing Techniques
Trussing helps the chicken cook evenly and keeps the wings and legs close to the body. Here's a simple method:
Cut a piece of kitchen twine about 3 feet long.
Center the twine under the chicken's tail.
Bring the twine up and around the legs, crossing it to form an X.
Pull tight and tie a knot to secure the legs together.
Bring the twine along the sides of the chicken, tucking in the wings.
Tie the twine at the neck to secure everything in place.
This technique ensures a compact shape for even roasting and an attractive presentation.
Cooking the Chicken

Properly cooking a 7.5 lb chicken requires careful attention to temperature, timing, and technique. These steps ensure a juicy, flavorful result while maintaining food safety.
Oven Roasting Basics
Preheat the oven to 350°F (175°C). Place the seasoned chicken in a roasting pan, breast side up. For a 7.5 lb chicken, plan on approximately 2 hours and 30 minutes of cooking time. This equates to roughly 20 minutes per pound.
Use a meat thermometer to check for doneness. Insert it into the thickest part of the thigh, avoiding bone. The USDA recommends an internal temperature of 165°F (74°C) for safe consumption.
Consider basting the chicken every 30 minutes with pan juices or melted butter. This helps keep the meat moist and promotes even browning of the skin.
Monitoring Temperature
An instant-read thermometer is crucial for accurate temperature readings. Check the chicken's temperature in multiple spots, including the breast and thigh.
If the skin browns too quickly, cover the chicken loosely with aluminum foil. This prevents burning while allowing the meat to cook through.
Adjust cooking time as needed. Factors like oven accuracy and starting meat temperature can affect total cooking duration. The chicken is done when juices run clear and the internal temperature reaches 165°F (74°C).
Resting Before Serving
Once the chicken reaches the proper temperature, remove it from the oven. Let it rest for 15-20 minutes before carving. This allows juices to redistribute throughout the meat.
During resting, the internal temperature may rise an additional 5-10 degrees. Factor this into your cooking time to prevent overcooking.
Use the resting period to prepare side dishes or gravy. The chicken will be easier to carve after resting, resulting in cleaner slices and juicier meat.
Enhancing the Roast
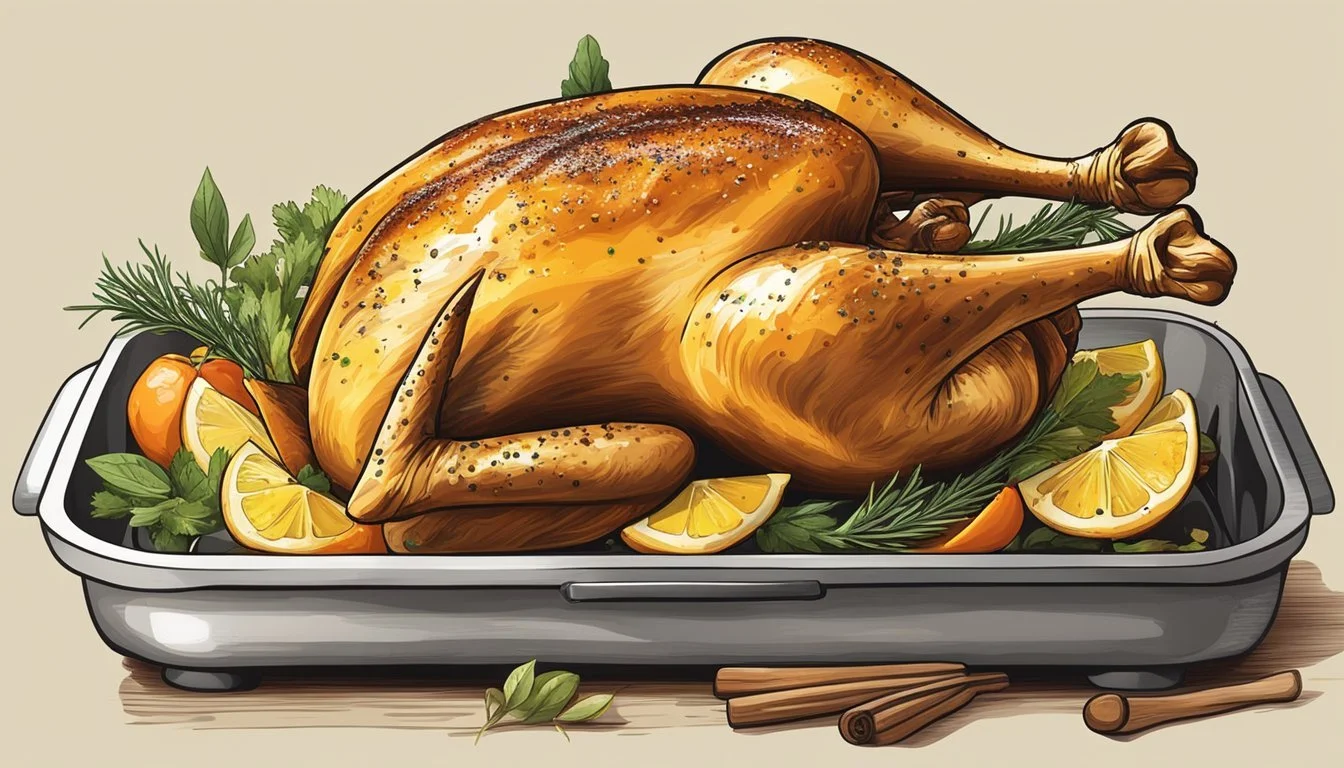
A perfectly roasted chicken can be elevated with crispy skin, complementary vegetables, and a flavorful gravy. These elements transform a simple roast into a memorable meal.
Optimizing for Crispy Skin
To achieve crispy skin, pat the chicken dry with paper towels before roasting. Rub the skin with olive oil and season generously with salt and black pepper. For extra crispiness, mix softened butter with herbs and gently separate the skin from the meat, spreading the butter mixture underneath. Roast the chicken at a high temperature (425°F/218°C) for the first 20 minutes, then reduce to 375°F/190°C for the remaining time.
Basting every 20-30 minutes helps maintain moisture and enhances browning. Use a combination of pan drippings and melted butter for basting. Avoid opening the oven door too frequently, as this can lower the temperature and extend cooking time.
Complementing with Vegetables
Roasting vegetables alongside the chicken adds flavor and creates a complete meal. Choose hardy vegetables that can withstand long cooking times. Carrots, onions, and fennel are excellent options. Cut them into large chunks and toss with olive oil, salt, and pepper.
Arrange the vegetables in a single layer around the chicken in the roasting pan. This allows them to cook evenly and absorb the flavorful drippings. Add roasted potatoes for a heartier meal. For tender-crisp green beans, add them to the pan during the last 20 minutes of cooking.
Making the Perfect Gravy
A rich gravy enhances the roasted chicken and ties the meal together. Start by removing the chicken from the roasting pan and set it aside to rest. Pour the pan drippings into a fat separator or remove excess fat with a spoon.
Place the roasting pan over medium heat on the stovetop. Add flour to the drippings and whisk to create a roux. Slowly pour in chicken stock, stirring constantly to prevent lumps. For deeper flavor, use homemade chicken stock if available. Simmer the gravy until it reaches the desired consistency, scraping up any browned bits from the pan bottom.
Season with salt and pepper to taste. For extra richness, stir in a pat of butter just before serving. Strain the gravy if a smoother texture is preferred.
Presentation and Serving
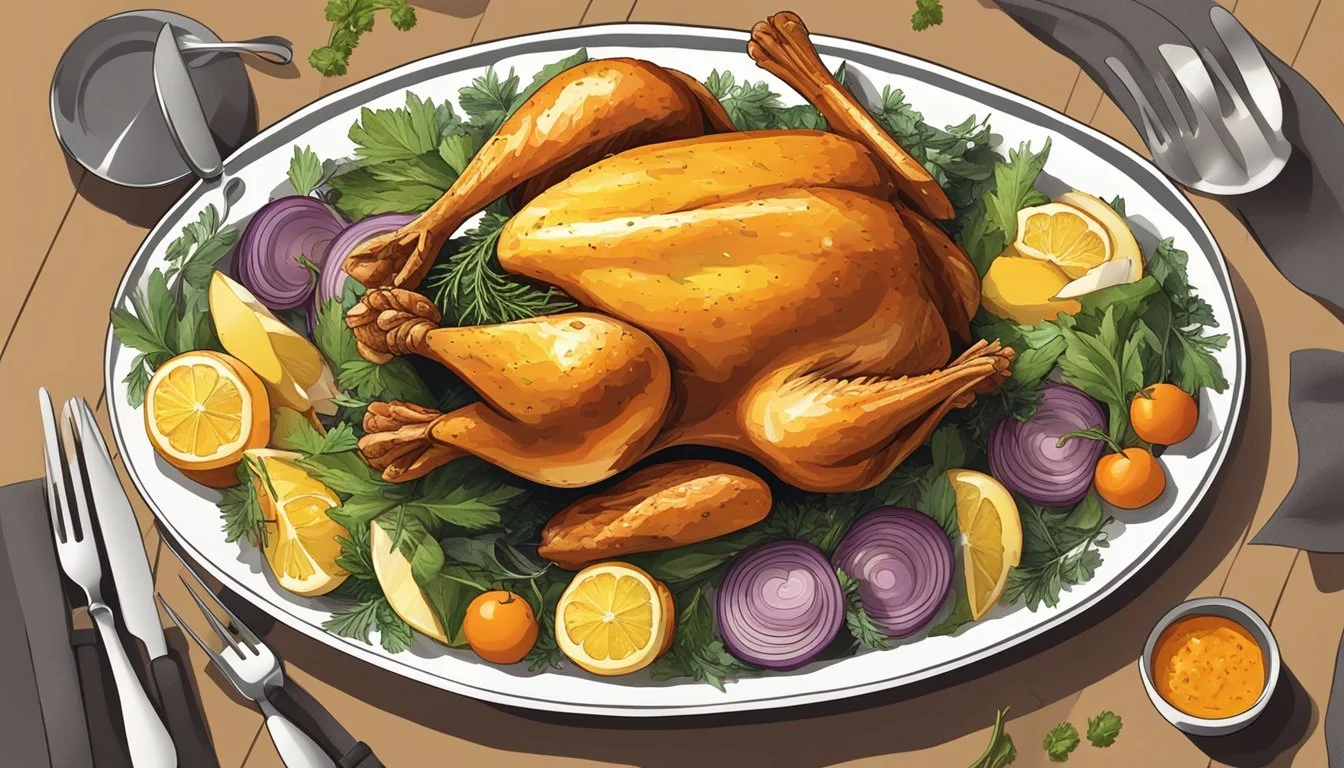
A beautifully roasted 7.5 lb chicken deserves an equally impressive presentation. Proper carving technique and thoughtful plating elevate the dining experience.
Carving the Chicken
Start by removing the legs and thighs. Cut through the skin between the body and thigh, then pop the joint to separate. Slice through to remove completely. For the breast, make a horizontal cut along the breastbone. Follow with vertical slices to create individual portions.
Remove the wings by cutting through the joint connecting them to the body. Arrange the carved pieces on a warmed platter, placing dark meat on one side and white meat on the other.
Garnish with fresh herbs like rosemary or thyme for added visual appeal and aroma.
Plating and Pairings
Serve the carved chicken on warmed plates to maintain temperature. Arrange a mix of white and dark meat for each serving. Drizzle with pan juices or gravy to enhance moisture and flavor.
Pair the roasted chicken with classic sides like mashed potatoes, roasted vegetables, or a crisp green salad. For a comforting meal, add dinner rolls or crusty bread to soak up the savory juices.
Consider wine pairings such as a light-bodied red or a crisp white to complement the chicken. Don't forget to save any leftovers for sandwiches or salads the next day.
Storing Leftover Chicken
Proper storage of leftover chicken ensures food safety and maintains quality. Refrigeration and reheating techniques are key to enjoying leftovers safely.
Safe Storage Practices
Refrigerate leftover chicken within 2 hours of cooking. Place cooled chicken in airtight containers or wrap tightly in aluminum foil or plastic wrap. Store in the refrigerator at 40°F (4°C) or below for up to 3-4 days.
For longer storage, freeze leftover chicken. Wrap pieces individually in plastic wrap, then place in freezer bags. Remove as much air as possible to prevent freezer burn. Frozen chicken remains safe indefinitely but is best used within 4 months for optimal quality.
Label containers with the date to track storage time. Thaw frozen chicken in the refrigerator, never at room temperature, to prevent bacterial growth.
Reusing Leftovers
Leftover chicken offers versatile options for quick meals. Shred or dice cold chicken for salads, sandwiches, or wraps. Use it in soups, casseroles, or stir-fries for hot dishes.
When reheating, ensure chicken reaches 165°F (74°C) internally to kill any bacteria. Use a food thermometer to check. Reheat in the microwave, oven, or on the stovetop.
For slow cooker recipes, add leftover chicken near the end of cooking time to prevent overcooking. The chicken carcass can be used to make flavorful stock for soups or risottos.
Discard any leftover chicken that shows signs of spoilage, such as an off odor or slimy texture. When in doubt, throw it out to avoid foodborne illness.
Common Cooking Techniques

Cooking a 7.5 lb chicken requires careful consideration of methods to ensure juicy, flavorful results. Different techniques offer unique benefits in terms of texture, taste, and cooking time.
Conventional vs. Convection Roasting
Conventional roasting uses a standard oven setting, while convection roasting employs a fan to circulate hot air. For a 7.5 lb chicken, conventional roasting at 350°F (175°C) takes about 2.5 hours. Convection roasting reduces cooking time by approximately 25%, requiring about 1.9 hours at 325°F (163°C).
Convection roasting often produces crispier skin and more evenly cooked meat. It's crucial to use a meat thermometer to ensure the internal temperature reaches 165°F (74°C) in the thickest part of the thigh.
Both methods benefit from placing the chicken on a roasting rack in a baking dish to allow heat circulation. Basting the chicken occasionally with its juices enhances flavor and moisture.
Slow Cooking Methods
Slow cooking a 7.5 lb chicken offers tender, fall-off-the-bone results. Using a slow cooker on low setting typically takes 6-8 hours. This method is ideal for busy households, as it requires minimal hands-on time.
To slow cook, place the seasoned chicken in the cooker breast-side up. Add aromatics like onions, garlic, and herbs for extra flavor. Avoid adding extra liquid, as the chicken will release its own juices.
Slow cooking preserves moisture, resulting in exceptionally juicy meat. However, it doesn't produce crispy skin. For a crispy finish, briefly broil the chicken after slow cooking.
