
Brined Turkey Legs
A Delicious DIY Recipe for Savory, Succulent Feast
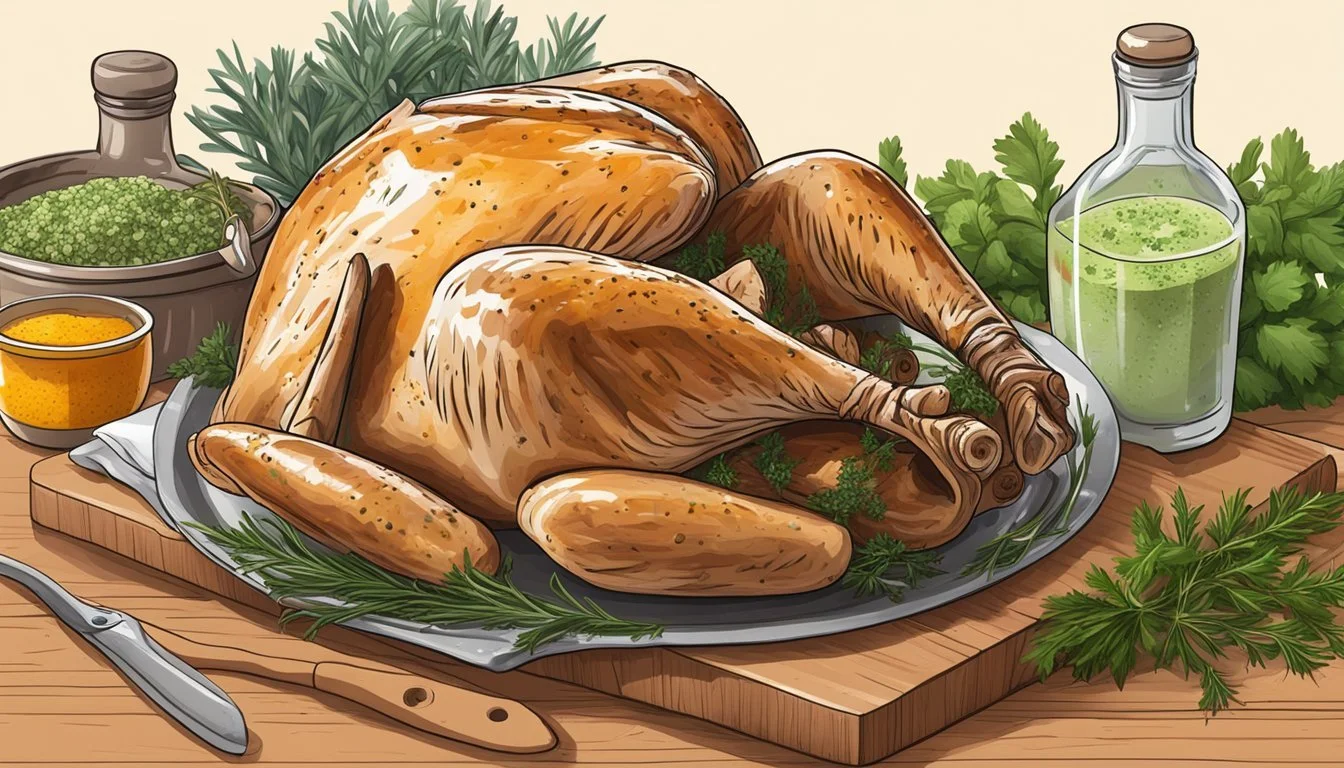
The process of brining turkey legs before cooking them has garnered much attention for the noticeable difference it makes in enhancing flavor and moisture. Brining, a technique that involves soaking meat in a solution of saltwater often infused with herbs and spices, turns ordinary turkey legs into a succulent feast. The transformative power of brine lies in its ability to break down proteins within the meat, resulting in a tender and more flavorful final product.
When it comes to a hearty and comforting meal, few things compare to the savory delight of well-prepared turkey legs. Not only does this part of the turkey offer a substantial quantity of meat, but also a unique taste that's richer and often more satisfying than white meat. Crafting the perfect brine and properly roasting turkey legs can elevate a simple piece of poultry to a memorable culinary experience.
Armed with the right recipe, anyone can prepare brined turkey legs that rival those found at festivals or gourmet restaurants. The key to success is a balance of spices in the brine and careful attention to the roasting time and temperature. This method ensures that, once the turkey legs emerge from the oven or smoker, they're not only infused with robust flavors but also boast a texture that is irresistibly tender and juicy.
Benefits of Brining
Brining is the process of submerging turkey legs in a saltwater solution, which leads to juicier and more flavorful meat. This technique not only enhances tenderness but also ensures the turkey remains moist throughout the cooking process.
What is Brining?
Brining involves immersing turkey legs in a mixture of water, salt, and often a combination of herbs, spices, and sometimes sugar. This solution penetrates the meat, breaking down protein structures and allowing the muscles to absorb moisture. The result is meat that retains more water during cooking, leading to a moister and more tender texture.
Components of a typical brine:
Water: The base of the solution.
Salt: Key for moisture retention and flavor penetration.
Seasoning: A blend of herbs and spices for added flavor.
Advantages of Brined Turkey
A brined turkey leg offers several advantages over its non-brined counterpart:
Juiciness: Brining increases the amount of liquid the meat can hold, yielding a juicier final dish.
Flavor: Salt within the brine carries flavors deeply into the turkey legs, ensuring the seasonings are enjoyed with each bite.
Tenderness: The brine tenderizes the meat by breaking down proteins, making it more succulent.
Moisture Retention: Brined turkey legs are more forgiving during cooking, reducing the risk of drying out.
When turkey legs are properly brined, they absorb these benefits, which leads to a more enjoyable meal. Whether roasted or smoked, brining is the secret to succulent and richly seasoned poultry.
Selecting the Right Turkey

When choosing a turkey for brining, one must understand the importance of the bird's state—fresh or frozen—as well as its size and inherent quality, all of which play critical roles in the end result of the cooking process.
Fresh vs. Frozen Turkey
Fresh turkeys should never have been chilled below a temperature of 26°F, which is a standard recognized by the USDA. Opting for a fresh turkey often means shorter preparation time, as it doesn't require thawing, and some chefs believe it provides superior flavor and texture.
Frozen turkeys, on the other hand, are conveniently available and can be purchased well in advance; however, they require careful planning for thawing. Thawing should be done in the refrigerator, allowing 24 hours for every 4 to 5 pounds of turkey. It’s critical to ensure the meat is completely thawed to achieve even brining and cooking.
Turkey Size and Quality
The size of the turkey should align with the needs of one's gathering. A general guideline is to allot about 1 to 1.5 pounds of turkey per person. Smaller turkeys, 8-12 pounds, often yield more tender meat. For brining specifically, turkey legs or thighs can be an excellent choice for smaller meals or those who favor dark meat.
In terms of quality, one should look for turkeys labeled as “USDA Grade A,” which indicates they are free of defects such as bruises, broken bones, feathers, and minimal pinfeathers. Turkeys may also come with labels like "natural," "organic," or "free-range," which can be indicators of how the turkeys were raised and processed, potentially influencing their quality and flavor.
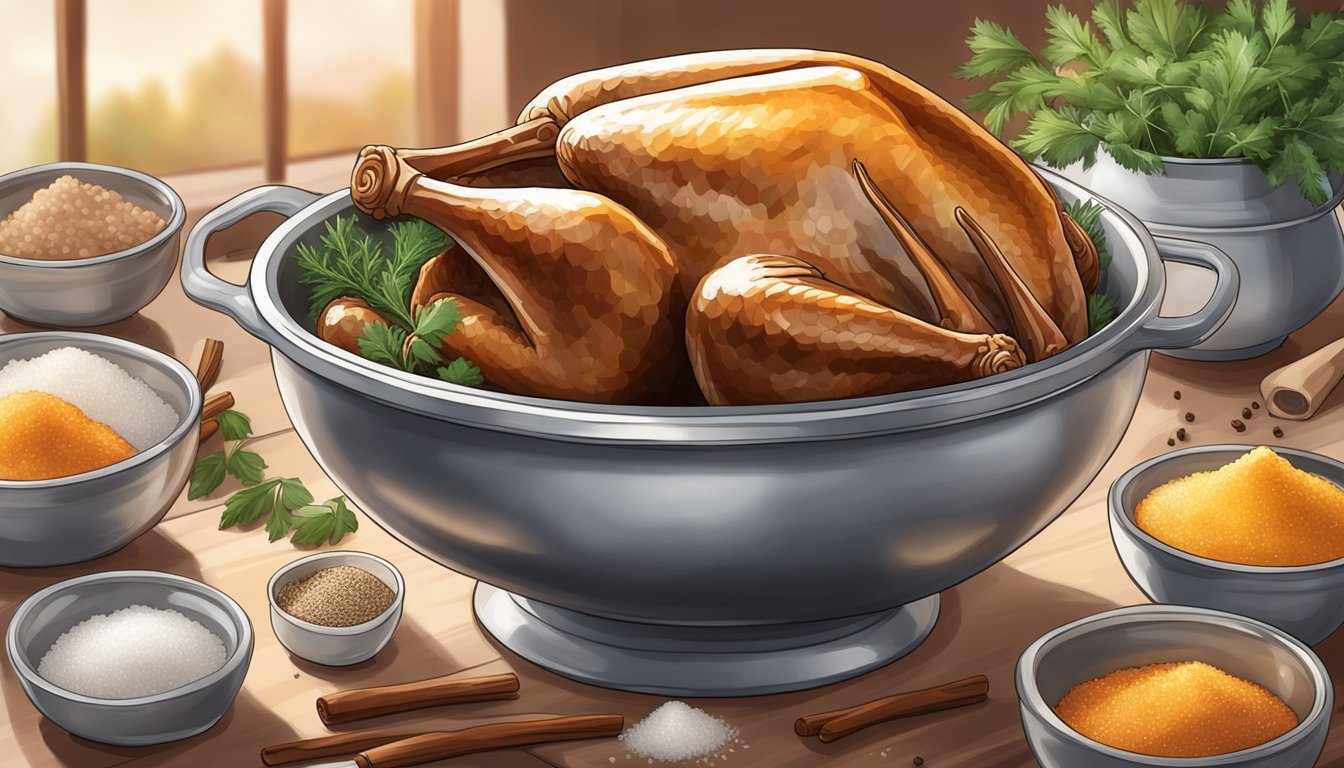
Preparing the Brine Solution
A well-prepared brine solution is the foundation of flavorful and moist turkey legs. This section details the specific ingredients and the process of mixing them to create the perfect brine.
Brine Ingredients
The brine solution for turkey legs requires a careful balance of ingredients that help in moisture retention and flavor enhancement. Here is a list of essential brine components:
Water: 8 cups (half for boiling, half kept cool)
Kosher Salt: 1 cup
Sugar: 1 cup, dark brown sugar preferred for its rich flavor
Garlic: 3-4 cloves, smashed
Whole Peppercorns: 1 tablespoon
Bay Leaves: 2-3 leaves
These components, combined with additional aromatic herbs, will be the main components for an effective brine solution.
Mixing the Brine
The process of mixing the brine is a critical step to ensure that all the flavors are well-combined and that salt and sugar are fully dissolved.
Combine half of the water (4 cups) in a large pot with kosher salt and dark brown sugar.
Place the pot over medium-high heat, bring to a boil, and stir to dissolve the salt and sugar.
Add garlic, whole peppercorns, and bay leaves to the mixture.
Lower heat to a simmer for 5 minutes, so flavors meld together.
Remove the pot from heat.
Allow the brine to cool completely before coming into contact with the turkey. This can be accelerated by adding the remaining 4 cups of cool water to the mixture. It is essential that the brine is at room temperature or colder to ensure food safety when immersing the turkey legs.
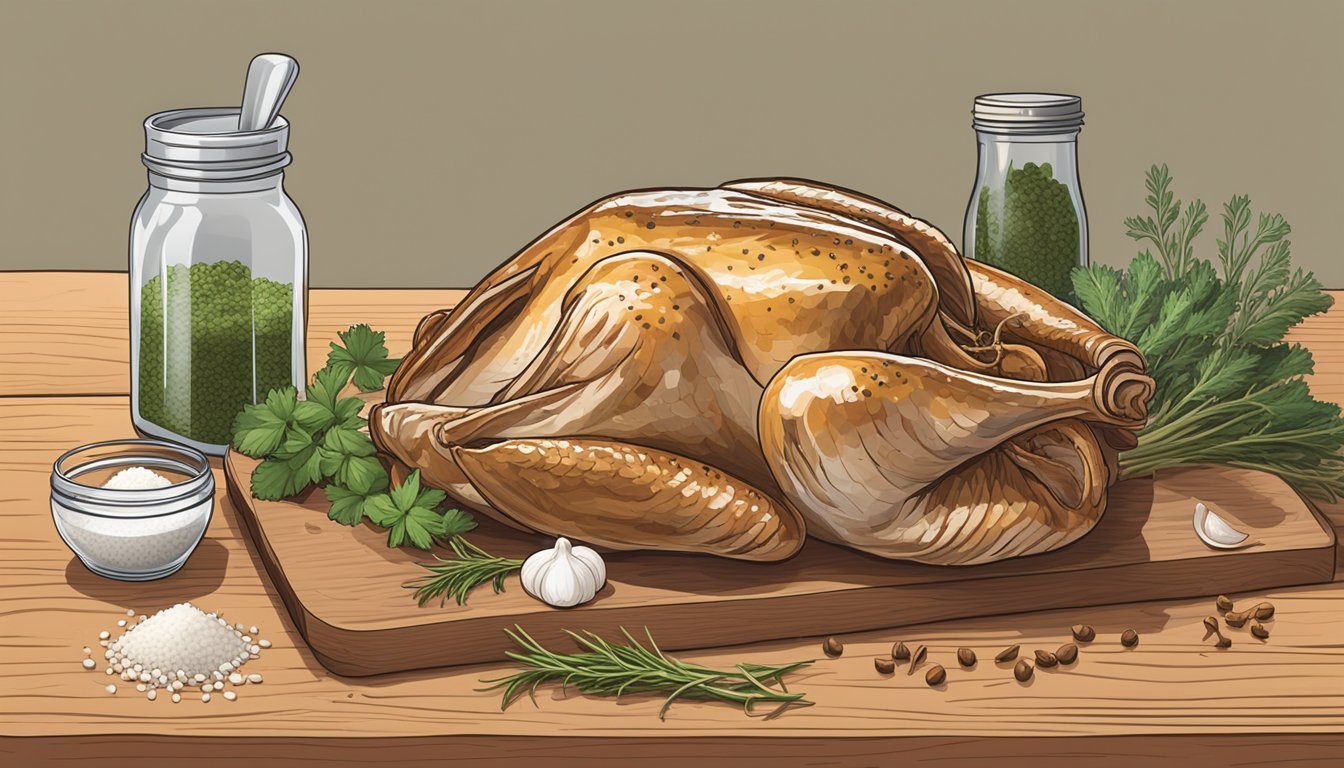
Brining the Turkey Legs
Brining turkey legs enhances their flavor and moisture content, ensuring a juicy and delicious result. It is a simple yet impactful technique that requires careful preparation and proper submersion in a seasoned saltwater solution.
Pre-brining Preparation
Before brining, one must ensure they have fresh or completely thawed turkey legs. The user should have a clean brining container large enough for the turkey legs to be fully submerged. The container also needs to fit inside the refrigerator, where the turkey legs will brine for a specific duration.
Ingredients for Brine: A balanced mix of salt, water, and optional seasonings such as herbs and spices.
Cleaning: Turkey legs should be rinsed and patted dry with paper towels.
Brine Container: A non-reactive container like a large bowl with a lid or a large ziplock bag should be used.
Submerging in Brine
The brining solution should be prepared according to the recipe and completely cooled before the turkey legs are added to prevent the growth of harmful bacteria. Once ready, the legs are placed in the brine so that they are covered by the liquid.
Prepare Brine: Dissolve the salt and optional seasonings in water. Cool to room temperature or chill.
Place Turkey Legs in Brine: Legs should be fully submerged in the brine.
Refrigeration: The brining container should be sealed and placed in the refrigerator for the recommended time, generally several hours to overnight, ensuring the meat absorbs the flavors without risk of spoilage.
Roasting the Brined Turkey Legs
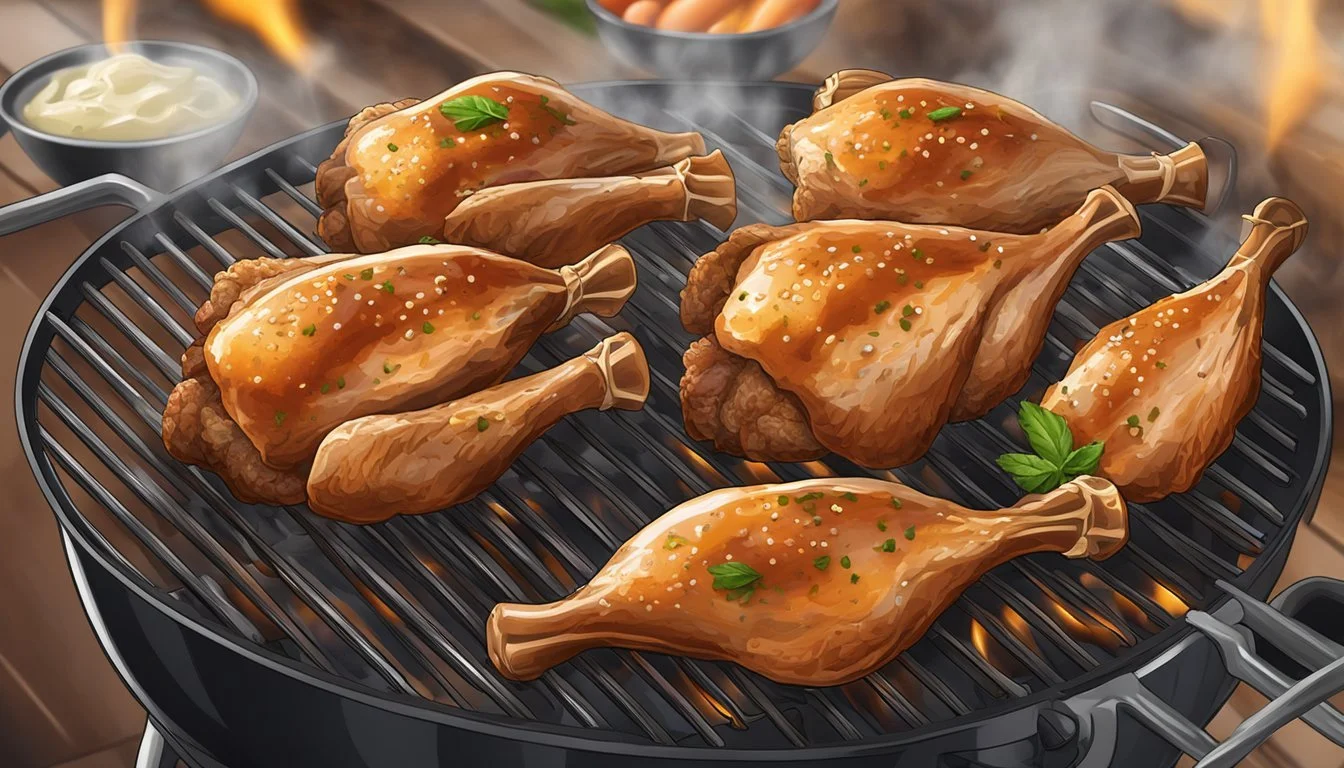
Once the turkey legs are brined, the key to achieving a perfect roast lies in consistent oven temperature and accurately timing the cooking process to ensure a crispy exterior while maintaining juicy meat inside.
Preheat the Oven
One must begin by preheating the oven. This crucial step ensures that the turkey legs start cooking immediately, providing a more even roast. Set the oven to 400 degrees Fahrenheit (204 degrees Celsius) for a robust, crispy skin.
Roasting Process
The actual roasting process starts when the turkey legs are placed onto a rimmed baking sheet or roasting tin, preferably over a wire rack to allow even heat circulation.
Pat the legs dry with paper towels—any remaining moisture on the skin can inhibit crispness.
Optionally, one can coat the turkey with a light brush of oil before seasoning, enhancing the skin's crispiness.
Transfer the prepped legs to the oven and roast, generally for about 1 hour and 15 minutes, although cooking times may vary.
To ensure the turkey legs are cooked thoroughly, it's essential to check the internal temperature. Aim for an internal temperature of 165 degrees Fahrenheit (74 degrees Celsius) at the thickest part of the meat without touching the bone.
A meat thermometer is an indispensable tool to check for doneness accurately. Once done, remove the turkey legs from the oven and let them rest before serving to allow the juices to redistribute. This results in a succulent and flavorful turkey leg.
Finishing Touches and Serving

Once the turkey legs are perfectly cooked, a few critical steps remain that ensure the meat's juiciness and enhance the presentation.
Resting the Turkey
Before serving, it is essential to let the turkey legs rest. This allows the juices to redistribute throughout the meat, ensuring that they remain juicy when it's time to carve. Rest the turkey legs on a platter for approximately 10 to 15 minutes after removing them from the oven or grill.
Carving and Presentation
To serve, one must carefully carve the turkey legs. While holding the leg by the bone, slice the meat off in a downward motion, following the contour of the bone. Once carved, arrange the slices neatly on a platter. The turkey gravy, made richer with the addition of the drippings, can be drizzled over the meat to enhance its flavor. It's also helpful to have a basting brush on hand should one want to give the sliced meat a final glossy finish before it's presented at the table.
Additional Tips and Variations
In crafting the perfect brined turkey legs, one can enhance flavor or suit personal tastes by exploring a variety of seasonings and serving methods. Here are specific tips on how to adjust your recipe with alternative seasonings and serving suggestions.
Alternative Seasonings
When it comes to seasoning brined turkey legs, traditional salt can be substituted or complemented with an array of herbs and spices to infuse distinct flavors. Consider the following options:
Herbs: Incorporate aromatic herbs such as rosemary, thyme, and sage during the brining process for a herbaceous undertone.
Apple Cider: Swap out part of the water in your brine with apple cider for a subtle, sweet tartness that pairs wonderfully with turkey.
By adjusting the balance of these seasonings, cooks can create a truly unique and flavorful culinary experience with each attempt.
Serving Suggestions
Once the turkey legs are perfectly roasted, complementing them with the right side dishes and sauces can elevate the meal. Here are a few suggestions to consider:
Gravies: A rich gravy made from the turkey drippings can accentuate the savory taste of the meat.
Bold & Mild: Pairing the meat with both bold and mild flavors allows for balancing the palate, think a tangy cranberry sauce or a creamy mashed potato.
Applying these additional tips and variations will ensure that the brined turkey legs are not only juicy but also personalized to the chef's flavor preferences.
Safety and Storage
Maintaining food safety is crucial when brining and storing turkey legs. The key points to focus on are adhering to proper brining techniques and ensuring safe storage of leftovers in the refrigerator.
Proper Brining Safety
When brining turkey legs, one should ensure the brine solution is cool before the meat is added to prevent bacteria growth. The turkey legs must be fully submerged in the brine, and they should be placed in the refrigerator throughout the entire brining process, which can last from 12 to 24 hours. This temperature control inhibits harmful bacterial growth.
Storing Leftovers
After cooking, leftover turkey should be stored promptly. Here's how to safely handle leftovers:
Temperature: Leftover turkey needs to be refrigerated within two hours of cooking to prevent bacterial growth.
Storage method: Use airtight containers or aluminum foil to wrap the leftovers tightly.
Duration:
Fridge: Leftover turkey can be kept in the refrigerator at or below 40°F (4°C) for three to four days.
Freezer: For extended storage, leftover turkey can be frozen for up to four months without significant loss of quality.
By following these guidelines, one can enjoy brined turkey legs safely and reduce the risk of foodborne illnesses.
Frequently Asked Questions
In this section, readers will find answers to common questions about the process of brining turkey legs as well as solutions to potential issues that may arise during preparation. Detailed tips ensure a successful outcome for special occasions such as Thanksgiving or any holiday feast.
Common Brining Queries
What is brining?
Brining involves soaking turkey legs in a salty liquid solution, which often includes water, salt, and a variety of aromatics. This process helps to tenderize the meat and infuse it with flavor.
How long should turkey legs be brined?
The recommended prep time for brining turkey legs typically ranges from 12 to 24 hours. Adequate time allows the brine to work effectively, resulting in moist and well-seasoned turkey legs.
What type of container should be used for brining turkey legs?
A large container or a specialized brining bag can be used to hold the turkey legs and the brine solution. It should be non-reactive (plastic, glass, stainless steel) and large enough to ensure the turkey legs are fully submerged.
Should the turkey legs be rinsed after brining?
Yes, turkey legs should be thoroughly rinsed under cold water after brining to remove excess salt from the surface.
Troubleshooting
What if the turkey legs are too salty after brining?
To mitigate over-salting, ensure to rinse the legs well and shorten the brining time during future preparation. For a milder flavor, they can also opt for a shorter brining period than suggested.
How can one tell if the turkey legs are properly cooked?
The safest way to check is by using a meat thermometer. The internal temperature should reach 165°F (74°C) at the thickest part of the meat. It's also good practice to allow the turkey legs to rest for about 10-15 minutes before serving, to let the juices redistribute.
What if there's no room in the refrigerator for the brining container?
During holidays like Thanksgiving when fridge space is at a premium, one could use a cooler with ice packs to keep the turkey legs cold during the brining process. Always ensure that the temperature stays below 40°F to keep the meat safe for consumption.
Conclusion

In crafting a sumptuous dish like brined turkey legs, a cook intertwines culinary expertise with patience. The brining process is pivotal; it not only seasons the meat thoroughly but also ensures juiciness after cooking. Brining—a method revered for its moistening effects—typically calls for submerging turkey legs in a solution of water, salt, sugar, and a blend of aromatics for a period ranging from 4 to 24 hours. Detailed recipes may adjust these timeframes to suit different preferences and turkey sizes.
After the brine has worked its magic, a meticulous rinse under cold water is essential to prevent an overly salty taste. The next step often involves applying a dry rub, composed of spices like chili powder, onion salt, and paprika, to further enhance flavor. Roasting or grilling then transforms the well-prepared legs into a golden, savory delight, with cooking temperatures and times varying by method.
To serve, chefs may accompany the dish with complementary sauces or simple garnishes, though the richly flavored brined turkey legs are delectable on their own. The culinary journey, from preparing the brine to the final roast or grill, reflects a union of science and artistry.
For individuals looking to broaden their cooking repertoire, this recipe serves as a tried-and-true avenue. Its steps, rooted in tradition and refined by contemporary practices, deliver a dining experience that pairs perfectly with a variety of side dishes and occasions. Cooks at any skill level can approach this recipe with confidence, knowing that each step is guided by the enduring principles of good cooking: time, temperature, and taste.
