Crafting Homemade Coppa
Your Step-by-Step Beginner's Guide to Capicola
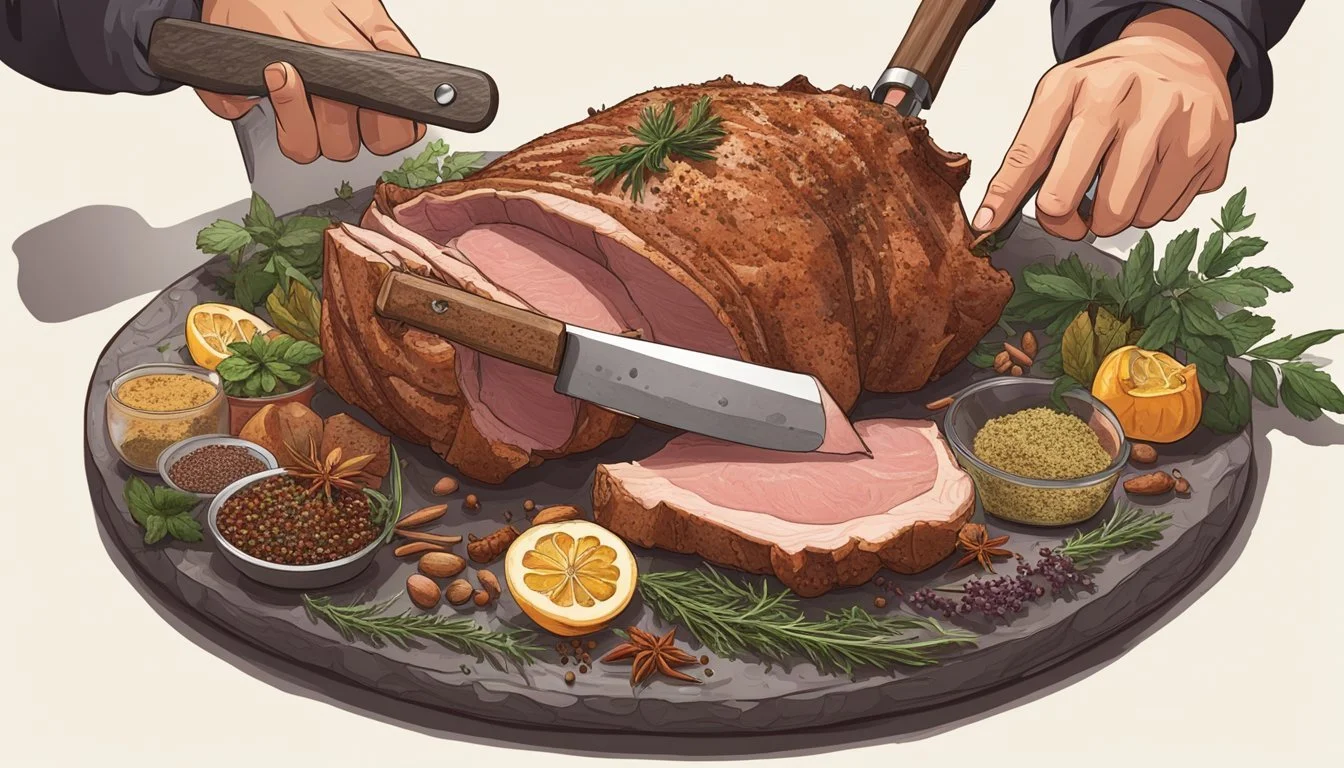
Coppa, also known as capicola, is a type of cured meat that originates from Italy. It is prized for its delicate balance of savory flavors and a tender, succulent texture that can only be achieved through meticulous dry-curing process. For those interested in the art of charcuterie (What wine goes well with charcuterie?), crafting homemade coppa presents an exciting challenge. This guide is designed to walk beginners through the steps necessary for making this traditional Italian delicacy, ensuring that even novices can produce a quality product.
The process begins with selecting the right cut of pork, typically the muscle running from the neck to the fourth or fifth rib, known for its rich marbling and ideal fat content. Proper curing is the cornerstone of creating authentic coppa, involving a mix of salts and seasonings that infuse the meat with flavor while simultaneously drawing out moisture to preserve it. Achieving the perfect balance of humidity and temperature is essential for the drying phase, where the meat slowly matures into its final form.
Attention to detail is paramount when making coppa at home. The meat must be handled with care, and conditions must be meticulously controlled to avoid spoilage. Crafters of this cured meat must remain patient, as the process cannot be rushed. Over time, with commitment to the craft and adherence to time-honored techniques, one can produce a homemade coppa that rivals those found in Italian markets, offering a remarkable addition to any charcuterie board.
Understanding the Basics of Coppa
Crafting homemade coppa, a delicacy with a rich tradition, demands an understanding of its history, distinctive naming conventions, and the essential role of high-quality ingredients.
History and Origin
Coppa, also known as capicola or capocollo, originates from the Italian tradition of charcuterie, where preserving meats was essential for survival. This artisanal craft has been honed over centuries, with each region in Italy adding its distinct touch to the flavor and preparation techniques. Coppa specifically comes from the muscle running from the neck to the rib of the pig, showcasing the Italian mastery in utilizing every part of the animal.
Coppa vs Capicola
While often used interchangeably, the terms 'coppa' and 'capicola' can denote slight variations depending on the region and preparation. In the United States, 'capicola' is used more commonly, while 'coppa' tends to be the term of choice in Italy. Despite the naming differences, both refer to the same cut of pork, the cured muscle from the neck to the shoulder, known for its beautiful marbling of fat that contributes to its rich flavor.
Importance of Quality Ingredients
The success of homemade coppa hinges on the selection of quality ingredients:
Pork: The cut of pork is paramount, with the best coppa coming from the neck muscle, which should be well-marbled with fat. The fat ensures a succulent texture and depth of flavor after curing.
Salt: A fundamental preservative for curing, it must be pure, without additives, to achieve proper dehydration and flavor enhancement.
Spices: The spice mix varies by recipe but typically includes elements such as pepper, sugar, and sometimes hot red pepper flakes, contributing to the complexity and signature profile of the final product.
It is imperative to adhere to these quality standards to craft a true representation of this celebrated Italian charcuterie.
Essential Ingredients and Supplies
Creating homemade coppa, also known as capicola, requires both quality ingredients and the right supplies. This section will outline the specific aspects and components necessary for a successful curing process.
Selecting the Pork Shoulder
For homemade coppa, the pork shoulder (specifically, the neck or upper shoulder part known as coppa) is the cut of choice due to its ideal fat content which results in rich flavor and tenderness. One should look for well-marbled meat that will cure nicely and provide the savory taste desirable in a good coppa.
Spices and Herbs
The seasoning blend is crucial for achieving the signature flavor profile. A typical recipe may include:
Garlic powder
Black pepper
Fennel seeds
Cayenne pepper
These spices, along with optional dried thyme or rosemary, create a robust and aromatic experience.
Curing Salts and Prague Powder
Curing salts, such as Prague powder #2, are essential to the process and safety of meat curing, acting to prevent harmful bacteria growth. The standard ratio is generally:
Ingredient Quantity Prague Powder #2 2.5 grams per kilogram of meat Kosher salt 27 grams per kilogram of meat
It's important to measure these salts accurately to ensure both safety and flavor.
Casing and Beef Bung
Finally, the coppa needs to be encased. Traditionally, a beef bung is used due to its size and ability to let the meat breathe and dry evenly. The casing is applied after the initial curing and seasoning but before the meat is hung to dry.
Preparation Process
Crafting homemade coppa, also known as capicola, is a precise art that involves a few critical steps in the preparation process. Attention to detail is key for successful curing, creating a flavorful and textured end product from the pork neck or shoulder cut.
Trimming and Cleaning
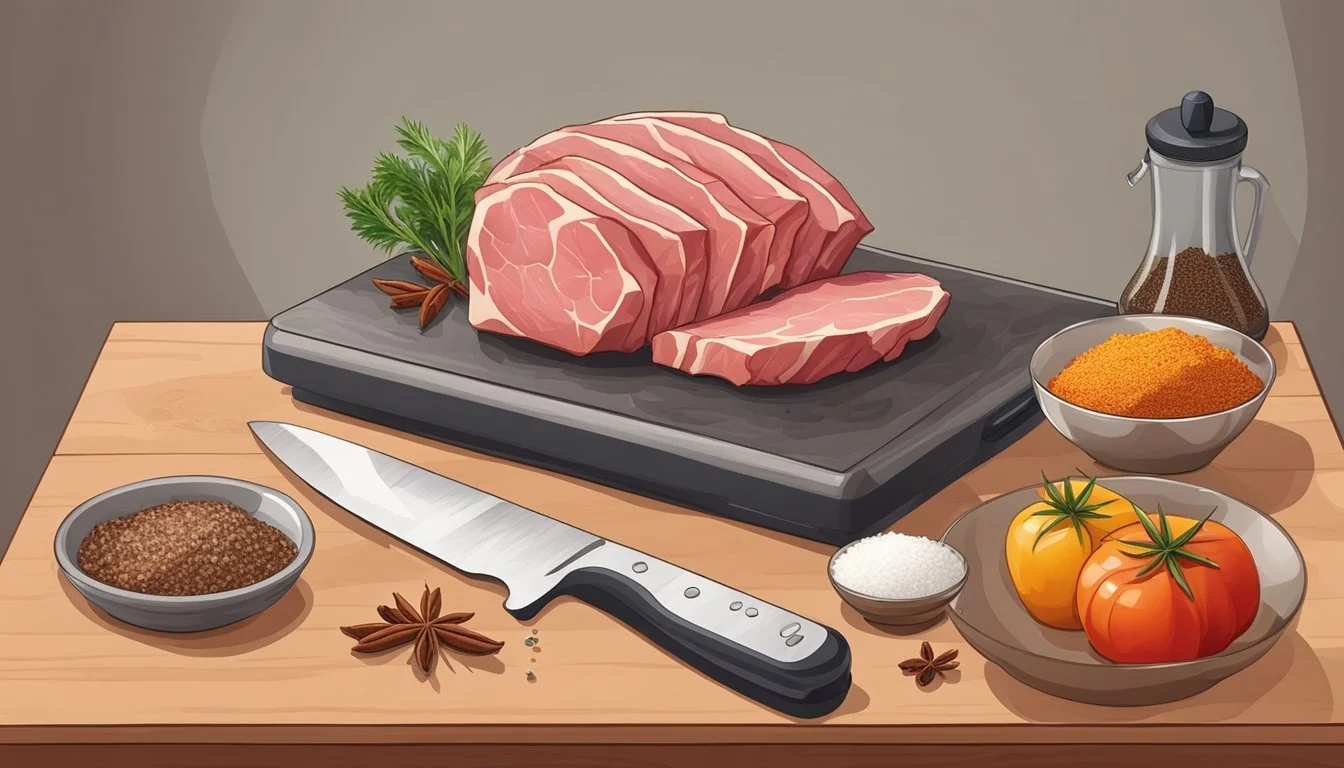
The initial step in making coppa requires one to properly trim and clean the pork. This involves removing any excess fat or sinew to ensure an even cure. A sharp knife is used to achieve a consistent thickness, which is critical for the curing process and results in a uniform flavor and texture.
Applying the Curing Mix
Once trimmed, the meat is covered with a curing mix that typically consists of salt, sugar, and a blend of spices. It's important to apply the curing mix evenly on all sides of the pork. The cure acts as a preservative and flavoring agent. After the curing mix is applied, the meat should rest to allow the flavors to penetrate and for the curing process to begin.
Wrapping and Vacuum Sealing
After the meat has cured for an adequate period, typically several weeks, it's wrapped securely. Some recipes suggest using an elastic meat netting or casing to maintain the shape of the meat during the drying phase. The coppa is then vacuum sealed, which helps to lock in the flavors and prevents contamination. This vacuum-sealed package is ready to be hung in a curing chamber or a cool, dry space for the drying stage, which can take several months.
Curing and Drying Methods
Crafting homemade coppa, often called capicola or capocollo, involves meticulous methods for curing and drying that ensure the meat develops its distinctive flavor and texture. This section will detail the setup of the curing chamber, how to control temperature and humidity, and the conditions necessary for proper drying of the meat.
Curing Chamber Setup
The curing chamber is a paramount component for producing quality cured meats. One must dedicate an appliance, such as a modified refrigerator, as the chamber. Within it, air flow should be consistent, and space should be allocated for each piece of meat to hang without touching each other. To prevent contamination and promote even curing, the interior should be sanitized and racks spaced appropriately.
Temperature and Humidity Control
Temperature and humidity are critical variables in the curing process:
Temperature: The chamber should maintain a consistent temperature between 50-60°F (10-15°C).
Humidity: Optimal humidity levels range from 60% to 70%.
Maintaining these conditions is crucial for preventing unwanted bacterial growth and ensuring that the coppa dries evenly. It may be necessary to install a humidifier, dehumidifier, or hygrometer to manage the environment effectively.
Drying Time and Conditions
Drying is a slow process that can take several weeks to several months, depending on the size of the meat and desired dryness. The coppa should undergo a visual and tactile inspection periodically. Once the exterior feels firm but not hard, and the meat has lost approximately 30% of its pre-cured weight, it is typically ready. Throughout this period, it is essential to maintain proper air flow and consistent chamber conditions to achieve the characteristic flavor and texture of a well-crafted coppa.
Aging and Flavor Development
The aging stage is crucial in transforming seasoned meat into the rich, flavorsome delicacy known as coppa. During this period, flavor complexity builds, and the texture becomes more refined.
Aging Process
Coppa's aging process is a delicate balance of time and environment control. It typically occurs in a humidity-controlled space, with ideal conditions being 60% to 70% humidity. The temperature is equally important and should consistently remain around 55°F to 57°F (13°C to 14°C). This stage can last several weeks to several months, during which the meat slowly loses moisture, concentrates in flavor, and achieves the desired firm yet tender texture.
Taste and Texture
The flavor and texture of coppa evolve significantly during aging. As moisture content reduces, the meat intensifies in taste, developing a symphony of savory, slightly tangy flavors with herbal nuances dependent on the cure. Texture-wise, aging transforms the coppa from supple to a firm delicacy that can be sliced thinly, a characteristic that enhances the tasting experience when it melts in the mouth.
Using Wine and Other Flavor Enhancers
In the creation of coppa, wine often plays a role as a flavor enhancer. It can be used to create a moist surface on the meat before applying the cure or adding to the cure itself. The type of wine and additional cure ingredients, like herbs and spices, impart subtle aromatic notes that imprint on the meat during the curing and aging stages. These enhancers are crucial in developing the final organoleptic profile of the homemade coppa.
Storing and Serving Suggestions
Homemade coppa requires proper storage to maintain its quality and flavor. Serving it correctly enhances the overall tasting experience, whether paired with dishes or wine.
Refrigeration and Storage Tips
One should store homemade coppa in the refrigerator, preferably in the coldest part. It can be wrapped in butcher paper or placed in an airtight container to prevent it from drying out. If vacuum sealing is an option, it prolongs the shelf life significantly. Coppa should be consumed within a few weeks of slicing for optimal freshness.
Slicing Techniques
Coppa should be sliced thinly to fully appreciate its delicate texture and flavor. A sharp knife or a meat slicer set to a thin setting helps achieve uniform slices. Before slicing, remove the coppa from the refrigerator and let it rest for 10-15 minutes for easier handling.
Pairing with Dishes and Wine
Coppa pairs well with a variety of foods, including pasta dishes. When serving with pasta, one might choose a simple aglio e olio or a rich carbonara to complement its robust flavors. Regarding wine, a medium-bodied red wine such as a Chianti or a Barbera aligns with coppa's savory notes. If one prefers white wine, a crisp Pinot Grigio makes an excellent choice.
Troubleshooting Common Issues
When crafting homemade coppa, enthusiasts may encounter certain issues that can affect the final product's quality. Understanding how to identify and respond to these challenges is crucial for success.
Mold and Contaminant Prevention
Sources of Contamination:
Unsanitized equipment and work environment.
Improper humidity and temperature control during curing.
Preventive Measures:
Always use sanitized equipment and maintain a clean workspace.
Maintain humidity levels between 60% and 70% during the drying stage, and ensure that the temperature is within the range suitable for curing, typically around 55F - 57F (13C - 14C).
Texture and Flavor Corrections
Issues Impacting Texture and Flavor:
Over or under curing, incorrect humidity, and temperature.
Use of excessive or insufficient seasoning.
Corrections:
Monitor weight loss and humidity levels to determine when coppa is properly cured.
Adjust seasoning ratios based on weight measurements and personal taste preferences for subsequent batches.
Casing and Binding Problems
Casing Issues:
Loose binding of casing, leading to air pockets and poor drying.
The casing may not adhere properly if the meat's surface is too wet.
Solutions:
Ensure the product is sufficiently dry on the surface before encasing.
Apply the casing evenly and firmly to prevent air pockets and facilitate even drying.
Advanced Tips and Experimentation
Crafting homemade coppa allows for a high degree of creativity once the basics are mastered. The section below explores how one can refine their technique and product through trying new spices, creating custom curing blends, and perfecting drying and aging conditions.
Incorporating Unique Spices
When experimenting with spices, one should consider both flavor and how they will affect the curing process. For example:
Juniper berries: impart a piney note, perfect for a winter-themed coppa.
Star anise: adds a subtle, sweet licorice flavor.
Using spices sparingly at first is wise, as their flavors intensify over the drying and aging process.
Creating Custom Curing Blends
A custom curing blend can transform the profile of homemade coppa. Key components to consider are:
Salt: The cornerstone of any curing blend, ensure it makes up about 2.5% to 3% of the meat's weight.
Sugar: Balances salt's intensity and assists with the fermentation process.
Curing salts (e.g., Prague Powder #2): These are crucial for preventing bacterial growth during longer aging periods.
One can create a signature blend by combining these essentials with their chosen spices and herbs.
Adjusting Drying and Aging Conditions
Fine-tuning the drying and aging conditions can greatly affect the texture and flavor of coppa:
Condition Target Range Notes Temperature 55°F - 60°F (13°C - 15°C) Slightly warmer temperatures can accelerate aging, while cooler slows it down. Humidity 60% - 70% High humidity risks spoilage, while too low can cause overly fast drying and hardening. Air circulation Gentle, consistent airflow Helps prevent mold growth by removing moisture from the surface of the meat.
Adjusting each parameter requires careful monitoring to find the ideal balance for one's specific environment and desired outcome.
Safety and Sanitation Protocols
When making homemade coppa, safety and sanitation must be a priority to prevent foodborne illness. Here are the protocols that should be followed:
Preparation:
Always start with a clean workspace.
Disinfect cutting boards, knives, and surfaces before and after use.
Personal Hygiene:
Wash hands thoroughly with soap and water before handling any food.
Use disposable gloves when handling raw meat to minimize cross-contamination.
Equipment Sterilization:
Sterilize all the equipment, such as meat curing chambers and containers, with a food-safe sanitizer.
Rinse equipment with hot water after sanitizing to remove residual chemicals.
Only use fresh, high-quality pork from reputable sources.
Refrigerate the pork at a safe temperature below 40°F (4°C) until ready to use.
Safe Meat Handling Check Fresh Pork ✓ Temperature Controlled Refrigeration ✓ Disposable Gloves ✓
Curing Process:
Maintain a constant humidity level between 60%-70% when drying the coppa.
The temperature of the curing chamber should consistently be between 55°F-57°F (13°C-14°C).
Monitoring:
Check the meat regularly for signs of spoilage, such as off odors or discoloration.
Use a calibrated thermometer to ensure temperature stability in the curing chamber.
By adhering to these safety and sanitation protocols, individuals can confidently create delicious homemade coppa while minimizing health risks.
Expanding Your Cured Meats Hobby
After mastering the art of making homemade coppa, enthusiasts may crave diversification in their craft. This next step not only broadens their repertoire but also deepens their understanding of the curing process.
Other Cured Meats to Try
For those who delight in creating coppa, exploring other cured meats offers a thrilling challenge. Salami, with its blend of spices and coarser grind, stands out as a next endeavor. Each type of salami, from Genoa to Soppressata, offers a distinct flavor profile and curing time, inviting the hobbyist to a world of variety. Additionally, trying their hands at prosciutto or bacon introduces new techniques, like the importance of precise temperature and humidity controls.
Joining Curing Communities
Community engagement plays a pivotal role in a hobbyist's journey. Joining online forums or local clubs can be incredibly beneficial, offering a platform for discussion, advice, and troubleshooting. These communities often share resources like:
Recommended equipment
Trusted suppliers for curing agents and specialty meats
Personal experiences and tips
Thriving among like-minded individuals, hobbyists can exchange recipes, celebrate successes, and learn from each other’s mistakes.
Learning from Experts Like Len Poli
One cannot underestimate the impact of learning directly from experts in the field. Len Poli, a recognized name in meat curing, provides valuable insights and detailed guides that hobbyists can follow. He meticulously outlines processes and offers practical advice, often sharing:
Resources Provided by Len Poli Description Recipes Diverse recipes for different meat types Techniques Step-by-step instructions for curing meats Safety Information Guidelines to ensure safe meat handling
By studying resources shared by Len Poli and other connoisseurs, hobbyists can refine their curing techniques and produce high-quality cured meats with confidence.


