
Delicious Homemade Cold Cuts
: A Step-by-Step Guide to Crafting Your Own Charcuterie
Making homemade cold cuts offers a flavorful alternative to store-bought varieties, allowing one to control the quality and nutritional aspects of deli meats. By preparing cold cuts at home, individuals can select high-quality, lean cuts of meat, reducing unnecessary calories and avoiding the additives commonly found in commercial products. This approach not only yields fresher, better-tasting cold cuts but also provides transparency regarding the nutritional content, ensuring that the meats fit into a balanced diet.
The crafting of cold cuts at home involves a series of meticulous steps, from choosing the right meats to precise seasoning and cooking methods. While the process requires some time and effort, the resulting product is superior in taste and wholesomeness. It opens up opportunities for customization, enabling one to create cold cuts that cater to personal preferences and dietary requirements. Whether it's the lean, savory slices of chicken breast or the rich, aromatic blend of a homemade bologna, the commitment to making cold cuts from scratch is a rewarding endeavor for any culinary enthusiast.
Understanding Cold Cuts
Cold cuts, also known as deli meats, encompass a wide range of cured and cooked meats often served in sandwiches or on platters. They are prized for their convenience and flavor but require careful consideration regarding their health impact due to additives and sodium content.
Types of Cold Cuts
Cold cuts can be broadly categorized into several types:
Salami: A cured sausage made from fermented and air-dried meat, typically beef or pork, flavored with a variety of spices and herbs.
Bologna: A finely ground pork sausage that is lightly smoked and has a smooth texture. It is often referred to as "baloney."
Mortadella: Originating from Italy, this is a large sausage made of finely ground heat-cured pork with small cubes of pork fat, often spiced with black pepper.
Sausages: These include a range of seasoned meat products, which can be either cooked, cured, or smoked.
Poultry Cold Cuts: Deli meats made from poultry, such as turkey or chicken, offer a leaner alternative to traditional pork and beef options.
Health Considerations
When selecting and consuming cold cuts, one must take into account several health-related factors:
Temperature: To prevent bacterial growth, it is crucial to store cold cuts at low temperatures, typically below 40°F (4°C).
Sodium: Cold cuts tend to be high in sodium, which can contribute to health issues if consumed in excess. Reading labels for sodium content can help manage intake.
Additives: Pay attention to the presence of additives like nitrates and nitrites, which are used to preserve color and prevent spoilage but have been linked to health risks in large quantities.
Essential Ingredients and Supplies

When embarking on the journey of making homemade cold cuts, one must carefully select high-quality ingredients and suitable supplies. The nuanced flavors in one's cold cuts are directly influenced by the quality of meats and the balance of herbs and spices used, while the correct tools and equipment ensure a smooth preparation process.
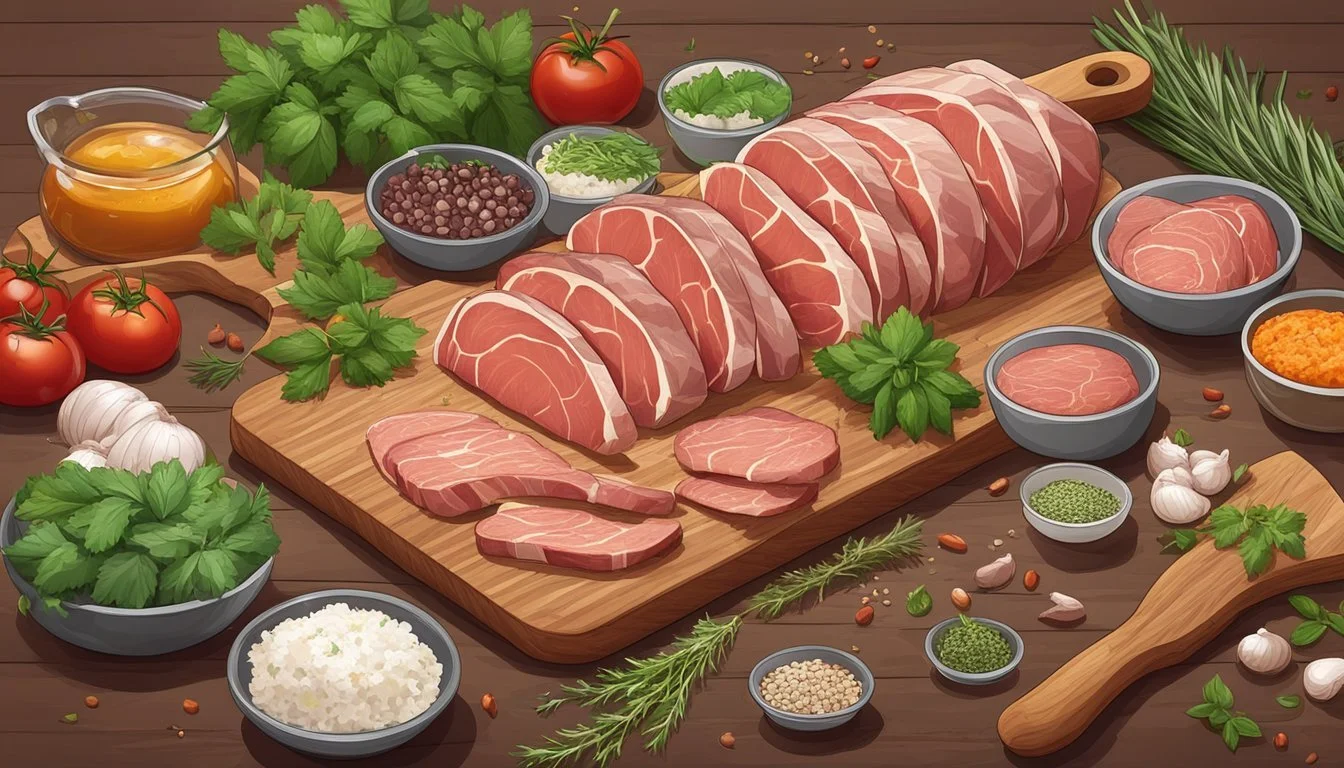
Selecting Quality Meats
For cold cuts like poultry bologna, it is essential to select chicken that is fresh and free from any unpleasant odors or discolorations. Whether using chicken breasts for their lean quality or thighs for a richer flavor, the meat must be handled with care and kept at safe temperatures to prevent any foodborne illnesses.
Herbs and Spices
A balanced blend of herbs and spices is critical to achieving a distinctive taste profile. Common essentials include:
Salt and pepper: foundational for enhancing flavors.
Garlic and onion: fresh or in powder form, they impart a savory depth.
Dried herbs: such as thyme, oregano, or rosemary add complexity.
One's palate and the desired flavor profile should guide the quantity and combinations of these seasonings.
Tools and Equipment
The process of making cold cuts requires specific tools and equipment:
Food Processor: Necessary for blending the ingredients into a fine mass, especially if without a meat cutter.
Oven: For cooking the meat through evenly.
Plastic Wrap or Airtight Container: Used for wrapping and chilling the cold cut before slicing.
Having the right equipment not only simplifies the procedure but also ensures consistency in texture and taste across batches.
Preparing Your Meat
Before crafting homemade cold cuts, the preparer must select quality meat, create a flavorful base, and understand the marinating process. Precise execution of these steps ensures delicious and safe-to-eat cold cuts.
Meat Selection and Preparation
The selection of meat is crucial; for poultry cold cuts, chicken breast or turkey breast is preferred due to their lean nature and consistent texture. Initially, the meat should be cut into pieces that correspond to the size of the mincer to be used. It is advisable to partially freeze the meat for about an hour before grinding. This step helps to prevent smearing and maintains a clear definition between meat and fat, essential for a fine texture in the final product.
Chicken breast: Cut into mincing-sized pieces and freeze partially.
Turkey breast: Same process as chicken, ensures fine grind.
Creating the Flavor Base
Once the meat is prepped, it's time to focus on the flavor. The preparer grinds the spices finely, ensuring an even distribution throughout the meat. For poultry, a combination of garlic powder, white pepper, and ground nutmeg, along with salt, can offer a classic taste.
List of typical spices for flavor base:
Garlic powder
White pepper
Ground nutmeg
Salt
Marinating Process
Marinating is not just about soaking the meat; it involves a careful process of curing. A mixture of curing salt and sugar could be used, ensuring coverage on all pieces of meat. The meat is then typically enclosed in a curing bag or wrapped tightly, allowing it to marinate in a refrigerator. The period of marination can vary, but it often takes up to 24 hours. This process not only infuses the meat with rich flavors but also plays a vital role in preservation.
Coat meat evenly in curing salt and sugar solution.
Chill in refrigerator to allow full flavor absorption.
One must boil or bake the meat after marinating to ensure it is cooked through before chilling it completely. This chilling phase is essential, as it sets the texture of the cold cuts, making them easier to slice thinly afterwards.
Cold Cut Techniques
Creating cold cuts at home involves a meticulous process from selecting the right cuts of meat to the final slicing. Each stage of preparation contributes to the flavor and quality of the cold cuts.
Grinding Meat
The initial step in making cold cuts is grinding the meat. One can utilize a food processor for a consistent grind. For example, poultry meat intended for cold cut recipes should be cut into pieces small enough to be handled by the food processor. Then, partially freeze the meat to retain firmness—this aids in a smoother grind.
Cut meat into pieces.
Partially freeze for about 1 hour.
Grind in food processor.
Shaping and Cooking
After grinding, shaping and cooking are crucial steps. Meat for cold cuts like homemade poultry bologna can be shaped using a mortar or a simple plastic wrap technique to form a tight roll. To cook, the roll can be wrapped in foil and baked or boiled in water to achieve the desired texture. For example, smoked ham needs a precise temperature to impart its characteristic flavor and tenderness.
Shape meat using a mortar or plastic wrap.
Wrap roll with foil for baking or place in boiling water.
Bake or boil until thoroughly cooked.
Slicing for Perfection
The final stage is slicing, where the maker's skill determines the appeal of the cold cuts. Once the meat is cooked and thoroughly chilled, one should slice it using a sharp knife or a meat slicer for even, thin slices. The cold cuts should be stored properly in a bag or an airtight container to maintain freshness.
Chill meat completely.
Slice evenly with a sharp knife or meat slicer.
Store in a bag or airtight container.
Storing and Serving

Proper storage is crucial for maintaining the freshness and safety of homemade cold cuts, and when it comes to serving, there are delightful ways to showcase their flavors.
Refrigeration and Freezing
Storing homemade cold cuts in the refrigerator is essential to ensure they remain safe to eat and retain their quality. After preparing cold cuts, they should be wrapped tightly in cling film or placed in airtight bags to prevent the ingress of moisture and other contaminants.
Fridge Temperature: Keep the refrigerator between 35°F to 40°F (1.7°C to 4.4°C) for optimal freshness.
Container Refrigeration Freezing Airtight Container Up to 5 days Not recommended Vacuum Sealed Bag Up to 2 weeks Up to 2 months Cling Film Up to 3-4 days Not recommended
When freezing, cold cuts should be wrapped in a layer of cling film followed by aluminum foil or placed in a heavy-duty freezer bag to protect against freezer burn. Label the bag with the date to keep track of how long the meat has been stored.
Serving Ideas
Cold cuts are best served at a slightly cool room temperature. Remove them from the fridge 15-20 minutes before serving to enhance their taste and aroma.
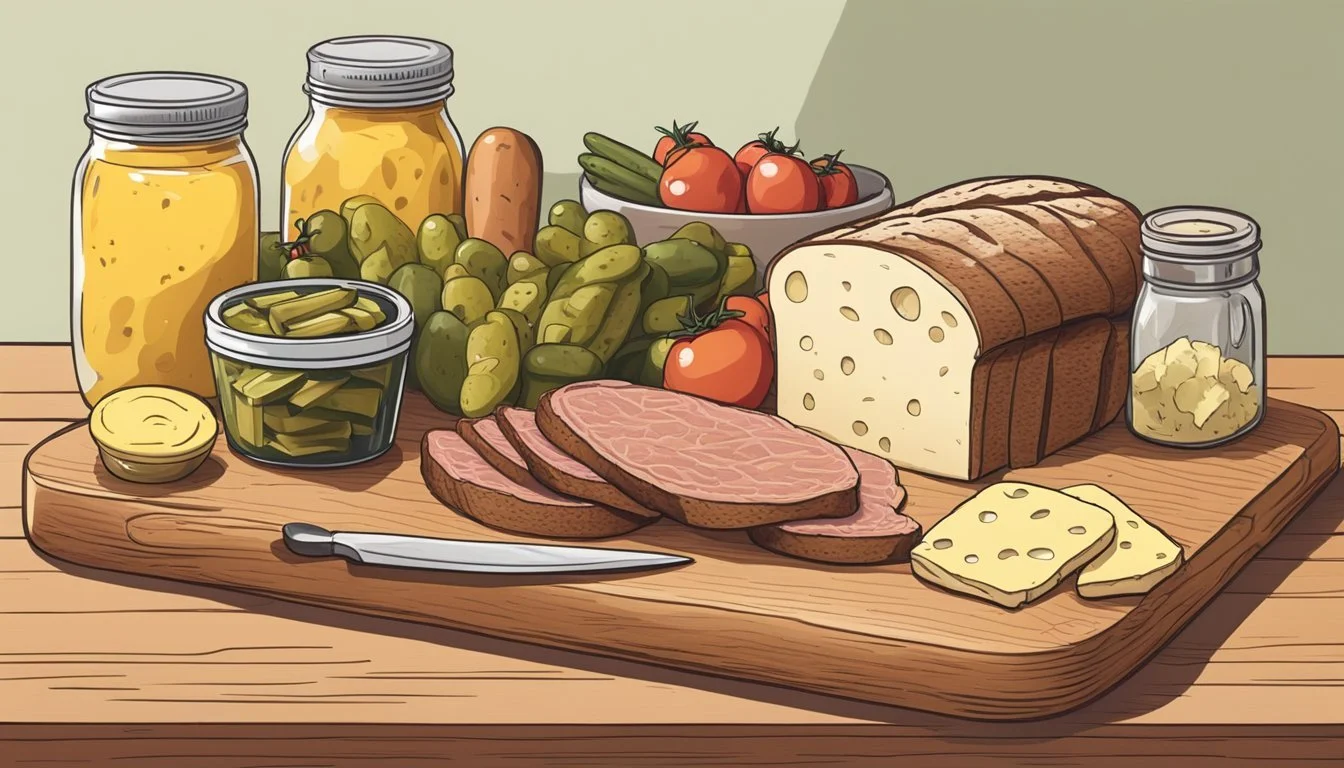
Appetizer: Arrange thinly sliced cold cuts on a platter with cheeses, olives, and crackers.
Sandwiches: Layer cold cuts on artisanal bread with mayonnaise, fresh lettuce, tomatoes, and cheese, creating a classic and satisfying meal.
For a lighter option, they can be used:
In salads for added protein.
As protein in wraps for a quick and nutritious lunch.
Remember to only take out what will be consumed immediately to prevent any unnecessary spoilage, and always store leftovers properly in the refrigerator.
Recipes and Variations
Creating homemade cold cuts allows for a customization that store-bought varieties can't match. Below are recipes for classic and inventive cold cut variations that cater to a range of taste preferences and dietary needs.
Classic Chicken Cold Cuts
A simple yet flavorful recipe, **Classic Chicken Cold Cuts**ensures a tender and juicy experience. This method involves poaching the chicken until fully cooked, then allowing it to cool at room temperature. Finally, it is wrapped and chilled before slicing. For a visual guide, a step-by-step video can be particularly helpful.
Ingredients:
1 whole chicken breast, skinless and boneless
1 teaspoon salt
1 teaspoon sugar
1/2 teaspoon cracked black pepper
1 clove garlic, minced
1 teaspoon paprika (optional for color)
Instructions:
Season the chicken breast thoroughly with salt, sugar, garlic, pepper, and paprika.
Poach the chicken in simmering water until the internal temperature reaches 165°F.
Allow to cool for about 45 minutes at room temperature.
Wrap the chicken in plastic wrap or place inside an airtight container and refrigerate until completely chilled.
Once chilled, slice thinly to serve.
Spicy Turkey Delight
For those who enjoy a kick in their cold cuts, Spicy Turkey Delight is a must-try. It features turkey meat as a leaner alternative, with a spicy marinade that infuses heat into every slice. A tip for achieving the best texture is to let the meat cool down gradually, ensuring easier slicing.
Ingredients:
1 turkey breast, skinless and boneless
1 tablespoon hot sauce or chili paste
1 teaspoon cayenne pepper
1 teaspoon garlic powder
Salt to taste
Instructions:
Rub the turkey breast with hot sauce, cayenne pepper, garlic powder, and salt.
Roast or poach the spiced turkey breast until fully cooked.
Allow the turkey breast to cool down, then refrigerate till firm.
Thinly slice the spiced turkey before serving.
Herbed Mortadella
Herbed Mortadella is a twist on the traditional Italian cold cut, incorporating a blend of herbs for a deeply aromatic flavor profile. This variation often requires finely grinding part of the meat to achieve its characteristically smooth texture.
Ingredients:
1 pound pork meat, ground
1/2 pound pork fat, finely diced
2 teaspoons salt
1 tablespoon mixed dried herbs (such as thyme, coriander, and fennel seeds)
Whole peppercorns for speckling
Instructions:
Combine ground pork with salt, mixed dried herbs, and diced pork fat.
Encase the mixture in sausage casing and poach in simmering water until the internal temperature reads 155°F.
Chill in the refrigerator until completely cold and firm.
Slice thinly and pepper with whole peppercorns before serving.
Tips and Tricks
In crafting delicious homemade cold cuts, one must be mindful of the processes for enhancing flavor and achieving efficiency in preparation. These tips are directed toward helping both beginners and seasoned makers produce cold cuts that boast a depth of taste and are made efficiently.
Enhancing Flavor
To ensure cold cuts are infused with robust flavors, one should consider the use of high-quality spices. Paprika offers a sweet, smoky essence that can transform poultry or pork cuts into savory delights. Another aromatic option is oregano, which should be incorporated well to imbue the meats with its distinctive earthy and mildy bitter notes.
For a beginner unsure about spice quantities, one might start with smaller amounts and gradually adjust upward in subsequent batches, tasting between modifications:
Paprika: Begin with 1/2 teaspoon per pound of meat.
Oregano: Start with 1/4 teaspoon per pound and adjust for personal preference.
Combining spices should be done thoughtfully to create a balanced and tasty flavor profile.
Efficiency in Preparation
When preparing homemade cold cuts, efficiency is key. This not only saves time but also ensures quality and safety in the preparation process. Beginners should first assemble all required utensils, which streamlines the preparation phase. The following list identifies some essential utensils:
Sharp knife: For trimming fats and slicing meat.
Meat grinder: If cold cuts require ground meat.
Oven: Precise temperature control is crucial for proper cooking.
By measuring spices in advance and preparing meat ahead of freezing, one can save valuable preparation time. Organizing the workspace so that utensils are within easy reach also aids in swift and unhindered preparation.
Conclusion
Making cold cuts at home empowers individuals to take control of the ingredients they consume. It also affords them the opportunity to experiment with flavors and methods that suit their personal tastes. While it may seem daunting at first, the process becomes more intuitive with practice. Home cooks become confident in handling and using curing salts, like Schone's, to preserve and flavor their meats.
They learn the importance of patiently curing and the benefits of allowing flavors to develop over time. Although equipment such as smokers or meat mincers may be required, the investment pays dividends in the quality and personalization of the end product — delicious cold cuts that can be shared and enjoyed with others.
By following safety guidelines meticulously, the knowledgeable home cook ensures that their homemade cold cuts are not only tasty but also safe to consume. With each new batch, they refine their skills, confidently adjusting recipes to perfection.
Key Takeaways Ingredient Control Home cooks choose what goes into their cold cuts, leading to healthier, preservative-free options. Flavor Exploration There's the freedom to create unique flavor profiles. Skill Development Each batch enhances their curing and cooking techniques. Safety Understanding and following safety practices is crucial.
Cold cuts made at home bring a satisfying sense of accomplishment. These homemade delicacies can elevate the quality of meals and provide a gateway to learning more about the culinary arts of charcuterie (What wine goes well with charcuterie?).
