
The Ultimate Guide to Making Homemade Pastrami
Your Step-by-Step Recipe
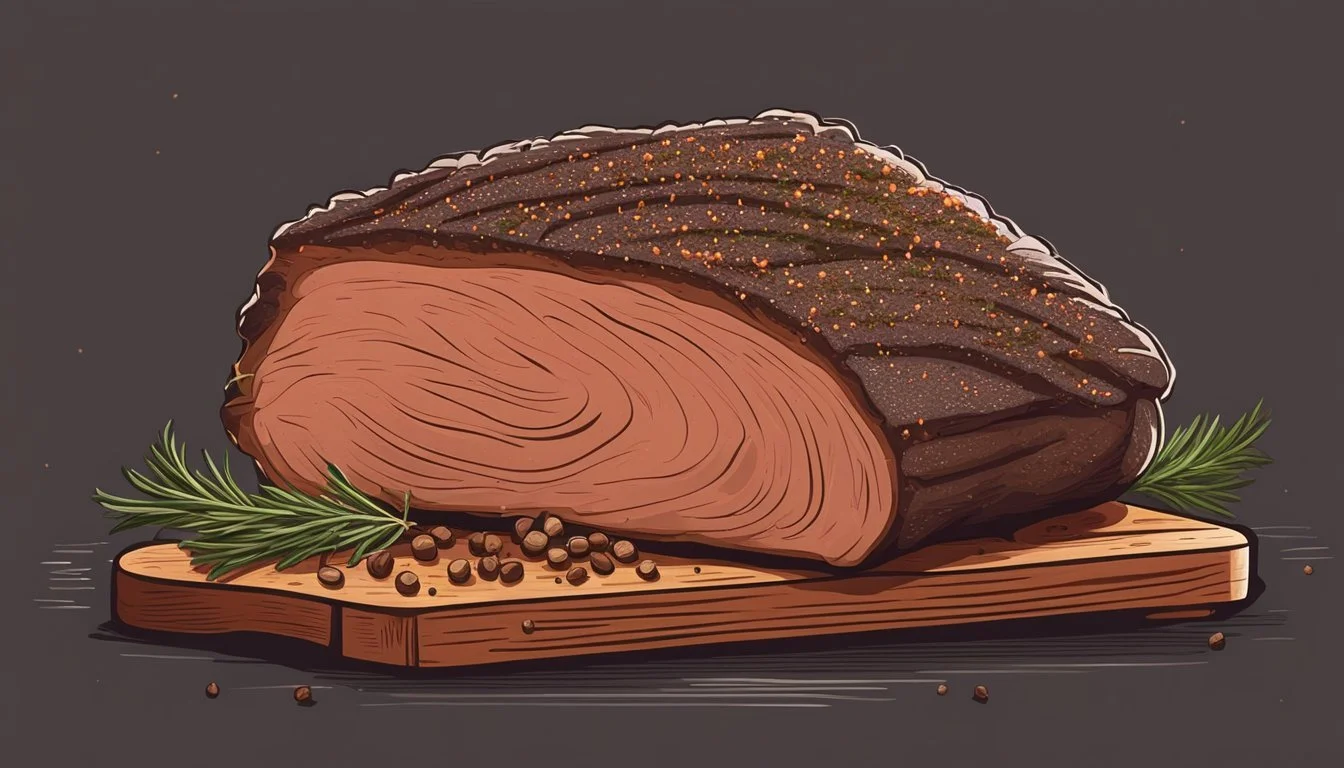
Pastrami is a savory delicacy with its roots in Romanian cuisine and a beloved staple in delicatessens, particularly in New York City. This spiced and smoked meat is traditionally made from beef brisket, which undergoes a series of processes including curing, smoking, and often steaming to develop its rich flavors and tender texture. The making of pastrami at home is an endeavor that promises a rewarding feast; it's a project that requires patience and attention to detail but delivers a sense of accomplishment along with a versatile and flavorful meat.
The journey of creating pastrami begins with selecting the right cut of meat, and beef brisket is the classic choice for its balance of fat and lean tissue. The brisket is then cured, a step that not only flavors the meat but also preserves it. The curing process involves soaking the brisket in a seasoned brine, a key phase in which the meat absorbs the flavors and the salt begins its work of breaking down tough muscle fibers. Following the cure, the meat is rubbed with a blend of spices such as coriander, black pepper, mustard seed, and sometimes garlic or paprika, to form that signature pastrami crust.
The final stages involve the slow smoking of the meat, infusing it with a gentle woodiness and softening the brisket into succulence. Controlling the temperature is crucial, as the aim is to slowly cook the meat to perfection without drying it out. After smoking, pastrami may often be steamed until it reaches the desired tenderness, ready to be thinly sliced and served on rye bread or included in various dishes. Making homemade pastrami is not a quick process, but it is an art that yields a rewarding and delicious result.
What Is Pastrami
Pastrami is a type of cured meat that originated from traditional Jewish delis. Renowned for its rich flavor and tender texture, it has become an iconic staple in North America. The meat used for pastrami is typically brisket, a cut from the lower chest of beef.
To create pastrami, the process begins by curing the brisket. The meat is soaked in a brine solution, which infuses it with flavors and starts the preservation process. After brining, it is then coated with a mix of spices such as coriander, peppercorns, and mustard seeds which contribute to its distinctive taste.
Curing is a step that differentiates pastrami from simple smoked beef. It shares similarities with corned beef, particularly in the initial spicing and curing stages. However, pastrami is further smoked, which provides its smoky flavor and a characteristic crust, known as the "bark".
In addition to its popularity in North American delis, variations of pastrami can be found globally, such as Montreal-style smoked meat in Canada and the spiced beef of the UK.
Pastrami is traditionally served sliced on rye bread, often accompanied by mustard, and can be enjoyed hot or cold. Its preparation might appear daunting, but home cooks can adopt the process to create homemade pastrami, enjoying the classic deli experience within their kitchens.
Choosing the Right Cut of Meat
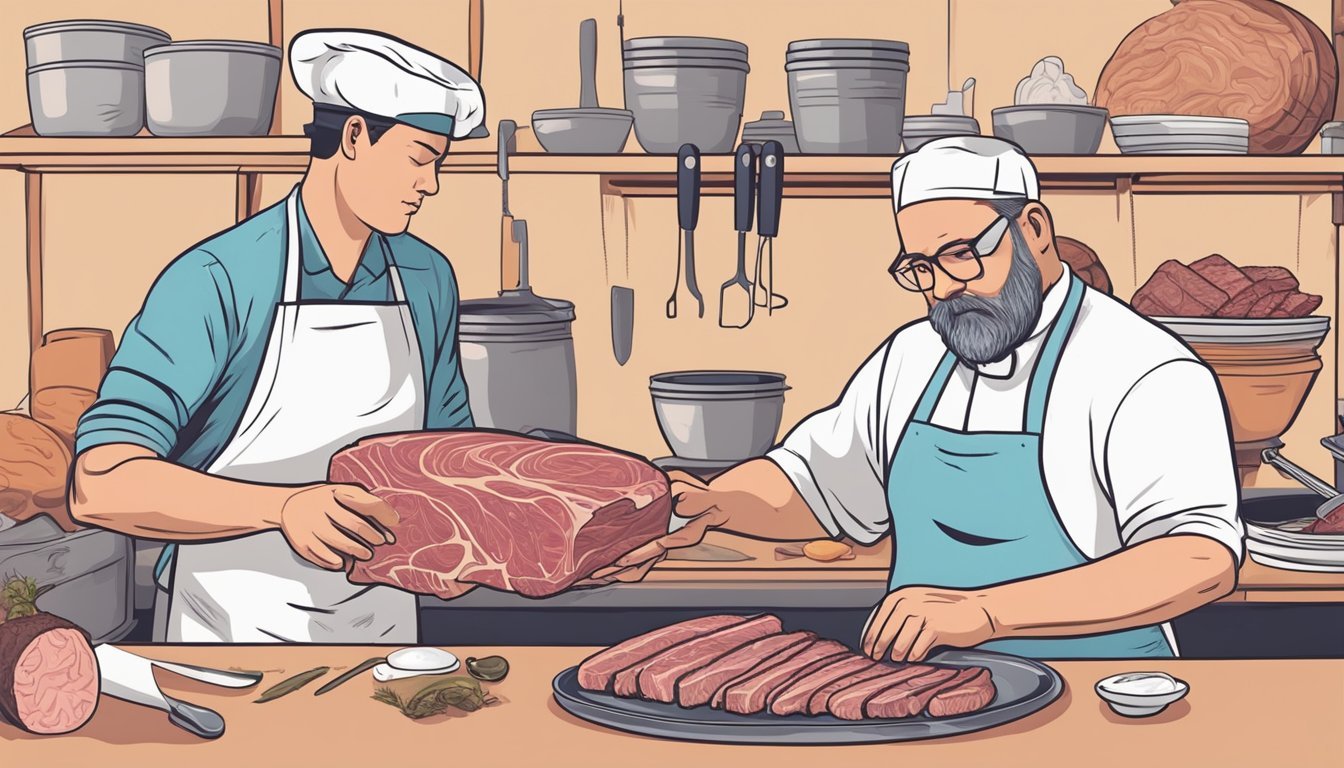
Choosing the correct cut is a crucial step in achieving the perfect homemade pastrami. The right meat with the ideal fat content is essential for both flavor and texture.
Brisket Selection
A beef brisket is traditionally used for pastrami due to its optimal fat content and connective tissue, which, when properly cooked, results in a tender and flavorful end product. When selecting a brisket, there are two main parts to consider:
The flat cut: Leaner and more uniform in shape, making it easier to slice.
The point cut: Has more fat, also known as marbling, which contributes to a moister pastrami.
One should look for a brisket with a ¼-inch cap of fat. This amount of fat will melt over the meat while smoking, keeping it moist without impeding seasoning absorption.
Alternative Meats
While beef brisket is the go-to for pastrami, other meats can be used as alternatives:
Mutton: For those seeking different flavors, mutton can be a viable alternative, though it has a stronger, more distinct taste and typically requires a longer brining period.
When using alternatives to beef brisket, it is crucial to ensure that the cut has enough fat. Fat content is a key component in keeping the meat moist throughout the long smoking process and achieving the desired mouthfeel and flavor.
Preparing the Brine
The brine is a crucial element in making pastrami, as it cures the meat, imparting flavor and preserving it. Properly preparing the brine ensures that the meat absorbs the necessary seasonings and the curing process occurs as intended.
Brine Ingredients
Water: 1 gallon (to fully submerge the brisket)
Kosher Salt: 1 cup (for curing and flavor)
Sugar: 1/2 cup (to balance saltiness)
Pink Curing Salt: 2 teaspoons (Prague Powder #1 for preserving color and preventing spoilage)
Garlic: 5 cloves, crushed (for added flavor depth)
Pickling Spice: 3 tablespoons (a mix of spices for the signature pastrami taste)
It is important to note that the exact ratio of salt to water in the brine affects both taste and the curing process.
Mixing the Brine
One starts by boiling 1 quart of the water to dissolve the salt and sugar quickly. Combine the Kosher salt, sugar, pink curing salt, crushed garlic, and pickling spice in the boiling water, stirring until everything is fully dissolved. This concentrate is then added to the remaining 3 quarts of cold water to create a room temperature brine. One should always ensure that the brine is fully cooled before it comes into contact with the meat. Cooling can be expedited by adding ice as part of the water volume.
Once the brine has cooled, one places the brisket into it, making sure that the meat is completely submerged. Weighting down the brisket may be necessary to keep it from floating above the liquid, ensuring even curing. The brisket should be refrigerated during the brining process to maintain an optimal temperature and prevent bacterial growth.
The Curing Process
The curing process transforms beef brisket into flavorful pastrami through time-honored techniques, employing precise ingredients like pink curing salt #1 and a blend of spices.
Curing Basics
Curing is an essential step in pastrami preparation. It involves treating the meat with a solution containing salt, water, and pink curing salt #1 (also known as curing salt #1 or InstaCure #1). The meat absorbs the solution, which helps preserve it and develop the distinctive pastrami flavor.
Ingredients: For curing, one needs salt and pink curing salt #1, which contains sodium nitrite. This special ingredient contributes to the pastrami’s pink color and prevents the growth of unwanted bacteria.
Process: The brisket must be completely submerged in the brine for a specific period, which is typically 5-7 days, to allow the absorption of flavors and the curing action to occur.
Tips: Ensure the brine is kept cold throughout the process, ideally in a refrigerator. This keeps the beef safe and promotes even curing.
Spice Curing
After the initial salt-brine curing, the brisket is coated with a spice blend, which imparts the characteristic pastrami flavor.
Spice Blend: The traditional spice blend includes coarsely ground black pepper, coriander seed, mustard seed, and sometimes other spices like garlic powder or paprika.
Application: Once the brisket has been cured with the salt brine, it’s rinsed and then rubbed with the spice mixture, covering it thoroughly.
Refrigeration: Before smoking, the spice-coated brisket should rest in the refrigerator. This stage can last between 1 and 3 days, allowing the spice flavors to penetrate the meat.
Throughout the curing process, it’s critical to monitor the internal temperature of the meat and refrigerate it properly to ensure safety and achieve the desired taste and texture of classic salt beef, which pastrami evolved from.
Creating the Rub

Creating the ideal spice rub is a critical step in making homemade pastrami. It involves selecting the right blend of spices for flavor and meticulously applying it to the meat for an even crust.
Spice Blend for the Rub
To start with the spice blend, they will need whole coriander seeds, black peppercorns, and mustard seeds. These are foundational spices that contribute to the pastrami's characteristic flavor. One can either purchase pre-ground spices or start with whole seeds for fresher flavor and grind them just before use. Here is a recommended combination for a standard batch of pastrami rub:
Whole coriander seeds: 2 tablespoons
Whole black peppercorns: 2 tablespoons
Mustard seeds: 1 tablespoon
Garlic powder: 2 teaspoons
Onion powder: 2 teaspoons
Brown sugar: 2 tablespoons (for balancing flavors)
Paprika (optional, for a hint of smokiness): 1 tablespoon
Additional spices (optional, for complexity) may include:
Allspice berries: 1 teaspoon
Ground ginger: 1/2 teaspoon
Ground mace: 1/2 teaspoon
Cinnamon: 1/4 teaspoon
To prepare the rub, they should toast the coriander seeds, black peppercorns, and mustard seeds in a dry skillet over medium heat until fragrant, careful not to burn them. This releases their essential oils and enhances the flavors. After cooling, these toasted spices should be ground to a coarse consistency using a mortar and pestle or a spice grinder.
Applying the Rub
Once the spice blend is ready, the preparer should ensure the surface of the meat is dry by patting it down with paper towels. Application of the rub requires a generous, even coating on all sides of the meat. They should press the spice rub into the meat to help it adhere effectively, especially on the non-fat-cap side which will form the exterior crust of the pastrami.
Dry meat with paper towels for better rub adherence.
Apply spice rub generously on both sides.
Press rub into the meat to cover thoroughly.
Allow the rub to sit on the meat, ideally overnight in the refrigerator, to deepen the flavor profile.
The fat cap, usually placed facing up during smoking, is addressed after the initial run application, as the fat will naturally baste the meat during the cooking process. By following these steps, one will create a bark with depth of flavor that is integral to a successful pastrami.
Smoking the Brisket
The smoking process is essential for creating the distinct smoky flavor and tender texture in homemade pastrami. Mastery of both the setup of the smoker and the technique of smoking the brisket are critical to achieving the perfect result.
Smoking Setup
The smoker should be preheated to 225 degrees Fahrenheit to ensure an even and steady cook. It's imperative to use indirect heat, which will cook the beef brisket slowly and allow the smoky flavor to permeate the meat. For optimal taste, hardwood such as hickory or oak can be used to impart a robust smoky flavor. The brisket flat, prepared with a 1/4-inch cap of fat, should be positioned in the smoker with the fat side up to allow the fat to melt over the meat during the cooking process.
Smoking Technique
Once the brisket is placed on the grill grate, it should be smoked until the internal temperature reaches around 165 degrees Fahrenheit. At this point, the brisket should be wrapped in unlined, unwaxed butcher paper to protect the meat while still allowing it to breathe and take on more smoky flavor. The goal is to continue cooking until the internal temperature of the brisket reaches around 200 degrees Fahrenheit. Smoking the brisket in this manner ensures that it remains moist and obtains the signature tender texture associated with smoked pastrami. The total smoke time can be around 5 to 7 hours, varying based on the size and thickness of the brisket.
Steaming to Perfection
After the pastrami has been smoked, steaming is the next critical step to ensure it achieves the desired tenderness. To steam pastrami properly, one must maintain a consistent, low heat and allow the meat's internal temperature to reach the optimal level, typically between 200-203 degrees Fahrenheit. This method ensures that fibrous tissues break down effectively, resulting in succulent, moist slices.
Steps to Steam Pastrami:
Prepare the Steaming Environment:
Preheat the oven to a low temperature, around 275-300 degrees Fahrenheit.
Fill a baking pan with enough water to generate steam but not to soak the meat.
Wrap the Pastrami:
Place the pastrami on a rack above the water level.
Tent the pastrami with aluminum foil to trap the steam without the foil touching the meat's surface.
Steam in Oven:
Steam for about 1.5 to 2 hours, or until the internal temperature reaches the desired 200-203 degrees Fahrenheit.
Check water levels periodically to ensure there's always enough to produce steam.
Tips:
Use a meat thermometer to check internal temperature.
Keep an eye on water levels, adding more as necessary to avoid drying out the pan.
Steaming is a method that requires patience and attention to detail. It should never be rushed, as doing so can result in a less tender finish. The careful application of steam will reward the chef with pastrami that rivals even the best delicatessens.
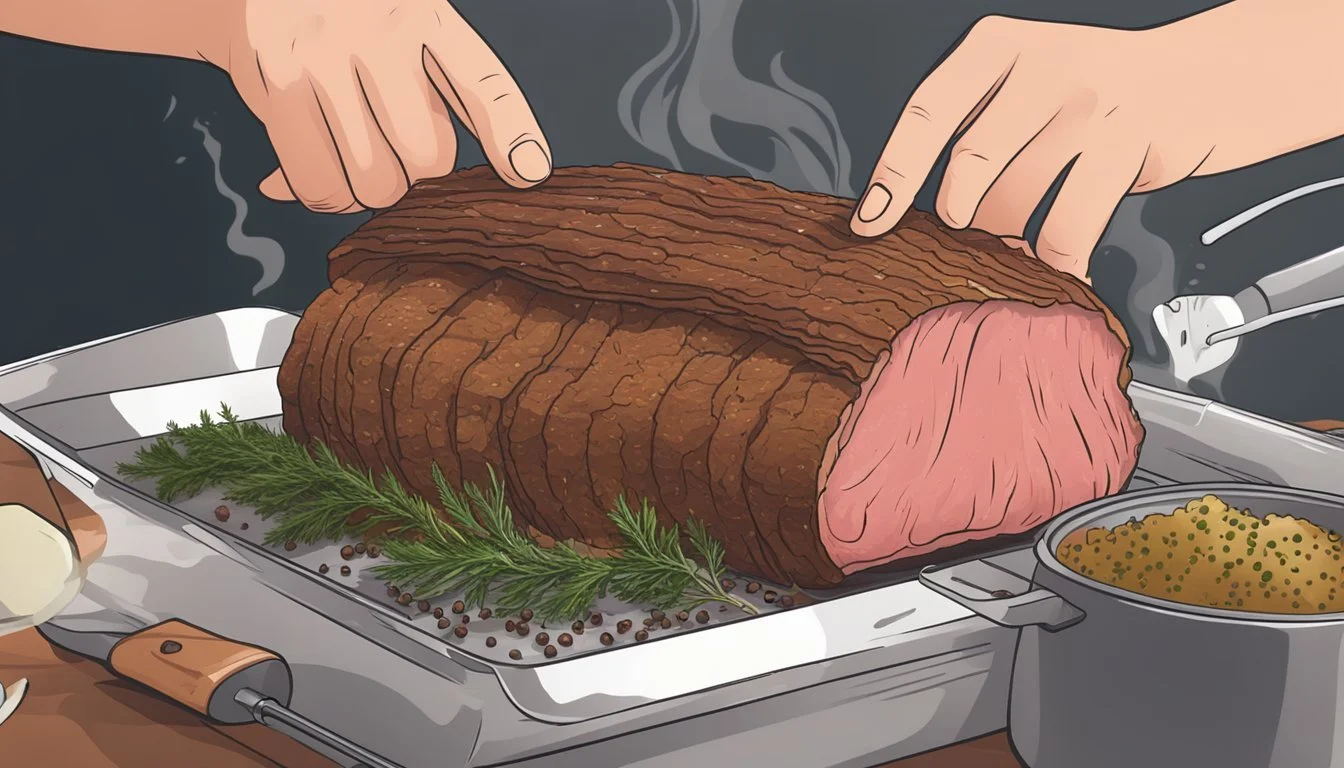
Slicing and Serving

Perfecting the slice and pairing pastrami with complementary flavors and textures is essential for a sublime eating experience.
The Art of Slicing
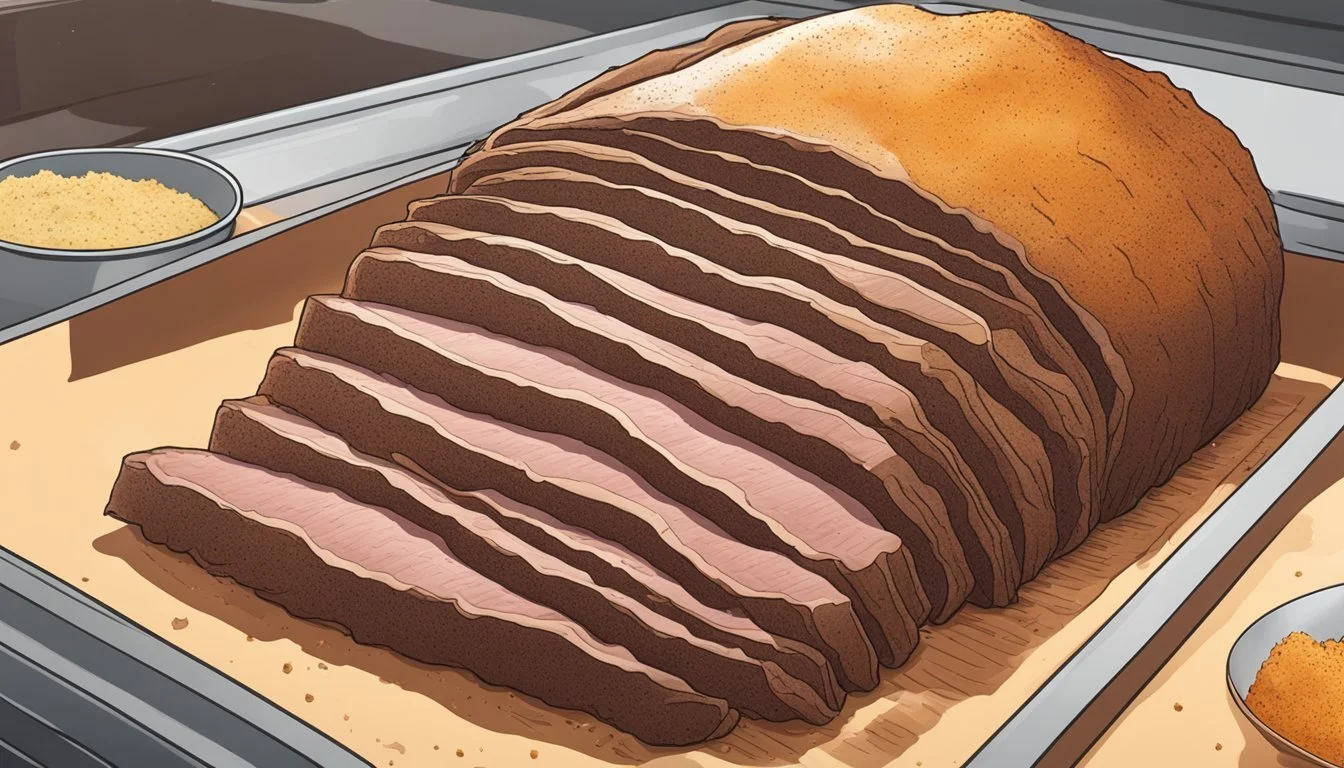
Once the pastrami has been properly rested, it's ready for slicing. A sharp, serrated knife is vital for cutting through the bark without crushing the tender meat. For sandwiches (What wine goes well with sandwiches?), chefs often recommend slicing pastrami thinly, aiming for slices about an eighth of an inch thick. This thickness ensures that the pastrami is easy to bite through and that its flavor melds harmoniously with the other sandwich ingredients.
Serving Suggestions
Pastrami can be served in many ways, but one of the most iconic is the pastrami sandwich. Here's a classic approach to building a mouthwatering pastrami sandwich:
Bread: Start with two slices of fresh, rye bread lightly coated with mustard. Rye’s distinctive flavor pairs well with pastrami.
Meat: Pile on a generous serving of sliced pastrami.
Cheese: Add a couple of slices of melty Swiss cheese if desired.
Toppings: A traditional garnish includes crisp pickles. Some prefer to add sauerkraut for a tart counterpoint to the rich meat.
Grilled: For a Reuben-style sandwich, grill the assembled sandwich until the cheese is melted and the bread is toasted to a golden-brown.
It may be served hot, typically with the pastrami warmed to enhance its flavors and textures. When serving pastrami on its own, consider a side of coleslaw or potato salad for a well-rounded platter.
Pastrami Variations
Exploring pastrami variations allows for a creative twist on the traditional flavor profile, and these modifications can enhance the dining experience for specific events or personal preferences.
Spicy Pastrami
Spicy Pastrami offers a zesty leap from the classic recipe. It incorporates additional heat through a blend of spices, like cayenne pepper, hot paprika, or finely diced jalapeños, mixed into the traditional coriander and black pepper rub. This bold variant is ideal for those looking to add a fiery kick to their sandwiches or platters.
Spice Blend for Spicy Pastrami:
Cayenne Pepper: 1 tablespoon
Hot Paprika: 2 tablespoons
Crushed Red Pepper Flakes: 1 tablespoon
Flavored Pastrami
Flavored Pastrami invites a range of aromatic tastes by infusing different herbs and ingredients into the brine or rub. One might add fennel seeds or garlic powder for an Italian-inspired version or embrace a sweet profile with brown sugar and a hint of clove. The flavor profiles can range from subtle to pronounced, catering to a wide array of palates.
Herb and Spice Options for Flavored Pastrami:
Italian Flair: Fennel seeds (1 tablespoon), Garlic powder (1 teaspoon)
Sweet Twist: Brown sugar (1/4 cup), Ground clove (1/2 teaspoon)
Nutritional Information
When one prepares homemade pastrami, it's important to consider the nutritional components, particularly the fat content and overall nutrition. A serving size of pastrami typically weighs around 3.5 ounces (100 grams).
Calories: Homemade pastrami is energy-dense due to its fat content, providing approximately 250-350 calories per serving. The exact calorie count can vary based on the fat cap left on the brisket during preparation.
Protein: Pastrami is a good source of protein, offering about 15-24 grams per serving. Protein is essential for muscle repair and growth, making pastrami a substantial option for a high-protein diet.
Fat Content: The fat content in pastrami can range widely, with 14-20 grams per serving. The type of brisket used and the amount of fat trimmed before the curing process affects the total fat. A ¼-inch cap of fat is typically left to ensure moisture while smoking.
Fat Breakdown (approximate values per serving):
Saturated Fat: 5-7 grams
Monounsaturated Fat: 6-8 grams
Polyunsaturated Fat: 1-3 grams
Carbohydrates: Pastrami contains a minimal amount of carbs, usually less than 1 gram per serving, unless additional sugary glazes or rubs are applied during the preparation process.
Sodium: High in sodium, pastrami can contain upwards of 1000 mg per serving because of the brine solution used during the curing process, which is an essential step for flavor development but something to be mindful of for those monitoring sodium intake.
Micronutrients: Pastrami offers various vitamins and minerals such as iron, zinc, and vitamin B12. These nutrients are valuable for maintaining healthy blood cells and immune function.
It's imperative for consumers to balance the enjoyment of homemade pastrami with an awareness of its fat and sodium content within their overall dietary intake.
Home Cooking Techniques
Making homemade pastrami requires careful cooking techniques. Whether one chooses to bake in the oven or use a grill, precision and adherence to the recipe ensure the pastrami develops its signature flavors and texture.
Oven Baking
Oven baking is an accessible technique for those aiming to make pastrami at home. The cook preheats their oven to a low temperature, typically around 250°F to 275°F. After applying the spice mix to the cured brisket, it is then placed on a rack in a roasting pan. Meat should always be placed fat side up, allowing the fat to baste the meat throughout the long cooking process.
Oven Baking Steps Description Preheat Set temperature to 250°F - 275°F. Spice Coat the meat evenly with the spice mix. Rack Positioning Position fat side up on the rack. Baking Bake until internal temp reaches 200°F.
Using a meat thermometer to check for an internal temperature of around 200°F is crucial, as this is the point at which the connective tissue turns into gelatin, yielding that tender, juicy consistency pastrami lovers seek.
Grilling Options
Grilling imparts a unique smoky flavor to homemade pastrami that is hard to replicate with other cooking methods. The key is maintaining a consistent low heat and using the indirect grilling method to cook the meat gently and evenly.
Grilling Steps Description Indirect Heat Set grill for indirect cooking around 225°F. Smoke Add soaked wood chips for smoke flavor. Monitor Maintain consistent temperature. Check Temp Grill until internal temp reaches 200°F.
Partial smoking and wrapping might be employed wherein the pastrami is smoked until it reaches an internal temperature of 155°F, then it is wrapped in foil to complete the cooking process, preventing it from drying out.
Regardless of the method chosen, patience is as much a part of the recipe as the spices. It's important to allow the pastrami to cook slowly, giving it the time it needs to develop a rich flavor and inviting texture.
Preservation and Storage

Proper preservation and storage are crucial for maintaining the flavor and quality of homemade pastrami. These methods ensure pastrami remains safe to consume and delicious for as long as possible.
Short-Term Storage
After pastrami has been cooked, it should cool to room temperature before storing. For short-term storage, pastrami should be kept in the refrigerator. To maintain its moisture and flavor, it's recommended to:
Wrap the pastrami tightly in plastic wrap or aluminum foil.
Store it in an airtight container or resealable plastic bag.
Refrigerate at temperatures below 40°F (4°C).
Pastrami can be safely stored in the refrigerator for up to four days. For optimal taste, one should consume it within this timeframe.
Freezing Guidelines
For extending the shelf life of pastrami beyond a few days, freezing is an excellent option. Adhering to proper freezing guidelines is imperative for quality retention:
Portion the pastrami into servings to avoid thawing more than needed at a time.
Wrap each portion in plastic wrap, followed by a layer of aluminum foil or use freezer bags to prevent freezer burn.
Label each package with the freezing date to keep track of how long it's been stored.
Pastrami can be frozen for up to two months without significant loss of taste or texture. When ready to eat, it's best to thaw it overnight in the refrigerator, not at room temperature.
Recipes and Pairings
When one masters the art of making homemade pastrami, they unlock a world of culinary possibilities. Pastrami can be enjoyed in classic sandwiches or used as the star ingredient in more innovative dishes. Both roots honor the rich, spiced flavor of pastrami, which can be enhanced with the right pairings and seasoning.
Classic Pastrami Sandwich
A classic pastrami sandwich is simplicity at its best. Start with slices of rye bread and layer generous amounts of pastrami. The pastrami should be seasoned with a spice rub that typically includes mustard powder and smoked paprika for depth and warmth. One can add Swiss cheese and a smear of mustard or opt for crafting a Reuben sandwich by including sauerkraut and Russian dressing.
Ingredients:
Slices of rye bread
Pastrami
Mustard (spicy or grainy)
Swiss cheese (optional for a Reuben)
Sauerkraut (optional for a Reuben)
Russian dressing (optional for a Reuben)
Assembly:
Spread mustard on rye bread slices.
Layer with pastrami.
Add cheese and sauerkraut for a Reuben.
Top with another slice of bread.
Grill or toast if desired.
Innovative Dishes
They can also break tradition by incorporating pastrami into innovative dishes that showcase its versatility. One might consider dicing pastrami to add a smoky, spiced protein to their breakfast omelets or using it as a topping for flatbreads and pizzas. Seasoning such as additional mustard powder and smoked paprika can be sprinkled on top to maintain the integrity of pastrami's signature flavor.
Ideas for Pastrami-Infused Dishes:
Pastrami Omelets
Pastrami-Topped Flatbreads
Pastrami Pizza
Tips for Seasoning:
Combine additional mustard powder and smoked paprika with other seasonings.
Sprinkle over the dish for heightened flavor.
Troubleshooting Common Issues
When making pastrami, cooks sometimes encounter issues that can affect the quality of the final product. Here's how to identify and resolve these common problems.
Dry Pastrami: If the pastrami turns out dry, it may mean the fat cap was trimmed too much or it was overcooked. Maintaining a ¼-inch fat cap and using a meat probe to monitor internal temperature is crucial. Aim for an internal temperature of 205°F to ensure moisture.
Lack of Flavor Penetration: A pastrami lacking in flavor could be due to inadequate curing time or a thick fat cap blocking spice absorption. Ensure the brisket is cured for 5-7 days, turning it once per day. Trim the fat to the recommended thickness.
Tough Texture: Pastrami should be tender. A tough texture often results from undercooking. Use a meat probe to ensure the proper internal temperature is reached and consider the wrap-and-rest method at 155°F to slowly bring it up to 205°F.
Managing Burnt Ends: Burnt ends can ruin the experience. They usually occur from excess sugar in the rub or overcooking. Monitor the smoker temperature and check the meat's surface regularly.
Flavors Too Strong: Sometimes the spices can be overpowering. To mitigate this, balance the spice mix according to a reliable cookbook and taste test the cure before applying.
By paying attention to these aspects, anyone can improve their pastrami-making process and avoid common pitfalls. Remember, precision and patience are the keys to perfect homemade pastrami.
Exploring Pastrami's Cultural Impact

Pastrami has a distinct presence in culinary cultures, marking its significance especially within Jewish delis in North America. Originating from Romanian Jewish immigrants, pastrami became a staple in New York City's delis, offering a taste of heritage delicatessen. The meat's seasoned, smoked, and steamed preparation process carried over into these communities, embedding itself into the fabric of New York's food scene.
In the United Kingdom, pastrami also reflects varied cultural influences. Delis and sandwich shops often feature it, indicating its spread beyond North American borders, echoing long-standing traditions across the Atlantic. It showcases the adaptability and acceptance of diverse food practices within the UK.
The versatile meat has a historical footnote in Montreal as well. Here, it shares the spotlight with Montreal-style smoked meat, contributing to a rich deli tradition that is both unique and shared, once again highlighting pastrami's ability to meld into local customs while maintaining its identity.
Region Cultural Significance New York Jewish deli heritage United Kingdom Diversity in food acceptance Montreal Blend with local smoked meats
Pastrami’s popularity is also evident in various events celebrating food culture, where it's showcased for its taste and tradition. Food festivals and culinary shows often feature pastrami, attesting to its enduring appeal and status as a gastronomic delight.
This meat has thus woven itself into the communal and cultural tapestries of places with storied histories and continues to be a culinary emblem cherished by many.
Conclusion
In the creation of homemade pastrami, patience and attention to detail are key. Start by curing the brisket, which will often require 5-7 days to achieve optimal flavor penetration. Daily turning ensures an even cure.
One must maintain a balance of fat to meat—the recommended 1/4-inch cap of fat provides moisture during smoking without hindering the seasoning absorption. The choice between smoking to 205°F or wrapping in foil at 155°F and then continuing to smoke or steam impacts the bark and texture of the final product.
Steaming the brisket for 2-3 hours after smoking makes it tender. It’s important to verify temperatures with a reliable thermometer to ensure the ideal doneness.
Here's a simple break down of the steps:
Cure the brisket for 5-7 days, turning regularly.
Season with a blend of coriander, mustard seeds, peppercorns, and other spices.
Smoke with the fat side up, aiming for an internal temperature of 155°F for the bark, then either continue to 205°F or wrap and steam.
Steam (if chosen) the meat to ensure tenderness.
Homemade pastrami requires a blend of science and art. While precise in technique, the process encourages home cooks to apply their personal touch, tweaking spices and cooking times. Adhering to these guidelines, one can consistently produce a high-quality, flavorful pastrami that captures the essence of traditional methods with a personal twist.
