
The Art of Making Homemade Cold Cuts
Your Ultimate Guide to DIY Deli Meats

Homemade cold cuts offer culinary adventurers the opportunity to craft delectable deli meats within the comfort of their own kitchens. By taking control of the process, individuals can adjust flavors, select quality ingredients, and reduce preservatives often found in store-bought varieties. This venture into charcuterie (What wine goes well with charcuterie?) not only leads to personalized meats tailored to one’s taste but also provides a satisfying experience in the art of meat preparation and preservation.
Starting with the right choice of meat is essential. Beef, pork, poultry, or even game meats can be used to create cold cuts. The meat is first prepared with a blend of curing salt and sugar to ensure its safety and to develop flavor. By understanding the intricacies of curing and seasoning, enthusiasts can replicate traditional recipes or innovate new ones.
The process of making homemade cold cuts might seem daunting, but it is a practice rooted in tradition, accessible with modern conveniences. Whether it is brined, smoked, or air-dried, each method contributes distinct characteristics to the final product. With patience and attention to detail, one can transform simple cuts of meat into a sophisticated array of cold cuts ready to be enjoyed on sandwiches, charcuterie boards, or as a savory standalone treat.
Understanding Cold Cuts
The section provides an in-depth look into the variety of meats classified as cold cuts, their nutritional profile, and their culinary versatility.
Types of Cold Cuts
Cold cuts, also known as deli meats, come in an array of types, primarily sourced from pork, beef, turkey, and poultry. They can range from traditional Italian selections such as salami, prosciutto, coppa, and lardo to more common varieties like ham, bologna, and turkey breast. These meats are typically served in thin slices and are often used for sandwiches or served on platters. Notably, options such as Italian cold cuts enchant with their savory and often spiced flavors, while poultry cold cuts offer a leaner alternative.
Here is a brief rundown of some popular cold cuts:
Pork: Ham, salami, prosciutto
Beef: Bologna, beef pastrami
Poultry: Turkey breast, chicken loaf
Other Varieties: Cheese sausage, teewurst
Health and Nutrition
Nutritionally, cold cuts can vary widely. They are often high in protein, providing a convenient source in one's diet. However, attention should be paid to their salt and sugar content, as these are common preservatives used in the curing process, which could impact one's dietary intake goals. Some cold cuts may also contain additives and preservatives like nitrates or nitrites.
Here's a nutritional snapshot highlighting the macro-nutrient content for a general selection of cold cuts (values are approximate and can vary based on the product):
Cold Cut Type Protein (per 100g) Fat (per 100g) Sodium (per 100g) Ham 18g 5g 1200mg Turkey Breast 22g 1g 800mg Salami 18g 30g 1800mg Bologna 14g 25g 1100mg
Cheese is often paired with cold cuts, with varieties like cheddar providing creaminess and added flavor to the palate. However, it's essential to consider the additional calories and fat when cheese is included in the meal.
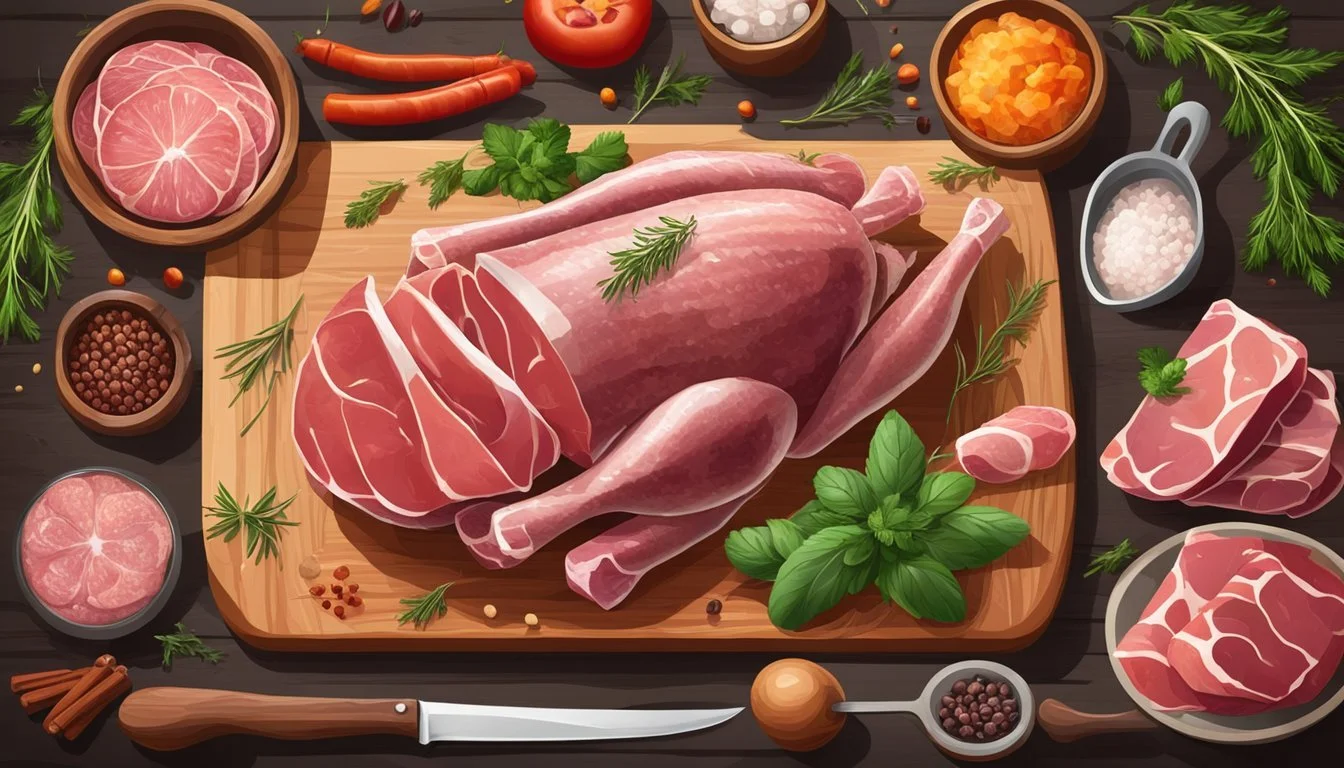
Selecting the Right Meat
In creating homemade cold cuts, choosing high-quality, fresh meat is critical. This section guides on picking the best varieties of beef, pork, and poultry, focusing on cuts that ensure flavor and tenderness.
Beef Varieties
When selecting beef for cold cuts, one should opt for cuts with a balance of lean muscle and marbling. Marbling is the fat within the muscle which enhances flavor and juiciness. Ideal cuts include:
Tenderloin: Known for its tenderness and minimal marbling, making it a premium choice for roast beef cold cuts.
Brisket: Requires slow cooking to achieve a tender texture, and is excellent for a more flavorful cold cut with its rich marbling.
Pork and Its Cuts
Pork should be chosen based on tenderness and fat content, which contribute to the moisture and taste of the final product. Recommended cuts for pork cold cuts include:
Pork Tenderloin: Lean yet tender, perfect for slicing into medallions or making a pork loin roast.
Pork Belly: Although higher in fat, it's ideal for making bacon or pancetta, which can be thinly sliced and enjoyed cold.
Poultry Selection
For poultry, the key is to find fresh, lean cuts to ensure the cold cuts are both healthy and tasty. Suitable options include:
Turkey Breast: Opt for skinless and boneless breasts for a low-fat option that's still rich in flavor.
Chicken Breast: Similarly to turkey, choose skinless, boneless breasts for making cold cut slices or chunks that are lean and healthy.
Preparation Basics
Creating homemade cold cuts requires meticulous attention to cleanliness, proper curing, and precise grinding and mixing of ingredients. This section will guide the reader through each fundamental step to ensure successful cold cut preparation.
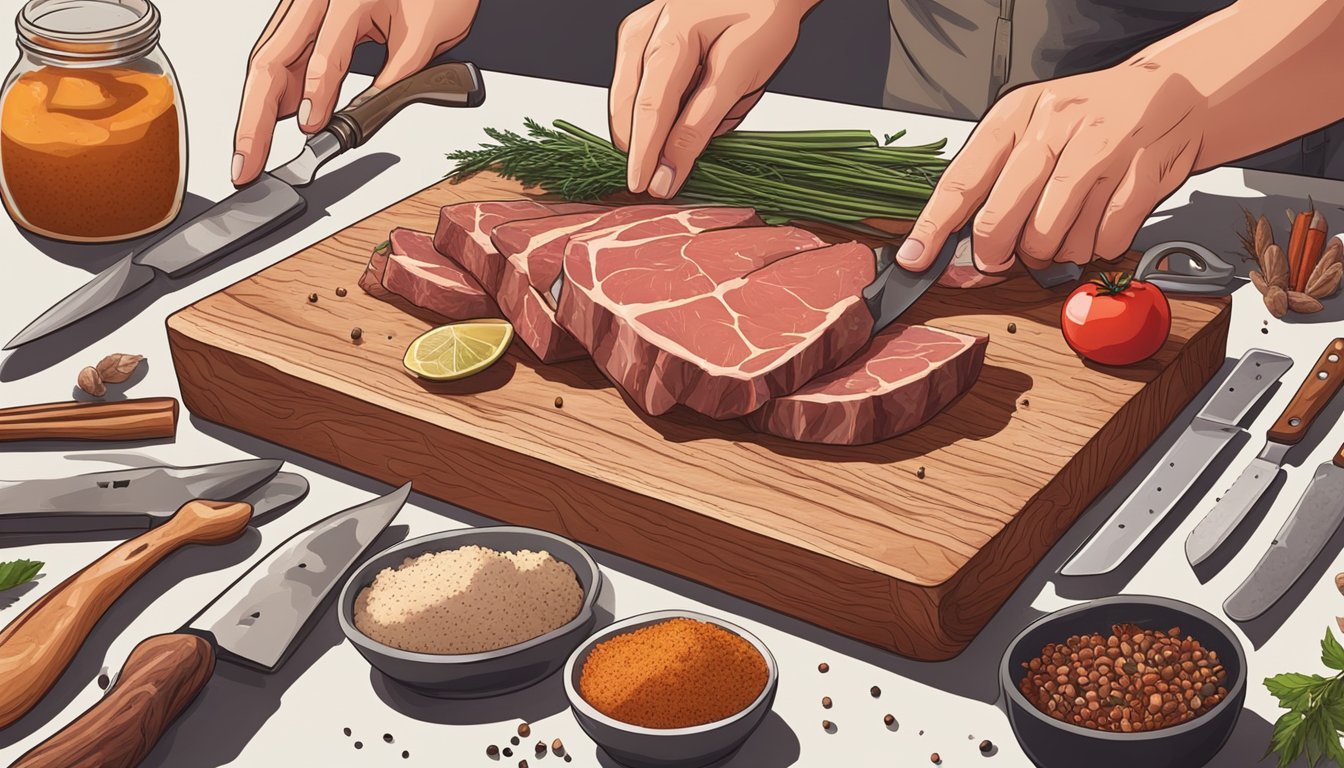
Cleaning and Trimming
The initial step in preparing cold cuts is to ensure the meat is clean and trimmed of any excess fat or connective tissue. Using clean and sanitized equipment is crucial to prevent contamination. The meat should be rinsed under cold water and patted dry. Trimming requires a sharp knife and an eye for removing parts that might affect the texture and appearance of the final product.
The Curing Process
Curing is a delicate mix of science and art. A basic curing salt mixture often includes regular salt, spices, and sometimes garlic for flavor. Precision in the recipe is key. The meat should be evenly coated with the curing mixture to ensure proper preservation and flavoring. After application, the meat typically rests in a chilled environment, often in a water bath to maintain consistent temperatures during the cure.
Ingredient Function Quantity (per 1 lb of meat) Salt Preservation 1 Tbsp Curing Salt Prevents spoilage 1 tsp Sugar Balances saltiness 1 tsp Spices Flavor to taste Garlic Flavor 1 clove, minced
Grinding and Mixing
Once the meat has been cured, grinding and mixing incorporate the fat and additional spices. For a consistent texture, a meat grinder or a food processor is used to grind the meat and fat (or lard) together. This process, followed by thorough mixing, ensures that the fat is evenly distributed throughout the meat, contributing to the distinct texture of cold cuts.
Tool Purpose Meat Grinder To finely chop meat and fat into a uniform mixture Food Processor Alternative for grinding if meat grinder unavailable Spices & Seasonings To enhance flavor after the initial cure
The careful application of these preparation basics lays the foundation for high-quality, flavorful homemade cold cuts.
Flavoring and Seasoning
The success of homemade cold cuts hinges significantly on how they are seasoned and flavored. Just the right balance of herbs, spices, and seasonings can transform the taste and quality of the meat.
Herbs and Spices
When adding herbs and spices to cold cuts, precision is key. For classics like homemade smoked chicken, a dry rub might include a combination of paprika, black pepper, and garlic powder. These spices offer a robust flavor profile that is absorbed by the meat during the smoking process. For cold cuts like salami, essential spices often comprise ground coriander, mace, and white pepper. These lend complex nuances to the meat’s flavor.
Common spice blends may include a table like this:
Spice Meat Compatibility Flavor Note Nutmeg Ham Loaf Warm and nutty Garlic Chicken Pungent and savory Onion Powder Various Cold Cuts Mild and slightly sweet Paprika Smoked Meats Smoky and mild
Marination and Brining
Marination and brining are crucial for flavor infusion and moisture retention. A typical brine solution consists of water, salt, and sugar, sometimes enhanced with herbs such as rosemary or thyme. Meat should marinate or brine for several hours, and sometimes even days, depending on the recipe and desired intensity of flavor.
For a simple marination mixture:
4 cups of water
1/4 cup of kosher salt
1/4 cup of sugar
1 tablespoon of mixed dried herbs
This mixture helps ensure that the meat remains moist and flavorful throughout the curing or cooking process.
Cooking and Smoking
Preparing homemade cold cuts involves a cooking process to enhance the texture and flavor before smoking, which instills the desired smoky aroma and taste.
Techniques for Cooking
Cooking homemade cold cuts generally requires precise temperature control. For roast beef, typically, one would sear the beef at high temperatures to create a crust, then shift to a lower-temperature oven to roast it slowly. This encourages even cooking throughout the meat:
Searing: 450°F (232°C) for 15 minutes
Roasting: 325°F (163°C) until the desired internal temperature is reached
Hams may be cooked in a water bath to ensure that they remain moist. The process involves the following steps:
Preheat the oven to 350°F (177°C).
Place the ham in a roasting pan.
Fill the pan with water so that it comes up about an inch on the ham.
Cover with foil and place it in the oven.
Bake until the internal temperature reaches 145°F (63°C).
Smoking for Flavor
The smoking phase involves using wood chips to impart a smoky flavor to meats such as smoked ham. There are various wood chips options, each lending a different flavor to the meat. Applewood and hickory are popular for their mild and strong flavors, respectively.
Cold Smoking:
Ideal temperature: Below 80°F (27°C)
Duration: Several hours to days, depending on the size of the cut and desired smoke intensity
Hot Smoking:
Ideal temperature: 225°F to 250°F (107°C to 121°C)
Duration: Timed to reach an internal temperature specific to the type of hams or meats being smoked
The meat should be monitored throughout the smoking process to ensure that the temperature remains consistent and to prevent over-smoking, which can lead to a bitter taste.
Storing and Serving

Proper storing methods ensure the freshness and safety of homemade cold cuts, while effective presentation and pairing can turn them into the highlight of any meal, from a simple sandwich to an elaborate dinner appetizer.
Refrigeration and Freezing
Refrigeration: After preparation, cold cuts should be stored in the refrigerator as soon as possible. They are best kept at temperatures below 40°F. It's essential to store slices in airtight containers or securely wrapped in plastic to avoid exposure to air, which can accelerate spoilage. Typically, homemade cold cuts can be refrigerated for three to five days.
Raw Cold Cuts: Refrigerate immediately and consume within three days.
Cooked Cold Cuts: Cool to room temperature promptly then refrigerate. Consume within five days.
Freezing: For longer storage, cold cuts can be frozen, although this may affect texture and flavor. To freeze, wrap slices tightly in freezer-safe materials and consume within two months for optimal quality.
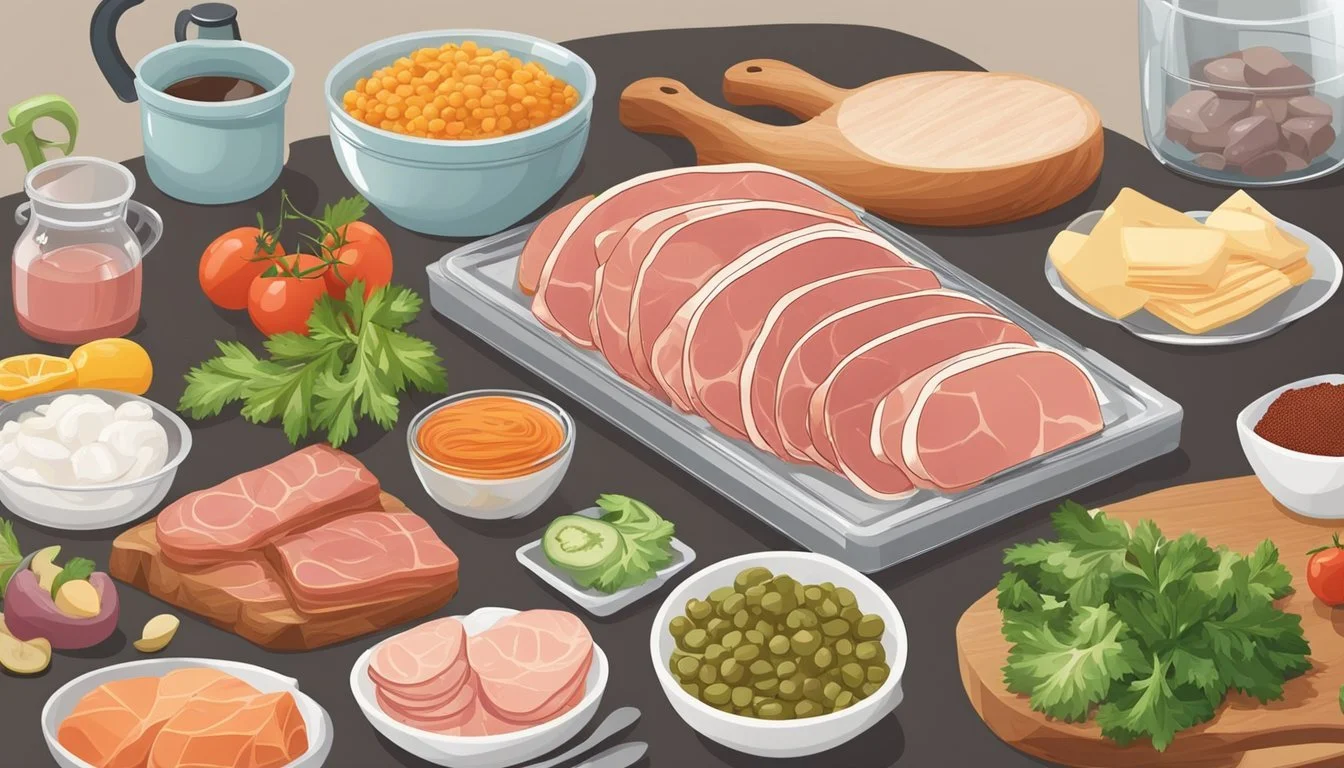
Presentation and Pairings
Presentation: When serving cold cuts, one should display them on a platter in an appetizing and accessible manner. They can be rolled, folded, or laid flat, and arranged with variety in both type and flavor profile.
Appetizer: Arrange on a platter with different types of cheese for variety.
Sandwich: Layer slices with complementary ingredients like fresh bread, cheese, and a spread such as horseradish for a flavorful sandwich.
Pairings: To complement homemade cold cuts, consider pairings that enhance their flavor. Bold cheeses, pickles, and artisanal breads are excellent choices. For dinners or more formal appetizers, pair with appropriate wines or craft beers to elevate the dining experience.
Cheese: Bold or sharp flavors like cheddar or gorgonzola.
Condiments: Mustards, horseradish, and mayonnaise can accentuate the flavors.
Breads: Choose crusty breads or rolls for texture contrast with the softness of cold cuts.
Advanced Techniques
When delving into advanced techniques for making homemade cold cuts, one encounters the meticulous processes of emulsification and dry-curing, which demand precision and patience. Mastery of these methods enables the creation of cold cuts with superior texture and flavor.
Making Emulsified Cold Cuts
In making emulsified cold cuts, such as bologna or cheese sausage, a fine, homogenous texture is key. Key Steps are as follows:
Grind meats to a fine paste, combining lean proteins with a proper ratio of fat. Fat content is crucial, as it emulsifies with liquids to create the desired consistency.
Emulsify by incorporating ice or ice-cold water during the grinding process to prevent fat from melting and ensure a smooth mixture.
Recipe Tips:
Use non-fat dry milk as a binder to help absorb water and distribute fat evenly.
Precise temperature control is vital; use a meat thermometer to monitor the mixture, ensuring it stays below 12°C (54°F).
Dry-Curing and Aging
Dry-curing involves coating meats with a curing salt mixture, infusing them with flavors, and drawing out moisture to extend their shelf life. Ingredients like salt, sugar, and spices are massaged into the meat's surface, then it is left to cure.
Pancetta: Rolled and seasoned with black pepper, fennel, and garlic.
Prosciutto and Coppa: Require longer aging times to develop their delicate textures and flavors.
Lardo: Cured with a mix of herbs and spices, focusing on the fat content.
Curing Conditions:
Temperature should be maintained between 2-4°C (35.6-39.2°F).
Humidity is critical, kept at 70-80% to encourage proper drying without mold growth.
Cold cuts are encased in casings for protection and uniformity during the curing process. Equipment such as a curing chamber can assist in maintaining the appropriate conditions.
By adhering to these techniques, one can produce cold cuts that are both a testament to traditional charcuterie and a showcase of one's culinary skill.
Cultural Varieties

Exploring the rich tapestry of cold cuts highlights distinct cultural preparations and ingredients. Each region imparts its signature to these delicacies through traditional recipes and unique local flavors.
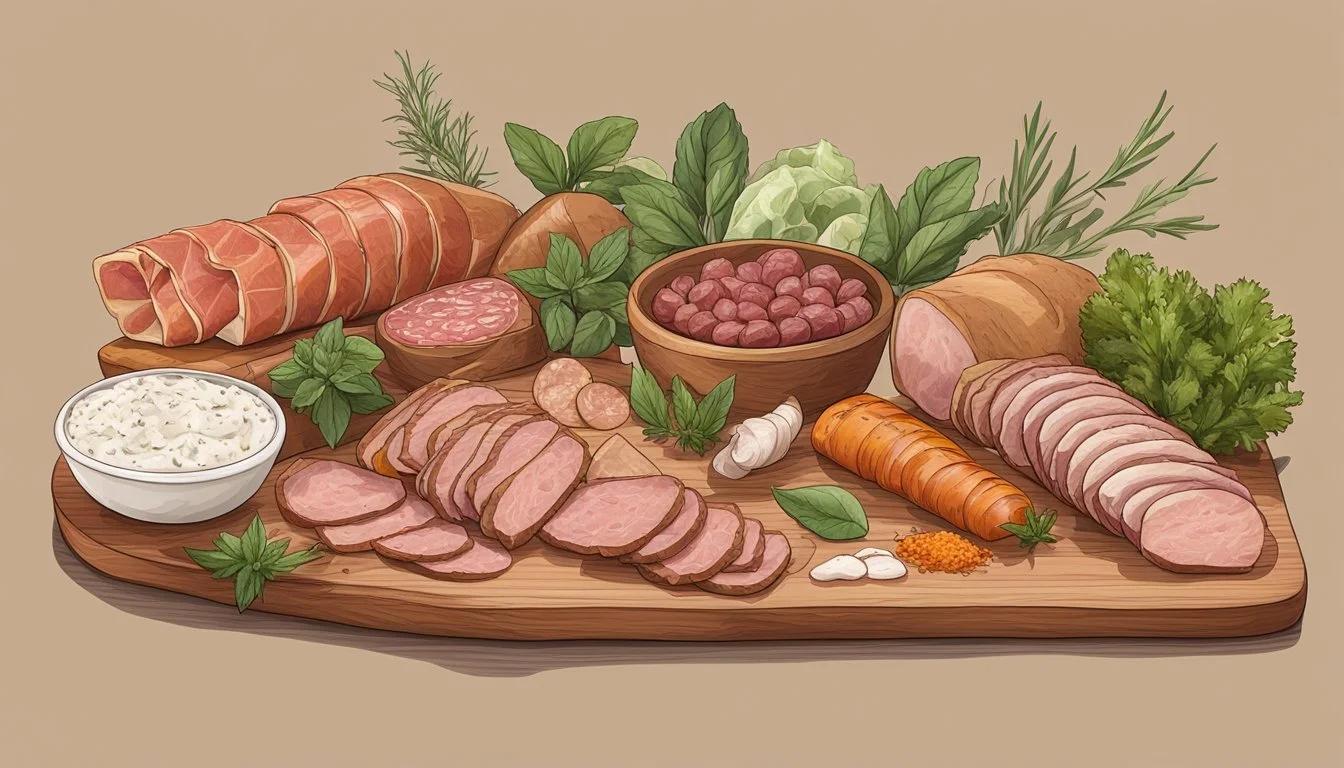
Italian Cold Cuts
Italian cold cuts are synonymous with cured meats such as prosciutto, pancetta, coppa, and lardo. Each of these cold cuts embodies the essence of Italian charcuterie:
Prosciutto: A dry-cured ham that is typically sliced paper-thin and celebrated for its delicate flavor and texture.
Pancetta: Italian bacon that is cured with salt and spices, then rolled into a tight cylinder. It adds a savory taste to dishes.
Coppa: Also known as capocollo, it's a type of salumi made from the muscular section of a pig's neck, providing a tender and flavorful experience.
Lardo: Cured fatback seasoned with herbs and spices, offering an intensely rich flavor.
German Specialties
Germany's contribution to the cold cut repertoire is marked by an impressive array of wursts (sausages) and other meat products such as schinken and teewurst:
Wurst: A general term for German sausages, with many variations including Bologna, Teewurst, and regional types.
Bologna: Known in Germany as "Bologna Wurst," it is comparable to the American bologna but often more finely ground and flavorful.
Teewurst: A spreadable smoked pork sausage, distinguished by its fine texture and a hint of spice.
Schinken: The German word for ham, with popular variations like Black Forest ham, which undergoes a unique smoking process after wet curing.
Other International Favorites
Beyond Italy and Germany, a plethora of countries have their signature cold cuts such as chorizo and corned beef:
Chorizo: A spicy, fermented sausage from Spain that's red in color and packed with paprika and garlic.
Corned Beef: Often associated with Irish cuisine, this salt-cured beef brisket is a staple for sandwiches and traditional meals.
Cold cuts truly embody the diverse cultural heritages from which they originate, each type reflecting centuries of culinary skill and tradition.
Troubleshooting and FAQs
When embarking on the journey of making homemade cold cuts, enthusiasts might encounter challenges. This section provides solutions to common issues and answers to frequently asked questions.
Meat Curing
Why is my meat not curing properly?
Salt Mixture: Ensure that the curing salt and sugar are thoroughly mixed.
Coating: Meat should be evenly coated with the mixture. Use a bag to shake the meat and distribute the cure evenly.
Refrigeration: The meat must be placed in the refrigerator during the curing process.
Texture and Flavor Issues
What if my cold cuts have an off texture or flavor?
Spices: Check if you've measured the spices accurately according to the recipe.
Meat Quality: Use only fresh, high-quality meat to ensure the best outcome.
Curing Time: Over or under-curing can affect flavor; refer to your cookbook for exact times.
Casings
How do I handle casings for sausages?
Preparation: Soak and rinse casings as directed before stuffing.
Filling: Avoid overstuffing to prevent tearing.
Safety Concerns
Is there a risk of botulism with homemade cold cuts?
Curing Salt: Utilize curing salt which contains sodium nitrite to inhibit bacterial growth.
Storage: Store cold cuts in the refrigerator immediately after preparation.
Remember, making cold cuts at home requires patience and precision. For detailed recipes and instructions, consult a trusted cookbook dedicated to charcuterie.
Creating Your Own Recipes
Designing recipes for homemade cold cuts allows for a personalized touch to traditional deli flavors. One begins by selecting a base meat; common choices are pork loin, turkey, chicken, or beef. The meat's quality significantly influences the final product, so one should opt for the freshest cuts available.
Next, a mixture of curing salt and regular salt are essential for both flavor and preservation. It is recommended to use precise measurements to ensure safety—curing salt is typically used in a ratio of 0.25% of the meat’s weight. Combining spices and herbs adds complexity to the flavor profile. Popular options include:
Black Pepper
Rosemary
Thyme
Paprika
For example, in creating a garlic-based recipe, finely minced garlic or garlic powder can be rubbed onto the meat before the curing process. The quantity of garlic should be adjusted according to taste preferences.
Below is a simple table illustrating a base recipe structure for homemade cold cuts:
Ingredient Quantity Notes Base Meat 2 lbs (approx.) Pork loin, chicken, or turkey Curing Salt 0.25% of meat weight For preservation Salt To taste Balances flavor Garlic Powder 1 tbsp Adjust based on preference Herbs/Spices Varied Use a blend suited to your taste
After mixing the curing salt, regular salt, and seasonings, coat the meat evenly and let it cure as per the recipe's instructions. Detailed steps can be refined through experimentation or sourced from reputable cookbooks, ensuring safety and delicious results. Once the meat has cured, it is cooked at a low temperature, which develops its texture and flavors. Through this process, homemade cold cuts become a delightful reality.
