
How to Freeze Homemade Onion Rings for Crispy Sides
Expert Tips for Perfect Results
Homemade onion rings are a delightfully crispy side dish, perfect for elevating a casual meal to something special. Achieving that crunch often requires serving them immediately after frying, but sometimes convenience and foresight necessitate storage for later use. Freezing homemade onion rings presents a solution that allows cooks to prepare this crunchy treat in advance and enjoy it with ease at a future time.
The process of freezing these breaded delights is straightforward, ensuring that the final product retains its signature crispiness upon reheating. The key lies in the method of preparation and a well-executed freezing technique. For those who relish the experience of homemade onion rings without the last-minute hassle, mastering the freezing method is an invaluable kitchen skill.
It's important to consider the stage at which the onion rings should be frozen for optimal results. Freezing them after they've been fully cooked might seem intuitive, but it can lead to a soggy texture when reheated. Instead, partially cooking or using the right batter consistency before freezing can make all the difference in achieving that sought-after crispiness once they're ready to serve.
Section 1: Optimal Preparation for Freezing Onion Rings
Freezing onion rings requires selecting suitable onions (What wine goes well with onions?) and proper preparation to ensure that they retain their texture and flavor once cooked.
Choosing the Right Onions
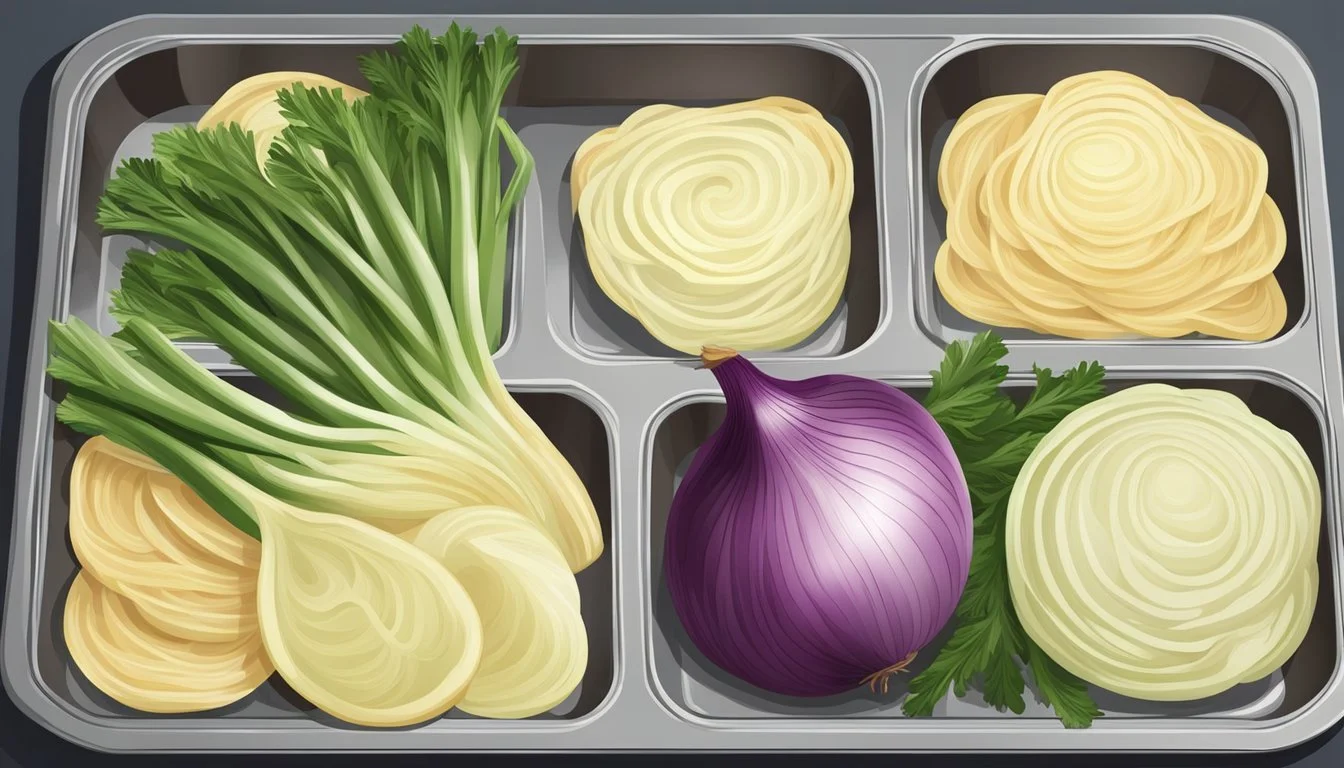
One must carefully select the type of onion for freezing, as this can greatly affect the texture and flavor. Sweet onions, such as Vidalia, are ideal due to their higher sugar content and mild flavor, which contribute to a more desirable final product when fried. Yellow onions are also a good choice for their balance of astringency and sweetness, enhancing the taste of the onion rings once reheated. While red onions can be used, their bold flavor may become milder upon freezing and cooking. White onions, though available, are not commonly preferred for onion rings due to their sharper taste, which might not pair well with the batter.
Recommended: Vidalia and yellow onions for a balanced flavor
Acceptable: White and red onions, varying in flavor intensity
Preparing the Onions
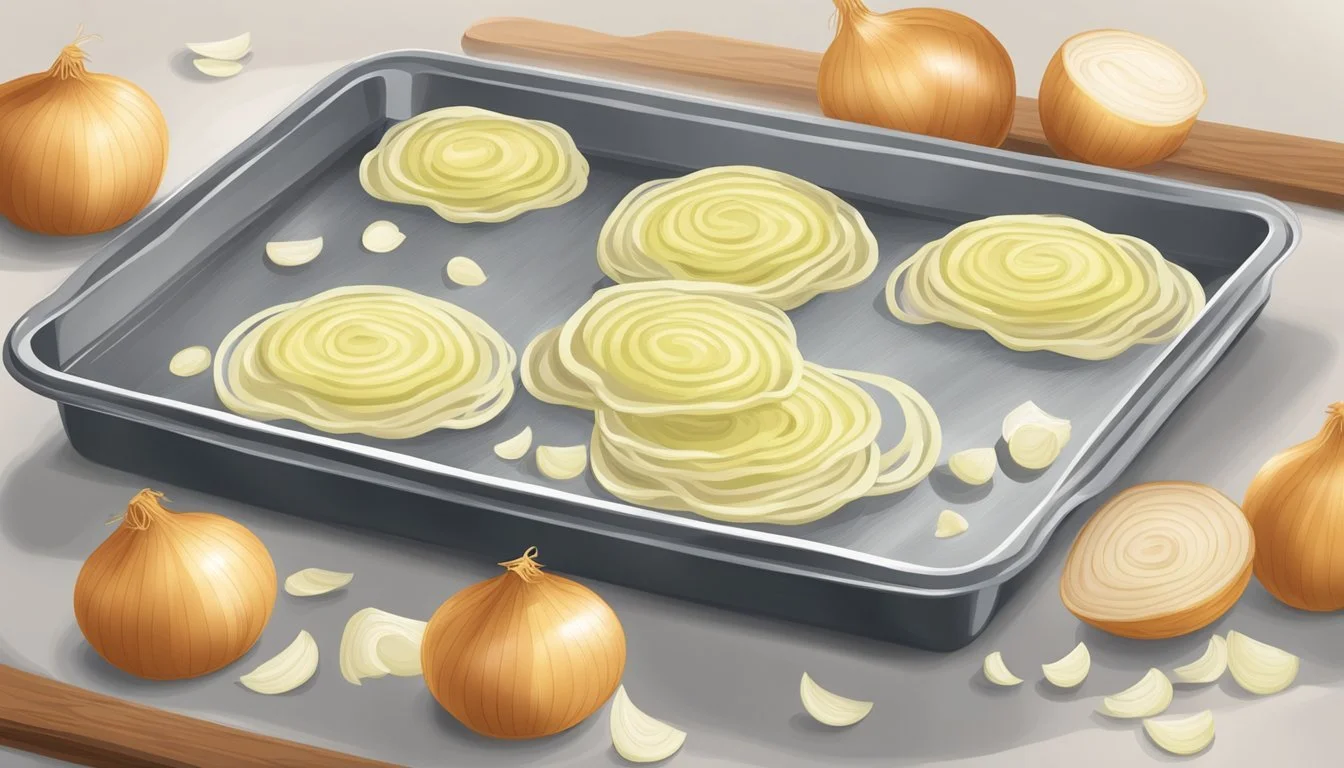
Preparation of the onions entails a few critical steps to ensure that they freeze well and maintain their integrity. Onions should be sliced into 1/2-inch thick rings and separated gently to avoid breaking. It is essential to blanch the onion rings for a brief moment before freezing, which helps to tenderize the onions and halt enzyme actions that may spoil the flavor. After blanching, they should be coated in batter.
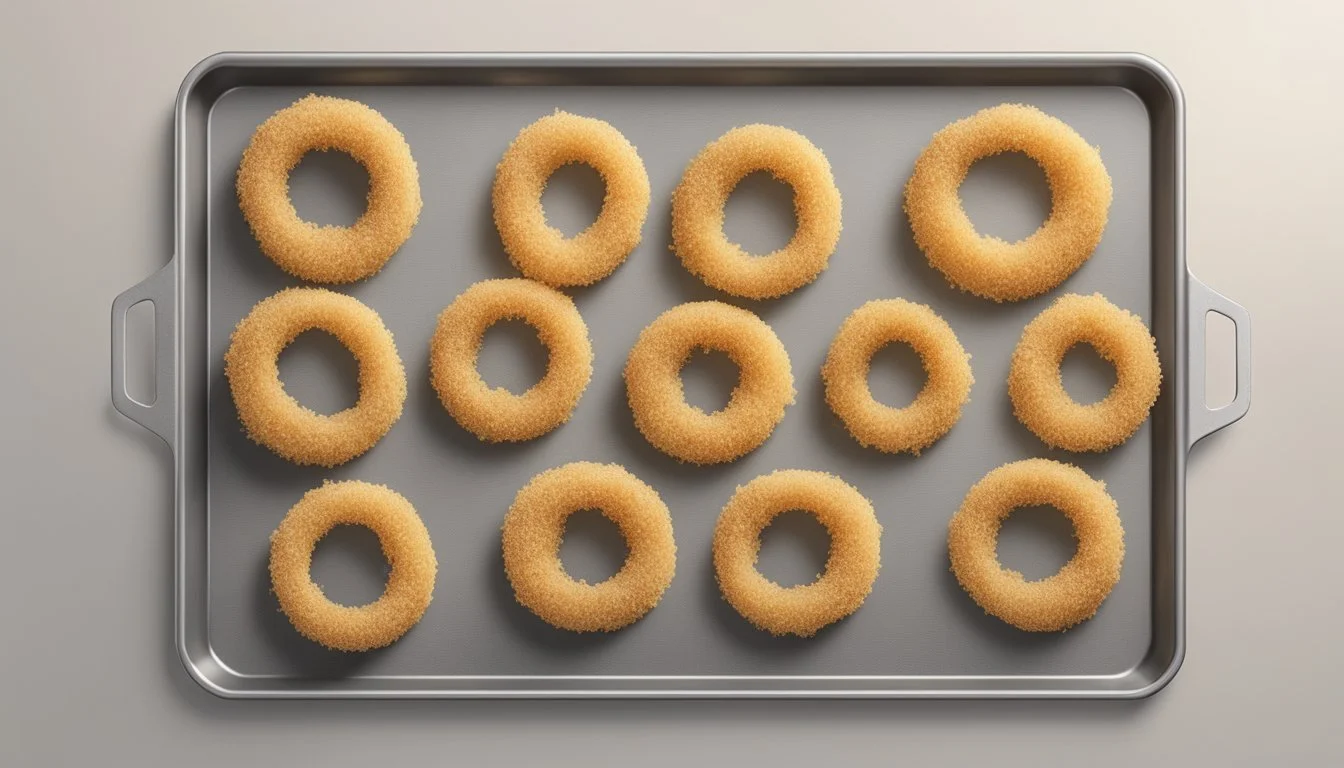
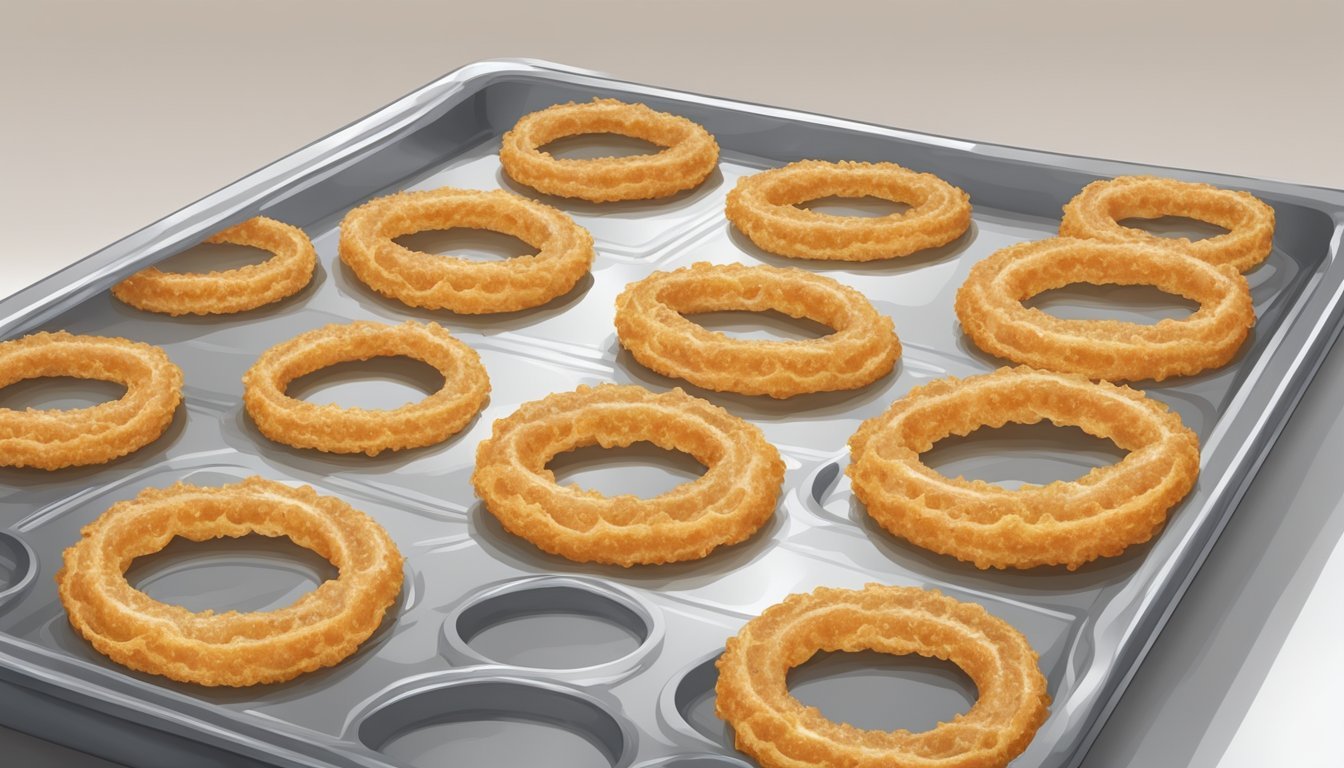
To freeze, lay the battered onion rings on a baking sheet lined with parchment paper in a single layer to avoid sticking. They should then be placed in the freezer for 30–45 minutes until solid. Once frozen solid, the onion rings may be transferred to airtight containers or freezer bags for storage.
Slicing: Cut onions into 1/2-inch thick rings
Blanching: Blanch rings briefly before freezing
Battering: Coat with a chosen batter recipe
Freezing: Arrange on a baking sheet and freeze till solid
Section 2

Preparing onion rings ahead of time requires a solid understanding of batter creation and the options that exist for varying the flavor and texture of your frozen treats. The right batter formula will ensure that your onion rings retain a crispy exterior after freezing and subsequent frying or baking.
Creating the Batter
The foundation for creating a crispy coating for onion rings begins with the batter. A basic batter typically involves a mix of all-purpose flour and salt, to which milk and beaten eggs are added to achieve the desired consistency. For a standard batter recipe, one might use:
1 cup all-purpose flour
1 teaspoon salt
1 cup milk
1 beaten egg
Combine these ingredients until smooth, and ensure the batter coats the onions evenly without dripping excessively. The inclusion of baking powder can add lightness to the batter, while cornstarch can give it a more delicate crispiness. The batter should be thick enough to cling to the onion rings but not so thick that it doesn't cook through during frying.
Batter Variations
Variations to the basic batter can be made to suit taste preferences or add an interesting twist:
Tempura Batter: For a lighter coating, one can use a tempura-style batter, replacing all-purpose flour with an equal amount of cornstarch and adding ice water to the mix.
Beer Batter: Beer can be substituted for milk in the basic recipe, providing a unique flavor and a light yet crispy texture.
Seasoning Additions: For additional flavor, add spices like garlic powder, paprika, or even a pinch of cayenne pepper. The proportions can be adjusted to taste, with typically a half teaspoon of each being sufficient.
Here's an example of a seasoned batter mix:
- 1 cup all-purpose flour
- 1 teaspoon salt
- 1/2 teaspoon garlic powder
- 1/2 teaspoon paprika
- 1 cup beer
- 1 beaten egg
The choice of batter not only affects taste but also the end texture, with beer batters tending to be lighter and tempura batters offering a delicate crunch.
Section 3
To achieve crispy homemade onion rings, one must pay careful attention to both the coating and breading process. This section will focus on applying a well-seasoned mixture for the former and the choice of breadcrumbs for the latter, ensuring a crunchy finish following freezing and frying.
Coating and Breading
The coating for your onion rings should begin with a foundation of all-purpose flour. It acts as the initial layer aiding the breading to adhere to the onion rings. For added texture and flavor, incorporate seasoning into the flour mixture. Options might include garlic powder, paprika, and a pinch of salt and pepper. Often, buttermilk is used to soak the onions, tenderizing them and ensuring that the flour sticks effectively.
Here's a simple sequence to ensure a solid coating:
Slice the onions into rings and separate them carefully.
Submerge the onion rings into buttermilk for tenderness and flavor.
Dredge the soaked rings through the seasoned flour mixture to coat them evenly.
Utilizing Breadcrumbs
The choice of breadcrumbs is pivotal in determining the final crunchiness of your onion rings. Regular breadcrumbs can be used for a standard texture, while panko breadcrumbs are recommended for an extra crispy coating. Higher in surface area and lighter, panko breadcrumbs absorb less oil and stay crunchier.
In addition to breadcrumbs, one can consider adding cornmeal to the breading mixture for a different texture and an extra layer of crispiness. The proportion of cornmeal to breadcrumbs will be based on personal preference.
Here's a recommended breading approach:
After flouring, dip the rings into beaten eggs as a binding agent.
Press the rings into a mixture of breadcrumbs, panko, and a tablespoon of cornmeal, ensuring thorough coverage.
Lay the breaded onion rings on a tray in preparation for freezing.
Through these techniques, one enables their homemade onion rings to retain a delightful crispiness that rivals even after being frozen and reheated.
Section 4

For crispy homemade onion rings, the frying technique and oil temperature are fundamental. Utilizing the correct method and maintaining optimal temperature can make the difference between soggy and perfectly executed onion rings.
Frying Technique
When frying, one should first dip the onion rings into a batter—this can be a simple mixture of ingredients like eggs, flour, and milk, which helps create a crispy outer layer. It's essential to let the excess batter drip off before frying, ensuring each slice is evenly coated. The onion rings are then carefully added to a fryer or a deep pot filled with oil.
Optimizing Oil Temperature
The oil used for frying onion rings should be able to reach a high temperature without smoking. Typically, vegetable oil, canola oil, or coconut oil is recommended due to their high smoke points. The ideal temperature for frying onion rings is between 350°F to 375°F (175°C - 190°C). A candy thermometer can aid in monitoring the oil's temperature. To maintain a consistent temperature:
Avoid overcrowding the fryer to prevent temperature drops.
Allow the oil to reheat back to the target temperature between batches.
Section 5

Preserving the taste and texture of homemade onion rings is crucial. Proper freezing maintains their quality and ensures that the side dish can be reheated to achieve that desirable crispiness.
Freezing Homemade Onion Rings
Freezing homemade onion rings allows one to enjoy this crispy side at a later time. One can freeze the onion rings pre-cooked or after frying.
Pre-cooked: Blanch the onion rings to partially cook them and then proceed with the batter.
Post-cooked: Allow the onion rings to cool completely after frying.
It's essential to arrange them in a single layer on a baking sheet, preventing them from sticking together during the freezing process.
Freezing Instructions
The freezing instructions are straightforward and aim to retain the quality of the onion rings.
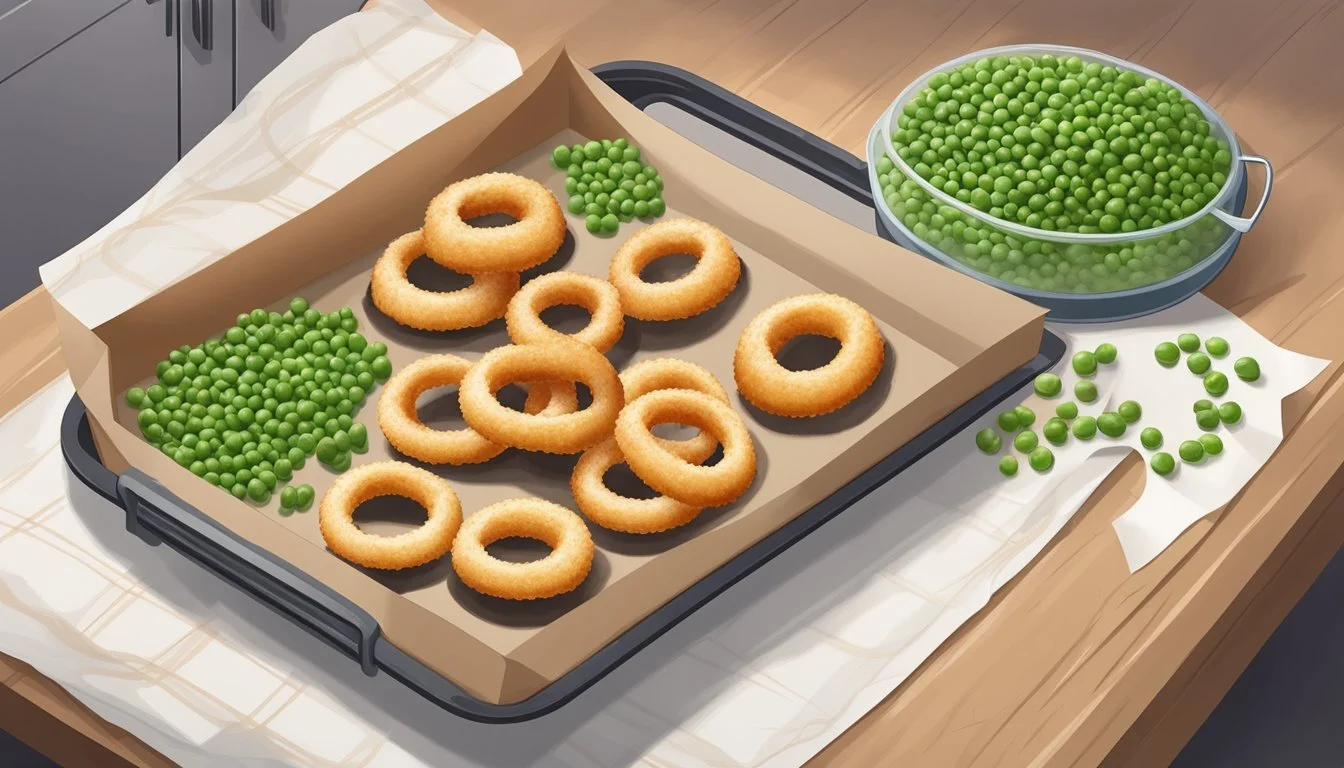
Firstly, prepare a baking sheet lining it with parchment paper. Spread the onion rings in a single layer ensuring they are not touching:
Freeze the rings for 30-45 minutes until they are firm.
Transfer the partially frozen rings to a freezer bag or an airtight container, separating layers with parchment paper to avoid sticking.
Label the container or bag with the date of freezing. The onion rings can be kept frozen for up to 3 months. When ready to eat, reheat the frozen onion rings in an oven or air fryer until heated through and extra crispy. There is no need to thaw them before reheating.
Section 6: Proper Storage and Reheating
In this section, the focus will be on ensuring that homemade frozen onion rings retain their quality through proper storage techniques and effective reheating methods.
Proper Storage
For optimal freshness, one should store homemade onion rings in an airtight container or a sealed plastic bag after they have been frozen individually on a baking sheet. They can then be conveniently placed in the freezer where they can be stored for up to three months. It's crucial that they are completely sealed to prevent freezer burn, which can affect their texture and flavor.
Reheating
When ready to reheat frozen onion rings, preheating the oven or air fryer is essential for achieving a crispy outcome. Here is a step-by-step guide to reheating onion rings:
In the Oven:
Preheat the oven to 350°F (175°C).
Arrange onion rings in a single layer on a baking sheet.
Bake for about 10-15 minutes, or until they are heated through and crispy.
In the Air Fryer:
Preheat the air fryer to 350°F (175°C).
Place onion rings in the basket, ensuring they do not overlap for even cooking.
Cook for 4-6 minutes, checking halfway through and shaking the basket if necessary.
It's important not to overcook the onion rings during reheating, as this could dry them out and make them less enjoyable. No matter the method chosen, one should always monitor the cooking time and temperature to maintain the quality of their homemade onion rings.
Section 7
Freezing homemade onion rings ensures they are ready to serve as a delightful appetizer, snack, or side dish, perfectly crispy on every occasion. This section provides the ideal serving suggestions and a range of complementary dipping sauces to elevate the dish.
Serving Suggestions
When serving frozen onion rings after reheating, presentation and pairing are key for the best experience. They naturally complement a variety of classic American meals, making them a versatile choice for any occasion:
Burgers and Sandwiches: Place alongside a classic hamburger or sandwich for a complete meal.
Hot Dogs: An excellent side to hot dogs, adding a satisfying crunch.
Appetizer Platters: Serve as a starter with a variety of other finger foods at gatherings.
Always serve the onion rings promptly after reheating to maintain their crispiness.
Complementary Dipping Sauces
Enhancing homemade onion rings with the right dipping sauces can turn a simple dish into a gourmet experience. Here are some popular choices:
Ketchup: A classic dip that needs no introduction, with its sweet and tangy profile.
Spicy Mayonnaise: A blend of mayonnaise with a touch of hot sauce or cayenne pepper brings a creamy heat.
Specialty Sauces: Consider serving with a house sauce, like a garlic aioli or a tangy barbecue sauce for a unique twist.
Sauce Type Flavor Profile Best Paired With Ketchup Sweet and tangy Classic burgers Spicy Mayonnaise Creamy with heat Sandwiches, hamburgers Specialty Sauces Unique and savory Any type of burger or hot dog
Offer a selection of sauces to cater to different tastes and elevate the homemade onion rings to a standout dish.
Section 8: Nutritional Information

When considering the nutritional content of homemade onion rings, it is essential to understand the potential impact on one's diet.
Nutritional Information
The nutritional content of frozen homemade onion rings can vary based on the ingredients and preparation methods used. A standard serving size, which could be about 4-6 rings, will typically contain the following:
Calories: This can range from 180 to 400 calories, depending on the use of additional coatings or breading and the frying oil.
Carbohydrates: Carbs are primarily in the breading, with a serving potentially containing 15-30 grams.
Nutritional Content: Onion rings provide some nutritional value, such as dietary fiber from the onions and trace amounts of vitamins and minerals. However, they can also contain considerable amounts of fat and sodium.
To gain a more precise understanding of the nutritional content, homemakers should calculate based on the specific amount and type of flour, oil, and condiments used. Homemade frozen onion rings can be a tasty side dish, but they should be enjoyed in moderation as part of a balanced diet.
Section 9
In this section, the focus is on how to optimize homemade frozen onion rings for a crispy, irresistible side dish with the right cooking techniques and expert advice.
Cooking Tips and Tricks
To ensure crispy results, cooks should preheat their oil to a high temperature — typically around 360 degrees. A Dutch oven or deep pot is ideal for maintaining a consistent heat during cooking. Preparing onion rings includes a simple battering process and a recommended prep time of about 15 minutes, with a cook time ranging from 2 to 3 minutes per batch, making the total time approximately 20 minutes.
Tender onion rings can be achieved by cutting onions into 1/2-inch thick slices before separating them into rings.
Utilizing a crunchy batter involves a mix of dry ingredients like flour and seasoned spices such as garlic powder.
For a make-ahead option, once battered, place the onion rings in a single layer on a baking sheet to freeze before transferring to a freezer-safe bag or container.
Expert Advice
Experts recommend using a thermometer to ensure the oil stays at the right temperature for frying. They suggest that frying in smaller batches prevents the rings from sticking together and helps maintain the temperature of the oil, which contributes to the overall crunchiness of the onion rings.
When ready to cook, it's best to take the onion rings directly from the freezer to the fryer without a thawing period to preserve the texture and prevent sogginess.
For those who prefer a baked option, which requires about 20 minutes in a preheated oven, experts suggest spraying the onion rings with a light coating of oil to enhance browning and crunch.
By following these detailed instructions, chefs can be confident that their homemade frozen onion rings will be perfectly crispy and delicious when it's time to serve them.
Section 10

In this section, one will find answers to some of the most common inquiries regarding the process of freezing homemade onion rings to ensure they retain a crispy texture when prepared.
Frequently Asked Questions
Q: Can one freeze homemade onion rings after battering them? A: Yes, one can freeze battered onion rings. First, they should be laid out on a baking sheet in a single layer and frozen for about 30-45 minutes. Once solid, they can be transferred to a freezer bag or container.
Q: How long can onion rings stay in the freezer before losing quality? A: Properly stored, onion rings can maintain the best quality for about 3 to 4 months in the freezer, although they will usually remain safe to eat after that time.
Q: What is the best way to cook frozen onion rings to ensure crispiness? A: To achieve a crispy outcome, cook the frozen onion rings in a preheated oven or fry them in oil that's been heated to the correct temperature, usually around 350-375°F.
Q: Is there a specific type of onion that works best for making crispy onion rings? A: While any onion can be used, sweeter varieties such as Vidalia onions are often preferred for their flavor and consistent results when fried.
Q: Should one thaw frozen onion rings before cooking? A: It is not recommended to thaw frozen onion rings before cooking, as this can make them soggy. They should be cooked straight from the freezer.
Section 11
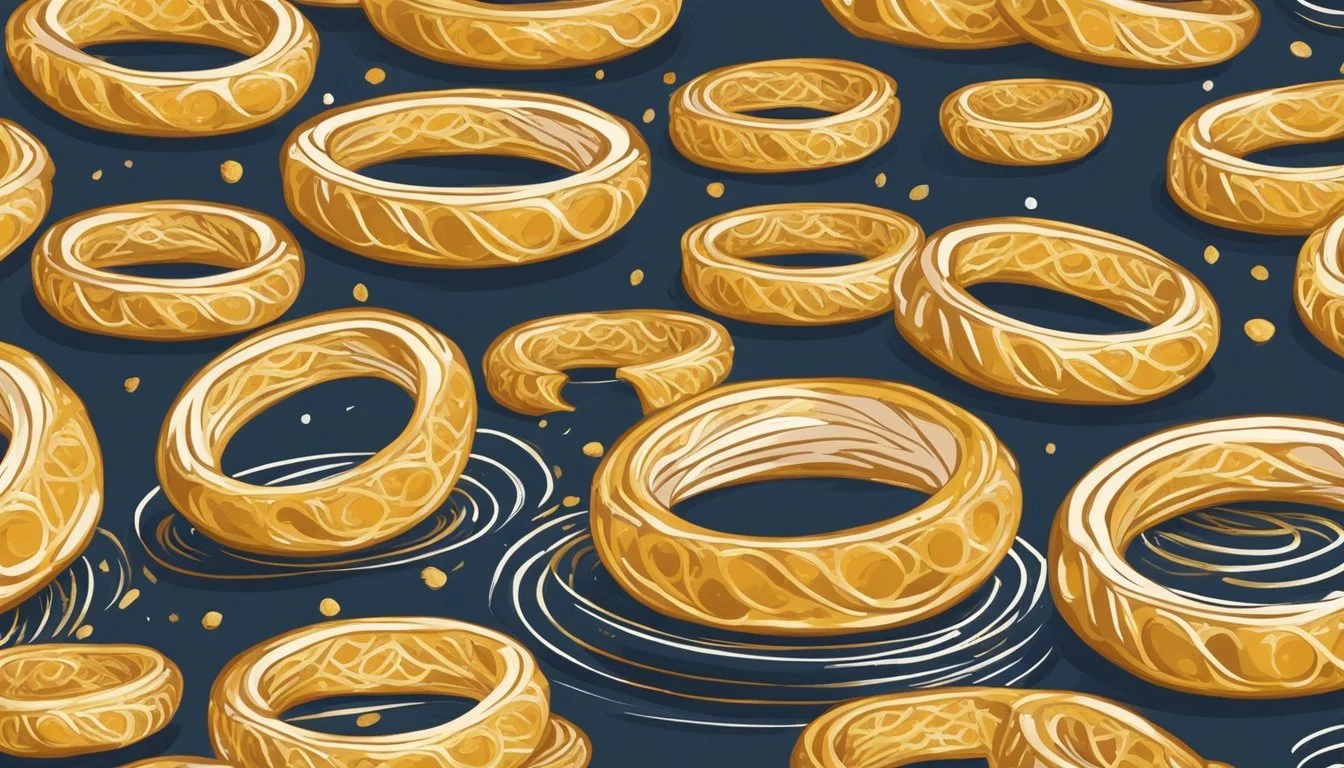
Freezing homemade onion rings properly ensures that they retain their delightful crispy sides, embodying a balance of salty satisfaction and a golden crust. This final step is crucial for preserving the quality of your onion rings until you're ready to enjoy them.
Conclusion
Freezing onion rings is a practical method to maintain their homemade quality and crispiness. The rings should be frozen individually on a baking sheet to prevent clumping, and once frozen, transferred to an airtight container or resealable freezer bag for long-term storage. It is imperative to label the container with the date to keep track of freshness. Homemade onion rings can offer a perfect crispy side, with a satisfying salty crust, even after being frozen with the right technique.
