
The Ultimate Guide to Using a Baler for Hay or Straw Bales
Efficient Homestead Farming Practices

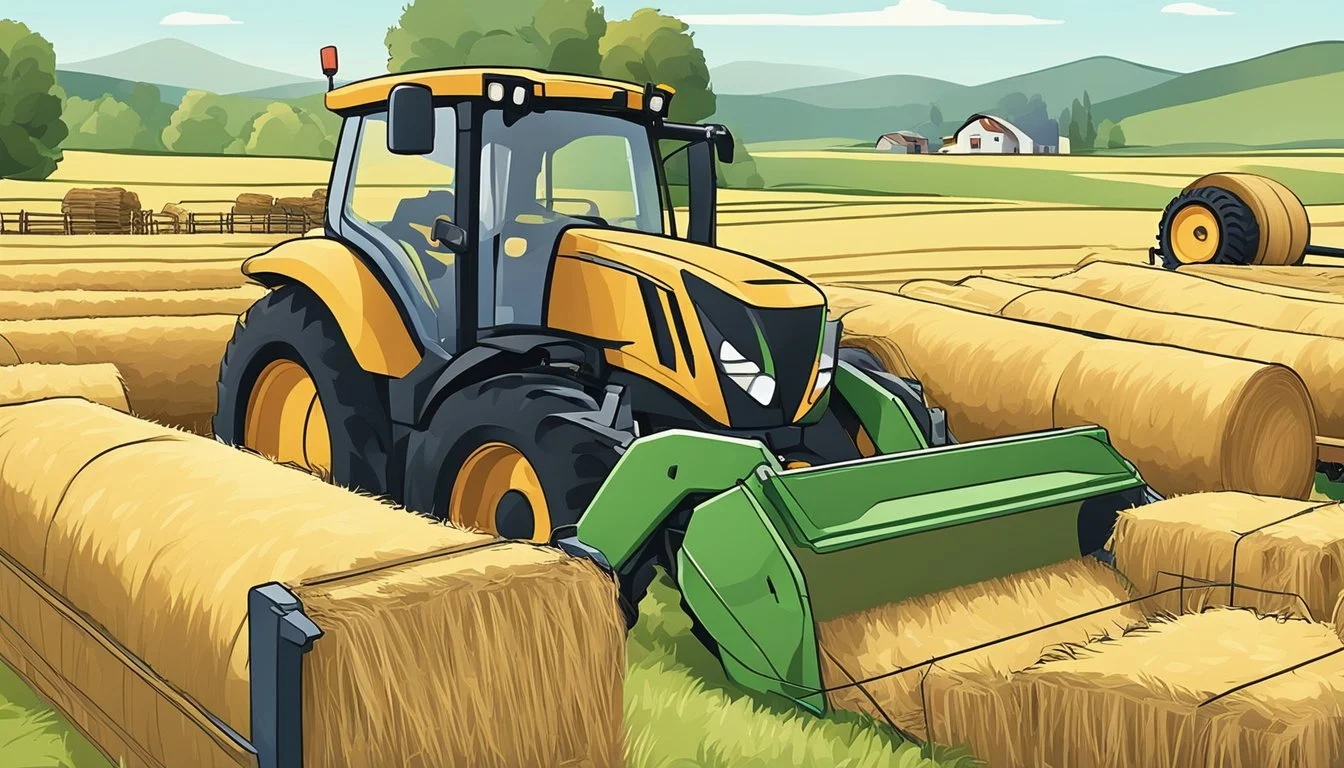
Baling hay or straw on a homestead is a fundamental task that ensures a consistent supply of feed for livestock and can also be a source of income. The process involves compressing cut hay or straw into compact bales, making them easier to handle, transport, and store. Homesteaders typically rely on this method not only for efficient farm management but also to minimize waste and maintain the quality of their fodder. Whether one is working with pine straw or traditional hay, a baler is an indispensable tool for small-scale farmers focused on sustainability and self-sufficiency.
The use of a hand baler adds invaluable self-reliance to a homestead, offering a way to bale hay or straw without the need for expensive, fuel-powered machinery. It can be especially advantageous for those managing smaller plots of land or those interested in DIY solutions. Hand-powered balers come in various designs, some of which can be constructed with basic materials and simple plans. By creating bales of a manageable size, homesteaders can facilitate easier feeding routines and even explore avenues for local commerce by selling excess bales to landscapers or fellow farmers.
Understanding Hay and Straw Bales
When discussing homestead agriculture, it is essential to differentiate between hay and straw bales because they each serve unique purposes.
Hay is primarily used as animal feed and is made from the dried, cut stalks of plants, commonly including alfalfa, various grasses, oat, and wheat. It is rich in nutrients and serves as a main source of sustenance for livestock, particularly through winter months when fresh grass is not available.
In contrast, straw is a byproduct, typically consisting of the dry stalks of cereal plants after the grain and chaff have been removed. Straw bales are lighter than hay because they are mostly hollow. Despite being less nutritious, straw has excellent utility in gardening and as bedding for animals due to its absorption qualities.
Here are the key differences:
Feature: Hay, Source: Grasses, legumes, cereals, Purpose: Animal feed, Nutrition: High in nutrients
Feature: Straw, Source: Leftover stalks from cereals, Purpose: Bedding, mulching, Nutrition: Low in nutrients
Farmers must ensure proper storage to prevent spoilage or combustion of hay, which can occur if it's baled with too much moisture. Straw, being less dense and more air-filled, is less susceptible to these risks.
They should also be attentive to the type of crops they are harvesting from. For instance, oat straw is often soft and pliable, making it an excellent choice for animal bedding, whereas wheat straw might be more rigid and useful for garden mulch. Each type of bale has its specific uses and handling requirements, so understanding these will greatly benefit the homesteader in effectively managing their resources.
Benefits of Baler Use on a Homestead
Using a baler on a homestead provides several key benefits that streamline the process of managing hay and straw bales.
Cost-Effectiveness: Balers are an effective solution for homesteaders looking to cut down on farming expenses. With a one-time investment in a baler, they can significantly reduce the costs associated with purchasing pre-made bales and the labor required to manually handle hay and straw.
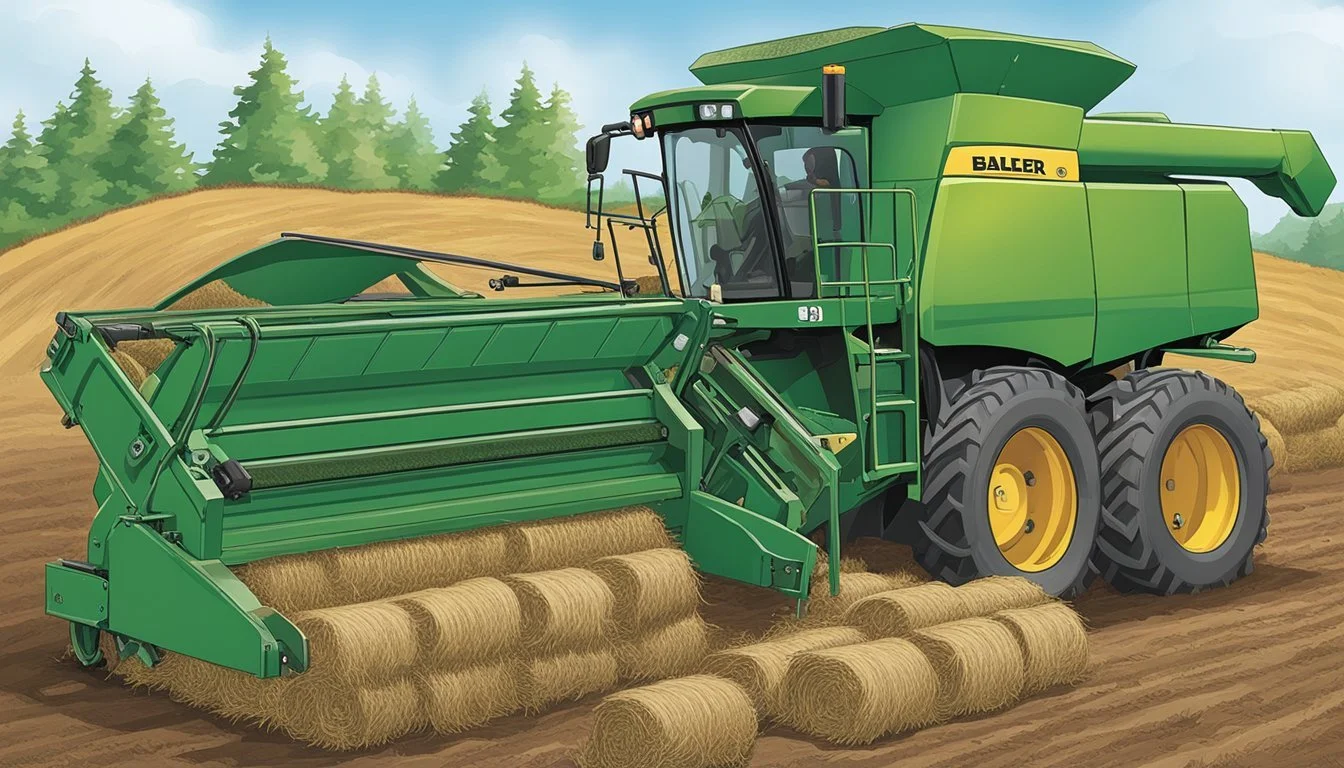
Efficiency: A baler enhances efficiency by compressing cut hay or straw into compact bales. These uniform bales are easier to handle, store, and transport, maximizing the productivity of homestead operations.
Simplified Process: Balers offer a simple solution for turning loose hay and straw into neatly packed bales. Even individuals with minimal farming experience can learn to operate a baler with ease, thanks to their straightforward design.
Nutrient Retention: Properly baled hay retains more nutrients, which is vital for feeding livestock. This means higher quality feed from the same resources, directly benefiting the homestead's animal health and productivity.
Composting Advantages: When balers are used for straw or other compostable materials, they facilitate the creation of uniform-sized bales. This uniformity is crucial for efficient composting, as it allows for better aeration and quicker decomposition, turning waste into valuable compost.
Prevention of Spoilage: By expediting the drying process and creating denser bales, balers help prevent the hay or straw from becoming sour. This means less spoilage and waste, resulting in more usable material for the homestead.
Overall, balers represent a low-cost, efficient, and effective solution for homestead management, streamlining the baling process and adding value to the farming operation.
Selecting the Right Type of Baler
When a homesteader decides to invest in a baler, they should consider the scale of their operations and the specific type of bales they intend to produce. These factors guide their choice of equipment, ensuring efficient hay or straw baling aligned with their farming needs.
Small Hay Balers
Small Balers are suitable for homesteads and small-scale farmers who require a more manageable baling process. They typically produce compact, easy-to-handle square bales averaging around 40 pounds, making them ideal for small-scale storage and transportation. Efficient use of space is a key advantage of these balers, as the square bales are easier to stack and move.
Key Considerations for Small Hay Balers:
Baling Capacity: Adequate for small fields and paddocks.
Maintenance: Less complex machinery leads to straightforward upkeep.
Investment: More affordable than large-scale balers; a sensible starting point for beginners.
Large Straw Balers
Large Straw Balers are designed for extensive farming operations where high volume straw bale production is required. These balers can produce larger, denser bales that are often round, although large square bales are also common. They facilitate faster processing of straw over larger areas, but require more powerful tractors to operate effectively.
Key Considerations for Large Straw Balers:
Bale Size and Weight: Round bales can weigh over a ton, needing proper equipment for handling and storage.
Bale Moisture Content: For straw, maintaining the correct moisture content below 15% is crucial.
Investment: Larger balers represent a significant investment and are best for those with extensive acreage.
Preparing for Baling
The process of baling hay or straw is highly dependent on precise timing, field conditions, and equipment readiness. Each step plays a crucial role in achieving a high-quality bale.
Harvest Timing
Timing the harvest is critical for optimal quality and yield. For hay, the ideal time to harvest is when the plants begin to bloom, as this is when they have the highest nutritional content. Harvest should be done on a dry day with low humidity to facilitate quick drying of the cut hay.
Best Season: Generally, late spring to early summer.
Weather Conditions: Aim for dry, sunny days.
Field Preparation
One must prepare the field thoroughly before baling. This involves ensuring that the soil is well-tilled and the field is free from weeds. Using a mower, the crop should be cut and then spread out evenly to allow for a consistent drying process.
Soil Preparation: Remove weeds and till the ground.
Post-Harvest: Spread the cut hay for even drying.
Equipment Maintenance
Effective baling requires fully operational equipment. Ensuring that balers and other machinery such as mowers are properly maintained is essential. Regular checks and servicing can prevent breakdowns during the baling process.
Preventative Maintenance: Check hydraulics, belts, and replace worn parts.
Operation Test: Run equipment to ensure it's functioning correctly before harvest.
Baling Techniques and Best Practices
Baling hay and straw requires attention to the nuances of crop type, machine operation, and material handling. Implementing proper techniques and adhering to best practices ensures the creation of uniform and secure bales.
Baling Hay
When baling hay, moisture content and even feeding into the baler are crucial for producing quality bales. The moisture level should ideally be between 15-20% to prevent spoilage and ensure proper compaction. Overly wet hay can lead to mold growth, while too dry hay may result in excessive leaf loss. Operators should ensure the hay is fed consistently across the width of the baler chamber to maintain square shoulders on the bales, particularly important for round bales.
Essential Tips:
Monitor moisture content using a reliable moisture meter.
Feed hay evenly to prevent misshapen bales.
Baling twine or wire can be used to secure the bales. Twine is generally preferred for its ease of handling and biodegradability, but wire may be required for high-density bales that are stored outdoors. It's important to choose the appropriate baling material to maintain bale integrity during transport and storage.
Materials for Binding:
Twine: Ideal for most bales, preferred for its manageability.
Wire: Best for high-density bales that require extra strength.
Baling Straw
The baling process for straw follows similar best practices to hay but focuses more on the dryness of the material since straw is inherently drier coming from the byproducts of grain harvests. The target moisture level for straw bales should stay under 15% to preserve quality and ease of handling.
Operators must maintain their machinery to avoid downtimes and improve the lifespan of the baler. This includes regular inspections and cleaning to prevent blockages and wear on the system. The bale chamber, where straw is compacted and shaped, must be kept clean for optimal operation.
Maintenance Checklist:
Regularly inspect baler for wear and potential issues.
Keep the bale chamber clean for efficient operation.
Small-scale operations or those baling straw for personal use might opt for a hand bale system, which allows for manual shaping and binding of smaller bales. This method is labor-intensive but can be cost-effective for minimal needs.
Hand Baling:
Suitable for small-scale or personal use.
Labor-intensive but may reduce equipment costs.
By following these detailed techniques and assessing the specific needs of their crop type and baling goals, homesteaders can effectively use a baler for hay and straw to support their agricultural operations.
Post-Baling Handling and Storage
After baling, it’s critical to handle and store hay or straw bales correctly to maintain quality and minimize losses. The bales should remain dry and protected from elements, particularly sunlight and moisture, which can degrade them.
Transporting Bales
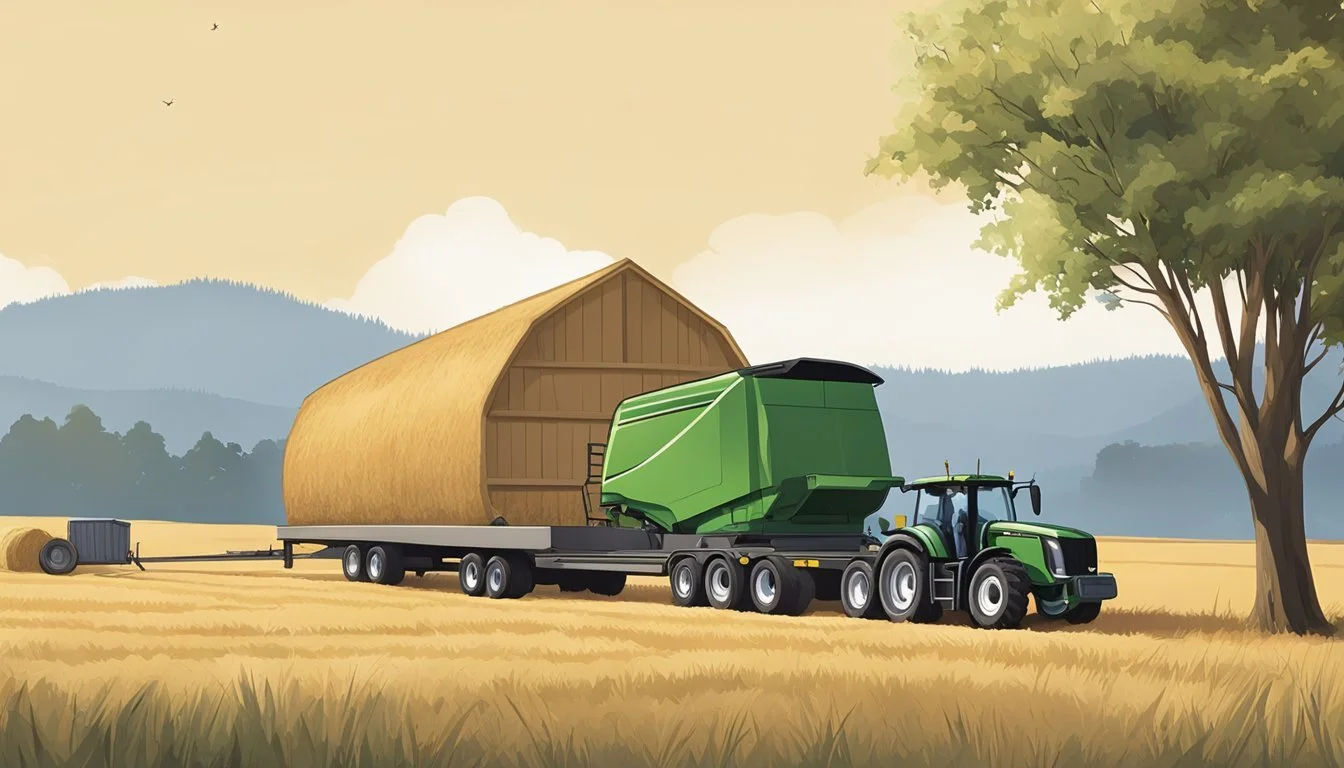
When moving bales from the field, it is important to use appropriate transportation methods that support the weight and shape of the bales, avoid compaction, and minimize movement that could cause the bales to lose their shape or integrity.
Type of Transportation: Use flatbed trailers or hay wagons tailored for bale sizes.
Method of Loading: Employ front-end loaders with bale spears or grapples for round bales to reduce damage.
Securing Bales: Strap or net bales to prevent shifting during transport.
Mobility: If transporting over longer distances, assess roadworthiness including axle capacity and traffic safety regulations.
Storing Bales
Proper storage of bales significantly extends their usability by guarding against environmental damage and preserving their nutritional value.
Indoor Storage:
Keep bales off the ground using pallets or gravel, preventing moisture absorption.
Ensure good ventilation to allow any internal moisture to escape.
Space bales to prevent heat buildup and potential combustion.
Outdoor Storage:
Orient bales north-south to minimize sun damage, allowing sunlight to evenly dry dew.
Cover bales with tarps or specially designed covers that repel water while allowing breathability.
Place bales on a sloped surface for water runoff, avoiding ground moisture wicking.
Storing bales adequately protects them from becoming too wet, which can cause mold, or too dry, which can lead to nutrient loss and dust. It also addresses mobility issues, ensuring bales are accessible when needed.
Using Bales in Straw Bale Gardening
Straw bale gardening is an innovative method that utilizes straw bales as the base for creating a productive raised garden bed. This approach provides excellent drainage, a warm growing environment, and is a boon for those seeking a convenient height for planting and tending.
Building a Straw Bale Garden Bed
One begins by arranging straw bales with the cut sides facing upward, ensuring the twine binding the bales runs along the sides, not over the planting surface. This setup promotes appropriate water penetration and drainage. The orientation of the straw bales is critical:
Cut side up: For proper plant rooting and water absorption.
Twine on the sides: Prevents interference with plant growth and watering.
Conditioning and Planting
Conditioning the straw bales is necessary to start the decomposition process, which will provide a nutrient-rich environment for plants. Fertilizing with a high-nitrogen fertilizer kickstarts this process.
Days 1-3: Water the bales thoroughly to initiate saturation.
Day 4 onward: Sprinkle with high-nitrogen fertilizer and water well for several days to accelerate conditioning.
After approximately 12 days of conditioning, the bales are ready for planting. At this stage, one can plant seedlings or seeds:
Seedlings: Create pockets within the straw and add potting mix, then place the seedlings inside.
Seeds: Cover the top of the bales with a layer of soil or potting mix and sow directly.
Maintenance and Watering
Regular watering is essential in straw bale gardening, as the bales can dry out quickly, especially in full sun:
Daily watering: Bales require consistent moisture; check depth with a trowel.
Fertilizing: Apply fertilizer periodically based on the growth stage of the vegetables or herbs.
Effective maintenance boosts the yield and nutrition of various vegetables, such as tomatoes, peppers, lettuce, eggplant, and root vegetables. It is important to monitor and manage the nutrient levels, sometimes by adding potting soil or additional fertilizer, to ensure the plants receive adequate nourishment throughout the growing season.
Incorporating Bales into Compost Systems
Incorporating hay or straw bales into compost systems enhances the nutrient content and structure of the compost, offering an efficient way to recycle organic matter on a homestead.
Compost Pile Basics
A compost pile is an assemblage of organic materials, including hay or straw bales, that undergo the composting process to create a rich soil amendment. The pile harnesses the natural decomposition process to break down plant materials into humus. The key factors that regulate this process are moisture, oxygen, carbon, and nitrogen.
Components of Compost:
Carbon: Hay or straw bales provide carbon.
Nitrogen: Additions like kitchen scraps or green clippings also supply nitrogen.
Oxygen: Aerating the pile by turning it ensures oxygen flow.
Moisture: The pile should be moist but not soggy.
Layering and Decomposition
Layering is crucial for efficient decomposition in a compost pile with bales. Bales are alternated with nitrogen-rich materials such as kitchen scraps, blood meal, or bone meal to speed up the process and create a balanced environment.
Layering Examples:
Carbon Layer: A couple of inches of straw or hay.
Nitrogen Layer: Kitchen scraps, grass clippings, or nitrogen fertilizer.
Oxygen Layer: Loose materials or turned bales helping airflow.
Absorption Layer: Wood ash to retain moisture and balance pH.
Correctly layered, bales in a compost system will break down over time, enriching the compost with nutrients and creating a conducive environment for the organic farm or raised bed garden during the growing season. This rich compost can reduce the need for synthetic nitrogen fertilizers, fostering a sustainable cycle of growth and renewal on the homestead.
Strategies for Pest and Weed Management
Implementing reliable strategies for pest and weed management is essential for maintaining the health and productivity of hay or straw bales on a homestead. Focusing on prevention can minimize the need for intervention and ensure a more successful and sustainable homesteading practice.
Avoiding Weed Growth
Prevention is key when avoiding weed growth in and around hay or straw bales. Weed-free starting materials are essential; this means sourcing straw or hay that has minimal weed seed content. Cardboard or newspaper can be used as a physical barrier beneath the bales to suppress weeds that might grow from the ground below.
Sources: Be selective about where you purchase your bales. Work with reputable suppliers known for providing clean, weed-free product.
Barriers: Lay down a thick layer of cardboard or newspaper under the bales, ensuring edges overlap to prevent light penetration and weed emergence.
Deterring Pests
Pests can be a considerable challenge for homesteaders using hay or straw bales. Physical barriers such as fencing can deter larger pests, while strategic use of compost can promote beneficial insects to naturally keep pest populations in check. If necessary, the careful application of pesticides should be considered as a last resort, selecting types that are least harmful to the environment and non-target species.
Physical Barriers: Install a fence with appropriate mesh size. It creates a strong defense against rodents and larger animals.
Compost: Introduce compost into the top layers of straw bales to encourage a balanced ecosystem that supports pest-deterring beneficial insects.
Pesticides: In instances where intervention is needed, opt for organic or environmentally friendly pesticides to minimize ecological impact. Always follow the manufacturer’s guidelines for application.
Alternative Uses for Hay and Straw Bales
Hay and straw bales serve functions beyond their conventional use in agriculture. They are versatile materials that can be employed for environmental management and livestock care.
Mulching and Landscaping
Hay and straw, especially pine straw, are excellent for mulching in gardens. They suppress weeds, retain soil moisture, and add organic matter as they decompose. Straw bales can be spread over gardens to prevent soil erosion and make landscapes look tidy. When used as mulch, they gradually integrate into the soil, enriching it with compost material. A user might place straw around plants like vetch or linseed to nurture their growth and maintain soil temperature.
Feed and Bedding for Livestock
For livestock, hay is an essential source of nutrition, whereas straw bales serve as effective bedding material. They provide a comfortable and absorbent layer for animals to rest upon, keeping them dry and warm. Used bedding can later be collected and processed into compost, contributing towards a sustainable cycle on a homestead. The compost serves as a rich, organic material for fields or gardens, promoting healthy plant growth.
Efficiency and Cost Analysis
In using a baler for hay or straw on a homestead, the owner needs to have a thorough understanding of both the costs involved and the resulting productivity. This analysis informs the decision-making process, ensuring that the investment leads to an efficient operation and sustainable practices.
Calculating Costs
The first step in the financial management of hay or straw baling is to calculate the total costs, which include both the purchase price and the ongoing operational expenses. The initial investment can vary depending on whether one opts for a traditional baler or the more modern high-density models. Low-cost, used equipment might be enticing, but it's essential to assess the potential for increased maintenance costs. On the other hand, more expensive, state-of-the-art balers could offer savings in the long run through improved durability and efficiency.
Operational expenses include fuel, maintenance, repairs, and labor. One should itemize each cost to create a comprehensive financial overview:
Fuel consumption: Depending on the baler's efficiency, fuel can be a significant cost, especially with larger operations.
Maintenance: Regular maintenance includes part replacements and can prevent costly repairs.
Repairs: Unforeseen breakdowns can be expensive, and an emergency fund is advisable.
Labor: Even on a homestead, time is money, and labor—whether hiring help or accounting for one's own time—must be valued.
Measuring Productivity
Productivity is measured by the yield of bales per acre and the time efficiency of the baling process. High-density balers may cost more initially but they often provide a higher yield of more compact bales, saving on storage and transportation.
Furthermore, modern balers equipped with technology for monitoring weight and moisture levels can enhance productivity by providing consistent bale quality, which improves the storage life of the hay or straw. The goal is to balance the cost of the equipment with the benefits of higher productivity and minimal losses due to spoilage or poor bale formation.
Homesteaders who employ traditional gardening methods may spend additional time bending and manually handling materials, which could decrease overall efficiency. However, a baler that matches the scale of their operation can reduce physical labor and increase the volume of bales produced.
Resources and Further Reading
For those seeking to expand their expertise in using balers for hay or straw bales, a wealth of resources is available. Insightful books and responsive online communities offer valuable information on everything from selecting the right equipment for your homestead to mastering bale gardening techniques.
Books and Guides
"The Complete Book of Bale Gardening" by Sarah Haymaker: This comprehensive guide includes details on creating raised beds using straw bales, as well as tips on fertilizing and maintaining them.
"Homestead Farming: Baling Techniques and Tricks" by Martin Plowman: Plowman provides a deep dive into the mechanics of balers, covering the best practices for producing high-quality hay and straw.
Online Forums and Communities
HayTalk Forum: An online space where farmers and homesteaders share advice on machinery, baling processes, and garden center purchases.
The Baler's Circle: A community focused on discussing the latest in baling technology, including troubleshooting, modifications, and gardening techniques using bales.
Each source offers a distinct perspective, aimed at enhancing one's practical knowledge in the realm of hay and straw bale production and utilization.
