
The Ultimate Guide to Using a Cheese Press
Master the Art of Perfectly Pressed Curds

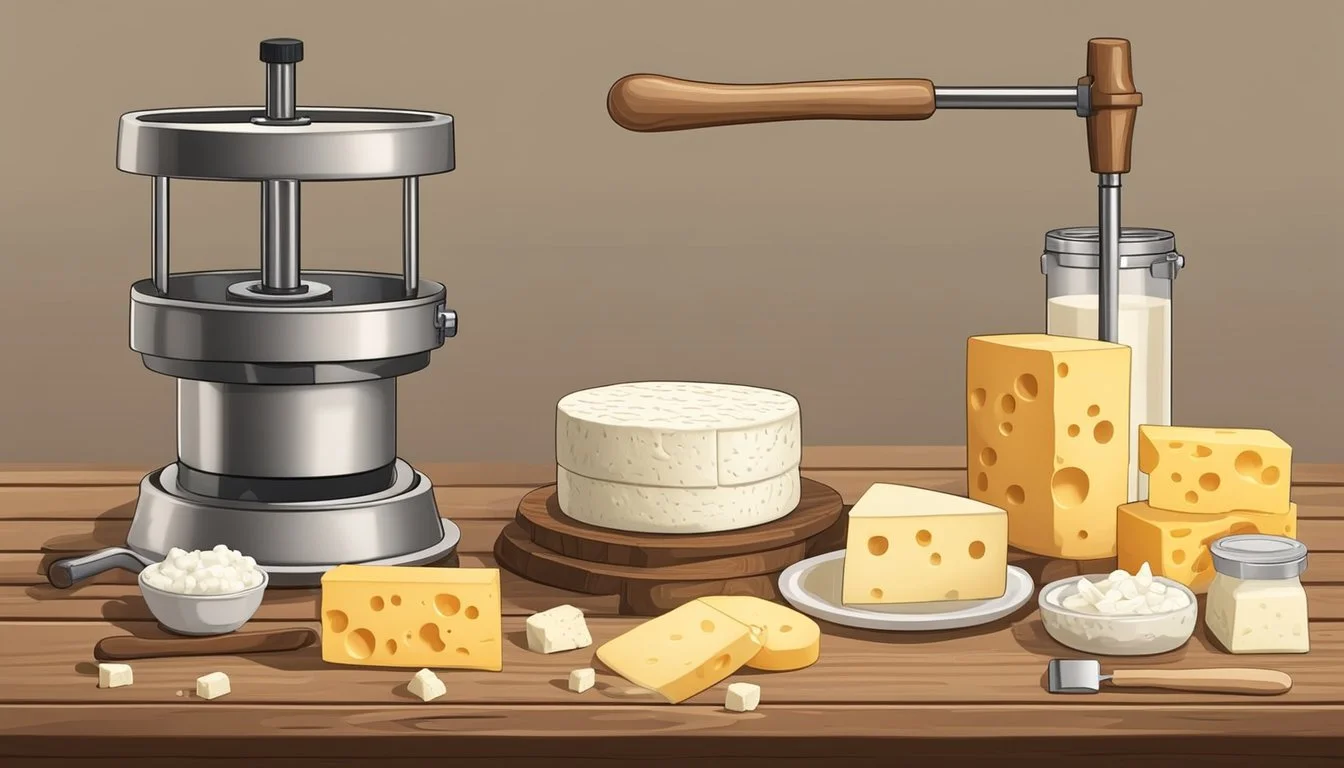
A cheese press is an indispensable tool for cheesemakers aiming to produce beautifully formed and uniformly pressed cheese (What wine goes well with cheese?) curds. As a part of the cheesemaking process, pressing curds is crucial for achieving the desired texture and consistency in many types of cheese, particularly semi-hard and hard varieties. The appropriate application of pressure helps expel residual whey, compacts the curds, and aids in the development of the cheese's final shape and rind.
The use of a cheese press can vary depending on the style of press and the type of cheese being made. Typically crafted from materials that meet food safety standards, presses come in several designs including Dutch presses with levers and weights, wall-mounted presses, screw presses with handles to apply torque, or spring-loaded versions to apply pressure. Selecting the right cheese press and mastering its use can make a significant difference in the texture and structural integrity of the final cheese product.
Throughout the cheese making process, it's important for cheesemakers to monitor and adjust the pressure applied by the press, sometimes even redistributing the curds and reapplying pressure to ensure an even shape. This precision assists in creating not only an aesthetically pleasing product but also contributes to the consistency of the cheese's flavor profile and quality. With careful control and a tailored approach to pressing, cheesemakers can enhance the characteristics that define their cheese's unique identity.
Essentials of Cheesemaking
In the art of cheesemaking, one must understand the transformation of milk into curds and whey, the pivotal role of cheese presses in shaping cheese, and the importance of using quality, food-grade materials.
Understanding Curds and Whey
The cheesemaking process begins with milk separation into curds and whey. Curds are the solid parts that come together when milk proteins coagulate, while whey is the liquid byproduct. It is crucial to correctly manage this separation since curds are the foundation of cheese, and their formation influences the final texture and flavor.
Curds: The solid protein clumps formed after adding rennet and starter cultures to milk.
Whey: The clear, yellowish liquid remaining after curd formation.
The Role of Cheese Presses
A cheese press applies pressure to curds, ensuring they knit together and expel excess whey. This impacts the cheese's density and moisture content, affecting its texture and aging ability. Consistent pressure distribution is essential for evenly formed cheese, preventing issues like a tilted shape. A properly pressed cheese results in a uniformly firm product, critical for its aging and flavor development.
Even Pressing: Curds need uniform pressure to become evenly dense.
Whey Drainage: Cheese presses often feature unique slots to facilitate the removal of whey.
Selecting High-Quality Materials
When building or buying a cheese press, quality and food-grade materials are imperative for safety and performance. Most experts recommend stainless steel hardware for its durability and resistance to corrosion. Components like molds and followers should also be of high quality to withstand repeated use and pressing.
Stainless Steel: Resilient and easy to clean, ideal for press hardware.
Food-Grade: Ensures that materials are safe for contact with consumable products.
Types of Cheese Presses
When making cheese, the selection of a press is critical to achieve the desired texture and form. There are various types of cheese presses available, each with their own mechanisms and advantages that cater to the needs of cheese makers.
Spring-Loaded Press
The spring-loaded press is a precision tool that allows cheese makers to apply consistent pressure on the cheese curds. It utilizes a spring to exert force, which can be adjusted depending on the cheese recipe's requirements. These presses are known for their accuracy and ease of use, making them a popular choice for those seeking uniformity in their cheese batches.
Lever and Dutch Presses
Lever and Dutch presses operate on a simple but effective mechanic: leverage. They typically consist of a lever arm that, when pressed down, exerts force onto the cheese. The Dutch press implements a weighted end on the lever to enhance the pressure on the curds. Both types of presses are appreciated for their sturdiness and the artisanal feeling they provide during the cheese-making process.
Lever Press: Uses a lever arm to press down the curds.
Dutch Press: Has a weighted lever to apply additional force.
DIY Off the Wall Cheese Press Plans
For the hands-on cheese maker, DIY off the wall cheese press plans are available for constructing a custom solution. These plans guide one through the steps to build a press that can be mounted on a wall, thus saving space and utilizing leverage. While they require some craftsmanship, these homemade presses can be tailored to individual needs and are a testament to the ingenuity of the cheese-making community.
Cheese Press Components
To ensure uniform cheese, one must understand the components of a cheese press and how they work together. These components are crucial for applying the right amount of pressure and achieving the desired shape and density in the cheese curds.
The Follower Explained
The follower is a flat disc that fits inside the mold and rests directly on top of the cheese curds. It transfers the pressure evenly across the curds, preventing the cheese from becoming lopsided. Followers are typically constructed from food-safe materials like stainless steel or plastic to maintain the purity of the cheese.
Understanding Pressure and Weight
Pressure is the force applied to the cheese curds to expel whey and knit the curds into a solid mass. The weight exerted by the press can be adjusted to make cheeses of different textures. A firmer cheese requires more weight and thus more pressure. Lever-based presses often use hanging weights that exert pressure on the curds through mechanical advantage. Precise application of weight is crucial to ensure consistent results, and this is sometimes measured using a scale to gauge the exact force being used.
Springs and Gauges
Some cheese presses are outfitted with springs which provide the necessary pressure. The advantage of springs is that they can offer a constant pressure even as the cheese condenses and the height of the curds decreases. Gauges can be used in conjunction with springs to monitor the pressure being applied, ensuring that it is within the desired range for the particular type of cheese being made. Maintaining accurate pressure is vital for producing a consistently shaped and textured final product.
Preparing to Press Cheese
Successful cheese pressing begins with proper preparatory steps. By understanding and preparing the right tools and techniques, the cheesemaker ensures a uniformly pressed cheese curd that's essential for quality and texture.
Cheesecloth: Types and Uses
Cheesecloth is a loose-woven gauze-like cloth used to hold cheese curds together during the pressing process. Butter muslin, a finer variation of cheesecloth, is often preferred for softer cheeses due to its tighter weave. One ensures a smooth surface on the final product, while the other can be used for cheeses requiring less intricate texture.
Types of Cheesecloth
Regular cheesecloth: best for hard cheeses.
Butter muslin: better for soft, delicate cheeses.
Uses
Lining cheese molds.
Protecting curds' integrity during pressing.
Creating the Proper Texture
Texture is paramount in cheese. The cheesemaker must start with curds that have the right moisture content, as too much moisture can lead to spoilage while too little can create a crumbly texture. Curds are often cut to uniform size and cooked to the desired consistency prior to pressing.
Key Texture Considerations
Moisture Content: Should be reduced to the appropriate level before pressing.
Curd Size: Uniform curd size ensures even pressing and texture.
The Cheese Mold and Its Shape
Cheese molds determine the shape of the finished product and assist in evenly distributing pressure. The shape of the mold is not only an aesthetic consideration, but also impacts the cheese's aging process, with different shapes affecting air flow and moisture retention.
Mold Considerations
Shape: Varies based on cheese type; traditional shapes include wheel, block, and pyramid.
Material: Plastic or stainless steel, chosen for durability and ease of sanitization.
Determining the Right Pressure
The right pressure is crucial to remove whey, close the curd structure, and develop the desired cheese texture. This pressure varies by cheese type and is usually measured in pounds per square inch (PSI). The cheesemaker must consult their recipe for specific weight and duration details.
Pressure Application
Start with light pressure; gradually increase to the recipe-specified weight.
Maintain even distribution across the cheese surface to avoid irregularities.
By carefully applying these steps, cheesemakers can press cheese curds to perfection, creating a superior final product.
Pressing and Draining Process
In the process of cheese making, pressing and draining are crucial steps for shaping cheese curds into a dense mass and removing excess whey. These procedures impact the texture and flavor of the final cheese product.
Pressing Cheese Curds
Pressing cheese curds is fundamental to achieve the desired density and texture. After the curds are set into the mold, they are pressed with a specific weight, which is often detailed in the recipe. The amount of pressure and duration of pressing vary depending on the type of cheese. To ensure even distribution, the cheese should be flipped regularly throughout the pressing phase. Here is a basic pressing schedule for a standard hard cheese:
Initial Pressing: Press at a light weight (e.g., 10 pounds) for 15 minutes.
Flip and Increase Weight: Remove the cheese, flip it, and press at a medium weight (e.g., 20 pounds) for 2 hours.
Final Pressing: Flip again and press at full weight (e.g., 40 pounds) for 12-24 hours, depending on the desired firmness.
Effective Whey Drainage
The whey, which is the liquid byproduct of cheese making, must be effectively drained from the cheese curds to prevent spoilage and achieve the correct moisture level. Molds with holes and lined with cheesecloth help facilitate this drainage during the pressing process. Consistent flipping and re-wrapping of the curds in the cheesecloth aid in uniform whey expulsion. If whey drainage seems insufficient, increasing the pressing weight slightly can help expel any remaining liquid.
Monitoring Temperature and Time
Temperature control is essential during the pressing and draining of cheese curds, as it affects both the rate of whey expulsion and the development of the cheese's flavor and texture. The cheese should generally be pressed at a temperature that closely follows the curd cooking temperature, which is usually between 80°F and 100°F (27°C - 38°C). Precise time management ensures that curds are pressed for an adequate duration to form the cheese properly without over or under pressing. Timers or alarms are helpful tools to keep track of pressing intervals.
After Pressing: Aging and Storage

Once the cheese is pressed, the next crucial steps are brining and aging, which greatly influence the flavor, texture, and overall quality. It is during these stages that the cheese develops its distinctive characteristics.
Brining Your Cheese
After pressing, the cheese must be submerged in a brine solution to enhance flavor and preservation. The brine is a saturated salt solution that helps to form a rind and prevents harmful bacterial growth. Cheesemakers typically brine their cheese for several hours—notably, harder cheeses generally require a longer brining time than softer ones.
Duration: Varies by cheese type; from a few hours to overnight
Concentration: Saturated salt solution (~26% salt content)
The Cheese Cave
The cheese cave is a controlled environment designed to mature cheese. Maintaining the right humidity and temperature—usually between 80-95% humidity and 50-55°F—is paramount for proper aging. These conditions mimic traditional underground aging environments and allow the cheese to develop its unique flavor and texture without drying out or becoming contaminated.
Temperature: 50-55°F
Humidity: 80-95%
Aging and Ripening Cheese
The aging process, known as ripening, lets the cheese develop its complex flavors. This stage can last from a few weeks to several years. During aging, one must regularly turn the cheese to ensure even moisture distribution and periodically wipe off any mold with a dry cloth. The cheesemaker's skill at managing these conditions determines how well the cheese will mature.
Turning Frequency: Depending on cheese type, may range from daily to weekly
Observations: Monitor for mold growth and adjust environment accordingly
Recipes and Variations
When creating cheese at home, the recipe and cheese press technique vary greatly depending on the type of cheese one aims to craft. From classic cheddar to various soft and hard cheeses, precise methods and the right press contribute to the perfect consistency and flavor.
Classic Cheddar Recipe
To make cheddar, a cook would begin by heating milk and adding cultures and rennet to form curds. These curds are then cut, cooked, and pressed to remove whey. The pressing stage typically requires a Dutch cheese press for consistent pressure, which helps in forming a firm and densely packed cheddar.
Ingredients:
2 gallons of milk
1 packet of direct-set mesophilic starter
1/4 teaspoon liquid rennet dissolved in 1/4 cup non-chlorinated water
Cheese salt (to taste)
Pressing Instructions:
Press at 10 pounds of pressure for 10 minutes.
Flip the cheese, re-dress and press at 20 pounds for 10 minutes.
Increase pressure to 40 pounds and press for 12 hours.
Soft Cheese Varieties
Soft cheeses (What wine goes well with soft cheeses?), which include options like ricotta or cream cheese, require gentle pressing to expel just enough whey without hardening the curd. Many soft cheese recipes can use a spring cheese press with adjustable tension to avoid over-compression.
Example Recipe - 30-Minute Mozzarella:
1 gallon of milk
1 1/2 teaspoons citric acid
1/4 teaspoon liquid rennet
Salt to taste
Pressing Instructions:
Press with just enough weight to keep the cheese in shape, usually under 5 pounds of pressure, for about 15 minutes.
Hard Cheese Techniques
Hard cheeses, such as Parmesan or aged gouda, need extended pressing times at higher pressures. These cheeses benefit from screw cheese presses, which apply force steadily and can maintain high pressure for long periods of time.
Example Recipe - Aged Gouda:
2 gallons of milk
1 packet of direct-set mesophilic starter
1/4 teaspoon liquid rennet dissolved in 1/4 cup water
Cheese salt and optional flavorings
Pressing Instructions:
Begin with a preliminary pressing under 20 pounds of pressure for 15 minutes.
Flip the cheese and gradually increase to 40 pounds of pressure for the initial few hours.
Gradually increase pressure to maintain up to 50 pounds for 24 hours.
Adjust the pressure carefully, ensuring that the cheese develops the desired firm texture without becoming overly hard.
Maintenance and Troubleshooting
Maintaining a cheese press ensures longevity of the equipment, while effective troubleshooting can save time and improve the quality of cheese. Proper care is critical for achieving consistent results in cheese pressing.
Cleaning and Caring for Your Equipment
Regular cleaning is imperative for the maintenance of a cheese press. Users should dismantle the press after each use, thoroughly cleaning all components with warm, soapy water. Special attention should be given to the nooks and crannies where cheese particles can accumulate. After washing, all parts should be dried completely to prevent the growth of mold and bacteria. For presses with rubber feet, these should be checked regularly to ensure they remain secure and provide stability. Any loose rubber feet should be reattached or replaced to prevent the press from sliding during use.
Resolving Common Issues
When troubleshooting issues with a cheese press, start by examining all moving parts such as wing nuts or levers for signs of wear or damage, replacing them as necessary. If the cheese consistently comes out with a tilted side, consider redistributing the curds or adjusting the pressure applied. Should the press become unstable during use, check that all wing nuts and bolts are tightened appropriately. In instances of sticking, lubricate any moving parts with a food-safe lubricant to ensure smooth operation. Users should also make sure that the pressing weight is consistent with recipe specifications to avoid over or under-pressing the cheese curds.
By adhering to these maintenance and troubleshooting steps, one can ensure their cheese press operates efficiently, contributing to the production of excellent homemade cheese.
