
DIY Lip Balms and Glosses Using Cold-Pressed Oils
A Simple Guide to Natural Beauty

Creating DIY lip balms and glosses at home has become a popular hobby for those looking to personalize their beauty routine with natural ingredients. Cold-pressed oils are often the cornerstone of these homemade cosmetics due to their retention of flavor, aroma, and nutritional properties due to the extraction process, which doesn't involve heat. These oils serve as an excellent moisturizing base and deliver a range of benefits, from soothing chapped lips to offering a layer of protection against environmental elements.
When incorporating cold-pressed oils into lip balms and glosses, the choice of oil can tailor the product to specific needs. For example, coconut oil is known for its hydrating properties, while almond oil is packed with vitamins and has a lighter feel. Using cold-pressed oils ensures that the lip care retains the maximum amount of vital nutrients and antioxidants without the degradation that can occur with refined oils.
Moreover, creating balms and glosses at home allows for complete control over the ingredients, making it an attractive option for those with sensitive skin or allergies to commercial products. Blending different types of cold-pressed oils with natural waxes and butters can result in a bespoke product that nurtures the lips, adding just a hint of shine without the use of synthetic ingredients.
The Basics of DIY Lip Balms
Creating your own DIY lip balm is an enjoyable and customizable experience. The process hinges on understanding a few key ingredients, the role of high-quality oils like those cold-pressed, and the selection of appropriate containers and tools for your finished product.
Understanding Lip Balm Ingredients
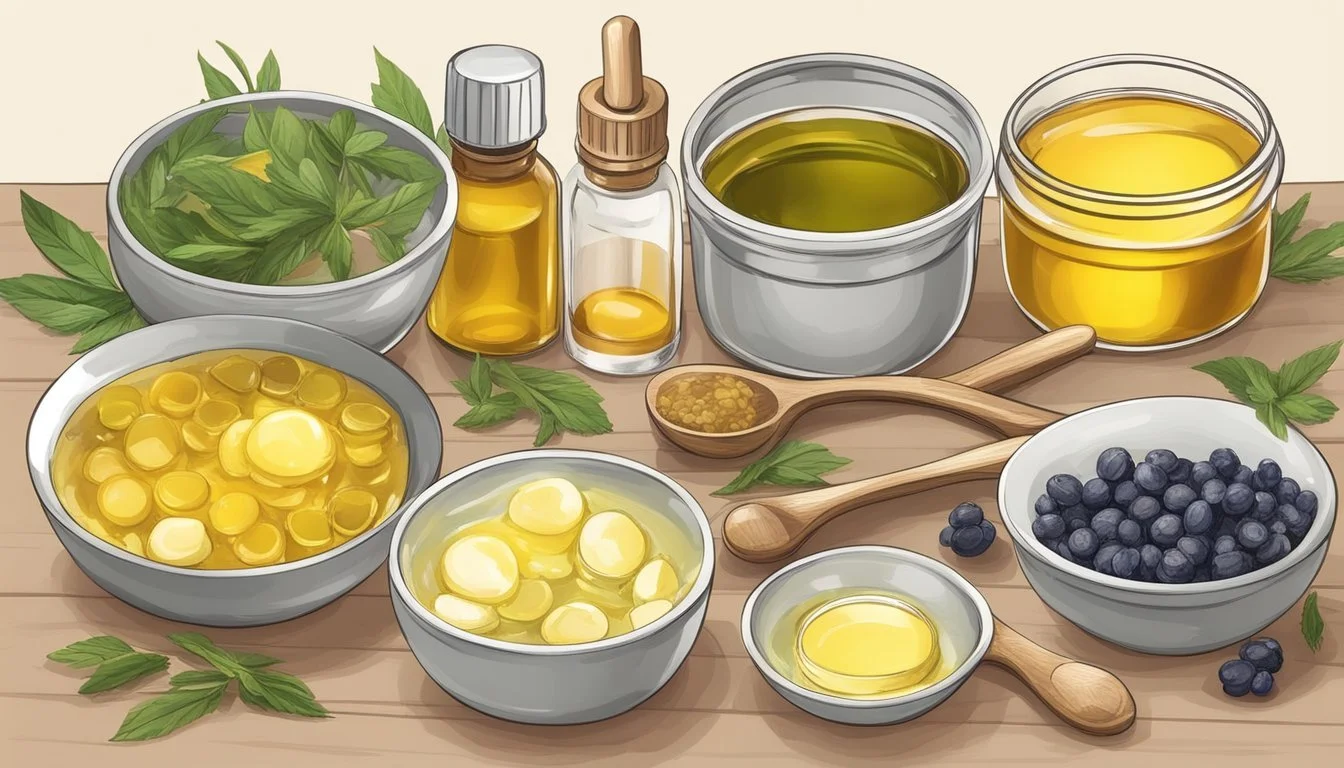
In crafting a basic DIY lip balm, three primary components are typically needed: a wax, a butter, and an oil. They serve to provide structure, moisturizing properties, and a smooth application.
Wax: Beeswax or a plant-based wax like candelilla provides the balm with firmness and shape.
Butter: Options like shea butter, cocoa butter, or mango butter impart creaminess and nourishment.
Oil: Cold-pressed oils such as coconut, almond, or jojoba offer a wealth of benefits. These oils are typically rich in nutrients, and because they've been cold-pressed, they retain more of the natural properties found in the source material.
Benefits of Using Cold-Pressed Oils
Cold-pressed oils are pivotal in lip balm formulations due to their minimally processed nature which retains more vitamins, minerals, and enzymes. This translates to a final product that's more effective in hydrating and repairing the delicate skin on the lips. They also contribute to the lip balm's texture, making it smooth to apply.
Examples of Cold-Pressed Oils:
Coconut oil: Provides deep moisturization and has natural anti-inflammatory properties.
Almond oil: Known for its soothing effects and is rich in Vitamin E.
Jojoba oil: Closely mimics the skin's natural sebum and is easily absorbed without leaving a greasy residue.
These oils are not only used in lip balms but also in lip glosses, adding shine and a protective layer against the elements.
Selecting the Right Containers and Tools
The ultimate presentation of a DIY lip balm hinges on the choice of container, which can range from plastic tubes to small metal tins. Here's what one should consider:
Material: Plastic or metal options should be BPA-free and designed specifically for lip balm usage to ensure safety.
Size: Common sizes vary from small 5ml pots to more standard 15ml tubes; the choice depends on personal preference for portability and use.
Tools for Preparation: To create a smooth, well-incorporated balm, a melting pot or a double boiler is required for heating, and a pipette or a small pouring jug with a spout is recommended for transferring the liquid balm into containers.
Selecting the right tools not only eases the process but also ensures a clean and professional look for the finished product.
Choosing Your Ingredients
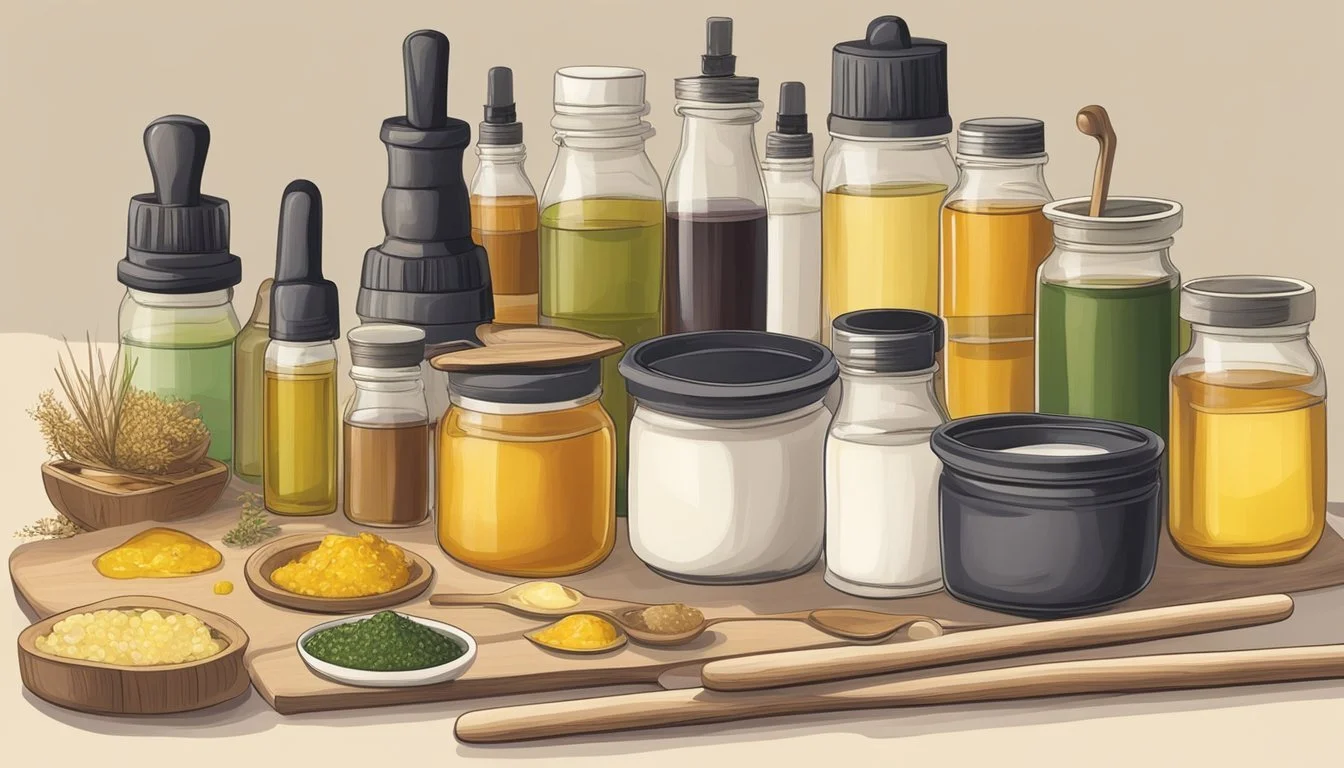
Crafting DIY lip balms and glosses starts with selecting high-quality ingredients. Each component plays a crucial role in the final product's texture, health benefits, and sensory experience.
Cold-Pressed Oils and Their Properties
Cold-pressed oils are preferred in lip balm recipes for their purity and nutrient content. These oils retain more of their natural vitamins and antioxidants because they are not subjected to heat extraction.
Coconut Oil: It's naturally antibacterial and antifungal and is an excellent moisturizer.
Vitamin E Oil: Acts as a powerful antioxidant and natural preservative.
Cold-pressed oils provide the lips with essential fatty acids and help to keep the balm smooth and spreadable.
Waxes and Butters for Texture
Waxes and butters are foundational to lip balm consistency, offering varying degrees of firmness and protection.
Beeswax: Provides a sturdy base that seals in moisture and extends longevity.
Carnauba Wax: A plant-based alternative to beeswax, adding a glossy finish.
Candelilla Wax: Similar to carnauba, it is also vegan-friendly and provides a smooth application.
For Butters:
Shea Butter: Rich in vitamins and offers UV protection.
Cocoa Butter: Delivers deep hydration and is rich in antioxidants.
Mango Butter: Lightweight and non-greasy, it lends softness and nutrients.
Natural Additives for Health Benefits
Enhance lip balms with natural ingredients that offer additional health benefits and sensory appeal.
Essential Oils: Offer a variety of scents and therapeutic properties; always use with proper dilution.
Antioxidants: Help to protect the lips from environmental stressors.
Incorporating antioxidants, such as those found in vitamin E oil or some essential oils, can help to nourish the skin on the lips and fight against oxidative stress.
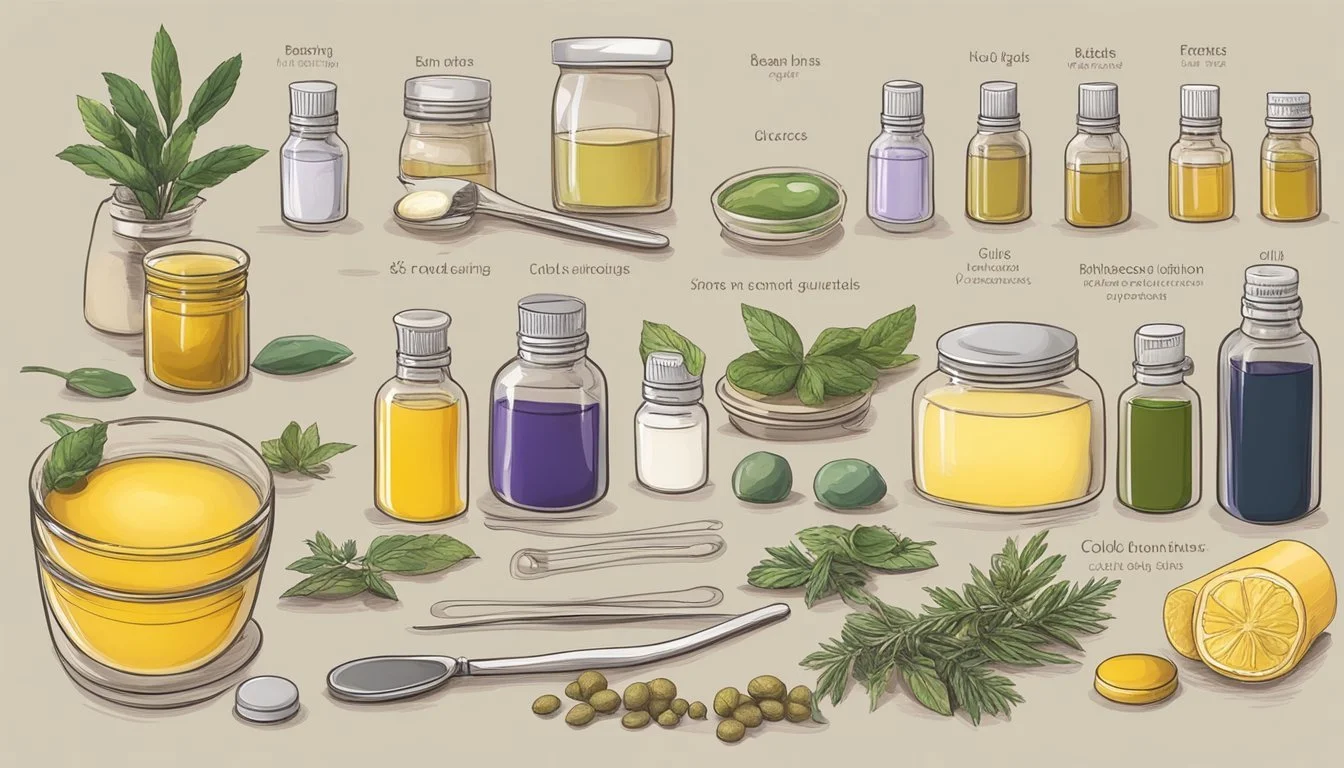
Crafting Your Recipe
In creating your own lip balm or gloss recipe, the focus should be on achieving the desired consistency, utilizing natural sources for color and fragrance, and tailoring the mixture to specific needs.
Balancing Ingredients for Perfect Consistency
The foundation of any DIY lip balm or gloss is a balance between waxes, butters, and oils. Usually, beeswax or candelilla wax is used to harden the balm, while butters such as shea or cocoa butter provide a smooth, creamy texture.
Waxes:
Beeswax: 20%-40% of total recipe
Candelilla Wax: 20% of total recipe (vegan alternative)
Butters:
Shea Butter: 5%-25% of total recipe
Cocoa Butter: 5%-25% of total recipe
Oils:
Add oils such as coconut, olive, or almond oil to fill the remaining percentage until you reach 100%.
Adding Color and Fragrance Naturally
For those desiring a hint of color in their lip balm or gloss, natural colorants like beetroot powder or cocoa powder can impart a subtle tint without the use of artificial dyes. Add these powders in small increments until the preferred shade is achieved.
Natural Colorants:
Beetroot Powder: Provides a pink to red hue.
Cocoa Powder: Offers a brown tint and chocolaty fragrance.
Mica Powder: For shimmer, use cosmetic-grade mica in small amounts.
To add fragrance, essential oils for lip balm not only provide an alluring smell but can also offer additional benefits like hydration. Essential oils should be used sparingly—usually just a few drops—to ensure the fragrance is not overwhelming and the balm is safe for use on the lips.
Innovative Recipes for Various Needs
One might formulate a variety of recipes to cater to different needs such as added sun protection, extra hydration, or even a plumping effect. Here are examples of specialized ingredients:
For sun protection: Incorporate ingredients like zinc oxide for natural SPF.
For hydration: Vitamin E oil can be a beneficial addition due to its antioxidant properties.
For a plumping effect: Adding a small amount of cinnamon oil may help to naturally plump the lips, but it should be used with caution due to its potential to irritate sensitive skin.
When crafting these recipes, it is essential to keep in mind the properties of each ingredient and how they interact. Adjustments may be necessary to achieve the ideal texture and effectiveness for personal use.
Step-by-Step DIY Process
Creating your own lip balms using cold-pressed oils can be a gratifying DIY project. The process involves setting up a clean workspace, combining ingredients using a controlled heat source like a double boiler, and carefully filling containers to yield homemade lip balms.
Preparing Your Work Area
Before one begins, it is crucial to ensure that the work area is clean and organized. The maker should sanitize all tools and containers with alcohol and lay them out on a disinfected surface. This minimizes contamination and ensures the quality of the lip balm.
Sanitize: Use a spray bottle with 70% isopropyl alcohol to clean all tools and lip balm tubes.
Lay Out Materials: Set up the cold-pressed oils, beeswax, double boiler, and any other ingredients.
Melting and Mixing Ingredients
Using a double boiler, the crafter should gently melt the cold-pressed oils with beeswax. Once everything is liquid, they remove the mixture from the heat to incorporate flavors or colorants.
Melt Beeswax and Oils: Place beeswax and cold-pressed oils in the upper part of a double boiler. Heat gently until the beeswax melts completely.
Mix in Extras: Remove from heat and stir in any additional ingredients such as essential oils, vitamin E, or mica powders for color.
Stir Well: Ensure all elements are thoroughly mixed to create a smooth, uniform balm.
Filling and Setting Your Lip Balms
After mixing, the liquid balm needs to be transferred into containers promptly as it will start to set as it cools. Using a pipette or dropper can help with precision.
Fill Tubes: Carefully pour or use a dropper to transfer the liquid lip balm into the lip balm tubes, ensuring not to overfill.
Set: Allow the lip balms to cool at room temperature. They will solidify, ready to be capped and used.
By following these steps with attention to detail, one can create custom, nourishing lip balms using the benefits of cold-pressed oils.
Customization and Variation

Creating your own lip balms and glosses using cold-pressed oils allows for a wide range of personalization, from signature scents to vegan-friendly options and even season-specific themes.
Creating Signature Scents
A key feature of DIY lip care is the ability to create custom scents. Essential oils not only add fragrance but also bring their own therapeutic properties. For a refreshing tingle, peppermint oil is a popular choice, while sweet orange essential oil imparts a citrusy lift. Floral tones can be achieved with lavender essential oil or geranium, while vanilla creates a sweet, warm scent. Those seeking an exotic twist might incorporate lime essential oil or bergamot. When blending:
Begin with 1-2 drops of essential oil per tablespoon of base mixture.
Balance scents by combining a citrus like grapefruit with a spicy note like vanilla.
Formulating Vegan Options
For individuals preferring plant-based products, creating vegan lip balm involves substituting beeswax with alternatives like candelilla or carnauba wax. Ensure all chosen oils—whether jojoba, almond, or coconut—are cold-pressed and unrefined for maximum benefits. Sweeteners, if desired, should be plant-derived, like stevia extract.
Check for the vegan status of all ingredients, including colorants and flavorings.
Use butters like cocoa or shea to enhance the creamy texture.
Seasonal and Themed Variations
Seasonal variations cater to changing weather conditions and festivities. Winter balms might incorporate a higher concentration of moisturizing oils to combat dryness, with a scent blend of peppermint and vanilla for a cozy feel. Summer options could feature lighter oils and a citrus scent like grapefruit or sweet orange for an energizing boost.
For autumn, consider a spicy mix with cinnamon essential oil.
Create themed balms for holidays, using colors and flavors that evoke the spirit of the occasion.
By understanding the properties of essential oils and other vegan components, one can craft a variety of lip balm and gloss formulations to suit any preference or season.
Preservation and Shelf Life

When creating DIY lip balms and glosses with cold-pressed oils, understanding how to preserve the product and its shelf life is crucial. Optimal preservation methods and storage can maximize longevity and effectiveness of homemade lip care products.
Natural Preservatives
In DIY lip balms, natural preservatives such as Vitamin E can help to extend the shelf life by acting as an antioxidant, protecting the oils from rancidity. Some cold-pressed oils, like coconut oil, have inherent antimicrobial properties and can further aid in preservation. When incorporating any preservatives, it is essential to use them at recommended concentrations for safety and efficacy.
Proper Storage Tips
Storage plays a pivotal role in the shelf life of DIY lip balms. To prevent spoilage and maintain efficacy, one should:
Store lip balms in a cool, dark place.
Use airtight containers such as lip balm tins or tubes to minimize exposure to air.
Avoid direct sunlight and high temperatures to prevent melting and degradation of the active ingredients.
Understanding the Life Span of Natural Balms
Natural DIY lip balms typically have a shorter shelf life than commercial products due to the absence of strong synthetic preservatives. One can expect a shelf life of approximately 6 months to 1 year, depending on the ingredients' quality and storage conditions. Monitor lip balms for any changes in smell, texture, or color, as these can indicate that the product is no longer suitable for use.
Troubleshooting Common Issues
When crafting lip balms and glosses with cold-pressed oils, it's important to address texture inconsistencies, separation issues, and skin sensitivities. Here's how to navigate these common challenges effectively.
Texture and Consistency Problems
One may encounter issues with texture, such as graininess or too soft a consistency. To correct this, adjust the ratio of waxes to oils. Beeswax or carnauba wax can firm up the product, while additional oils can soften it. If a balm is grainy, gently reheat and stir the mixture to ensure all ingredients are thoroughly melted and combined.
Dealing with Separation and Melting
Separation and melting are common if the lip balm is exposed to varying temperatures. To prevent this, one should emulsify the mixture properly during preparation. Utilizing a small amount of raw honey can enhance the balm's stability due to its natural emulsifying and healing properties. In hot weather, increasing the wax content can help maintain the balm's solid state.
Allergic Reactions and Sensitivity
Users with sensitive skin or allergies should perform a patch test before regular use. Should a rash or irritation occur, discontinue use immediately. For those sensitive to certain ingredients, substitutions like using shea butter instead of coconut oil can be made. Always include healing components such as Vitamin E for their soothing effects, and consider the inclusion of natural SPF to protect against sunburn.
Packaging and Labeling
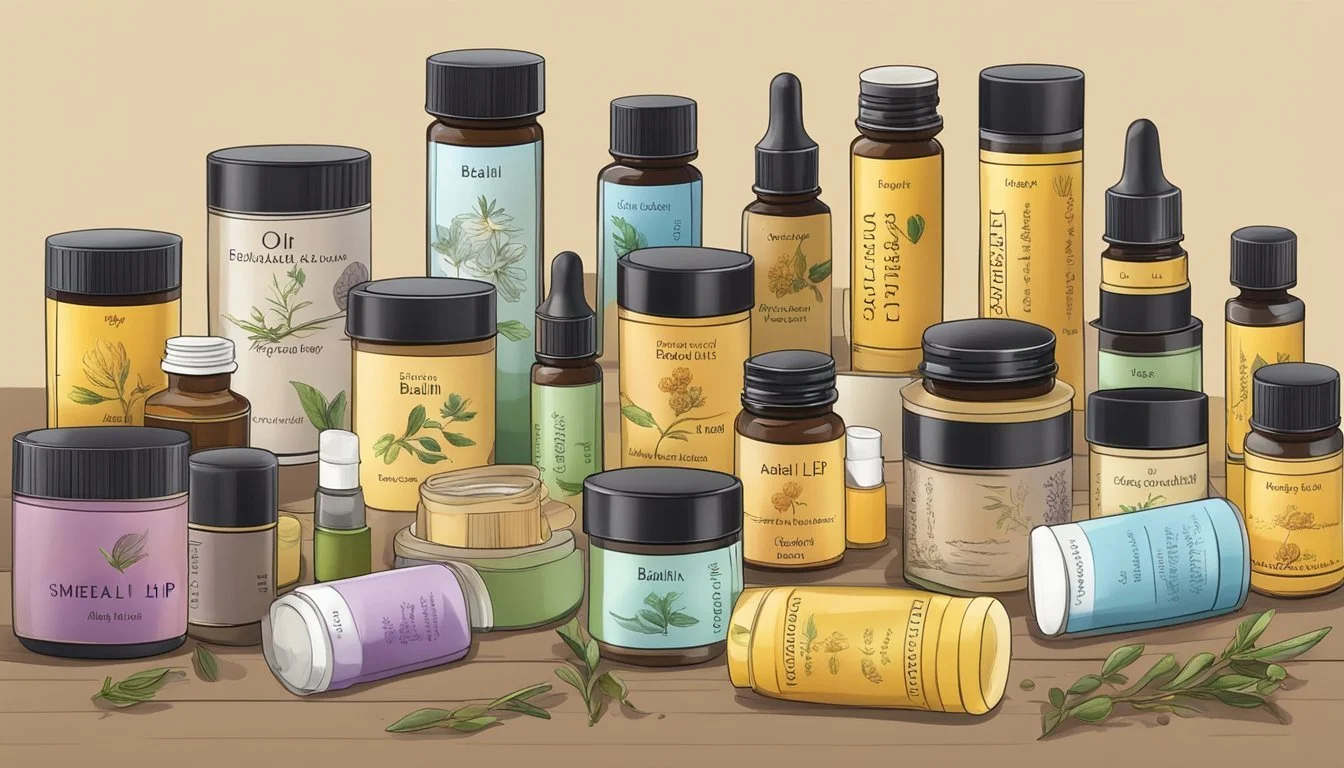
When crafting DIY lip balms using cold-pressed oils, the final presentation hinges on effective packaging and labeling. These elements not only protect and preserve the product but also communicate the brand's essence and adhere to legal standards.
Designing Attractive Labels
For DIY lip balm containers, an attractive label is a key marketing tool. Labels should include:
The brand name in a prominent position.
Cold-pressed oils used, as a selling point.
A color scheme that reflects the natural ingredients.
The use of high-quality images or illustrations can enhance the visual appeal and aid in brand recognition.
Choosing Eco-Friendly Packaging Options
Consumers of homemade beauty products often value sustainability, making eco-friendly lip balm containers a compelling choice. Options for sustainable packaging include:
Biodegradable tubes or tins.
Refillable containers to encourage reuse.
Packaging from recycled or recyclable materials.
Incorporating these materials supports environmental conservation and can bolster a brand's eco-conscious image.
Legal Requirements for Labels
Labels on homemade beauty products, such as lip balm, must adhere to legal standards set forth by entities like the FDA. Important components include:
Ingredients: Listed from highest to lowest concentration.
Net weight: The amount of product in the container.
Manufacturer information: Name and address of the DIY recipe creator.
Adherence to these guidelines ensures transparency and builds consumer trust in the product's quality and safety.
By focusing on these crucial aspects of packaging and labeling, creators can elevate their homemade lip balms from simple crafts to professionally presented products.
Beyond Balms: DIY Lip Glosses

Creating your own DIY lip glosses allows for a customizable and natural approach. The reader can achieve a desirable shine and conditioning properties using a variety of cold-pressed oils, such as jojoba oil and sweet almond oil.
The Gloss Base: Oils and Thickeners
To begin crafting a lip gloss, one must select a suitable carrier oil to form the base. Cold-pressed oils like jojoba oil and sweet almond oil are excellent for their nourishing properties and are often used for their resemblance to the skin's natural sebum, enhancing absorption. For thickening, options include vegan alternatives like candelilla wax or conventional beeswax.
Carrier Oils:
Jojoba oil
Sweet almond oil
Argan oil
Rosehip oil
Thickeners:
Candelilla wax (vegan)
Beeswax
Achieving the Perfect Shine
The shine in a DIY lip gloss often comes from castor oil due to its high viscosity and glossiness. When blended with other carrier oils, castor oil provides a smooth, non-sticky consistency and a natural shine that enhances the appearance of lips.
Key Oil for Shine:
Castor oil: Adds viscosity and natural gloss.
Natural Gloss Recipes and Tips
Below are simple recipes and tips for homemade lip gloss using natural ingredients. Begin by meticulously sanitizing all utensils and containers to ensure the longevity and safety of the gloss.
Simple Shine Recipe:
Mix 2 teaspoons of sweet almond oil with 1 teaspoon of castor oil.
Heat the mixture gently until warm, not hot, to preserve the beneficial properties of the oils.
If desired, add a pinch of natural, mineral-based mica powder for color.
Pour into sanitized lip gloss containers and allow to cool.
Conditioning Gloss Recipe:
Combine 1 teaspoon of argan oil and 1 teaspoon of rosehip oil for their skin-conditioning benefits.
Gently warm and add 1 teaspoon of castor oil for shine.
Mix in a few drops of natural flavor oil if a fragrant gloss is preferred.
Transfer carefully into containers and let set.
By following these instructions and understanding the properties of each oil, one can create a variety of nourishing, homemade lip glosses that provide long-lasting moisture and a radiant shine.
