
Breadstick Substitutes
Top Alternatives for Your Italian Feasts
Breadsticks have become a quintessential element of the dining experience, whether gracing the side of a soup bowl or paired with a hearty Italian meal. However, with increasing dietary restrictions and a push towards novel culinary experiences, the demand for breadstick substitutes has surged. These substitutes aim to satisfy specific dietary preferences while still complementing a meal as effectively as traditional breadsticks. They offer nutritional variations, cater to diverse flavor profiles, and may even cut back on preparation time, all without sacrificing the role breadsticks play in enhancing a meal's enjoyment.
The process of selecting a breadstick alternative often hinges on considering nutritional needs without neglecting flavor. Substitutes come in various forms, including those made with alternative flours to lower gluten content or increase fiber, those laced with herbs and spices to elevate flavor, or ones that incorporate seeds and nuts for added crunch and nutrition. The focus remains not only on mimicking the classic texture and taste but also on providing options that resonate with those adhering to specific dietary regimens, such as low-carb, gluten-free, or vegan lifestyles.
In exploring the myriad of breadstick replacements available, one soon realizes that the balance of nutrition and flavor is an art in itself. This exploration into the world of alternatives not only introduces food enthusiasts to new ingredient combinations but also reassures them that the integrity of their favorite meals remains intact. The result is a harmonious blend of tradition and innovation, tailored to an ever-evolving palette of consumer preferences and health-conscious choices.
Understanding Breadsticks
Breadsticks, known for their long, thin shape, are a versatile accompaniment to meals. They range from soft and doughy to crisp and crunchy, with various ingredients contributing to their distinctive flavors and textures.
History of Breadsticks
The origin of breadsticks, or grissini, can be traced back to the 17th century in the Piedmont region of Italy. Created for a duke with digestive problems, they were designed to be easily digestible due to their thinness and crispness. Breadsticks quickly became a popular staple, symbolizing Italian cuisine and its emphasis on simple, quality ingredients.
Breadstick Varieties
Breadsticks come in numerous varieties, each offering a different taste and texture experience. The classic Italian breadstick is typically crisp, while soft breadsticks resemble a more bread-like texture. Some breadsticks are twisted or flavored, with common variations including garlic breadsticks and cheese-topped breadsticks. In many cases, cultural and regional preferences have led to the development of unique breadstick styles.
Key Ingredients
The key ingredients of homemade breadsticks include:
Flour: The base of the dough, providing structure.
Yeast: A leavening agent which makes the dough rise.
Water: Often used for hydration.
Salt: Adds flavor and regulates yeast activity.
Oil or Butter: Enhances flavor; butter adds a richness, particularly prevalent in garlic breadsticks.
Some recipes may also include sugar as a browning agent or milk for a softer texture. The incorporation of fresh or dried herbs and toppings like sesame seeds add another layer of flavor and texture to homemade variations.
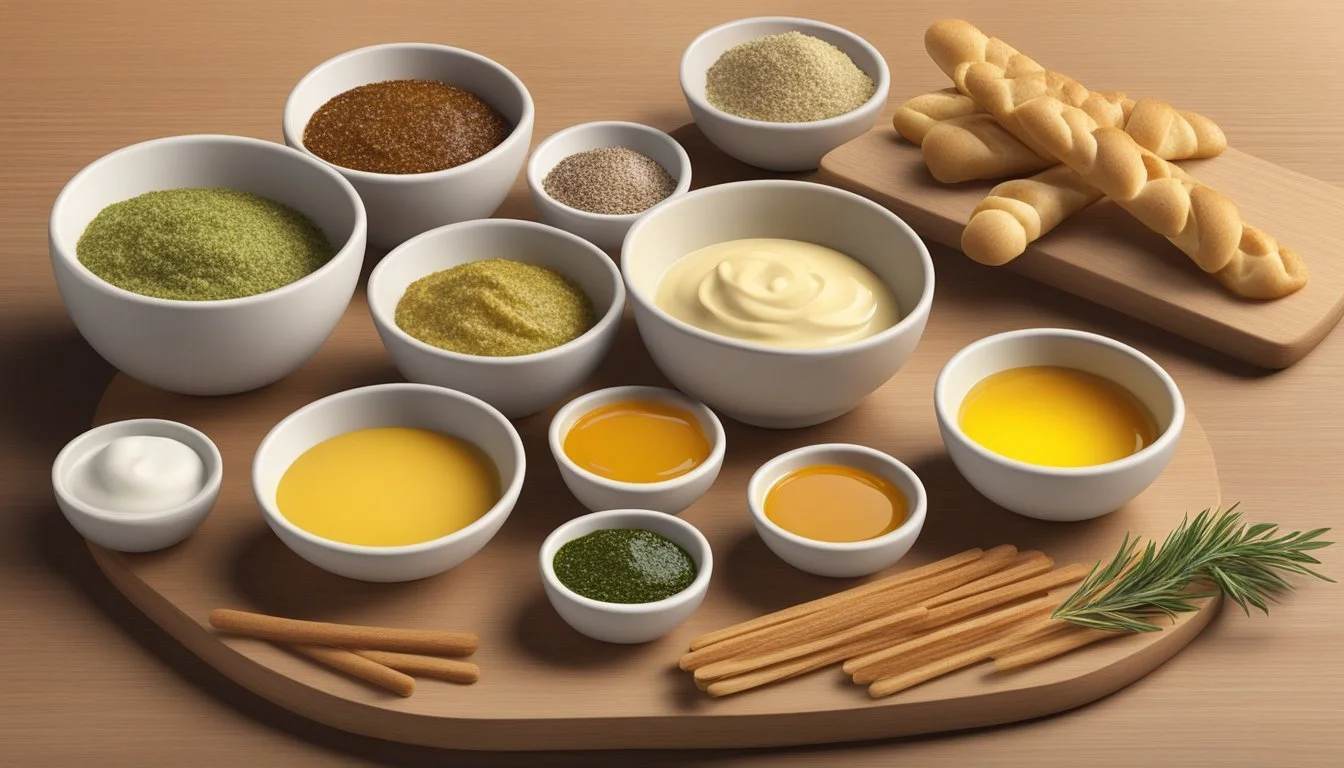
Ingredients for Breadstick Substitutes

When crafting breadstick substitutes, the selection of ingredients directly impacts the texture, taste, and dietary compliance of the end product. Individuals looking to make variations of traditional breadsticks can explore a range of flours, leavening agents, fats, and seasonings.
Choosing Flour Alternatives
For those seeking to make gluten-free breadsticks, typical all-purpose flour can be replaced with a blend of gluten-free flours such as rice, tapioca, and potato. Whole wheat flour is a healthier alternative that provides a nuttier flavor and denser texture compared to white flour.
Flour Type Benefits All-purpose Flour Classic choice, versatile Whole Wheat Flour Higher in fiber, robust flavor Gluten-free Blend Suitable for gluten intolerance, varied textures
Selecting Yeasts and Leavening Agents
Traditional recipes often employ active dry yeast or instant yeast to create the classic breadstick texture. Instant yeast is convenient as it doesn't require proofing, while active dry yeast, once proofed in warm water, may yield a more pronounced yeasty flavor.
Yeast or Agent Usage Note Active Dry Yeast Requires proofing, classic flavor Instant Yeast No proofing needed, time-saving
Dairy and Vegan Fat Options
Fats add moisture and flavor to breadsticks. Olive oil is a heart-healthy fat that brings a subtle, fruity taste to the dough. For vegan options, butter can be replaced with plant-based margarines or oils that complement the desired flavor profile.
Fat Choice Notes Olive Oil Adds Mediterranean flavor, monounsaturated fat Vegan Margarine Dairy-free, versatile in flavoring
Flavor Enhancers and Seasonings
To elevate the flavor of breadstick substitutes, seasonings play a crucial role. Salt is essential in enhancing taste and controlling yeast fermentation. Additional herbs, spices, or cheese can introduce new dimensions of flavor tailored to personal preferences or dietary requirements.
Garlic Powder: Adds a pungent, savory note.
Italian Seasoning: Brings in a blend of classic herbs.
Nutritional Yeast: Offers a cheese-like flavor for vegan options.
Preparing Substitutes
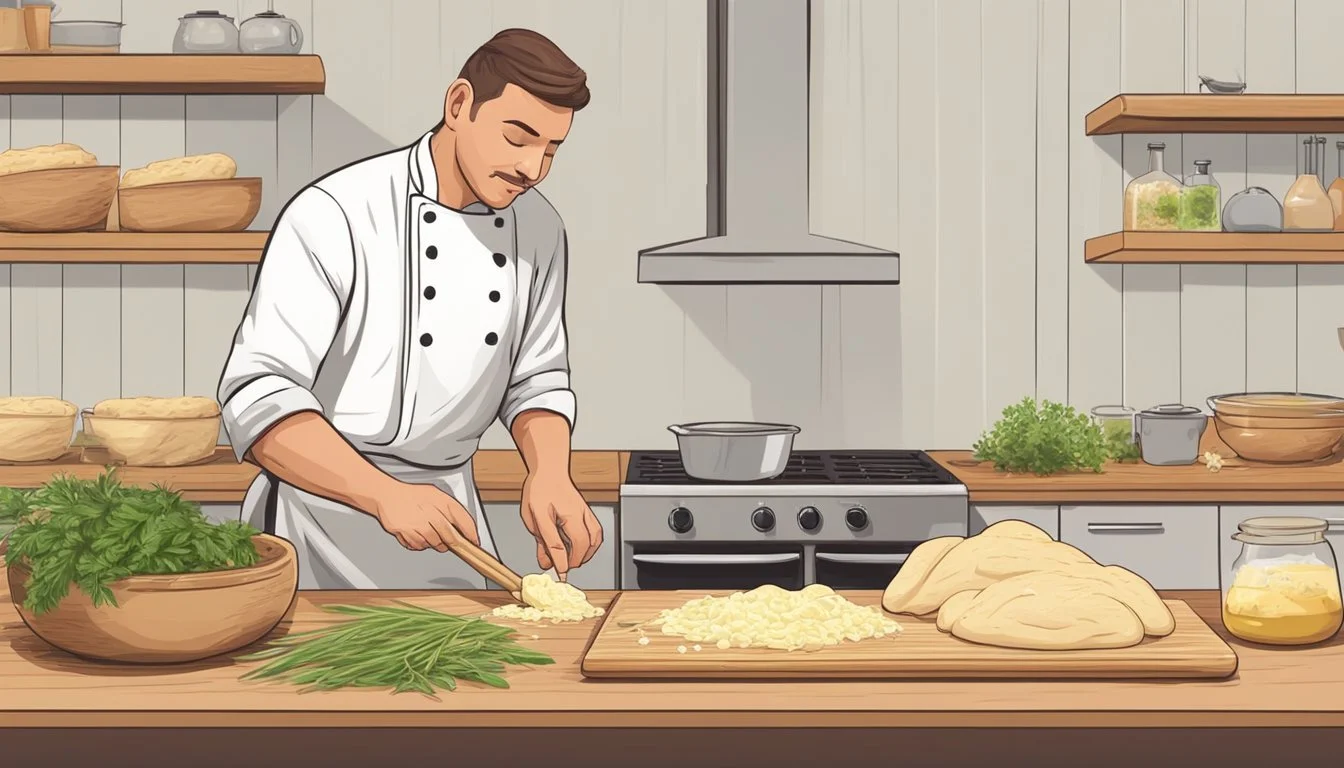
When crafting breadstick substitutes, precision in preparing the dough and understanding the nuances of shaping, proofing, and fermentation are essential for superb results. Here's how one can approach each critical phase.
Mixing and Kneading Dough
Ingredients:
1 cup of warm water
2 teaspoons of active dry yeast
1 pinch of sugar
2 tablespoons of olive oil
1 teaspoon of salt
2 1/2 cups of all-purpose flour
Instructions:
Mixing: Begin by combining warm water, yeast, and a pinch of sugar in a bowl, allowing the yeast to activate and foam for about 5-10 minutes.
Kneading: Add oil, salt, and half the flour to the mixture, stirring to combine. Gradually incorporate the remaining flour until a dough forms. Knead the dough on a floured surface until it becomes smooth and elastic, about 7-10 minutes.
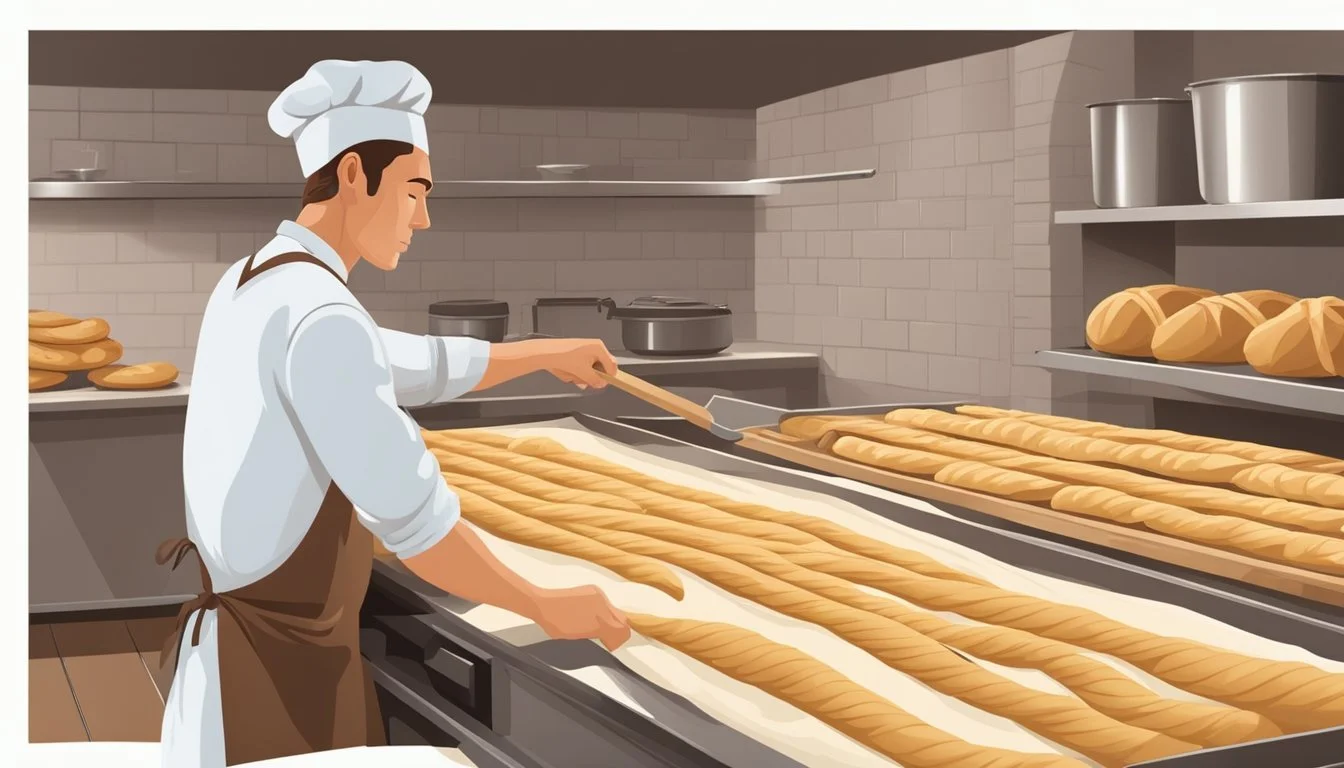
Shaping and Sizing Alternatives
Shaping the Dough:
Divide the dough into equal-sized portions, depending on the desired size of the breadsticks.
Roll each portion into a tight string, approximately 7 inches long for standard breadsticks. For larger substitutes, increase the length as preferred.
Proofing and Fermentation
Proofing Steps:
First Rise: Place the shaped dough on a parchment-lined or lightly greased baking tray, cover with a damp cloth, and let it rise in a warm spot until doubled in size, which typically takes 1 ½ - 2 hours.
Second Rise: After shaping the dough, a second shorter rise is beneficial. Allow the breadsticks to puff slightly for an additional 20 minutes before baking.
Note: The fermentation process is key to the flavor and texture of the breadsticks, so allowing sufficient time for both rises will enhance the quality of the final product.
Baking Techniques
In the journey to achieve the perfect homemade breadsticks, certain baking techniques are pivotal. These include proper oven preparation, accurate baking time and temperature settings, along with methods to attain the desired texture.
Oven Preparation
Before one begins to bake breadsticks, it's essential to preheat the oven to the correct temperature to ensure consistent cooking. Lining a baking sheet with parchment paper prevents sticking and allows for easy cleanup. Some bakers also advise lightly greasing the parchment paper to guarantee the breadsticks can be removed without breaking.
Baking Time and Temperature
For breadsticks, even and consistent heat is crucial. Most recipes recommend a baking temperature between 375°F to 425°F, depending on the desired crunchiness. A key indicator that breadsticks are properly baked is when they have a golden brown color, which typically occurs after 10 to 15 minutes in the oven. However, ovens may vary, so it's important to keep a close eye on them, especially during the first few attempts at a new recipe.
Achieving the Perfect Texture
The texture of breadsticks can vary from soft and chewy to crisp and crunchy. Key factors include:
The thickness of the dough rolling: thinner rolls become crisper.
The amount of moisture in the dough: less moisture results in a crunchier breadstick.
The actual bake time: longer bake times will lead to a crunchier texture, so one should adjust accordingly based on their texture preference.
Remember, to achieve the ideal texture, bakers might need to experiment with these variables slightly, as every oven behaves differently.
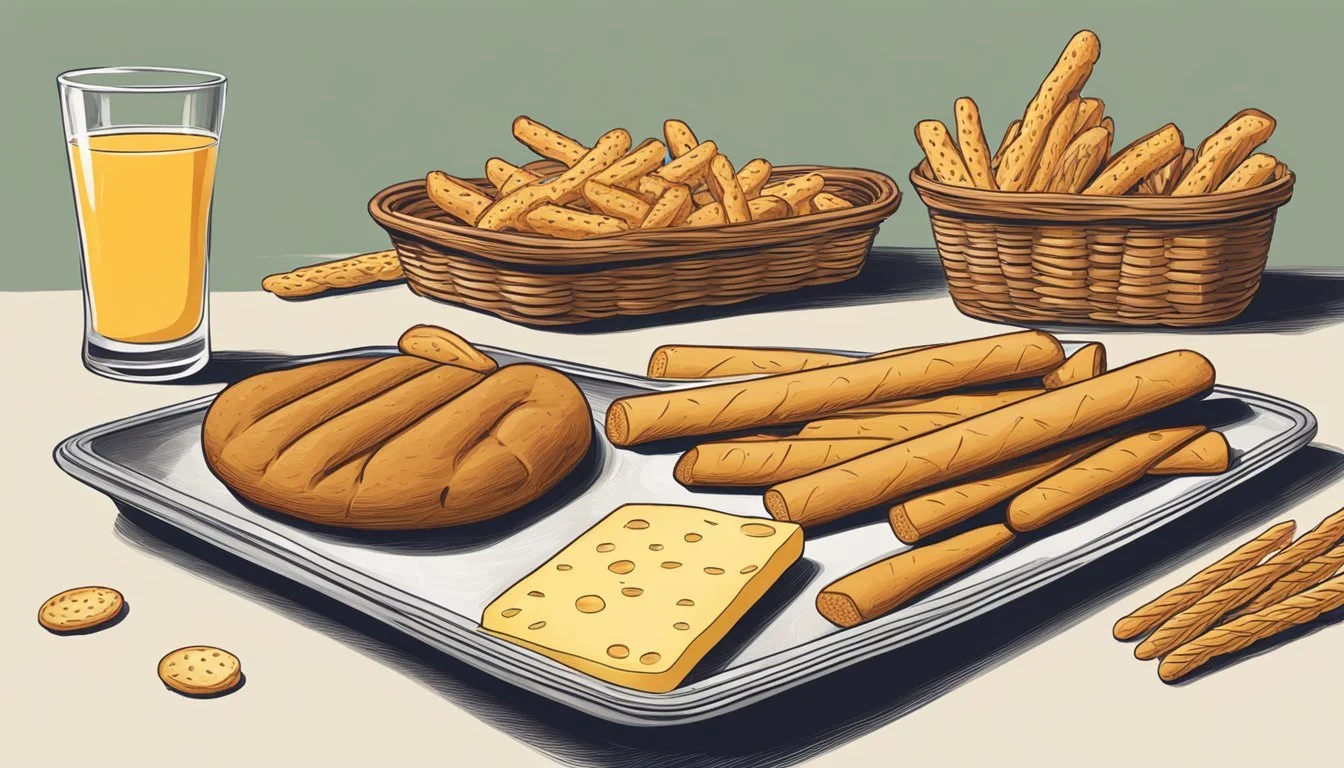
Creative Toppings and Flavors

Adding unique toppings and flavors to breadsticks can elevate them from a simple side dish to a standout treat for any occasion. Experimenting with various cheeses, herbs, spices, and sweet ingredients allows for a delicious customization to suit any palate.
Cheese and Garlic Variations
Parmesan-Crusted Breadsticks: One can coat breadsticks with olive oil and then generously roll them in grated Parmesan cheese to create a crispy, flavorful crust.
Shredded Cheese Toppings: Adding a blend of shredded cheeses, such as mozzarella and cheddar, to breadsticks before baking them helps achieve a gooey texture and rich taste.
Herb and Spice Infusions
Garlic Powder Enhancement: Sprinkling garlic powder on breadsticks gives them a savory kick, which pairs well with Italian dishes.
Italian Seasoning Blend: A mix of dried basil, oregano, rosemary, and thyme constitutes an Italian seasoning blend that imparts a herby fragrance and earthiness to the breadsticks.
Sweet and Dessert Options
Cinnamon Sugar Breadsticks: For a sweet twist, one can brush breadsticks with melted butter and then sprinkle a mixture of cinnamon and sugar over them. This treat pairs perfectly with sweet dips or as a standalone dessert.
Serving and Pairing
When considering breadstick substitutes, the pairing and serving methods are critical for enhancing the dining experience. These alternatives should complement the main meal and offer an array of flavors and textures through well-matched dips and side dishes.
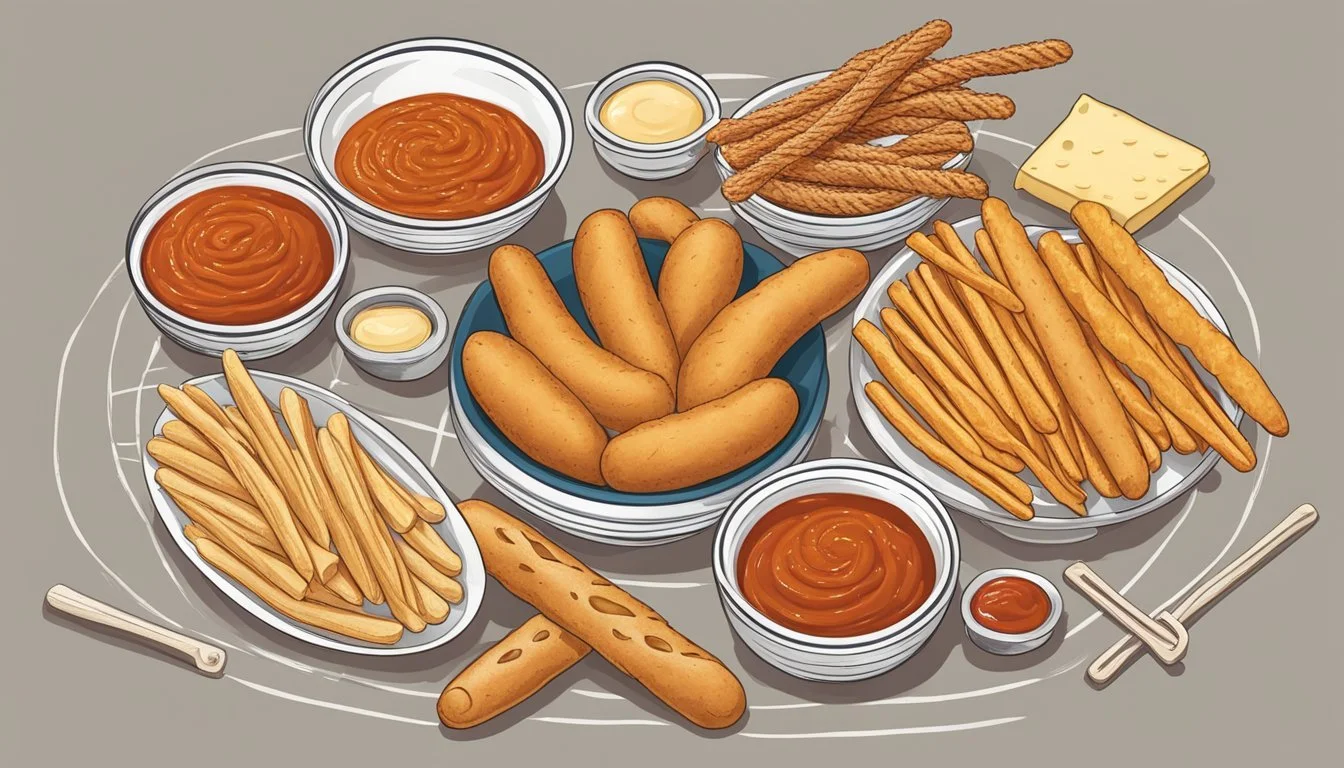
Dipping Sauces
Breadstick substitutes excel when served with a variety of dipping sauces. The classic Marinara Sauce remains a favorite for its tangy and herb-infused flavor profile, which pairs exceptionally well with the neutral taste of most breadstick alternatives. Cheese sauces, ranging from rich Alfredo to zesty Feta Cream, provide a creamy counterbalance that can elevate the substitute sticks to an indulgent appetizer or snack.
Recommended Dipping Sauces:
Marinara Sauce
Garlic Butter
Alfredo Sauce
Feta Cream
Breadsticks as a Side Dish
Alternatives to traditional breadsticks can be a fantastic side dish to pasta, particularly with Spaghetti, embracing the beloved Italian tradition. The textural contrast of a crispy breadstick substitute alongside the soft pasta makes for a satisfying combination. For an extra touch, one can consider sprinkling the alternative sticks with Parmesan cheese before baking to add a burst of umami flavor.
Pairing with Pasta:
Spaghetti
Fettuccine
Penne
Complementary Dishes
The role of breadstick substitutes extends beyond being an appetizer to complementing a variety of main dishes. These substitutes are versatile and can go alongside hearty entrées such as beef bourguignon or a delicate poached salmon fillet. As a side dish, they provide a delightful crunch and act as vehicles for flavors, making them an essential part of any meal setup.
Suggested Complementary Dishes:
Beef Bourguignon
Ratatouille
Poached Salmon
Chicken Alfredo
Storing and Making Ahead

Proper storage techniques ensure that breadsticks maintain their freshness and flavor, while making ahead allows for efficient meal preparation. Here are some effective methods ordered by their respective subsections.
Refrigeration Tips
For short-term storage, breadsticks can be kept in the refrigerator. They should be wrapped in aluminum foil or placed inside a plastic bag to prevent them from drying out. Refrigeration is best for breadsticks that will be consumed within 2 to 3 days.
Freezing and Reheating
Let the breadsticks cool completely before freezing to avoid condensation and ice crystals.
Wrap each breadstick individually in plastic wrap, then place them in a plastic bag or airtight container.
Label the container with the date to keep track of freshness.
Reheating Instructions:
To reheat frozen breadsticks:
Preheat the oven to 350°F (175°C).
Unwrap the breadsticks and arrange them on a baking sheet.
Heat them for about 10-15 minutes or until thoroughly warm and crisp.
Long-Term Preservation
For long-term storage, freezing is the most effective method. Breadsticks can be stored in the freezer for up to 3 months. The key is to ensure that they are sealed properly to prevent freezer burn. When the breadsticks are needed, they can be reheated directly from the freezer without the need for thawing, maintaining their quality and taste.
