
How to Create an Organized Kitchen Kombucha Station
Streamlining Your Fermentation Space
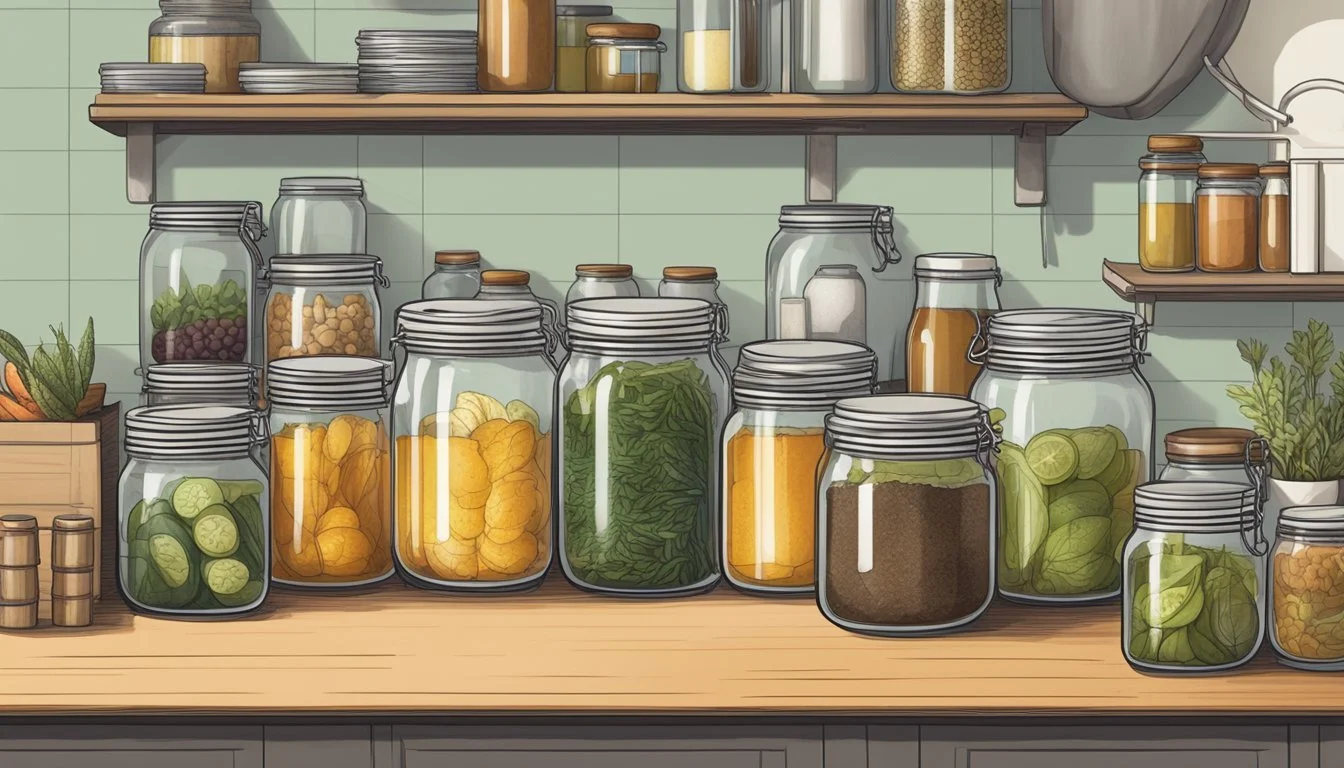
Creating an organized kitchen kombucha station can greatly enhance the home brewing experience, allowing for a more efficient process and an aesthetically pleasing setup. With the increasing popularity of kombucha, dedicated brewers are finding value in setting aside a specific area in the kitchen to cultivate their brews. A well-organized station ensures all the necessary equipment and ingredients are readily accessible and stored properly, making the brewing process smoother and more enjoyable.
An ideal kombucha station is both functional and tidy, designed to facilitate the various stages of kombucha preparation—from initial tea brewing to the fermentation process. Having a designated spot for brewing equipment, bottles, tea, sugar, and SCOBYs (symbiotic culture of bacteria and yeast) not only keeps the kitchen clutter-free but also promotes a safe and sanitary environment for kombucha to thrive. Proper storage solutions and organizational tools can significantly contribute to the maintenance of an orderly kombucha station.
To maintain freshness and optimal brewing conditions, it's important to consider factors such as temperature stability, light exposure, and air flow when setting up a kombucha station. Thoughtfully arranging vessels and ingredients while also employing space-saving techniques ensures the station is not only practical for brewing but also harmonious with the rest of the kitchen's layout and design. As kombucha brewing becomes a regular activity, the benefits of having a streamlined station will become increasingly evident.
Understanding Kombucha

Kombucha is a fermented tea beverage known for its unique taste and potential health benefits. Establishing an organized kitchen kombucha station involves knowledge of kombucha basics, health advantages, the brewing process, tea selection, the role of sugar, and flavor balancing.
Kombucha Fundamentals
Kombucha is created through the fermentation of sweetened tea by a symbiotic culture of bacteria and yeast (SCOBY). This process transforms the tea into a tangy, effervescent drink with various organic acids, enzymes, and probiotics.
Health Benefits of Kombucha
Kombucha may offer health benefits due to its probiotic content, which can support gut health. It is important to note that one should not rely solely on kombucha for health benefits, as it should be part of a balanced diet.
Kombucha Brewing Process
The brewing process involves two main steps: first fermentation and second fermentation. The first involves fermenting sweetened tea with a SCOBY for 7-10 days, while the second allows for carbonation and flavoring, usually lasting 2-5 days.
Types of Tea for Kombucha
Black tea and green tea are commonly used for brewing kombucha, each offering a distinct flavor profile. It's best to use plain black or green tea bags without any added flavors or oils that could disrupt the fermentation.
Role of Sugar in Fermentation
Sugar plays an essential role in fermentation, acting as food for the yeast which produce alcohol and carbon dioxide. The bacteria then convert the alcohol into acids, contributing to the signature tangy taste.
Balancing the Kombucha Flavors
Balancing flavor involves the addition of fruit juice, herbs, or honey during the second fermentation. It's a delicate process to achieve the right equilibrium between sweetness, tartness, effervescence, and depth of flavor.
Setting Up Your Kitchen Kombucha Station
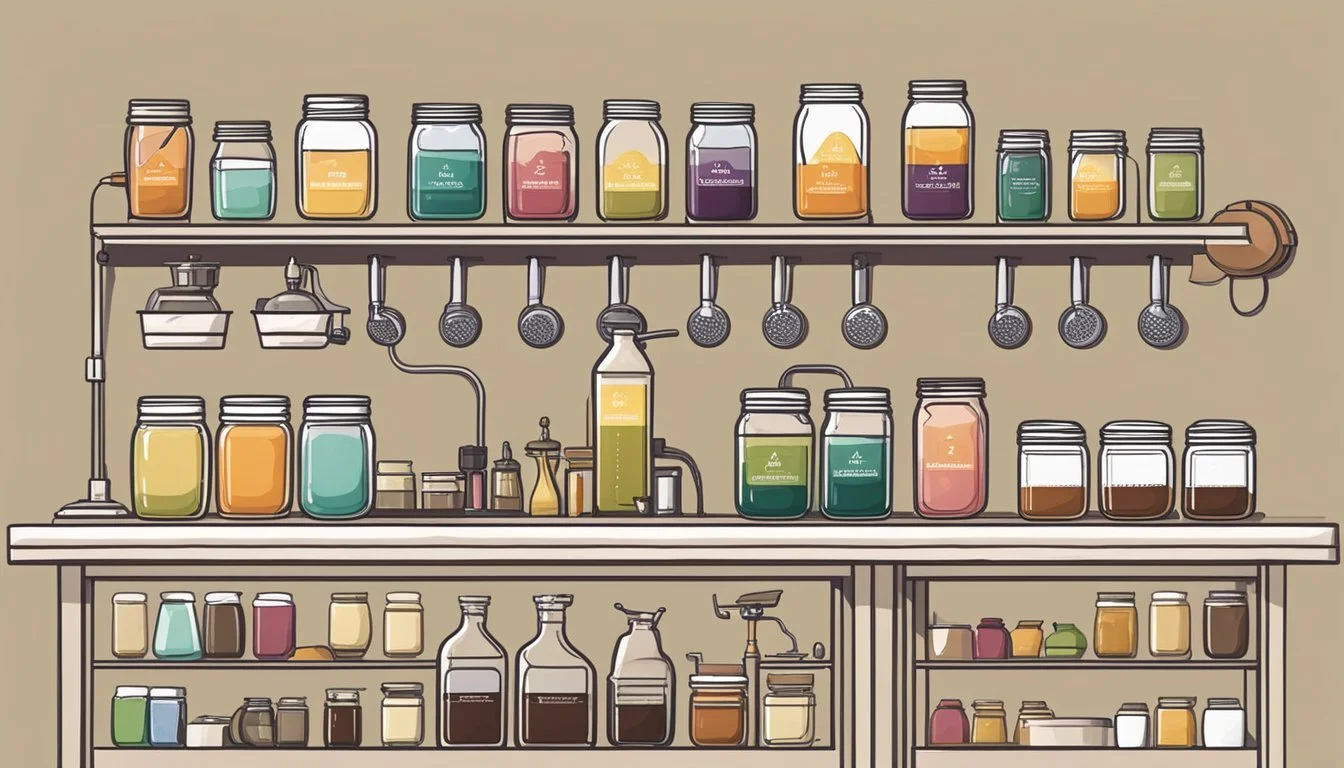
When creating a kitchen kombucha station, one must pay careful attention to the location, organization of ingredients and supplies, selection of proper equipment, and adherence to cleanliness and safety protocols.
Choosing the Right Location
The selected area for a kombucha station should be away from direct sunlight to avoid harming the kombucha cultures. It's crucial to place the station at room temperature, ideally between 70-75 degrees F (21-24 C), to ensure consistency in fermentation. A recommended spot is on a kitchen center island or a table that remains undisturbed and does not experience temperature fluctuations.
Organizing Ingredients and Supplies
For optimal kitchen organization, maintain a clear list of ingredients and supplies. It's advisable to store dry ingredients like sugar and organic tea bags in a dry pantry to protect them from moisture and pests. Bottles for the fermented kombucha should be organized by size and type, preferably in a cabinet near the brewing station for easy access.
Ingredients List: Sugar, Tea, Starter Kombucha, SCOBY
Supplies: Glass Jars, Bottles, Measuring Cups, Funnel
Selecting Equipment and Tools
It's important to choose the right equipment for brewing kombucha. A large glass jar or a vessel with a spigot is ideal for fermentation and ease of bottling. A rubber band and breathable cloth are necessary to cover the opening of the jar, protecting the kombucha from contaminants like insects and mold. Tools such as a funnel and a measuring cup ensure precision when measuring ingredients and transferring liquid.
Maintaining Cleanliness and Safety
Maintaining cleanliness is paramount to prevent contamination and ensure the safety of the kombucha. All equipment should be thoroughly cleaned before use. One should use common sense to routinely check for signs of mold or other contaminants. The use of a tightly woven cloth secured with a rubber band helps to keep the brewing environment enclosed while still allowing airflow.
Kombucha Brewing Equipment
In setting up a kombucha brewing station, one must consider the equipment essential for both the fermentation process and the preservation of the final product. Quality materials and proper tools ensure a successful brewing experience.
Essential Brewing Vessels
For kombucha brewing, vessels play a pivotal role. Glass jars are preferred due to their non-reactive nature and ease of cleaning. A 1-gallon glass jar is a common starting point for beginners, while more experienced brewers may opt for a 2-gallon glass jar with a spigot for easier dispensing.
Glass Containers: At least 1 gallon for batch brew, 2 gallons or larger for continuous brewing.
Continuous Brew Vessels: A vessel with a spigot at the bottom facilitates continuous brew methods.
Filtration and Bottling Supplies
Filtration is crucial in kombucha brewing to remove any solids before bottling. A mesh filter or coffee filter is often used when transferring the kombucha from the fermenting vessel to bottles.
Filters: Fine mesh or coffee filters to strain kombucha.
Bottles: Clean glass bottles with tight seals for carbonation and storage.
Covers and Seals
Covers are vital for keeping contaminants out while allowing the kombucha to breathe during fermentation. Usually, a breathable cloth secured with a rubber band is sufficient to cover the mouth of the brewing jar.
Cloth: A tightly woven cloth to cover jars.
Rubber Bands: To secure the cloth over the jar, providing an airtight seal while still allowing airflow.
Storage Solutions for Large Batches
Storing large batches of kombucha, especially for those utilizing continuous brewing methods, requires vessels that can accommodate volume while maintaining the kombucha's integrity.
Storage Vessels: Large glass containers or dispensers with spigots for ease of use.
Storage: Cool, dark places to store kombucha bottles to maintain flavor and carbonation.
Through the careful selection of vessels, filtration supplies, covers, and storage solutions, brewers can establish an organized and efficient kombucha brewing station.
Creating Your First Batch of Kombucha
Embarking on the journey of brewing homemade kombucha involves setting up a proper station, understanding fermentation phases, and experimenting with flavors for a delightful concoction teeming with beneficial bacteria and yeast.
The Step-by-Step Brewing Guide
Firstly, one should gather all necessary ingredients and equipment for the kombucha brewing process. To begin, a home brewer will need the following:
Starter Tea: A cup of starter tea from a previous batch or store-bought kombucha (unflavored).
SCOBY: Symbiotic Culture Of Bacteria and Yeast, vital for fermentation.
Sugar: Typically, a cup of white sugar to fuel the fermentation process.
Tea: Black, green, or a mix suited for kombucha brewing.
Water: Filtered water is preferred to avoid any contaminants.
Boil 6 cups of water, then remove from heat.
Steep the tea for around 10 minutes, then remove.
Dissolve the sugar into the hot tea.
Cool the sweet tea mixture to room temperature to prevent harming the SCOBY.
Combine the tea mixture with the rest of the water in a large jar.
Add the SCOBY and starter tea to the jar.
First Fermentation Tips
For the first fermentation, ensure the following conditions are met for optimal results:
Temperature: Maintain a warm environment, ideally between 75-85°F.
Time: Allow the kombucha to ferment for 7-14 days.
pH Levels: The optimal range is between 2.5 and 3.5; it may be measured with pH strips.
Cover: Use a tightly woven cloth with a rubber band to cover the jar, keeping contaminants out while letting the brew breathe.
During this phase, the SCOBY consumes the sugar, creating a slightly tart, effervescent beverage. Monitoring and patience during the first fermentation are key to a successful brew.
Flavoring and Second Fermentation
When the first fermentation is complete, it's time to flavor the kombucha and start the second fermentation. This is where one can get creative, adding flavors such as:
Fruit: Chopped or pureed.
Fruit Juice: For a more homogenous flavor.
Spices: Such as ginger or cinnamon for a warm note.
Herbs: Fresh or dried for nuanced tastes.
To proceed with the second fermentation:
Remove the SCOBY and reserve some liquid as starter for the next batch.
Pour the kombucha into clean bottles, leaving an inch of headspace.
Add your selected flavours.
Seal the bottles and let them ferment at room temperature for 3-7 days.
After this period, the kombucha should be effervescent and flavored. The addition of sugars from fruit or juice can increase carbonation during this stage. It’s important to refrigerate the bottles to stop fermentation and prevent over-carbonation, which can lead to explosions.
Flavoring Your Kombucha
Flavoring kombucha during the second fermentation allows for creativity and personalization of the final taste. By incorporating various flavor combinations and fresh ingredients, one can transform plain kombucha into a customized, effervescent beverage.
Exploring Different Flavor Combinations
When it comes to flavoring kombucha, the possibilities are nearly endless. To start, one should consider the balance of flavors, aiming for a harmonious blend of sweet, tart, and spicy notes. Here's a basic guideline for adding flavors during the second fermentation phase:
Fruits: Typically, 1/4 to 1/2 cup of fruit per liter of kombucha works well. Spices: A cinnamon stick, a few cardamom pods, or a 1-inch piece of ginger adds warmth and complexity. Sweeteners: While additional sugar can provide food for the yeast, alternatives like honey or fruit juice can also be used to impart sweetness and additional flavor.
A simple chart to help determine ratios:
Ingredient Amount per 1 liter of kombucha Fruit 1/4 to 1/2 cup Spices 1 cinnamon stick / 1-inch ginger Sweeteners 1/2 to 1 tsp sugar or equivalent
Beginners may start with classic combinations like strawberry-basil or lemon-ginger before experimenting with more unique blends such as cherry-chia or rhubarb-vanilla.
Using Fresh Ingredients for Flavoring
Opting for fresh, organic ingredients in the second fermentation can significantly enhance the flavor profile of kombucha. Fresh fruits and spices add a robust and distinct taste compared to their dried or processed counterparts.
Fruit: Fresh fruit should be washed, chopped, and added directly to the bottle of kombucha for the second fermentation. Frozen fruit is also an effective option when fresh is not available.
Spices: Fresh spices like ginger or cinnamon sticks should be lightly crushed or chopped to release their oils and then added directly to the bottle.
Utilizing fresh ingredients not only contributes to the depth of flavor but also often imparts additional health benefits, as they typically contain higher levels of antioxidants and essential nutrients. It is also important to note that organic fruits and spices are preferred to avoid introducing any unwanted pesticides into the kombucha.
Note: Ensure to strain the kombucha after the second fermentation to remove any fruit pieces or spices before serving. The straining process is necessary to achieve a clear and smooth final product.
Enhancing Kitchen Efficienc
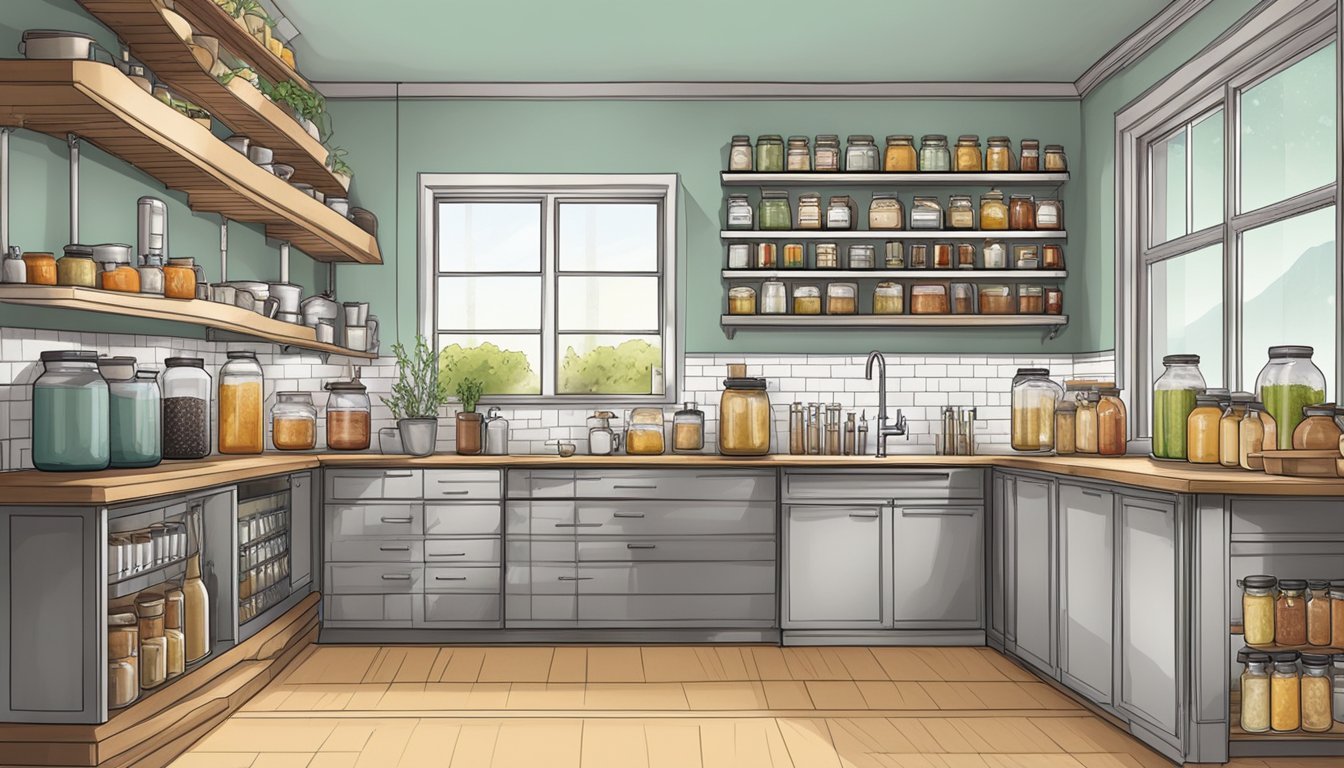
An organized kitchen kombucha station streamlines the brewing process and maintains a clutter-free environment. By focusing on storage solutions and brewing methods, efficiency can be achieved with ease.
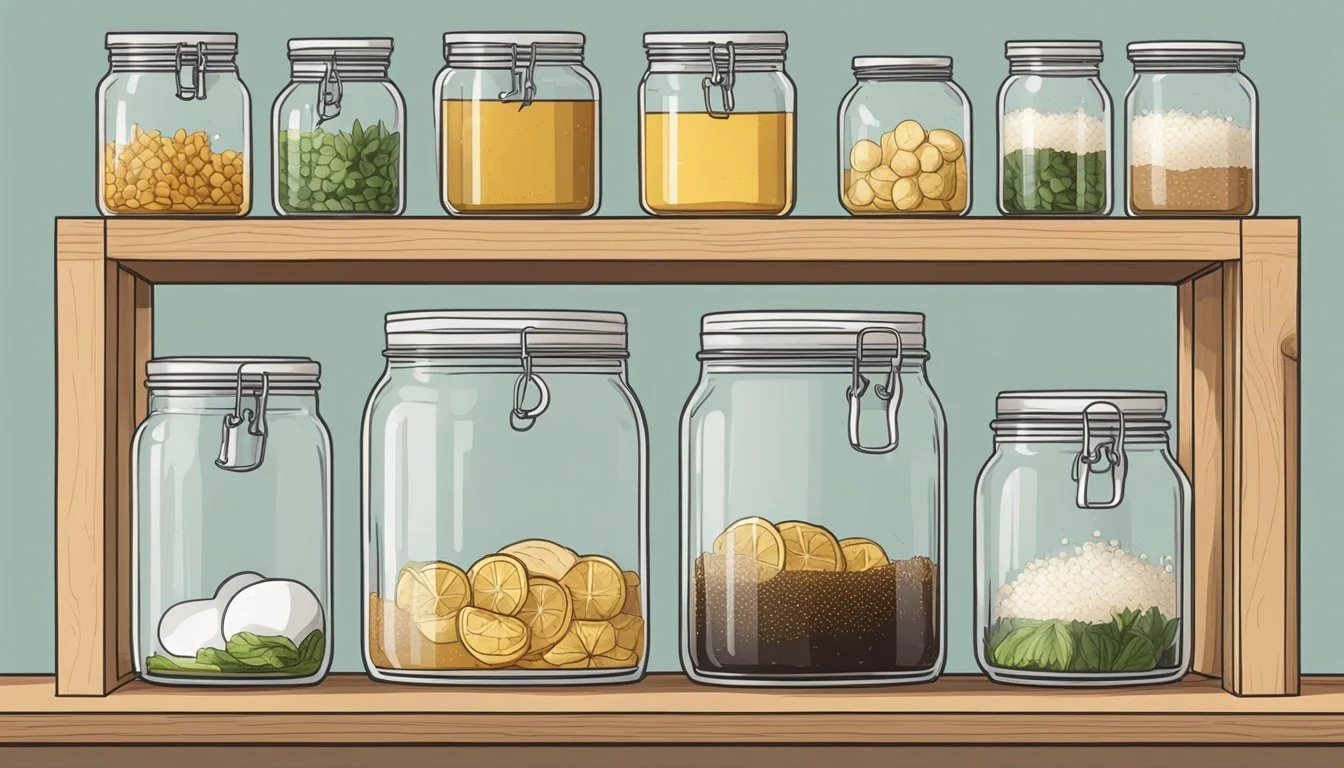
Kombucha Storage and Organisation
Efficient storage and organization are essential for a functional kitchen kombucha station. Bottles should be stored in a dedicated pantry space or shelf where they are easily accessible. For continuous brewing systems, designate an area close to outlets for the brewing vessel, ensuring it's out of the way of daily kitchen activities. Use clear, labeled containers for different types of tea and sugar to simplify the brewing process. If using coffee filters for covering the brew, store them nearby to maintain cleanliness.
Suggested Storage Setup:
Bottles: Stackable shelves or a wine rack.
Tea and Sugar: Airtight containers with labels.
Coffee Filters: Dispenser or drawer near the brewing vessel.
Convenient Kombucha Brewing Tips
To maintain an efficient brewing process, one might consider batch brewing or continuous brewing methods. Batch brewing allows for multiple bottles to be prepared at once, great for those who consume kombucha regularly. Continuous brewing offers a perpetual supply with less cleaning and maintenance. Equip the station with an electric kettle for quick heating of water, which speeds up the brewing process. Organize all brewing components, such as bottles, tea, sugar, and SCOBYs, within arm's reach of the brewing area.
Brewing Efficiency Checklist:
Electric kettle readily accessible.
Brewing schedule for batch or continuous systems.
Tools (e.g., funnels, measuring cups) in proximity to the brew area.
By implementing these storage and brewing enhancements, one can enjoy a more efficient and manageable kombucha station in their kitchen.
Troubleshooting Common Kombucha Issues
Creating a well-organized kombucha brewing station can lead to success, but even experienced brewers encounter issues. These troubleshooting tactics will help maintain a healthy SCOBY and improve the quality of kombucha.
Dealing with Mold and Contamination
When mold appears on the SCOBY or in the kombucha brew, it's an indicator of contamination. The presence of mold—identified by its fuzzy, greenish appearance—is often due to inadequate cleanliness or environmental factors such as improper storage temperature. It is crucial to discard any SCOBY and brew that show signs of mold, as it cannot be reversed. Prevent mold by:
Ensuring all equipment is thoroughly cleaned and sterilized before use.
Maintaining a kombucha brewing environment with temperatures between 68-85°F (20-29°C) to discourage mold growth.
Covering the brew with a tightly woven cloth that allows air flow but keeps insects and contaminants out.
Managing Yeast and Bacteria Balance
A harmonious balance between yeast and bacteria is essential for a healthy kombucha culture. An imbalance can lead to over-acidification or a staleness in flavor. Signs of yeast overabundance include:
Excessive sediment at the bottom of the brewing vessel
Murky brew with floating particles
To correct this, one might:
Reduce the amount of starter liquid containing excess yeast.
Increase the room temperature slightly if bacterial activity is too low, as bacteria thrive in warmer conditions.
Stir the brew before bottling to evenly distribute the yeast.
Adjusting Kombucha Taste and Fizz
The flavor and carbonation of kombucha are affected by fermentation time and sugar balance. If the kombucha is too sweet, extend the fermentation period to allow more sugar to be converted into acids. Conversely, if kombucha is too vinegary, shorten the fermentation time or dilute it with sweet tea. For a fizzy kombucha:
Ensure the kombucha is fermented long enough in the first stage so that yeast can produce carbonation.
Use a second fermentation process by bottling the kombucha with a little added sugar and sealing it to trap the carbon dioxide.
Verify the seal of the brewing vessel is airtight during the second fermentation to maximize carbonation.
Advanced Kombucha Brewing Techniques
For Kombucha enthusiasts looking to refine their craft, advanced brewing techniques offer a path to superior flavor and more efficient production. Understanding the intricacies of continuous and batch brewing methods are pivotal in achieving this mastery.
Mastering Continuous Brewing
Continuous brewing allows the brewer to maintain a consistent supply of Kombucha. In this system, one draws off a portion of mature Kombucha, typically 25% to 50%, and replenishes the brewing vessel with the same amount of fresh, sweetened tea. The benefits of continuous brewing include a balanced pH, a steady supply of Kombucha, and a reduced risk of mold because the SCOBY remains in an active and acidic environment.
Continuous Brewing Steps:
Prepare Sweet Tea: Mix hot water with sugar and steep tea bags for 15 to 30 minutes.
Assembly: Add your SCOBY and starter Kombucha to the vessel, then pour in the cooled sweet tea.
Fermentation: Allow the Kombucha to ferment for 7 to 10 days, checking the pH and flavor regularly.
Harvest: Draw off 25% of the Kombucha for consumption.
Refill: Add an equivalent amount of room temperature sweet tea to replace the drawn-off volume.
Perfecting Batch Brew Methods
Batch brewing takes a more traditional, step-by-step approach. The brewer creates individual batches separately, allowing each to ferment before beginning another. It often provides more control over the flavor profile and a cleaner, more individualized brewing cycle.
Batch Brew Steps:
Sweet Tea Preparation: Dissolve sugar into boiling water, add tea bags, and allow steeping until cool.
Fermentation: Pour the cooled sweet tea into a sterilized fermentation vessel and add the SCOBY with enough starter liquid to ensure a pH below 4.5.
Incubation: Cover with a breathable cloth and allow to ferment in a warm, dark place for approximately 7 to 21 days depending on desired tartness.
Bottling: Once the desired flavor is achieved, the brewer bottles the Kombucha, optionally adding flavorings such as fruit or herbal infusions before sealing for carbonation.
Both techniques require attentive care to sanitation, temperature control, and timing to yield quality results. A brewer should maintain detailed records of their recipes and procedures to fine-tune their techniques over time.
Conclusion
Setting up a dedicated kombucha station in the kitchen can greatly optimize the brewing and storage process of this beloved beverage. A well-organized station ensures that the tools and ingredients for making homemade kombucha are readily accessible, allowing one to maintain a clean and efficient brewing area. Here are key takeaways to maintain an orderly kombucha station:
Placement: Choose a spot away from direct sunlight and temperature fluctuation, such as a kitchen island or a stable table, to ensure the kombucha ferments properly.
Equipment: Have dedicated tools such as a large brewing pot, a pH tester, and a variety of tea infusers. A gallon-sized glass jar serves as the main vessel for fermentation.
Ingredients: Keep ingredients like tea, sugar, SCOBY, and starter tea together, perhaps sorted on a tray or in containers within close reach.
Remember that cleanliness is paramount in kombucha brewing; always sanitize equipment before use to prevent contamination. By assigning specific zones for each step of the kombucha brewing process, enthusiasts can streamline their workflow and enjoy the creation of this healthful drink with ease. The organization not only simplifies the process but also invites consistency and quality in every batch of homemade kombucha.
