
How to Create an Organized Kitchen Kefir Making Station
Essential Tips for Fermentation Fans

Creating an organized kitchen kefir making station streamlines the process of fermenting kefir at home. Kefir, a fermented milk drink rich in probiotics, is made by introducing kefir grains to milk and allowing the mixture to ferment. An organized approach ensures that all necessary equipment and ingredients are readily accessible and helps maintain cleanliness, an important factor in the fermentation process. A designated area in the kitchen with proper storage for tools and containers aids in the routine of preparing kefir consistently.
In setting up the kefir station, attention to the details of fermentation is crucial. Kefir grains require a balanced environment to thrive, including the right temperature and air flow. The organization of the station should therefore accommodate these needs with a spot that maintains a cozy room temperature and allows the kefir to ferment without disturbance. Containers should be arranged to permit easy access for the regular cycling of fresh milk and for the straining of completed kefir, ensuring a fresh supply is always in the works.
For those who incorporate kefir into their diets regularly, an efficient kitchen station simplifies the procedure, making it a less daunting task. By having a system in place, individuals can focus on the satisfaction and benefits of home fermentation, enjoying fresh kefir without the inconvenience of a disorganized process. Keeping the operation systematic not only promotes better fermentation outcomes but also encourages regular use and experimentation with kefir in various recipes.
Understanding Kefir and Its Benefits
In exploring how to create an organized kitchen for kefir making, one must first grasp what kefir is and the array of health benefits it offers. This fermentation powerhouse is not only a culinary asset but also a boon for well-being.
The Basics of Kefir
Kefir is a fermented milk beverage that originates from the Caucasus region. At its core, it involves a fermentation process where kefir grains—a symbiotic culture of bacteria and yeasts—are added to milk, transforming it into a probiotic-rich drink. These grains look like small, gelatinous clumps and are responsible for initiating the fermentation that characterizes kefir.
There are two main types of kefir:
Milk Kefir: Traditionally made with cow, goat, or sheep milk.
Water Kefir: Uses sugar water, coconut water, or fruit juice as a base instead of milk.
The fermentation process takes about 18 to 24 hours at room temperature. Following fermentation, the kefir grains are strained from the liquid, which can now be consumed, and the grains are reused to begin a new batch.
Health Benefits of Kefir
Kefir is celebrated for its probiotic content; these are beneficial bacteria that promote a healthy digestion system. Regular consumption can help to:
Enhance gut health by contributing to a balanced microbiome.
Support the immune system due to its antimicrobial and anti-inflammatory properties.
Improve digestion and combat gastrointestinal issues like bloating and constipation.
Furthermore, kefir is rich in vitamins and minerals, including calcium, protein, and vitamin B12, contributing to overall nutrition and well-being. It's also relatively low in lactose, as the fermentation process breaks down much of the lactose found in milk, making it more digestible for those with lactose intolerance.
Essential Ingredients and Tools
To successfully make kefir at home, one needs the right ingredients and appropriate tools. An organized kefir-making station streamlines the process and ensures consistency in the final product.
Choosing the Right Ingredients
Milk: Full-fat milk is preferred as it provides ample food for the kefir grains and results in a rich and creamy kefir. One should start with a cup of milk for every teaspoon of kefir grains utilized.
Kefir Grains: These are the live cultures necessary for fermenting the milk. They are a symbiotic culture of bacteria and yeasts which ferment the milk into kefir and can be reused for subsequent batches.
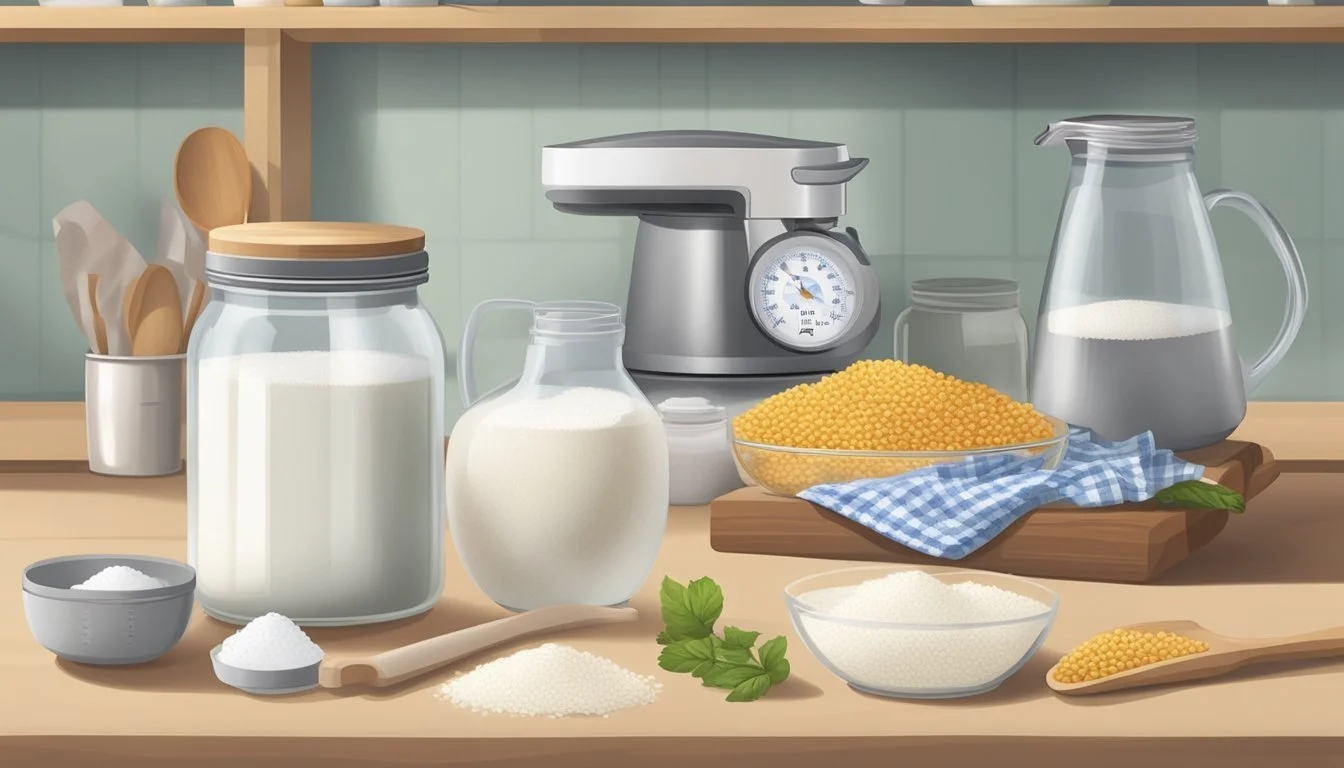
Kefir-Making Equipment
Glass Jar: A clean jar is essential for the fermentation process, as it does not react with the kefir cultures.
Non-Metal Spoon: It's important to use non-metal utensils to avoid any reaction with kefir grains.
Bowls: Required to place beneath the strainer to catch the kefir after straining.
Measuring Cups and Spoons: Accurate measurement ensures the correct ratio of ingredients.
Strainer: A fine mesh strainer is needed to separate the kefir grains from the milk after fermentation.
The equipment should always be well cleaned to prevent any unintended contamination during the fermentation process.
Setting Up the Kitchen Station
The proper setup of a kitchen kefir making station ensures a safe, efficient, and organized space. It involves placing equipment and ingredients in a way that streamlines the kefir-making process.
Selecting the Location
An ideal spot for a kefir making station is a stable countertop or kitchen island that's away from direct sunlight and at a moderate temperature, which is crucial for the fermentation process. The location should have access to a clean water source and be positioned away from the main cooking area to prevent contamination from food splatters and high heat, which could disrupt the culturing process of kefir.
Optimizing Space for Efficiency
Maximizing counter space is essential for creating an effective kefir making station. A workflow from left to right (or vice versa, depending on the user's dominant hand) should be established to organize tools and ingredients systematically. For example:
Starter Culture & Milk: Towards the beginning of the workflow, place your kefir grains and milk container.
Mixing Area: Assign a space for mixing ingredients, ideally with a non-slip mat underneath to secure bowls or jars.
Fermentation Zone: Assign an area where the kefir can sit undisturbed during the fermentation phase.
Straining Tools: Keep strainers and spoons close to where the fermentation jars will be located for ease of separating the grains from the finished kefir.
Refrigeration Space: Ensure the fridge is easily accessible to store the fermented kefir promptly.
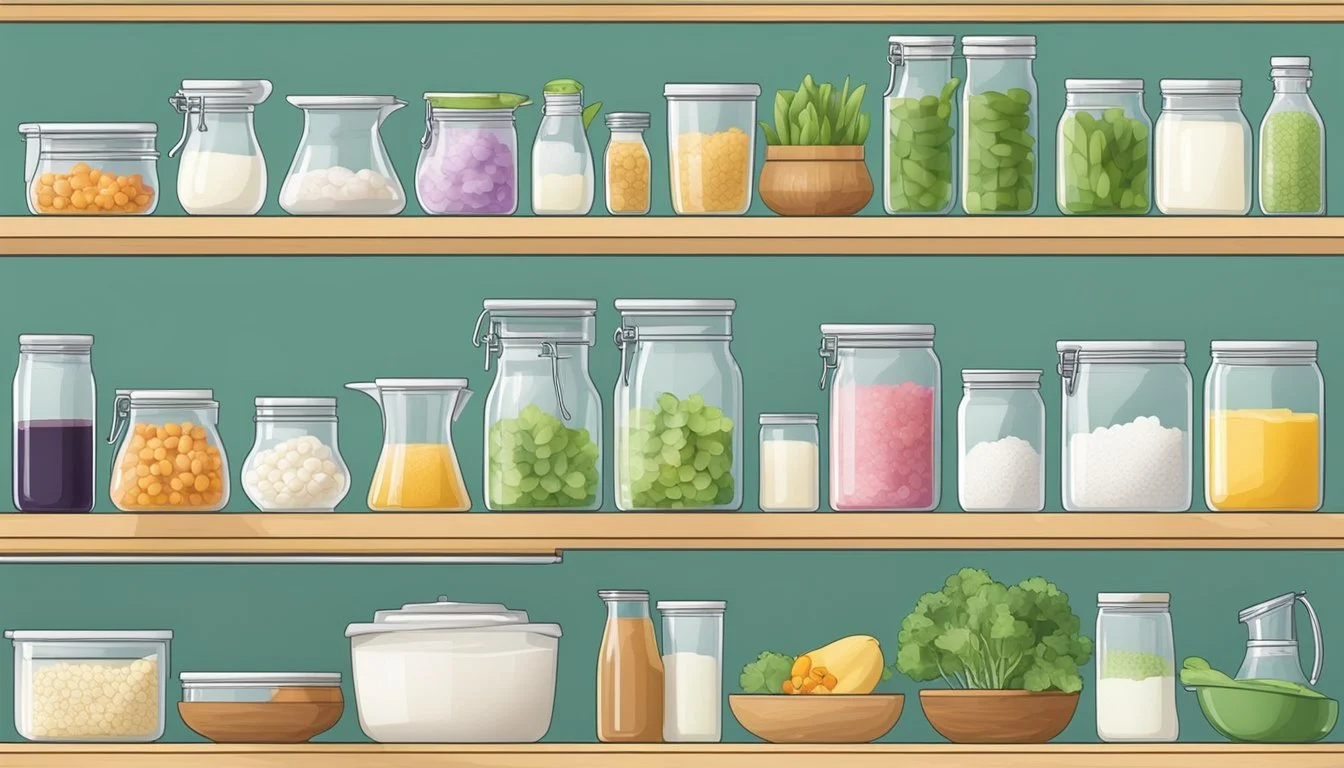
Storage Solutions
Efficient storage solutions keep a kefir making station tidy and functional. Use:
Clear, Airtight Containers: Store kefir grains and prepared kefir in the fridge in clear, airtight containers. This helps in protecting the kefir from unwanted odors and contaminants.
Shelving: Install shelves near the station to hold jars, bottles, and other kefir-making equipment within arm's reach.
Drawer Organizers: Utilize drawer dividers for separating and organizing spoons, measuring cups, and other small tools.
Labelling Systems: Clearly label all ingredients and tools. This not only helps in finding items quickly but also ensures that non-kefir related items are not mistakenly used.
By considering these key aspects when setting up a kitchen kefir making station, one can ensure a streamlined and safe kefir preparation environment.
Kefir Making Process

Creating kefir involves a simple fermentation process, using live kefir grains to culture milk. This section provides an overview of how to successfully prepare the milk, ferment the kefir, and handle and store the final product.
Preparing the Milk or Substitute
Prior to fermentation, one should select a base for the kefir. One can use various types of milk—animal milk, such as cow's or goat's milk, or non-dairy substitutes like coconut milk or soy milk. It is essential to ensure the milk is at room temperature before adding the kefir grains to ensure proper fermentation.
Animal Milk: Should be fresh and ideally organic.
Coconut Milk: Must be free of additives for the best results.
Soy Milk: A viable option, though results can vary due to different protein and sugar content.
Fermenting the Kefir
The kefir grains, which are a symbiotic culture of bacteria and yeasts, are now added to the prepared milk. The grains should be proportioned in relation to the volume of milk, typically using one tablespoon of grains per cup of milk.
Add kefir grains to the milk or milk substitute.
Cover the container loosely with a lid or breathable material such as a coffee filter or cloth to protect it from contaminants while allowing air to circulate.
Let the mixture ferment at room temperature, away from direct sunlight. The typical fermentation time ranges between 18 to 30 hours, depending on the desired thickness and tanginess.
Handling and Storing Kefir
Once the kefir has fermented, the mixture will thicken and sometimes separate into curds and whey. This is a normal part of the process, indicating that the kefir is ready for the next stage.
Strain the mixture gently to remove the kefir grains, which can be reused for subsequent batches.
Store the kefir in the refrigerator, where it will continue to ferment but at a much slower pace.
Freshness: Homemade kefir can be consumed immediately or stored for up to a week, maintaining its characteristic probiotic qualities similar to yogurt.
Remember, the kefir grains are living organisms that require regular feeding with new milk to remain active.
Cleaning and Maintenance

An organized kitchen kefir station hinges on effective cleaning and maintenance. It's essential to adopt daily routines and understand how to care for kefir grains properly, ensuring a hygienic environment and the longevity of your cultures.
Daily Cleaning Routines
To maintain an organized kefir-making station, daily cleaning is imperative. Individuals should:
Wipe Down Surfaces: Each session should end with wiping surfaces using a wet towel to remove spills and crumbs.
Utensil Sanitization: Rinse spoons, jars, and any other utensils with hot soapy water and dry thoroughly.
Container Checks: Regularly inspect and clean the storage containers to prevent buildup and contamination.
Maintaining Kefir Grains
Proper maintenance of kefir grains ensures their health and productivity. They should be cared for as follows:
Storage: Store kefir grains in clean, airtight jars. If not in use, keep them in the fridge with fresh milk for up to a week.
Hydration: Change the milk every 24 hours to keep the grains active and prevent them from drying out.
Inspection: The grains should appear rubbery and cauliflower-like. If they deviate from this, assess the environment and milk quality for issues.
Resting Grains: To rest the grains, strain and rinse them with cool water. They can then be dried and stored in a cool, dry place for future use.
Troubleshooting and FAQs

In kefir making, occasional hiccups are normal, but with the right tips, they can be easily managed. This section addresses common problems and provides quick, reliable solutions alongside frequently asked questions for a seamless kefir-making experience.
Common Kefir-Making Issues
Grains Not Fermenting Milk: If kefir grains are not fermenting milk, try reducing the amount of milk or increasing the fermentation time. Also, ensure the grains are at room temperature and not in a location too cool for proper fermentation.
Thick or Slimy Kefir: For overly thick kefir, decrease fermentation time or increase milk quantity. If the kefir is slimy, this might indicate an overabundance of yeasts.
Odd Smells: A yeasty or off smell can occur if there's an imbalance in the kefir grains' microbial ecosystem. This may be resolved by adjusting milk quantity or fermentation conditions, or by allowing the grains to rest in fresh milk for a few cycles.
Kefir Making FAQs
What is a SCOBY?
A SCOBY is a symbiotic culture of bacteria and yeast. In the case of milk kefir, the term refers to the kefir grains used to ferment the milk.How much time does milk kefir need to ferment?
Typically, milk kefir requires 18-30 hours to properly ferment, but this can vary depending on room temperature and milk quantity.Can I use any type of milk?
Yes, most types of milk can be used, but whole milk is commonly recommended for its nutrient content which supports the growth of kefir grains.Why are my kefir grains not multiplying?
Grain growth may be affected by insufficient nutrients from the milk or an imbalance in fermenting conditions. Ensuring proper milk-to-grain ratio and stable temperature may help.
Enhancing Your Kefir Experience

Creating a kefir station in your kitchen can be much more than simply fermenting milk—it's an opportunity to explore new culinary landscapes. The process invites a world of innovation and companionship, whether one is experimenting with recipes or enjoying the finished product with friends.
Innovative Recipes and Variations
A well-organized kefir station allows one to easily craft innovative recipes. Here's how to infuse excitement into kefir-making:
Introduce Spices: Adding a touch of cinnamon or other spices can transform the flavor profile of the kefir.
Kombucha Blend: For those who also brew kombucha, try mixing kombucha with kefir in a 1:4 ratio for a bubbly, tangy variation.
Baking Buddy: Kefir can be a moistening agent in baking. Substitute it for buttermilk in recipes to add a tangy twist.
Pairing with Other Foods
Kefir can enhance a meal or serve as a delightful snack. Consider these pairings:
Breakfast Boost: Enjoy kefir with granola or oatmeal. The creamy texture complements the crunch.
Savory Soups: A dollop of kefir can balance the spices in soups and stews.
Social Snacking: When friends gather, serve kefir dips blended with herbs. It's a healthy alternative to traditional party dips.
Design Tips for an Aesthetic Kefir Station

An organized and visually appealing kefir station enhances the kitchen’s aesthetic while ensuring a smooth kefir-making process. Attention to materials and layout can turn a functional space into a centerpiece of kitchen design.
Incorporating Kitchen Design Elements
The choice of materials for a kefir station should complement the kitchen's overall design. Marble or quartz countertops provide a durable and easy-to-clean surface that elevates the area. Opting for an island with a built-in kefir station can create a central focus while maintaining functionality. A matching counter height ensures ease of use during the kefir-making process. Additionally, one might consider beadboard accents to add a touch of classic design if it aligns with the existing style.
Creating a Visually Pleasing Space
For a kefir station, open shelves can display the jars and bottles attractively while keeping them accessible. The following list outlines how to use kitchen organization effectively:
Jars and Bottles: stack or line them up in order of use,
Kefir Grains: store them in clear containers to monitor health,
Measuring Tools: hang on hooks for easy reach,
Using clear glass containers not only keeps ingredients visible but also contributes to the clean look of the station. Lighting should be sufficient to ensure safety in handling the kefir but also to spotlight the station as a feature in the kitchen.
