
How Long Does Pre-Made Croissant Dough Last?
Shelf Life and Storage Tips

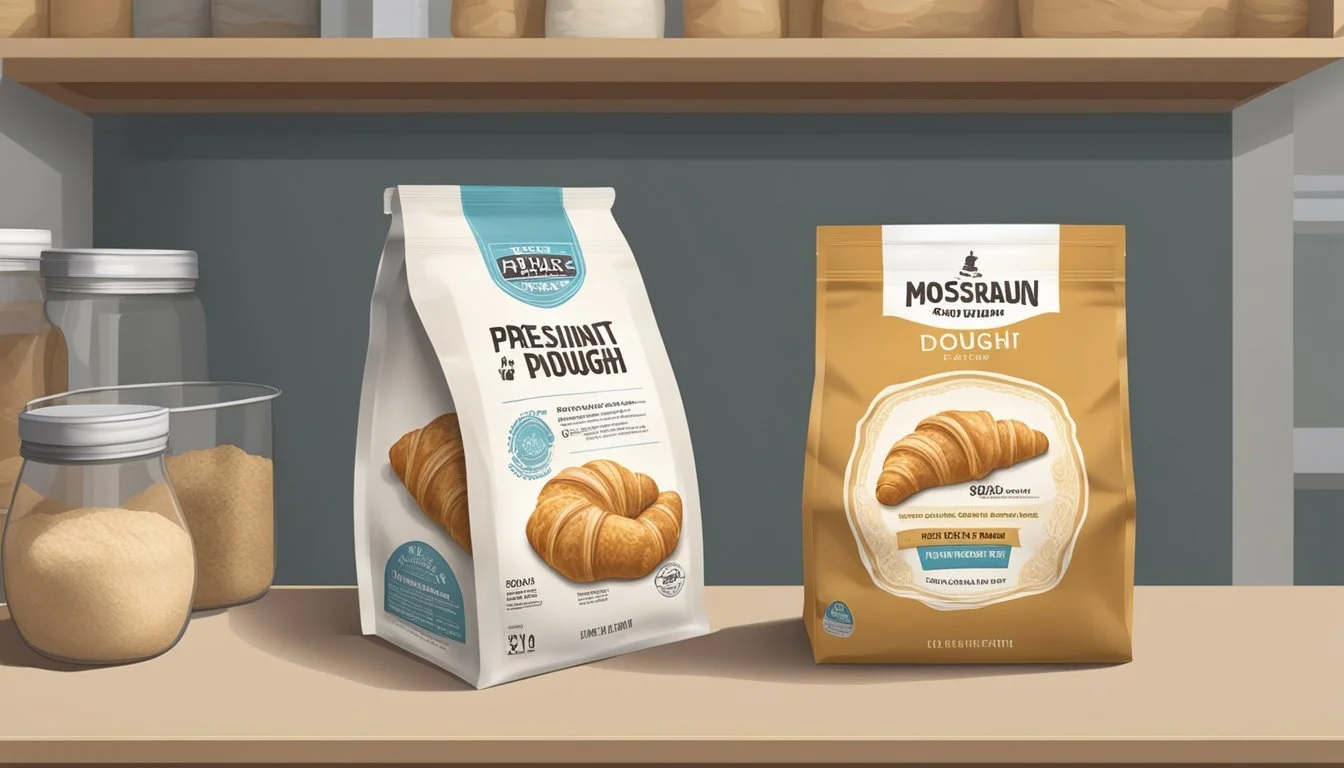
Croissant dough, a delicate and buttery pastry foundation, is celebrated for its flaky, layered texture. A staple in French baking, the dough is comprised of flour, water, yeast, sugar, salt, and copious amounts of butter. The process of making croissant dough from scratch is an art, involving the meticulous layering of dough and butter, followed by a series of folds to create its distinct layers. However, not everyone has the time to embark on this culinary endeavor, leading to the popularity of pre-made croissant dough.
The shelf life of pre-made croissant dough is a matter of proper storage and understanding the signs of spoilage. If stored correctly in the refrigerator, croissant dough can last until the expiration date provided by the manufacturer. In most cases, this is several days to a week, keeping the dough chilled to maintain its leavening power and prevent the butter from becoming rancid. For individuals who plan ahead or purchase in bulk, freezing can extend this shelf life significantly, allowing for future use without compromising the dough's quality.
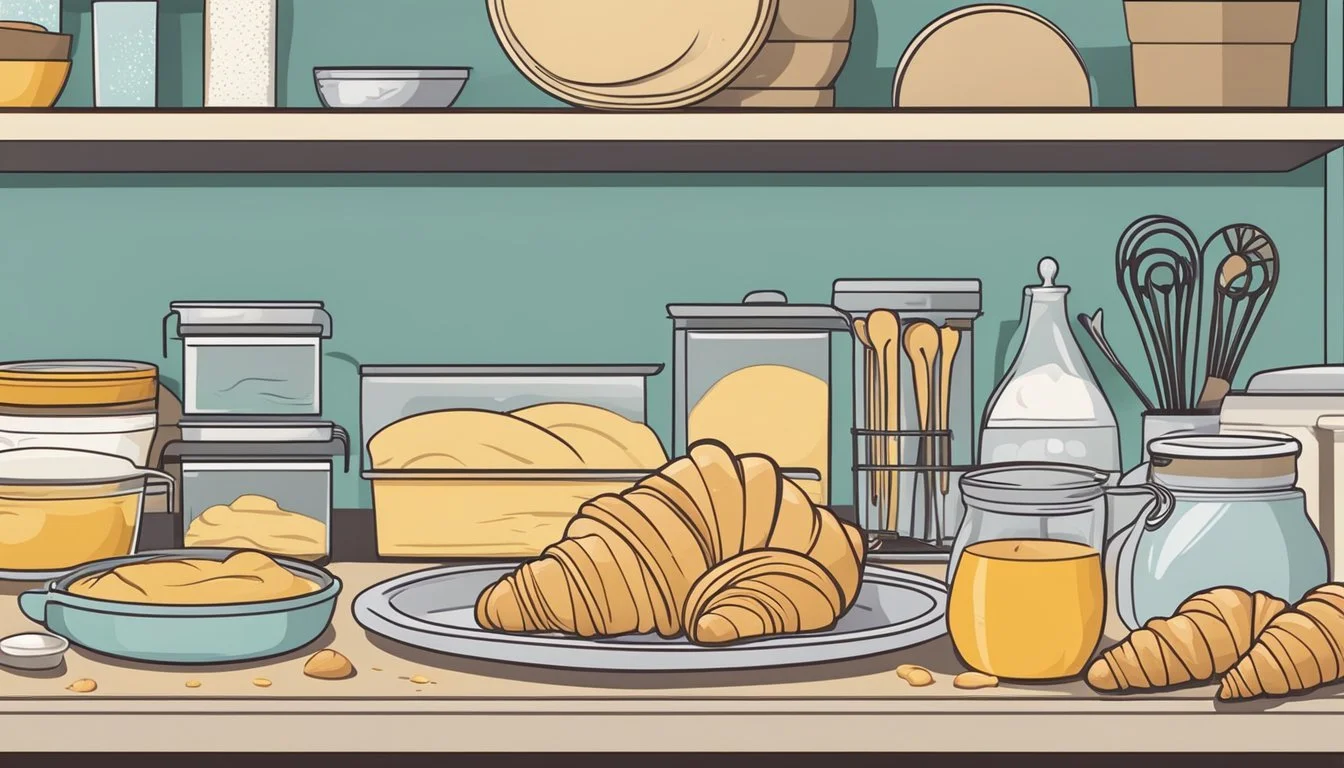
When using pre-made croissant dough, following the recipe's instructions is crucial for achieving the ideal texture and flavor. Bakers must take into account the thawing process, as the dough must return to a workable, yet still cold, state to preserve the integrity of the layers during baking. Observing the dough's color, smell, and texture provides insight into its freshness and suitability for baking, ensuring the resulting croissants offer the light, airy experience expected from this classic pastry.
Fundamentals of Croissant Dough

The quality and longevity of croissant dough hinge on understanding its core components and the intricate process of achieving layers through lamination.
Ingredients and Their Roles
Butter: Integral for its fat content, butter imparts flavor, and facilitates layering in the dough.
Flour: Typically a high-protein flour, it gives structure and houses gluten, which is essential for the dough's elasticity.
Sugar: It not only sweetens the dough but also acts as food for the yeast.
Salt: Enhances flavor and regulates yeast activity to prevent over-fermentation.
Yeast: Active or instant yeast triggers fermentation, causing the dough to rise by producing gas.
Water/Milk: Liquids are necessary for hydrating the flour, dissolving the sugar and salt, and facilitating gluten development.
The Science Behind Laminated Dough
Laminated dough, which croissant dough is classified under, consists of thin layers of dough separated by butter. The process involves:
Encasing butter: A butter block is enveloped in the dough, sealing it entirely.
Rolling out: The dough is rolled into a rectangle, keeping an even thickness.
Folding: The dough is folded into thirds, like a letter, creating layers.
Key Reactions:
During baking, the water in the butter turns to steam, puffing up the dough and creating distinct, flaky layers.
Gluten strands, developed by mixing and the action of yeast on the flour, provide the necessary stretch and hold to capture the gas bubbles.
By respecting the roles of each ingredient and the precise technique of lamination, bakers produce the signature texture and flavor of croissant dough.
Preparing the Dough

The success of homemade croissants hinges on precision in the dough's preparation, where meticulous kneading, layering, and folding techniques are essential to achieve light, flaky pastries.
Mixing and Kneading Techniques
The first step in making croissant dough involves combining flour, sugar, yeast, and salt. Using a mixer or by hand, one gradually adds milk to the dry ingredients. The dough must then be kneaded until it reaches a smooth and elastic consistency, which is crucial for gluten development.
Start: Combine dry ingredients with milk gradually.
Kneading: Aim for smooth, elastic dough for about 5 minutes.
The Lamination Process
Lamination is what gives the croissant its characteristic layers. This is achieved by enveloping a cold butter block in the kneaded dough. The dough is then repeatedly folded and rolled to create many thin layers of dough and butter.
Butter Block: Encase in dough before beginning lamination.
Layers: Fold and roll the dough to create numerous thin layers.
Rolling and Folding Procedures
After the butter is encased in the dough, it is rolled out into a rectangle and then folded in a specific pattern. This process, referred to as 'turns', is typically repeated three to four times with resting periods in between each to keep the butter cold and maintain distinct layers.
First Turn: Roll dough into a rectangle, fold in thirds.
Subsequent Turns: Rotate dough, roll out, and fold again; rest dough between each turn.
By adhering to these techniques, the dough for croissants will be well-structured and ready for shaping and proofing, ultimately leading to a delicious final product.
Optimal Storage Conditions
Proper storage conditions directly influence the shelf life and quality of pre-made croissant dough. The reader should understand that temperature management and appropriate wrapping material are crucial for maintaining the dough's usability.
Refrigeration Guidelines
To prolong the shelf life of pre-made croissant dough when it is not going to be used immediately, refrigeration is recommended. One should store it at a steady temperature that hovers around 3-5°C (37-41°F). It is important to keep the dough wrapped in plastic wrap or placed in an airtight container to prevent drying out and absorbing odors from the refrigerator.
Refrigerator temperature: 3-5°C (37-41°F)
Wrap: Plastic wrap or airtight container
Storage duration: Up to 3-5 days
Freezing Tips
For extended storage, freezing pre-made croissant dough is effective. Before freezing, one must wrap the dough thoroughly in plastic wrap and then in parchment paper to prevent freezer burn. The dough should be placed in a chilled state to ensure it freezes evenly. When planning to use the frozen dough, transfer it to the refrigerator overnight or allow it to rest at room temperature for 1-2 hours before use, ensuring the butter within becomes pliable.
Initial wrap: Plastic wrap
Additional layer: Parchment paper
Freezer temperature: -18°C (0°F) or lower
Thawing: In the refrigerator or at room temperature
Extending Dough Shelf Life
When working with pre-made croissant dough, extending its shelf life depends on proper storage and handling techniques. One should prioritize maintaining the integrity of chilled butter and adhere to precise baking times.
Best Practices
Temperature Considerations: For optimal freshness, pre-made croissant dough should be stored in the refrigerator, where it typically lasts for 3-5 days. The dough requires a careful balance of temperature—too warm and the butter will leak out, too cold and it loses its pliability.
Chilled Butter: Keeping the butter in the dough cold is crucial. Before baking, allow the refrigerated dough to sit at room temperature for 1-2 hours. This step ensures that the butter is pliable but still cool, which is necessary for the layers in the croissant to form properly during baking.
Precision in Baking: Follow recommended baking times closely. Over or underbaking can adversely affect both the texture and shelf life of the croissants.
Avoiding Common Mistakes
Avoid Freezer Burn: If freezing the dough is necessary, wrap it tightly in cling film and then place it in an airtight container or freezer bag to prevent freezer burn. Use frozen dough within 2 months to prevent texture changes upon thawing.
Do Not Overproof: Overproofing the dough before baking may lead to a poor rise and can negatively impact the quality of the croissants.
Consistent Baking Environment: Ensure that baking is done in an oven that has been properly preheated to the right temperature, as an inconsistent baking environment can result in a shorter shelf life due to improper dough development.
Baking Perfect Croissants

Achieving a deliciously flaky and buttery croissant hinges on the precision of baking techniques, specifically temperature control and timing.
Achieving the Right Temperature
Baking croissants requires an oven preheated between 375°F (190°C) and 400°F (200°C). Here's why:
Melting Point: The range ensures the butter layers within the dough melt properly, leading to the creation of air pockets that contribute to a croissant's signature flakiness.
Consistency: Consistently maintaining this temperature is crucial for even browning and preventing the butter from leaching out before it does its job.
Preheat the oven thoroughly before placing the croissants inside, and consider using an oven thermometer to verify accuracy.
Timing and Indicators of Doneness
Croissants generally take between 15 to 20 minutes to bake, but here are specific signs to look out for:
Color: Croissants should achieve a rich golden-brown hue, indicating a crisp exterior.
Feel: They should feel light to the touch with a firm, but not hard, crust.
Before baking, croissants are often brushed with an egg wash, which aids in developing a glossy, golden finish. The croissants are done when they sound hollow if tapped on the bottom. Avoid over-baking as this can compromise the delicate layers and result in a dry texture.
Creative Variations and Recipes

Exploring creative variations and adapting recipes allows bakers to craft unique pastries that cater to a wide array of tastes. Here, the focus is on expanding the versatile croissant dough into a myriad of sweet and savory delights.
Sweet and Savory Fillings
For sweet fillings, one can incorporate a range of ingredients such as:
Chocolate chips or shavings
Fruit preserves, such as apricot or raspberry
Almond paste or marzipan
Pastry cream
Bakers should evenly distribute the filling and not overstuff to ensure the croissant maintains its integrity after baking.
On the savory side, options might include:
Ham and cheese
Goat cheese and spinach
Béchamel sauce and mushrooms
Roasted vegetables
Fillings should be cautiously seasoned to balance the flavors with the buttery notes of the croissant.
Adapting the Basic Recipe
Practitioners can adapt the basic croissant recipe for various outcomes. A sweet adaptation might involve adding sugar to the dough for an inherently sweet pastry. One could also infuse the butter with flavors such as vanilla or citrus zest to give an aromatic quality to the layers.
For a savory adaptation, incorporating herbs such as thyme or rosemary into the dough imparts an earthy taste that complements fillings like cheese or cured meats. Seasonings and finely grated cheeses can also be laminated within the dough layers for additional texture and flavor.
Adaptation is key in crafting the perfect recipe for one's preferences, whether they are honing a classic butter croissant recipe or testing the bounds of this traditional pastry.
Troubleshooting Common Issues

When working with pre-made croissant dough, bakers often encounter specific issues that can impact the final product's quality. The handling of seams is crucial; poorly sealed seams can cause croissants to unravel during baking. To prevent this, one must pinch the seams firmly to ensure they stay intact.
Air bubbles pose another common problem. These can lead to uneven layers and affect the croissant's texture. Bakers should gently press the dough before shaping to eliminate any trapped air.
At times, croissants may deflate. This is typically due to under-proofing or a drastic temperature change when moving the dough from proofing to baking. A consistent and adequate proofing environment is essential for maintaining the dough's structure.
Trimming is a practice that can help maintain a consistent rectangular shape, ensuring uniformity among pastries. Trim excess dough to refine shape and size, which not only enhances appearance but also promotes even baking.
Below is a reference table summarizing the common issues and their respective solutions:
Issue Solution Seams opening Pinch seams firmly to create a tight seal. Air bubbles Gently press the dough to release trapped air. Deflation Ensure consistent proofing to avoid collapse. Irregular shape Trim excess dough to achieve a rectangular shape.
By addressing these challenges with precision and care, bakers can markedly improve their croissant quality.
Advanced Techniques and Tips
Crafting the perfect croissant demands attention to detail and mastery of specific techniques. The longevity of pre-made croissant dough can be optimized by implementing these advanced methods.
Mastering Lamination
To achieve the ideal croissant, lamination must be executed with precision. This process involves meticulously layering unsalted butter and dough to create the signature flaky texture.
Unsalted Butter: Utilize high-quality, European-style butter for its higher fat content and excellent pliability at cold temperatures which is crucial for creating distinct layers.
All-Purpose Flour: Preferred by some for its versatility, but bread flour can also be used for a chewier texture due to its higher protein content. Mix with granulated sugar, kosher salt, and active dry yeast for the dough.
Technique: Extend the dough into a rectangle, place chilled butter pieces in the center, then fold the dough like a book to encase the butter. Chill repeatedly and fold a specific number of times, usually three to four "turns," being careful not to overwork the dough.
Precision in Measurements
Accurate measurements are the backbone of successful pastry recipes, including croissants:
Digital Scale: Use a digital scale to measure ingredients as this ensures accuracy far beyond volume measurements.
Temperature: Monitor the temperature of the ingredients carefully; it's essential for both the active dry yeast's performance and the consistency of the butter.
Sharp Knife/Paring Knife: Employ a sharp or paring knife for cutting dough and butter, ensuring clean edges that promote proper layering and rise.
Stand Mixer: A stand mixer with a dough hook attachment can facilitate even mixing of the dough, just be sure to not overmix.
Implementing these techniques with patience allows each layer to maintain its integrity, resulting in a puff pastry with optimal texture and extending the shelf-life by reducing premature fermentation or butter leakage.
Conclusion

Proper storage is crucial when handling pre-made croissant dough, also known as pâte à croissant or baker's croissants, to ensure its longevity and the delight that comes with freshly baked French croissants. When refrigerated, the dough can last for up to 4 days. During this period, it's important that the dough rest in an airtight container or wrapped securely in plastic wrap to maintain its quality.
For those who wish to extend the life of their dough, freezing offers a solution, preserving the dough for around 3 months. To freeze, one must wrap the dough thoroughly in plastic wrap and place it in a resealable freezer bag. This method allows bakers to enjoy the fun of baking croissants de boulanger at a later time without sacrificing the joy that comes from the dough's ability to rise and achieve the desired flakiness.
When ready to bake, it's recommended to thaw the dough while still keeping it cold, before proceeding to the final steps of proofing and baking. This careful handling ensures that the yeasted dough has the optimal environment for a proper rise, leading to the final product: a batch of golden, flaky, and delectable croissants. The precise handling of the thawing process emphasizes the deliberation and attention to detail inherent in the art of French baking.
Adherence to these guidelines will optimize the shelf life of pre-made croissant dough and ensure the most satisfying baking experience.
