
Making Lard as a Homesteader
The Essential Guide to Rendering Fat
Discover > Homesteading > Making Lard as a Homesteader
In the world of homesteading, self-sufficiency is a prized attribute, and learning how to make lard stands as a testament to this ethos. Rendering lard is a process that involves melting and clarifying pork fat, transforming it into a versatile cooking ingredient known for its flavor-enhancing qualities and its role in crafting flaky pastries and crispy fried foods. Many homesteaders regard lard as an essential item in their pantry, owing to its cooking properties and the sustainable practice of using all parts of an animal.
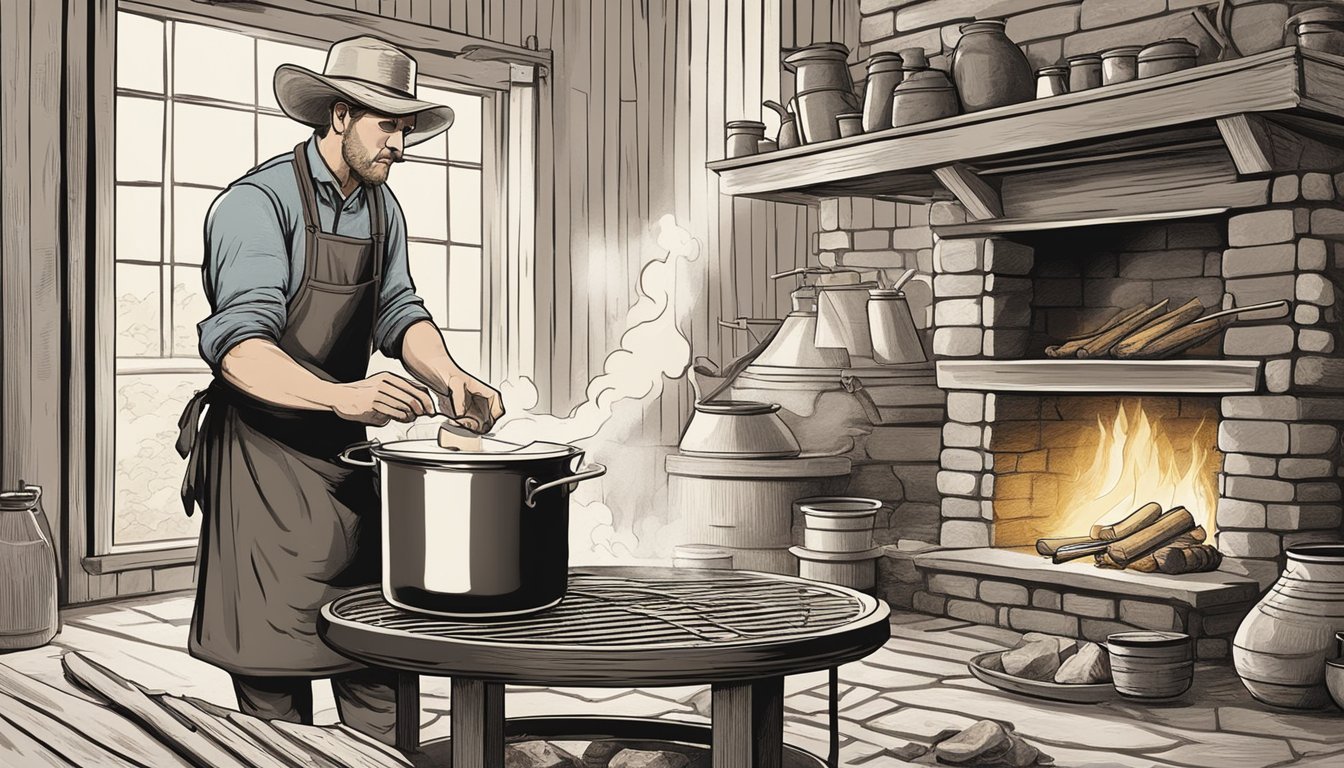
Rendering lard is straightforward, involving a slow heating process that allows the fat to liquify while ensuring that any meat particles are separated and removed, resulting in pure, white lard. It can be done with a crock pot and sieve.
Homesteaders often source their pork fat from their own livestock or find a trusted local butcher to ensure quality and traceability. By rendering their own lard, homesteaders not only reduce waste but also establish a more intimate connection with their food sources, embodying the homesteading spirit of resourcefulness and independence.
Lard, once a kitchen staple, is seeing a resurgence amongst homesteading communities who value its culinary uses and healthful properties when compared to some modern processed fats.
While it was unjustly marginalized in past decades due to misconceptions about its health impacts, many now recognize lard as a natural, minimally processed fat that can play a part in a balanced diet.
You don't need pigs to butcher you can simply render your bacon (how long does bacon last?)fat. Learning how to make lard keeps a time-honored skill alive while nurturing a closer bond with the rhythms of nature and sustainable living.
The Role of Lard in Homesteading
Lard has long been a staple in the homesteader’s kitchen, serving multi-functional roles in both cooking and baking due to its versatility and the flavor it imparts.
Traditionally obtained through the process of rendering, where homesteaders melt and strain pig fat to produce pure fat lard is a testament to the self-sufficiency practical on a homestead.
It might not be something you have ever considered but it isn't difficult to render lard and whether you have your own livestock or not it can be beneficial in terms of money saving as well as in terms of health.
Animal fats once made up the majority of our fat intake, but it earned a bad rep and has been misunderstood.
It is easy to look at lard and see it as concentrated artery-clogging bacon grease however, lard contains healthy fat varieties such as monounsaturated and polyunsaturated fats and is better for your health than the majority of brand-name corn oil or vegetable shortening products on the market.
Nutritional Value:
Lard is a notable source of vitamin D, only surpassed by cod liver oil and liver, offering a spectrum of health benefits from bolstering immune systems to aiding in calcium absorption.
It is also rich in omega 6 fatty acids, which can play a role in maintaining a healthy cholesterol balance, may consider it to be a very healthy fat like olive oil.
Cooking and Baking:
For culinary uses, animal fats bring a depth of flavor and a flaky texture to baked goods that is different from cooking oils. Its high smoke point makes it ideal for frying and sautéing.
Saturated Fat Monounsaturated Fat Polyunsaturated Fat Stable at high temperatures Beneficial for cholesterol levels Includes essential fatty acids
Sustainability: On the homestead, producing and using lard is resourcefulness in practice. By rendering chopped or ground fat – a by-product of butchering – homesteaders create a valuable kitchen asset, ensuring no part of the animal is wasted.
In conclusion, as homesteaders pursue a sustainable and self-reliant lifestyle, lard remains a vital component in their culinary repertoire.
Its culinary uses coupled with its nutritional aspect make it a well-regarded component in the homesteading community.
Understanding Fat Types and Sources
When planning to make lard, comprehending the types of fats and their sources is critical. This knowledge ensures a quality product suited for various culinary applications.
Before you dive into rendering lard you need to understand what it is.
Differentiating Lard, Tallow, and Shortening
Pork lard is rendered fat from a pig, with a creamy texture ideal for baking and cooking.
Most commonly, lard is made using the fat deposit known as back fat, located along the shoulder and rump areas of the pig, known as a pork butt, but some people favor pork belly (What wine goes well with pork belly?).
If you are not rearing your own pigs but still want to make your own lard you can use pork belly cuts, some people even render bacon fat.
Tallow, on the other hand, is rendered from the fat of cattle or sheep and is firmer, often used in making candles and soaps. Beef tallow is versatile and can be used for many cosmetic products.
Shortening is a solid fat at room temperature and was historically made from animal fat but now predominantly consists of unhealthy vegetable oils (how long does vegetable oil last?) and corn oils that have been hydrogenated to become solid.
What Is Leaf Lard?
Pork leaf fat or leaf lard, is some of the most sought after with a richer flavor. Leaf lard is made from the fat surrounding the kidneys and is revered for its purity and neutral flavor.
Lard: Rendered pig fat; ideal for cooking and baking, especially pastries, the richest form of which is pork leaf lard made from pork leaf fat
Tallow: Rendered beef fat or sheep fat; used in non-edible products as well
Shortening: Historically animal fat, now mainly hydrogenated vegetable oils; used in industrial baking
Sources of Lard: Pasture-Raised vs. Commercial
The quality of lard is highly influenced by the source of the pig fat. Pasture-raised pigs are typically considered superior, as they are often raised in better conditions, leading to healthier and more flavorful fat.
Pasture-raised fats have a higher likelihood of containing beneficial fatty acids and less likelihood of unwanted additives.
Conversely, commercial pig fat may come from pigs raised under less ideal conditions and can result in lower-quality lard.
Pasture-Raised Lard:
Comes from pigs given access to the outdoors
Believed to contain more beneficial fatty acids
Commercial Lard:
From conventionally farmed pigs
May contain additives and result in a different flavor profile
Another reason for choosing between the back fat and leaf fat/leaf lard from around the pig's kidneys is the cleaner taste and suitability for delicate baked goods, such as flaky pastries.
Essential Tools and Supplies for Rendering Lard
Before starting the rendering process, it's critical for a homesteader to have the right tools and supplies to ensure a safe and efficient experience. Proper preparation with the correct equipment will lead to high-quality lard suitable for various culinary uses.
Choosing the Right Knives and Cutting Boards
A sharp knife is essential for cutting the fat into small, uniform pieces which aid in consistent melting. Homesteaders typically benefit from using a boning or a chef's knife for precise cuts.
A sturdy cutting board, preferably made of wood or heavy-duty plastic, also makes for a reliable setup to handle the raw fat before cooking.
Cast Iron, Slow Cookers, and Other Cooking Vessels
For the actual rendering process, a cast iron skillet or cast iron pan is highly recommended due to its excellent low heat distribution and retention. Alternatively, one could use a slow cooker or crock pot to maintain a low, steady heat.
To render lard you need to provide the gentle warmth necessary to melt down the fat without burning it, this can require more of a watchful eye if you are using a cast iron Dutch oven instead of a slow cooker. The slow cooker method is less labor intensive and allows the homesteader to multitask.
Cast Iron Skillet
Slow Cooker/Crock Pot
Dutch Oven
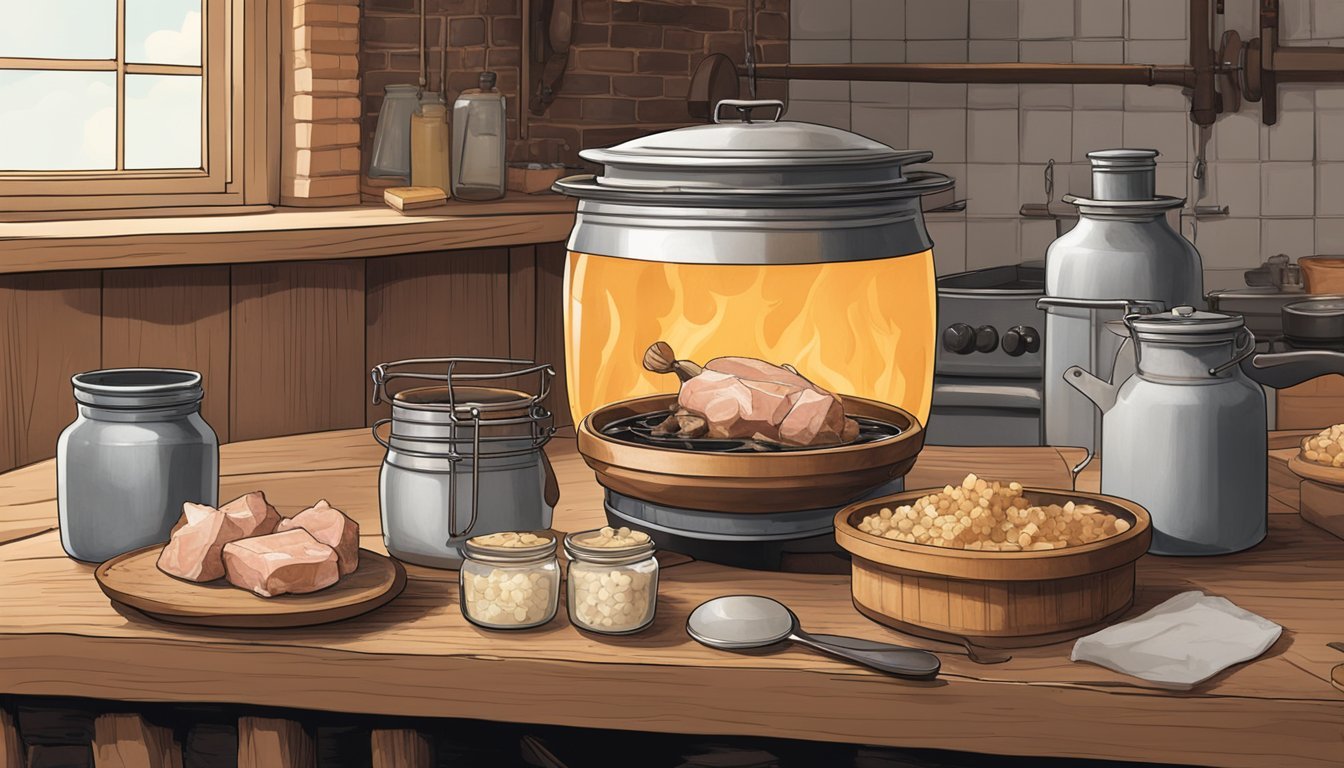
Strainers, Ladles, and Storage Containers
After rendering, the liquid fat must be separated from the remaining solid bits. A fine-mesh strainer or cheesecloth will ensure clarity in the final product. A ladle comes in handy to transfer the molten lard into storage containers.
For long-term storage, glass jars or Mason jars are ideal for keeping lard fresh. Ensure jars are heat-proof to prevent cracking during filling.
Mesh Strainer/Cheesecloth
Ladle
Glass Canning Jars/Mason Jars (for storage)
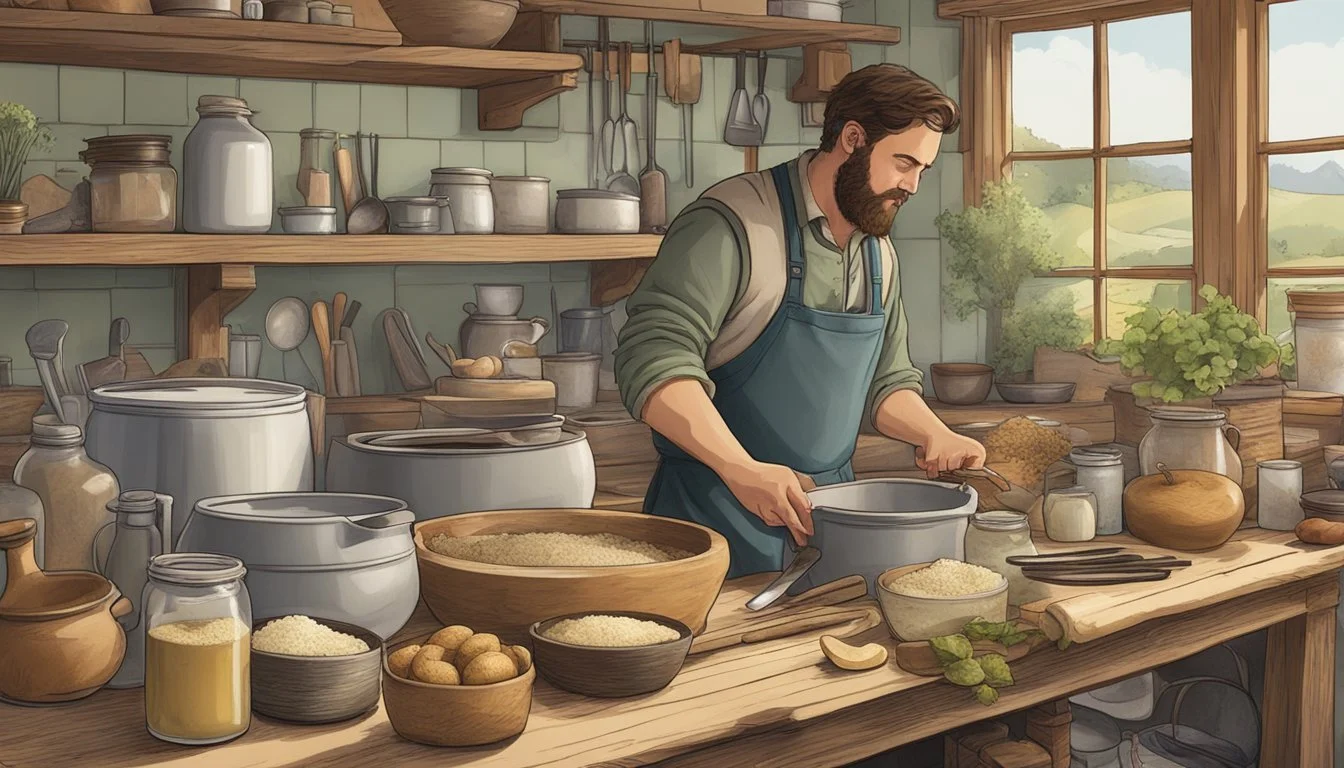
How To Make Lard
Rendering lard is an exercise in patience and precision, transforming raw pork fat into a versatile fat to use as a kitchen staple through careful cooking and straining.
Preparing the Pork Fat for Rendering
Before beginning to render lard, the fat must be properly prepared. This involves separating the fat from any meat and then cutting it into small pieces to ensure even cooking.
Chopping all the fat into cubes by hand or with a food processor or running it through a meat grinder increases the surface area, allowing it to render more efficiently.
How much fat you use is relevant to how much lard you get but it is ultimately irrelevant, once any amount is rendered it can be stored.
You can store lard for up to a year and when cooking with lard you tend to use a small sliced portion. So many tend to store portioned in the first place.
Cooking the Fat: Low Heat Methods
The concept of rendering lard relies upon the gentle and steady application of a very low heat, which melts the pig fat without burning it.
Maintaining a temperature between 95°F to 115°F is crucial to avoid imparting a strong 'piggy' flavor.
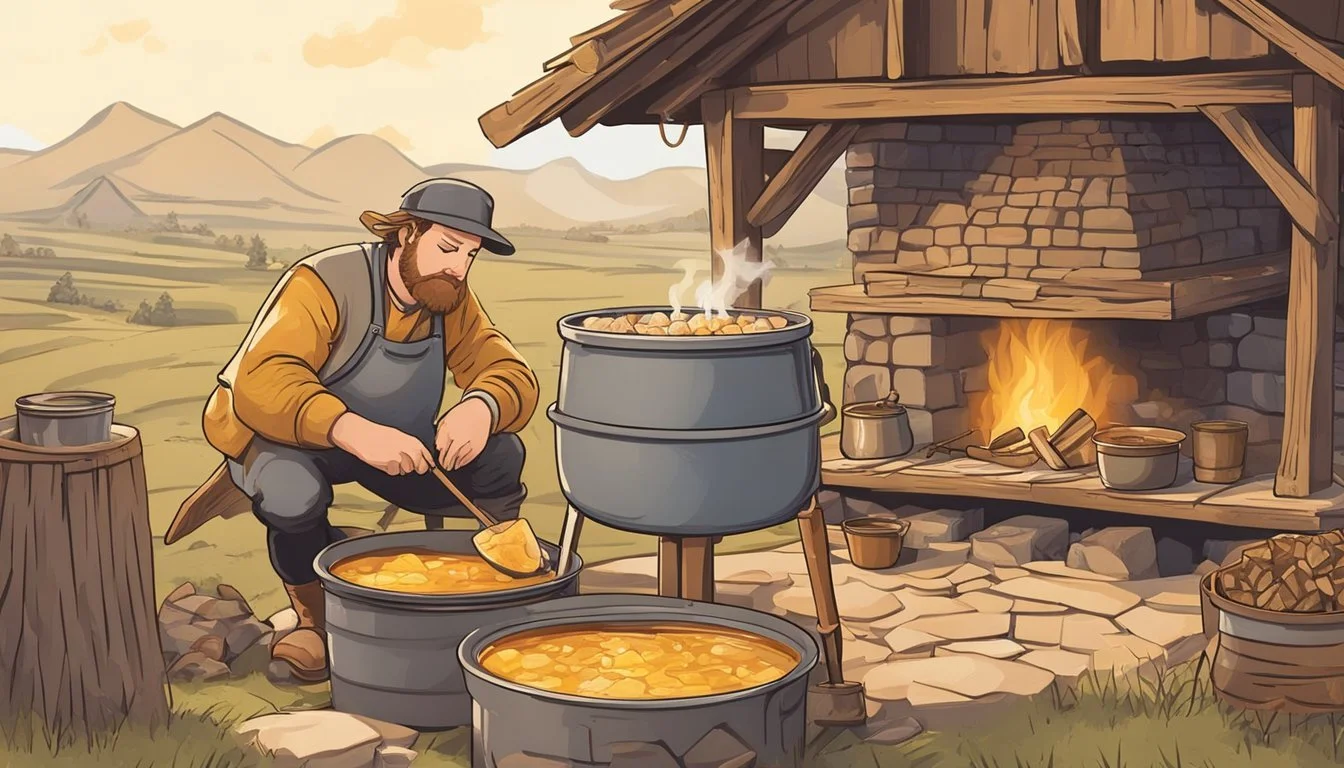
If you are oven rendering: Spread the fat evenly on a baking tray and place it in an oven set to a low temperature, around 250°F, allowing several hours for the fat to slowly liquefy. Many homesteaders prefer a cast iron Dutch oven for the task.
If you are Slow Cooker Rendering, combine the prepared fat with 1/4 cup water in a slow cooker to prevent initial sticking and set it to low.
This method may take upward of six hours, depending on the quantity, but is largely hands-off. You will need a slow cooker or crock pot that has adequate control over the temperature.
Straining and Purifying the Rendered Fats
After the pig fat has melted, whether in a frying pan or slow cooker, the next step is to separate the liquid fat from the cracklings (the crispy bits of meat and impurities).
The remaining fat with a fine mesh sieve to remove larger particles, followed by running the liquid through a cheesecloth or coffee filter for additional purification.
The impurities must be strained out to ensure the lard is pure and suitable for various culinary uses.
The resulting liquid should be transferred to Tupperware or glass jars and allowed to cool. It will solidify as it cools, you can store lard in the refrigerator or freezer to extend its shelf life.
Using Rendered Lard
Rendered lard is a versatile fat that enhances the flavor and texture of various dishes across different cooking methods.
From frying to baking, lard has proven to be an invaluable ingredient in the homesteader's kitchen, why buy lard when you can render it at home from your waste?
In Cooking: Frying and Sauteing
When it comes to frying or sauteing, using rendered lard offers a distinct advantage. Lard’s high smoke point makes it ideal for achieving a golden brown exterior on food without burning.
For instance, a cast iron skillet with a spoonful of lard is perfect for frying chicken to perfection, yielding crispy skin and juicy meat.
Frying with Lard:
Ideal for fried chicken, pork chops, and bacon.
Achieves a crispy texture and rich flavor.
Sauteing with Lard:
Enhances vegetables and meat dishes.
Provides a non-stick surface in cast iron cookware.
Baking with Lard: Pie Crusts and Pastries
Bakers have long valued pork lard for its ability to create a flaky pie crust that's hard to replicate using other fats.
Beef fat also results in pastries that are tender and flaky, making it a superior choice for both savory and sweet applications. A mixture of beef shortening and pig fat lard together can provide a pastry that is dense and rich.
Lard in Pie Crusts:
Results in an exceptionally flaky pie crusts.
Best used in classic recipes like apple pie or quiches.
Lard in Pastries:
Enhances texture in scones and biscuits.
Offers a subtle flavor that complements various fillings.
Using Lard as Shortening in Recipes
As a shortening, lard is often substituted for butter to bring a lightness to recipes that might otherwise feel heavy. It is suitable for baking and cooking at different temperatures and can be stored efficiently in the refrigerator or freezer to extend its shelf life.
Comparison with Butter:
Lard offers a different flavor profile and a higher smoke point.
Can give pastries a more delicate crumb than butter.
Storage for Lard:
Store in an airtight container in the refrigerator for a few months.
For longer storage, keep it in the freezer where it can last for up to a year.
Using rendered lard from sources like pork belly not only improves the taste and texture of food but also aligns with sustainable homesteading practices, as it is a by-product of processing meat that might otherwise be discarded.
Whether one is making cracklins from the rendered bits or crafting a pure white shortening for baking, rendering lard for yourself has clear benefits.
Storing and Preserving Lard
Proper storage and preservation are crucial for maintaining the quality of lard over time. The strategies for keeping lard fresh range from refrigeration to creating a version that is stable at room temperature.
A room-temperature lard can be kept for up to six months without refrigeration.
Refrigeration versus Freezing Lard
Refrigeration: When storing lard in the refrigerator, it should be placed in a closed container to prevent the absorption of other food odors. Typically, lard can last up to a year in the refrigerator.
Freezing: To extend lard's usability, freezing is recommended. In a freezer, lard can remain usable for up to three years as long as it is kept in an airtight container to prevent freezer burn.
Shelf Life and Signs of Spoilage
Shelf Life: Lard's shelf life can vary depending on its storage conditions. If one notices a change in color or an off-smell, these are clear indicators that the lard has potentially spoiled.
Spoilage Indicators:
Color change: It becoming darker than its usual creamy white lard appearance.
Unpleasant odor: A sour or rancid smell is a strong sign that lard has gone bad.
Creating a Shelf-Stable Lard
One can create a shelf-stable version of lard that doesn't require refrigeration. This involves rendering the lard properly and then sealing it in sterilized mason or glass jars.
This can keep lard shelf-stable for a significant period, as long as the jars remain unopened and are stored in a cool, dark place. Once opened, moving the lard to the refrigerator or freezer can help preserve its quality.
Advanced Uses for Lard

Beyond cooking, lard can play a vital role in homesteading activities. It serves as an important ingredient in the creation of homemade soap and is excellent for maintaining cast iron cookware.
Making Soap with Lard
Lard and beef tallow have been used in soap making, the high-fat content contributes to a hard, long-lasting bar with a creamy lather. Homesteaders can use lard in the following way to create soap:
In a well-ventilated area, measure out lye and water separately using precise scales.
Carefully mix lye into water to create a lye solution, allowing it to cool after mixing.
Melt lard slowly and combine it with the lye solution once both are at a similar temperature.
Stir the mixture until it reaches "trace," the point where it thickens enough to leave an imprint when drizzled on itself.
Pour into molds and let it cure for several weeks before use.
Seasoning Cast Iron with Lard
Lard is effective for seasoning cast iron pans and skillets because it creates a durable, non-stick surface. Here's a brief guide on how to season cast iron with lard:
Ensure the cast iron pan or skillet is clean and dry. Coat the cookware evenly with a thin layer of lard, not forgetting the underside and handle.
Place the cookware upside down in an oven preheated to about 375°F for an hour. After cooling the pan, one may need to repeat the process several times to build up a strong seasoning layer.
Using lard to season cast iron ensures a natural, non-stick surface that enhances with use, making it a trusted method among experienced homesteaders.
Understanding the Health Impacts
Making lard as a homesteader involves a deep appreciation for traditional fats, along with an understanding of their health impacts.
The focus is to discern the role of lard in terms of saturated and unsaturated fats, as well as its place within a balanced diet.
Saturated vs. Unsaturated Fats
Lard is primarily composed of saturated and monounsaturated fats. Saturates have historically been linked with higher cholesterol levels, which raised concerns about heart health.
However, recent discussions suggest that the impact of saturated fats on health may not be as detrimental as once believed when consumed in moderation.
Lard also contains monounsaturated fats, including oleic acid, which is beneficial for heart health.
Saturated Fat: Approximately 40%
Monounsaturated Fat: Roughly 45%
Polyunsaturated Fat: About 11%
These are also accompanied by polyunsaturated fats, including omega-6 fatty acids, essential fats the body can't produce. The key is maintaining a balance between omega-6 and omega-3 fats to support overall health.
Lard in a Balanced Diet
Lard's nutritional profile includes fat-soluble vitamins like vitamin D, which is essential for bone health and calcium regulation.
The inclusion of lard in a balanced diet can be advantageous, provided it replaces other unhealthy fats and is used in moderation.
Health Benefits:
A source of vitamin D and other fat-soluble vitamins
Provides a balance of monounsaturated and saturated fats
Use in Moderation:
Replace trans fats and highly processed vegetable oil alternatives such as corn or canola oil
Consume as part of a varied diet rich in fruits, vegetables, whole grains, and lean proteins
Understanding both the potential health benefits and the concerns is vital for making informed decisions about using lard in cooking and baking as part of a homesteading lifestyle.
Ethical and Sustainable Practices
In creating lard, homesteaders have the opportunity to exhibit their commitment to ethical and sustainable living. This revolves around choosing pig fat suppliers that respect animal welfare and support the local economy.
Selecting Ethically Sourced Fat
Homesteaders should prioritize pasture-raised pigs when sourcing fat for lard. Pasture-raised means the pigs are allowed to roam freely, leading to better animal welfare and ultimately a higher quality fat.
They can ensure their practices align with ethical standards by choosing pigs that have been raised with care and without unnecessary antibiotics or hormones.
Criteria for Ethical Fat:
Pigs have been allowed to forage and exhibit natural behaviors.
No growth hormones or non-therapeutic antibiotics were used.
Access to outdoor spaces, improving the quality of their life and health.
Supporting Local Butchers and Farmers
Purchasing fat from local butchers or directly from farmers not only supports the regional economy but also reduces the environmental impact of transportation.
When a homesteader opts to buy from a local butcher or farmer, they can often verify the farming practices firsthand.
The benefits of buying locally are that strengthens local economies and businesses, reduces carbon footprints due to shorter transport distances, and allows for transparency regarding animal treatment and farming practices.
How to Make Lard: Step-By-Step Guide
Making homemade lard involves a systematic process of cutting, rendering, and straining the pork fat to achieve a pure and versatile culinary fat. At each stage, attention to detail is crucial to ensure quality results.
Cutting the Pig Fat
Chilling the pork fat, will solidify it, making it easier to handle. Using a sharp knife, they cut the fat into 1-inch cubes. This size ensures that the fat will render uniformly during cooking.
Things to prepare:
Pork fat: Preferably leaf fat, from around the kidneys, as it yields a higher quality lard.
Sharp knife: To cut the fat efficiently without unnecessary tearing.
Cutting board: To provide a stable surface during cutting.
How To Render Pork Fat
A heavy-bottomed cast iron pot or skillet is ideal for rendering lard because it distributes heat evenly, minimizing the risk of burning.
To render lard the homesteader adds the fat to the pot along with a small amount of water to prevent sticking. They set the heat to medium-low and allow the fat to simmer gently, a method known as "low and slow," which is essential to prevent the lard from burning and to maintain its neutral flavor.
During rendering, they use a wooden spoon to stir occasionally. It typically takes about an hour, but may be longer depending on the amount of fat.
Steps in the process:
Add pork fat to the pot.
Pour in a half cup of cold water to prevent sticking and aid even rendering.
Heat mixture on medium-low, stirring occasionally.
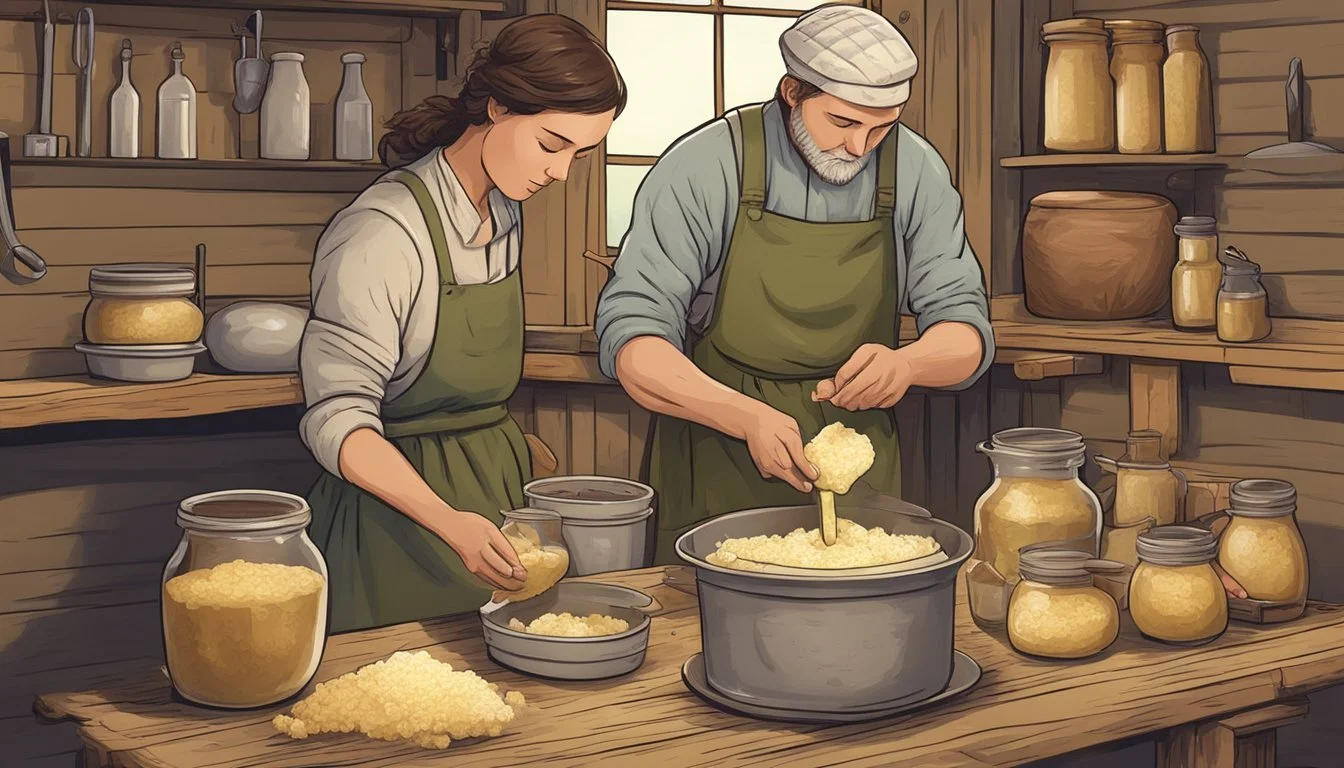
Finishing Touches: Straining and Solidifying
Once the fat has been completely rendered, the homesteader carefully strains the liquid lard through a cheesecloth or fine-mesh strainer to remove any impurities or tissue remnants.
They then pour the strained lard into mason jars or another type of heat-resistant glass jar using a ladle, being careful to avoid spills.
The lard will solidify as it cools, resulting in a smooth, neutral cooking fat that is solid at room temperature. The finished lard should have a white appearance and a mild flavor. Once solidified, the lard should be stored in a cool, dark place or refrigerated to extend its shelf life.
Final steps:
Strain the lard through fine-mesh or cheesecloth to ensure purity.
Ladle the liquid lard into jars.
Allow lard to cool and solidify at room temperature.
Troubleshooting Common Rendering Issues
When rendering lard, homesteaders may encounter challenges with texture, consistency, odor, and impurities. This section addresses these issues, offering practical solutions to successfully render lard.
Addressing Texture and Consistency Problems
Improper texture and consistency in lard can result from temperature fluctuations or premature cooling. To ensure a smooth consistency:
Maintain a low and steady heat, between 95°F to 115°F, to render lard without burning the fat.
Allow the lard to cool slowly after rendering to avoid graininess. This can be achieved by turning off the heat and leaving the lard to solidify gradually at room temperature.
If the rendered lard is too soft or hasn't solidified properly sometimes the lard needs to be melted down a second time and strained to remove residual impurities that may be affecting texture.
Dealing with Odor and Impurities
Unpleasant odors or the presence of impurities often mar the quality of rendered lard. To eliminate these issues:
Use Fresh Fat: Start with fresh fatback or leaf lard, as older fat can develop a rancid smell.
Thorough Straining: Ensure all impurities are removed by straining the liquid lard through a fine mesh or cheesecloth.
For cracklings (the remnants of meat and tissue after straining):
Cook until Golden: The cracklins should be golden brown and float to the top, signifying that most of the fat has been rendered out, resulting in cleaner lard and a mild odor.
Remove Cracklings Promptly: Once the cracklings have crisped up, they should be removed immediately to prevent them from imparting a strong odor to the lard.
By attentively managing the rendering process and applying these troubleshooting tips, homesteaders can produce high-quality lard with desirable texture and minimal odor.
Final Thoughts on Making Lard as a Homesteader
On the homestead, rendering lard is a skill that stands out for its blend of tradition and utility.
Homesteaders take pride in using all parts of an animal, and making lard is a fine example of this sustainable practice.
They know that the journey to a jar of pure, white lard requires patience, but the reward is a versatile cooking fat with a neutral taste suitable for a variety of dishes.
The quality of lard is paramount; it should be white and neutral-flavored. Efficiency in rendering can be increased by mincing fat as small as possible. Lard adds nutritional value and flavor depth to home cooking.
A homesteader's approach to rendering lard maximizes the shelf life and maintains the fat’s natural properties.
While the process is straightforward, it involves careful monitoring to prevent any off-flavors. A successful batch of lard reflects a homesteader's attention to detail and their deep connection to their ingredients.
It is not hard to render lard if you use clean, high-quality pork scraps, remember that gentle heat yields the best results and always store it in a cool, dark place for up to a year.
Crafting lard is an expression of a self-sufficient lifestyle. Passing on the knowledge of making lard is a reflection of a homesteader's commitment to a full-circle approach to farming and food preparation.
