
How to Reheat Gluten-Free Scones
Easy Methods and Tips

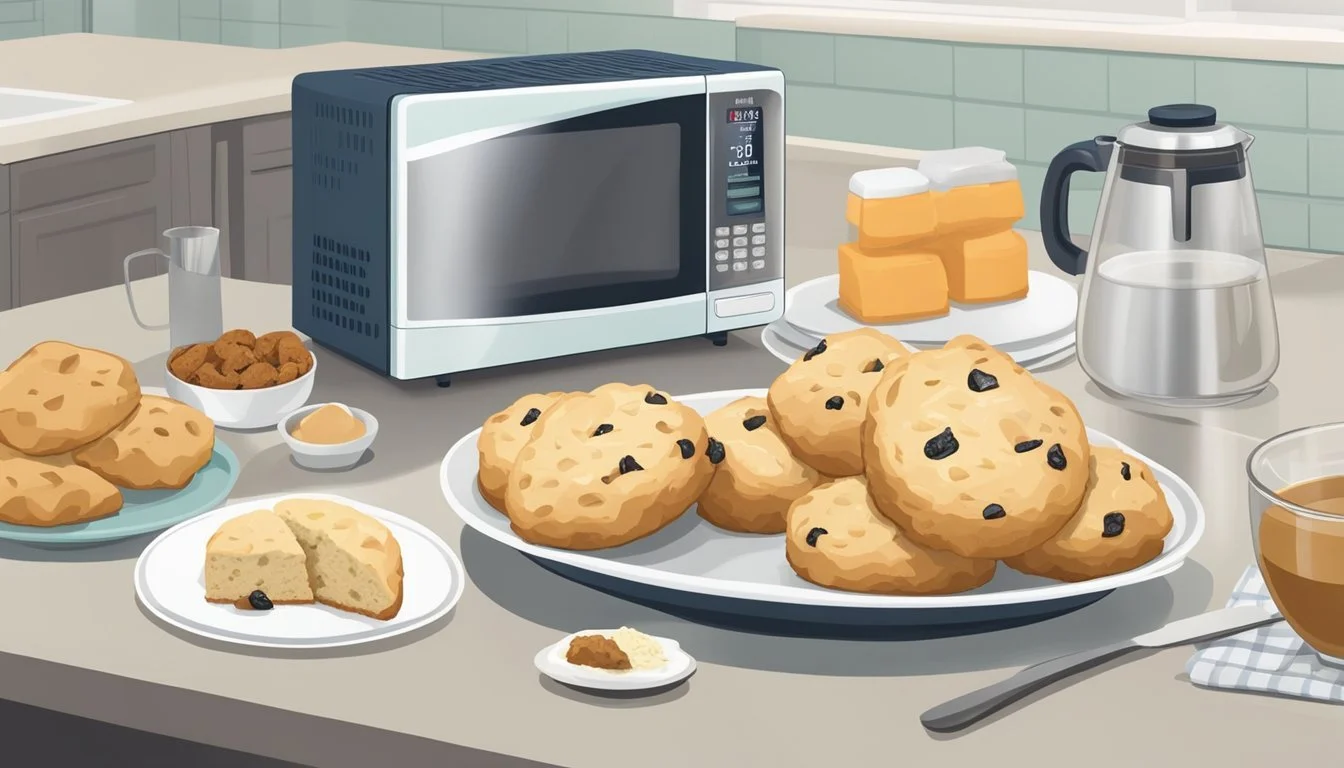
Gluten-free scones make a delicious treat, but reheating them properly is essential to maintain their texture and flavor. For the best results, ensure that scones are allowed to reach room temperature before reheating. Preheat your oven to 300 degrees F (150 degrees C) and place the scones on a baking tray lined with parchment paper for 5 to 10 minutes. This method helps retain their moisture and avoids a dry texture.
For those with just a few scones to reheat, the microwave offers a quicker option. Place the scones on a microwave-safe plate, then heat them in short intervals to prevent them from becoming soggy. Alternatively, using a skillet with a bit of melted butter can also bring life back to stale scones. Simply cover the skillet with a lid and warm over medium-low heat.
Ensuring your gluten-free scones are reheated well can preserve their delightful taste and crumbly texture. Whether using an oven, microwave, or stovetop, the right technique makes all the difference. This way, every bite remains as satisfying as when they were freshly baked.
Understanding Gluten-Free Scones

Gluten-free scones are a popular choice for those needing or choosing to avoid gluten. Without gluten, these scones require specific ingredients to achieve a similar texture and taste to traditional scones.
Composition and Ingredients
Gluten-free scones use alternative flours like gluten-free self-raising flour, almond flour, or a gluten-free flour blend. Common flour brands include Cup4Cup and Bob's Red Mill.
These flours often lack the binding quality of gluten, so xanthan gum is added to provide elasticity. Other typical ingredients include butter or a substitute like Stork hard, protein sources like milk or egg which help with structure, and fat, which lends richness to the scones.
Benefits of Gluten-Free Baking
Gluten-free baking can cater to those with celiac disease or gluten intolerance, making baked goods accessible to everyone.
Choosing high-quality gluten-free ingredients ensures that the scones have a texture closely resembling their gluten-containing counterparts. Additionally, using whole food substitutes like almond flour can boost the nutritional profile by adding protein and healthy fats.
Choosing the Right Gluten-Free Flour
Selecting the best gluten-free flour is essential for achieving quality scones. Flour blends such as Cup4Cup incorporate a balance of starches and proteins to mimic the properties of wheat flour.
Bob's Red Mill offers a variety of blends that cater to different baking needs. For those needing a self-raising option, gluten-free self-raising flour accomplishes similar results without additional leavening agents.
Preparing for Reheating
Before reheating gluten-free scones, proper storage and thawing techniques are crucial to preserve their quality and texture.
Storing and Freezing Gluten-Free Scones
For the best results, store gluten-free scones properly to maintain their flavor and freshness. If you plan to consume them within a day, a cool, dry place at room temperature is suitable. For longer storage, use a refrigerator or freezer.
To refrigerate, place the scones in an airtight container or wrap them tightly with plastic wrap. They can be kept for up to 3 days. For freezing, use a freezer-safe bag or container. Ensure there's minimal air to prevent freezer burn. Label the bag with the date, and scones can be stored in the freezer for up to 3 months. When ready to use, remove the required number of scones for thawing and reheating.
Thawing Before Reheating
Thaw frozen scones before reheating for even warming and better texture. The safest method is to transfer the scones to the refrigerator and leave them overnight. This slow thawing helps retain moisture and prevents sogginess.
For quicker thawing, leave the scones at room temperature for about 30 minutes. Avoid using a microwave for thawing, as this can make the scones unevenly warm or dry them out. Once thawed, the scones can be reheated using an oven, microwave, or skillet to get the desired warmth and texture.
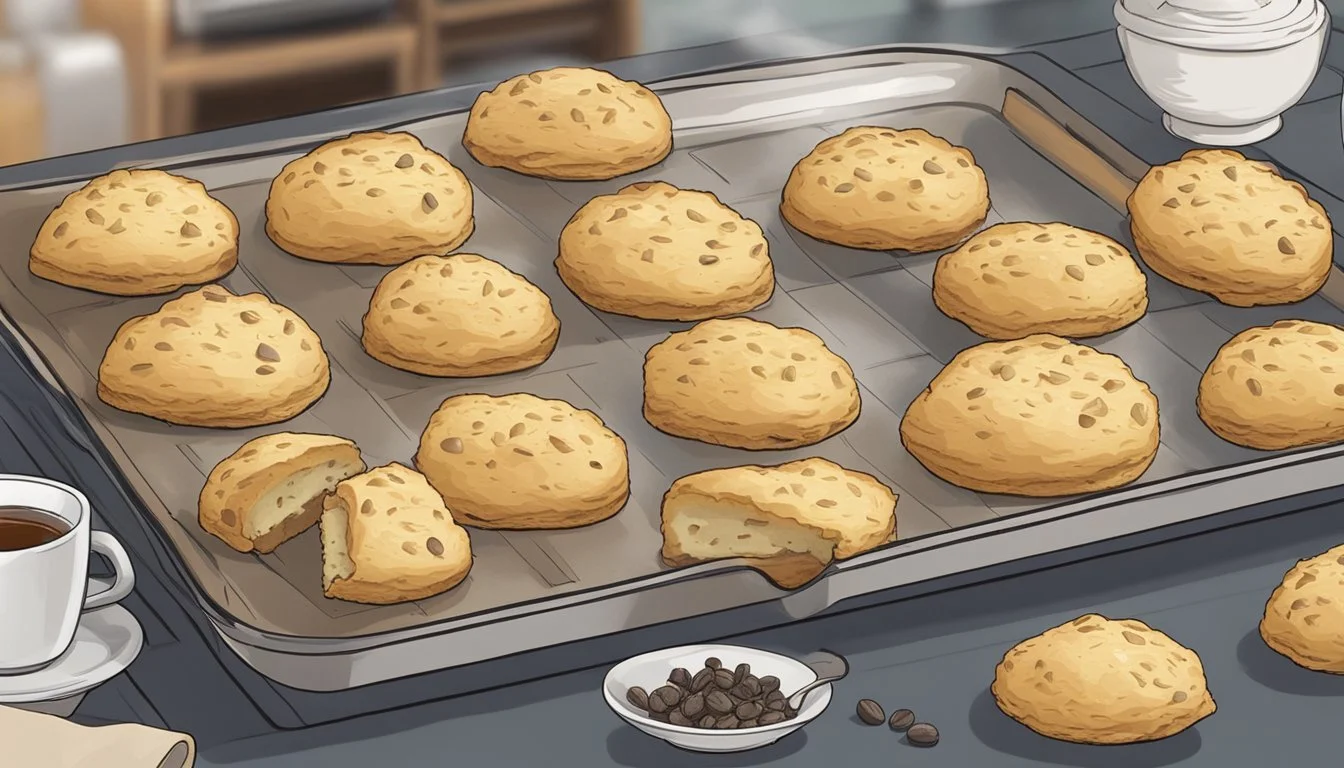
Reheating Techniques

Reheating gluten-free scones properly ensures they retain their texture and moisture. Below are several methods to reheat scones effectively.
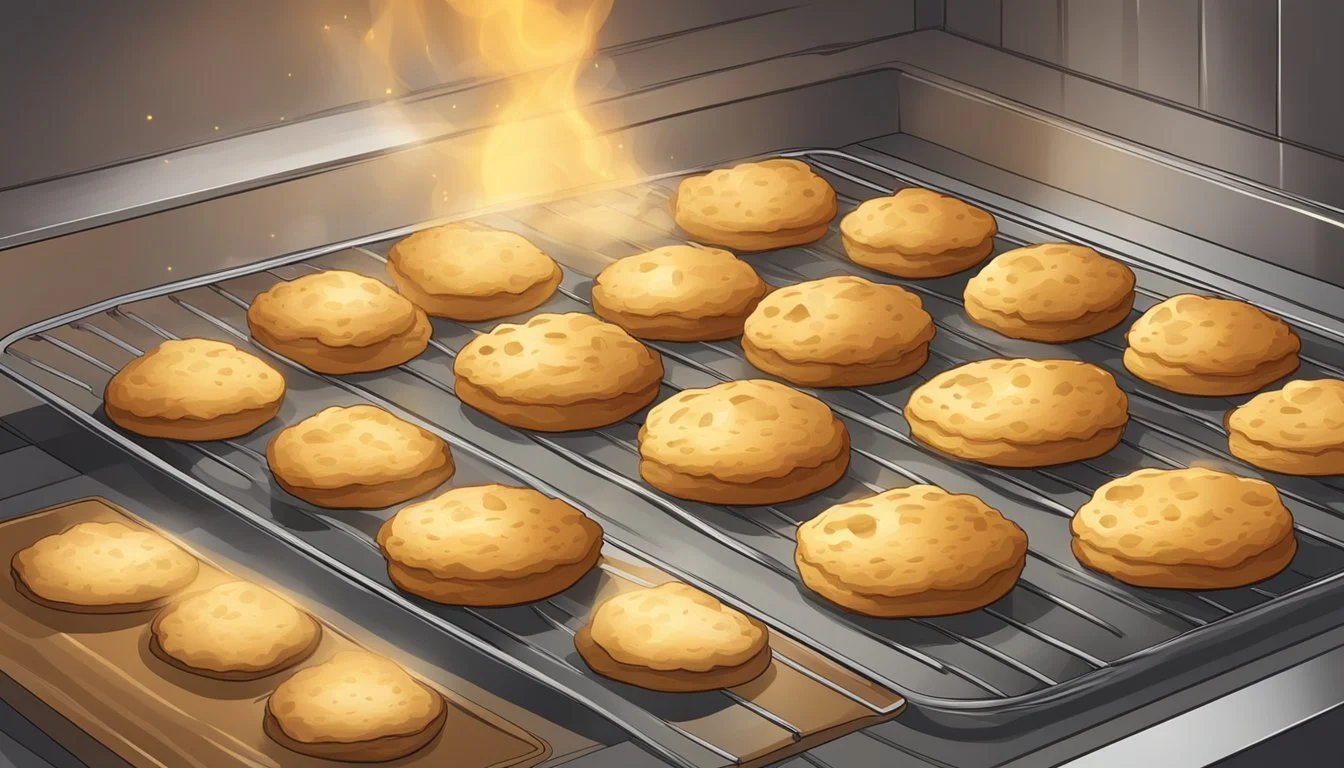
Oven Reheating
One of the best methods to reheat gluten-free scones is using an oven. First, preheat the oven to 350°F (175°C). Place the scones on a baking sheet lined with parchment paper to prevent sticking.
Arrange the scones 2-3 inches apart to ensure even heat distribution. Bake for 10 minutes. If the scones were frozen, consider adding a few more minutes to the reheating process. This method helps maintain the scones' original texture, making them less crumbly.
Microwave Method
Reheating scones in a microwave is convenient but can sometimes make them dry. Place the scones on a microwave-safe plate. Cover the scones with a damp paper towel to prevent them from drying out.
Microwave the scones on a medium setting for 20-30 seconds. Check if the scones are warm and repeat if necessary. Be cautious, as too much time in the microwave can lead to a denser texture.
Ensuring Moisture Retention
To keep gluten-free scones moist when reheating, moisture retention is crucial. Before reheating, lightly brush the tops of the scones with a bit of water. This is especially useful for scones that include wet ingredients like sour cream or buttermilk.
Covering the scones with parchment paper or a clean towel can also help trap moisture during the reheating process. Additionally, placing a few paper towels under the scones can absorb excess moisture and prevent sogginess.
These techniques can help maintain the texture and flavor of gluten-free scones, whether they are leftover or stored properly before reheating.
Customizing Gluten-Free Scones

Gluten-free scones offer a versatile canvas for a variety of flavors and textures. Whether aiming for a sweet or savory treat, customization options are plentiful.
Savory and Sweet Variations
To create savory gluten-free scones, consider incorporating ingredients such as cheese, herbs, and vegetables. Cheddar and chives, for example, bring a classic flavor, while feta and spinach add a Mediterranean touch.
Sweet variations cater to different palates. Blueberry or raspberry scones provide a fruity burst, while apple cinnamon and chocolate chip versions offer a comforting taste. Using coconut milk or other dairy-free alternatives can suit dietary needs without sacrificing richness.
Mix-ins enhance texture and flavor. Dried fruit such as cranberries or apricots adds chewiness, and nuts like walnuts or almonds deliver a satisfying crunch. Balancing sweetness with natural ingredients preserves the scones’ delicate essence.
Adding Toppings and Fillings
Toppings elevate scones’ appearances and flavors. Traditional options like clotted cream, lemon curd, or whipped cream pair well with berry-based scones. For a chocolate lover, a drizzle of melted chocolate or a sprinkling of chocolate chips can be irresistible.
Fillings create pockets of delight within each bite. For instance, spreading a thin layer of jam or jelly inside the dough before baking introduces a sweet surprise. Savory scones benefit from fillings like cheese or herb mixtures.
Glazes add a finishing touch. A simple glaze using powdered sugar and citrus juice complements fruit scones, enhancing both appearance and taste. For a more indulgent option, a vanilla or chocolate glaze pairs well with basic or chocolate chip scones.
Exploring these variations and toppings ensures every batch of scones is unique and delicious.
Troubleshooting Common Issues
When reheating gluten-free scones, common issues like crumbly texture, dense results, and achieving a light crust can arise. With the right techniques, these problems can be minimized.
Preventing and Fixing Crumbly Texture
Crumbly scones often result from dryness or overmixing the dough. To prevent this, it's vital to use enough moisture. Adding almond flour or a small amount of xanthan gum can help bind the ingredients together. Use a pastry blender to mix, avoiding overmixing which can lead to toughness.
If the scones are already crumbly, applying a light brush of buttermilk or cream before reheating can help. Covering them loosely with aluminum foil can also prevent further drying out in the oven.
Achieving a Light and Flaky Crust
A light and flaky crust requires careful handling of the dough. Cold butter is crucial for creating layers similar to those in a biscuit. Gluten-free recipes may need additional baking powder as leavening agents to ensure the rise.
When reheating, preheat the oven to a precise 350 degrees Fahrenheit. A short warming period, around 5-7 minutes, helps maintain flakiness without making the crust too hard. If using a toaster oven, set it to "toast" to bring back some of the original texture.
Avoiding Dense Results
Dense scones can be a result of using too heavy a hand with the ingredients. Ensuring the correct ratios of flour to liquid is essential; almond and oat flour often have different absorption rates compared to wheat flour. Using enough baking powder is also key to a lighter texture.
To prevent the reheated scones from being dense, don’t place them back in the oven for too long. Too much reheating can cause them to dry out and solidify. Instead, the microwave offers a quicker alternative—just 20-30 seconds can warm them up sufficiently without causing excess density.
Serving and Pairings

Gluten-free scones can be a delightful addition to any meal or snack time. Explore how these treats can enhance both breakfast and afternoon tea with specific pairings and serving ideas.
Breakfast and Brunch Ideas
Gluten-free scones make a lovely addition to a breakfast or brunch spread. Fresh or frozen blueberries work well in the recipe, adding bursts of flavor. Pair these scones with a dollop of granulated sugar sprinkled on top before baking for a sweet crust.
Butter and lemon zest are excellent companions for these scones. Serve them with dishes like scrambled eggs or fruit salads to balance the meal. An ideal beverage pairing includes a glass of fresh lemon juice or a smoothie incorporating vanilla extract.
Tea-Time Accompaniments
For a classic tea-time experience, serve gluten-free scones with traditional accompaniments. A generous spread of clotted cream and jam is a must. Consider seasonal jams like strawberry or apricot to complement the scones.
Warm the scones slightly and serve them with a cup of hot tea. Cinnamon and vanilla flavors in the scones can be enhanced with a side of lightly sweetened whipped cream. This pairing transforms a simple tea-time into an indulgent occasion without overwhelming flavors.
Make-Ahead Strategies
Making a large batch of gluten-free scones can be an efficient way to enjoy them fresh whenever desired. Batch cooking helps save time and ensures that scones are readily available.
Freezing
To freeze the scones, allow them to cool completely after baking. Wrap each scone individually in plastic wrap, then place them in a resealable plastic bag or airtight container.
Scones can be stored in the freezer for up to three months.
Thawing
When ready to eat, thaw the scones at room temperature or overnight in the refrigerator before reheating.
Reheating Methods:
Oven: Preheat to 300°F (150°C), place scones on a baking sheet with parchment paper, and warm for 5-10 minutes. Microwave: Place scones on a microwave-safe plate and reheat for 20-30 seconds.
Pro Tips
Label the containers with the baking date to keep track of freshness.
Pre-portion scones for easier meal planning.
Always use parchment paper to prevent sticking.
Freezing gluten-free scones helps maintain their texture and flavor. By following these strategies, scones can be enjoyed fresh and warm at any time.
