
Canning and Preserving Essentials
Maximize Your Farmers' Market Bounty
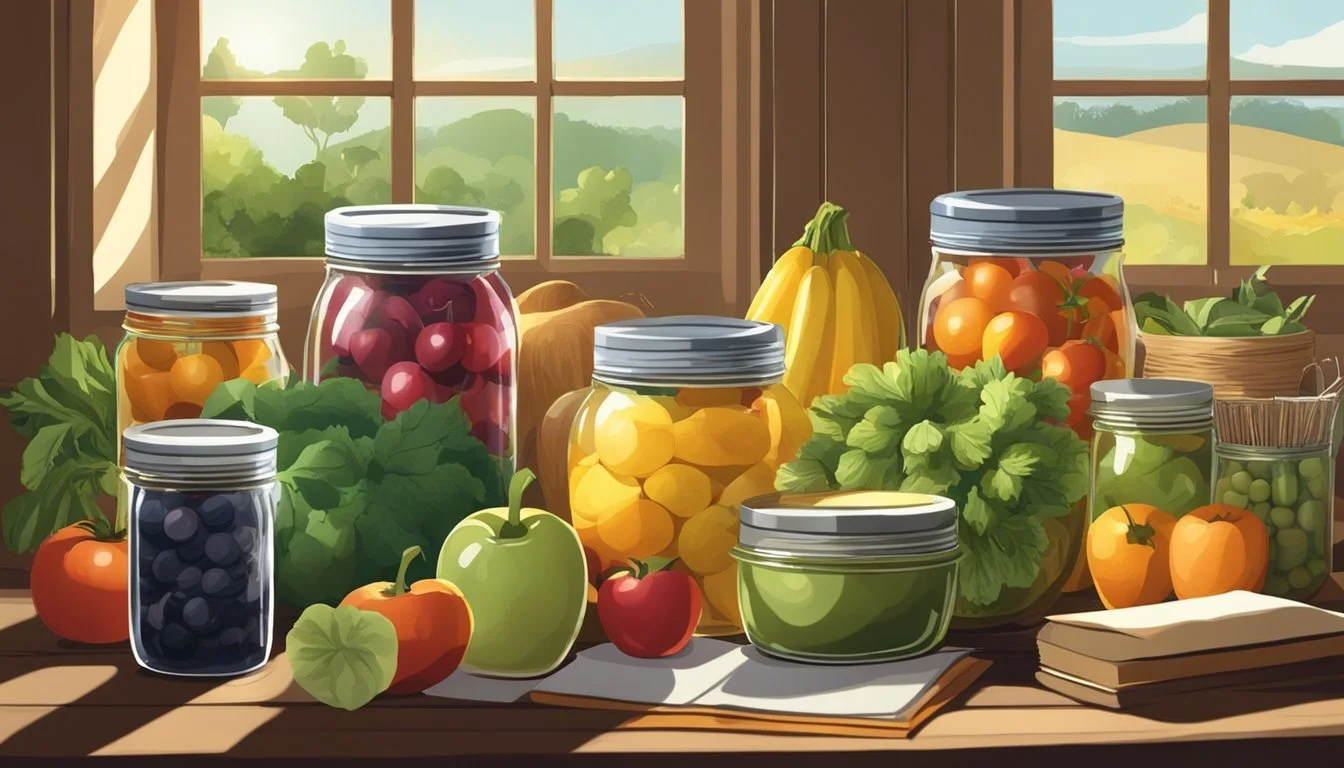
Canning and preserving are time-honored methods that enable individuals to extend the shelf life of fresh produce from farmers' markets and their own gardens. These techniques not only minimize food waste but also allow for the enjoyment of seasonal flavors throughout the year. Engaging in food preservation at home, particularly canning, involves sealing cooked food in jars to create an airtight environment that inhibits bacterial growth.
Farmers' markets provide a bounty of seasonal produce that is often harvested at its peak of freshness. The process of canning this produce shortly after purchase ensures that its nutritional value and taste are captured at their best. Preserving these foods at home also allows for customization of flavors and ensures that no additives or preservatives are included, offering a healthier alternative to store-bought canned goods.
To make the most of a farmers' market haul, home canning requires some basic equipment and knowledge of safe preservation practices. Properly sterilized jars, a reliable canning pot, and a tested recipe are essential components for successful canning. By employing these methods, individuals can enjoy the benefits of their farmers' market purchases well beyond the growing season, bringing a sense of accomplishment and self-sufficiency to their kitchens.
Understanding Canning and Preserving
Canning and preserving enable one to extend the shelf life of produce from farmers' markets, ensuring their availability throughout the year. These methods rely on the principles of acidity and sterilization to prevent spoilage.
The Basics of Canning
Canning is a method of food preservation in which foods are placed in jars or cans and heated to a temperature that destroys microorganisms and inactivates enzymes. This process also removes air from the jar, creating a seal that prevents new microorganisms from entering and spoiling the food.
Water Bath Canning: Suitable for high-acid foods with a pH of 4.6 or lower, this method involves submerging jars in boiling water for a specific amount of time. High-acid foods include fruits, jams, jellies, and pickles.
High-Acid Foods pH Range Fruits 2.0 - 4.5 Tomatoes 3.5 - 4.7 Pickles 3.1 - 4.6
Pressure Canning: Required for low-acid foods with a pH above 4.6, such as vegetables, meats, and poultry. This method uses a specialized pressure canner to reach higher temperatures of 240°F needed to safely preserve these foods.
The Basics of Preserving
Preserving, in a broader sense, includes a range of methods aside from canning – like drying, freezing, and fermenting. The fundamental goal is to slow down the decay and spoilage of food.
Methods rely on reducing the availability of water, lowering the pH, or both to inhibit bacterial growth.
Acid plays a crucial role in preserving. Vinegar or lemon juice is often added to increase the acidity, particularly in pickling processes.
Understanding the acidity level is essential for determining the appropriate canning method, as the risk of foodborne illness is higher with low-acid foods if not processed correctly.
Getting Started
Embarking on the canning and preserving journey requires a combination of selecting high-quality produce and ensuring that one has all the essential equipment. This section breaks down the fundamentals of beginning your preserving process, focusing on the choice of fresh ingredients and the necessary tools for both canning and preserving.
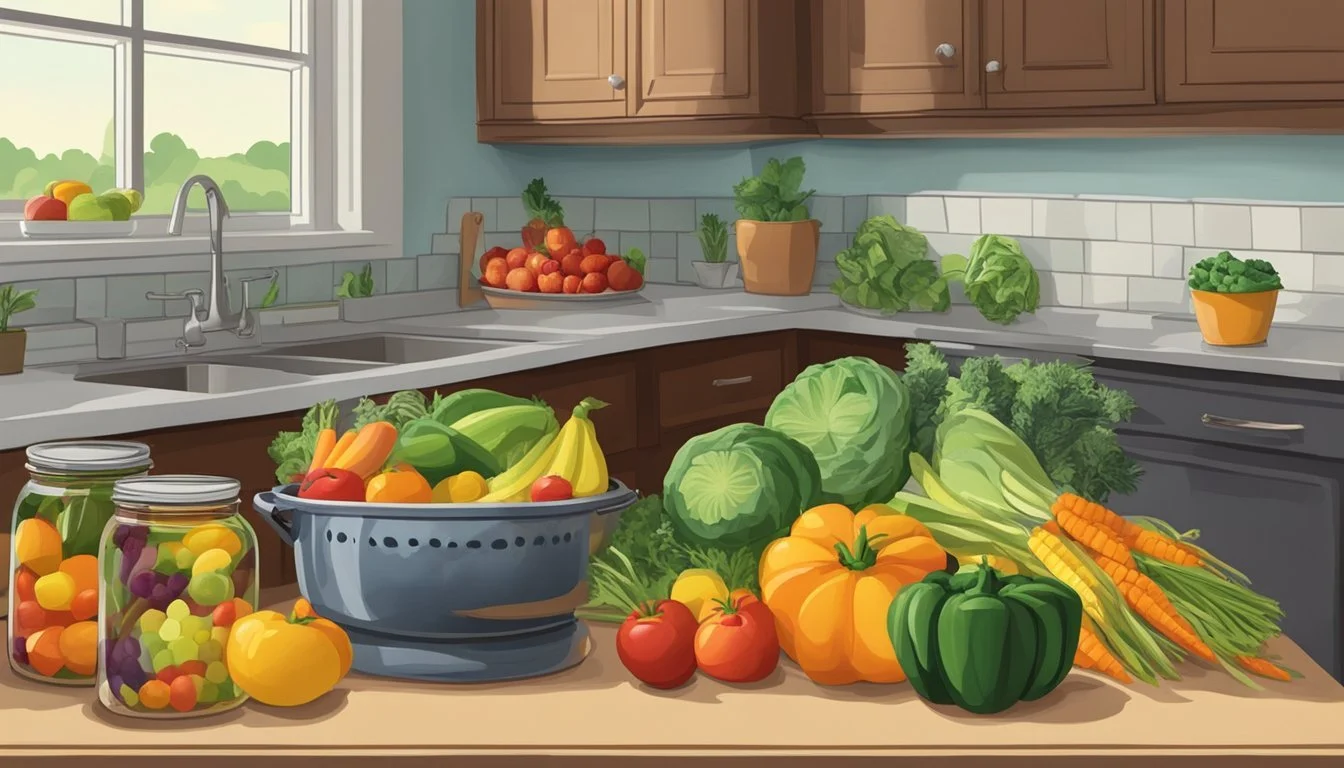
Selecting the Best Produce
One should select the freshest, in-season fruits and vegetables for canning and preserving. It's important to look for produce that is free of bruises, mold, and other signs of decay as these can affect the quality and safety of the preserved food. Whether one is working with green beans, cucumbers (how long do cucumbers last?), peaches, or tomatoes, ensuring that the produce is at its peak ripeness will provide the best taste and nutritional value.
Essential Equipment for Canning
To start canning, one will require the following tools:
Canning jars: Available in a variety of sizes; regular or wide-mouth.
Lids and bands: Crucial for creating an airtight seal.
Water bath canner (for high-acid foods) or pressure canner (for low-acid foods): Ensures safe processing and preservation.
Jar lifter or tongs: For safely removing hot jars.
Wide-mouth funnel: Helps in transferring food into jars without spillage.
Utilizing high-quality jars and a reliable canner are keys to ensuring that canned goods are processed safely and maintain their intended flavor.
Essential Equipment for Preserving
In addition to canning-specific equipment, preserving foods may require:
Large pots for sterilizing jars and cooking jams, pickles, or chutneys.
Ladle: Used to pour preserves into jars.
Non-metallic spatula: To remove air bubbles and ensure even distribution within the jars before sealing.
Having these tools at hand will make the preserving process smoother and more efficient, leading to better-preserved flavors and textures of the final product.
Preparation Techniques
Before one can begin the process of canning, proper preparation is crucial. One must ensure that all produce is thoroughly cleaned and prepped, and that jars and lids are ready for use.
Cleaning and Preparing Produce
Produce should be washed under cold running water to remove any dirt and pesticides. For vegetables, it's important to then trim off any bruised or damaged portions. Most fruits also require pitting or coring, and some might need peeling. A clean kitchen towel can be used to gently pat them dry after washing.
Wash all fresh produce thoroughly.
Peel, pit, or core fruits where necessary.
Trim any damaged or inedible parts from vegetables.
Dry the produce to ensure no excess moisture is introduced into the jars.
Preparing Your Jars and Lids
Jars must be sterilized to eliminate any bacteria that could spoil the food. This can be achieved by boiling the jars for 10 minutes in a boiling water bath. After boiling, one should place them on a clean surface to dry. The lids should not be boiled but instead washed in hot, soapy water and then rinsed thoroughly. It's critical that the sealing compound on the lids is not compromised by overheating.
Sterilize jars by boiling for 10 minutes.
Wash lids in hot soapy water and rinse—do not boil.
Heating your jars before filling them with hot food helps prevent the jars from breaking when the hot food is added. Jars should remain hot until they are filled. Similarly, lids should be prepared by checking for any defects and ensuring they fit properly.
Step Equipment Process Sterilizing Jars, boiling water bath Boil jars for 10 minutes, then dry. Cleaning Lids Wash with hot soapy water, rinse. Heating for Filling Jars Keep jars hot until they are filled.
Canning Methods
Canning is a process that can be completed using two primary methods depending on the type of food being preserved: water bath canning and pressure canning. Each method requires specific equipment and techniques to ensure a safe and stable product.
Water Bath Canning
Water bath canning is ideal for high-acid foods such as fruits, jams, jellies, and pickles. The process involves:
Preparing Jars: Sterilize canning jars and prepare lids according to manufacturer’s instructions.
Filling Jars: Pack food into jars, leaving appropriate headspace; this varies by product but is generally 1/4 to 1/2 inch.
Sealing: Wipe jar rims, apply lids, and secure ring bands until fingertip-tight.
During processing:
Submerge jars in a pot of boiling water that covers them by at least one inch.
Start processing time once the water returns to a full boil.
After processing, turn off heat and let jars sit for 5 minutes before removing.
Post-processing:
Remove jars using jar lifters, being careful to keep them upright.
Place jars on a towel, ensuring they do not touch each other, and let cool for 12 to 24 hours.
Pressure Canning
Pressure canning is required for low-acid foods such as meats, vegetables, and some tomatoes, to ensure all bacteria are destroyed:
Preparing Jars: Sterilize and prepare jars and lids.
Filling and Sealing: Fill jars with food and liquid, leaving the necessary headspace, and securely seal.
During processing:
Fill the pressure canner with 2 to 3 inches of water and place filled jars on the rack.
Lock the canner lid in place and vent steam for 10 minutes before closing the vent.
Bring the canner to the appropriate pressure, then start processing time.
Post-processing:
Once processing is complete, turn off the heat and let pressure return to normal without forcing it down.
Venting steam is crucial before opening the lid.
Remove jars and cool as per water bath canning instructions.
Both methods require the use of a processing time recommended for the specific food being canned, and a period for the jars to cool and sealing to occur. Proper canning techniques ensure food preservation that is both safe for consumption and extends the bounty of seasonal produce all year long.
Preserving Recipes and Techniques
Fresh produce from the farmers' market offers a bounty of flavors that can be preserved through canning and preserving techniques. These methods lock in freshness and provide a means to enjoy seasonal items year-round.
Making Jams and Jellies
To preserve the sweetness of fruits, jams and jellies serve as delicious options. They typically require fruit, sugar, and pectin to achieve a firm yet spreadable consistency. For example, a Strawberry Jam recipe might include mashed strawberries, sugar, and pectin brought to a boil and then processed in sterilized jars.
Ingredients for Strawberry Jam:
Strawberries
Sugar
Pectin
Steps:
Mash cleaned strawberries.
Combine with sugar and pectin, boil thoroughly.
Pour into jars and process.
Creating Pickles and Relishes
Pickling is a process that uses a brine of vinegar, water, and salt, along with various seasoning, to preserve foods. Cucumbers are a classic choice for making crisp pickles. For making relishes, vegetables are finely chopped and pickled in a similar vinegar-based solution, which can then be used to enhance the flavors of other dishes.
Basic Pickle Brine:
Vinegar
Water
Salt
Typical Pickling Steps:
Cut and prepare cucumbers.
Create brine and season as desired.
Submerge cucumbers in brine and process.
Create Sauces and Chutneys
Chutneys offer a robust flavor profile, combining fruits like tomatoes, spices, vinegar, and sugar for a savory-sweet preserve. These condiments pair well with cheeses, crackers, and meats. A Tomato Chutney exemplifies using excess tomatoes to make a versatile sauce.
Tomato Chutney Components:
Ripe tomatoes
Spices (e.g., ginger, cinnamon)
Vinegar
Sugar
Chutney Creation Process:
Cook down tomatoes with spices, vinegar, and sugar.
Simmer until thickened to desired consistency.
Ladle into jars and process for long-term storage.
Special Considerations

When preserving the abundance of a farmers' market haul, special attention must be given to low-acid foods and the canning of meats and seafood, due to their specific requirements for safe processing.
Preserving Low-Acid Foods
Low-acid foods, such as vegetables, some tomatoes, figs, and all meats, have an acidity level of pH above 4.6. These foods require a pressure canner for safe preservation because the high temperature of 240°F (116°C) achievable by this method is necessary to eliminate botulinum spores.
Acidity Level: It's crucial to adjust acidity with lemon juice or vinegar, as needed, especially for tomatoes.
Equipment: A pressure canner with either dial gauge or weighted gauge ensures the correct pressure is achieved.
Canning Meats and Seafood
Canning meats, poultry, and seafood requires diligent attention to both processing times and pressure levels, due to the risk of spoilage and food poisoning. A pressure canner is an essential tool for safely canning these food items.
Preparation: All meat should be handled with care, ensuring it's fresh and trimmed of excess fat.
Pressure Levels: The pressure must stay consistently at the recommended level during the entire process. For dial gauge pressure canners, it's recommended to check the accuracy of the gauge annually.
Maintaining tight quality and safety controls during the canning process is not just recommended, but necessary for preventing foodborne illnesses.
Safety and Storage
When preserving the bounty from farmers' markets, safety in processing and proper storage are crucial to ensure that food remains healthy to consume and retains its quality over time.
Avoiding Contamination
Contamination in canning can lead to the growth of bacteria such as Clostridium botulinum, which causes botulism, a dangerous form of food poisoning. To prevent this:
Sterilize canning jars and lids by boiling them for at least 10 minutes.
Use the correct canning method (water bath canning for high-acid foods, pressure canning for low-acid foods) to eliminate harmful bacteria.
Inspect jars for chips and cracks; damaged jars can prevent a proper vacuum seal.
Eliminate air bubbles in the food before processing by sliding a non-metallic spatula inside the jar and gently pressing the food, to help ensure a tight seal.
Follow up-to-date, research-based instructions from trusted sources such as the National Center for Home Food Preservation (NCHFP) for processing time and pressure.
Storing Canned and Preserved Goods
Once sealed and cooled, preserved foods are generally considered shelf-stable. To maintain safety and quality:
Store canned goods in a cool, dark place preferably between 50°F and 70°F.
Check seals before storing; the lid should be concave and should not move when pressed.
Label jars with the contents and date of canning to keep track of the storage time.
Consume within one year for best quality and check for signs of spoilage before use.
Remember that improper storage can lead to the deterioration of the seal, increasing the risk of contamination and spoilage.
By adhering to these guidelines, one can enjoy their farmers' market haul year-round with confidence in the safety and quality of their preserved foods.
Beyond Canning: Other Food Preservation Methods
Farmers' market produce can be preserved for long-term storage through various methods beyond traditional canning. These techniques not only reduce food waste but also allow you to enjoy seasonal flavors year-round.
Drying and Freezing Produce
Drying is one of the oldest forms of food preservation. By removing moisture, drying inhibits the growth of bacteria, yeasts, and molds that typically spoil food. Here's how one can dry foods effectively:
Fruits: They should be sliced uniformly and placed on drying racks in a well-ventilated area or a dehydrator.
Herbs and Vegetables: These should be dried until they become brittle, ensuring they are free of any moisture which could lead to spoilage.
Freezing preserves food almost in its original state with minimal nutrient loss and is excellent for many fruits and vegetables. The process is straightforward:
Blanching: Most vegetables should be quickly blanched in boiling water and then plunged into ice water to stop the cooking process before freezing.
Preparation: All produce should be thoroughly washed, dried, and cut into portion sizes as needed before being frozen.
Fermenting and Curing
Fermenting significantly extends the shelf life of fresh produce while enhancing flavors and nutritional value. Here is what one needs to keep in mind:
Environment: An anaerobic environment is necessary for successful fermentation, which can be achieved using air-locked jars.
Salt and Temperature: Salt concentration and room temperature are critical in controlling the fermentation process.
Curing involves preserving meats through methods like salting, smoking, or drying. Some key points include:
Temperature and Humidity: Curing usually requires precise control of temperature and humidity to prevent the growth of unwanted microorganisms.
Time: Depending on the method, curing can take several days to months, which allows for the development of flavor and texture.
Resources and Continuing Education
The journey from novice to proficient food preserver is paved with reliable resources and continuous learning opportunities. Aspiring home canners can significantly benefit from established guides, references, and community programs designed to ensure safe and efficient food preservation practices.
Guides and References
The National Center for Home Food Preservation offers comprehensive information on various food preservation techniques. It is a critical resource for those seeking to expand their knowledge. The USDA's Complete Guide to Home Canning is a valuable publication that presents research-based information on canning, which is vital for both beginners and experienced canners striving for safe practices.
Key Online Resources:
National Center for Home Food Preservation Website
USDA Complete Guide to Home Canning
Workshops and Community Programs
Educational opportunities such as workshops and community programs are hosted by Cooperative Extension programs across the United States. These sessions are ideal for hands-on learning and direct interaction with experts in food preservation. They often cover essential topics, including:
Water bath canning
Pressure canning
Blanching and freezing
By participating in these educational opportunities, individuals can connect with the canning community, further enhancing their skills in home food preservation.
