
How to Create an Organized Kitchen Canning Station
Essential Tips for Efficiency

Home canning is a time-honored method of food preservation that allows individuals to enjoy the bounty of their gardens or local markets year-round. To create an organized kitchen canning station, it's essential to consider both functionality and safety. A well-designed space with the right equipment can make the canning process more efficient and enjoyable. The key is to establish a station that caters to the specific tasks involved in canning, from preparation to processing and storage.
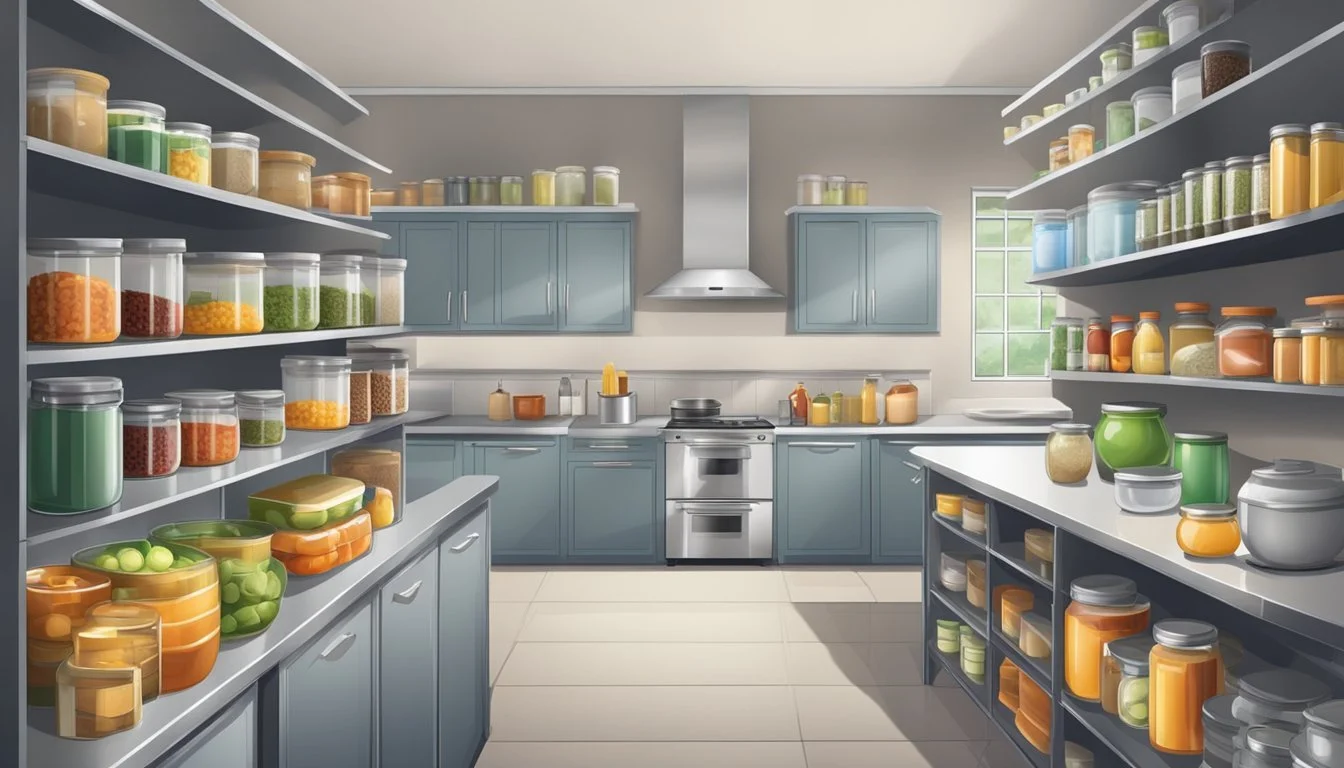
An organized canning station starts with a strong vent hood to manage steam and heat, especially during the peak summer canning season. Gas or propane-fired cooktops are preferable due to their consistent heat output, crucial for maintaining the precise temperatures required for safe canning. Including a pot filler can also add convenience by providing easy access to water right above the stove, eliminating the need to carry heavy pots of water. Adequate counter space for prep work and a sturdy area for filling jars are also important components of an efficient canning station.
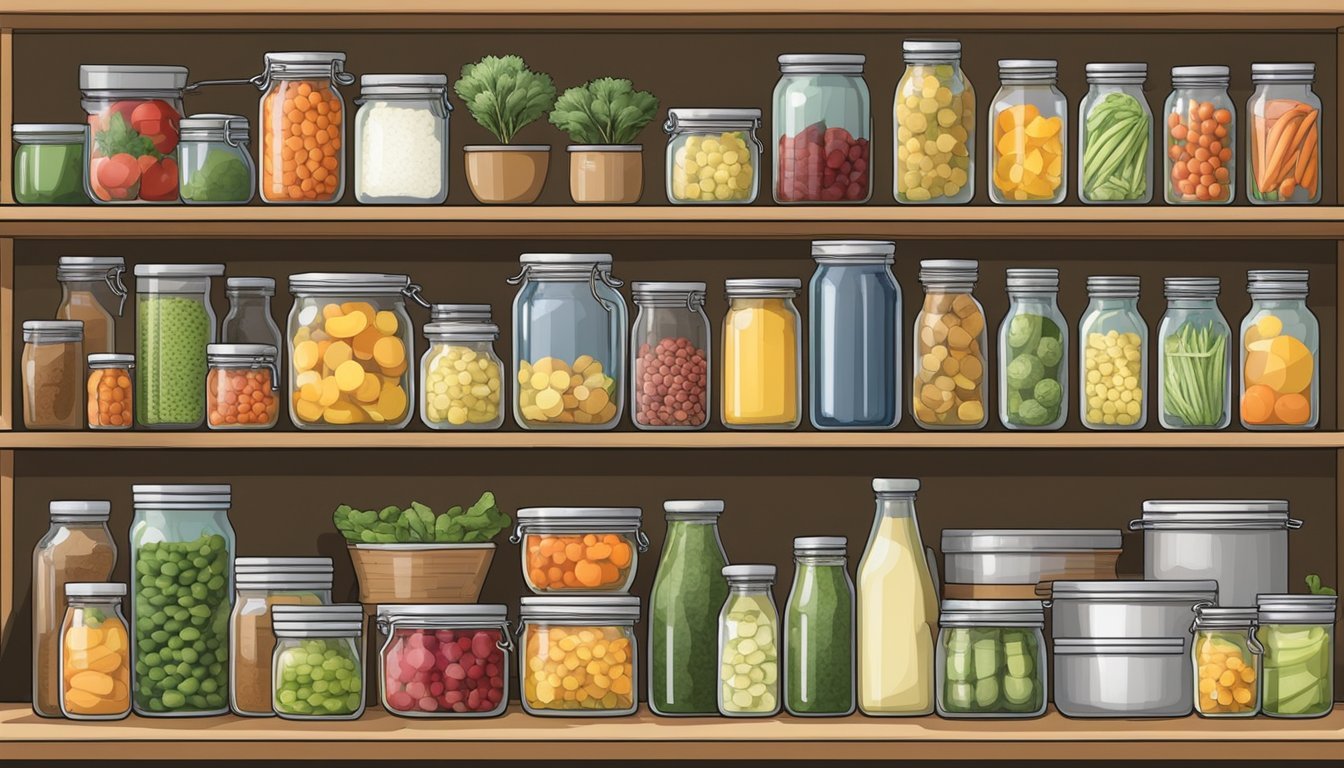
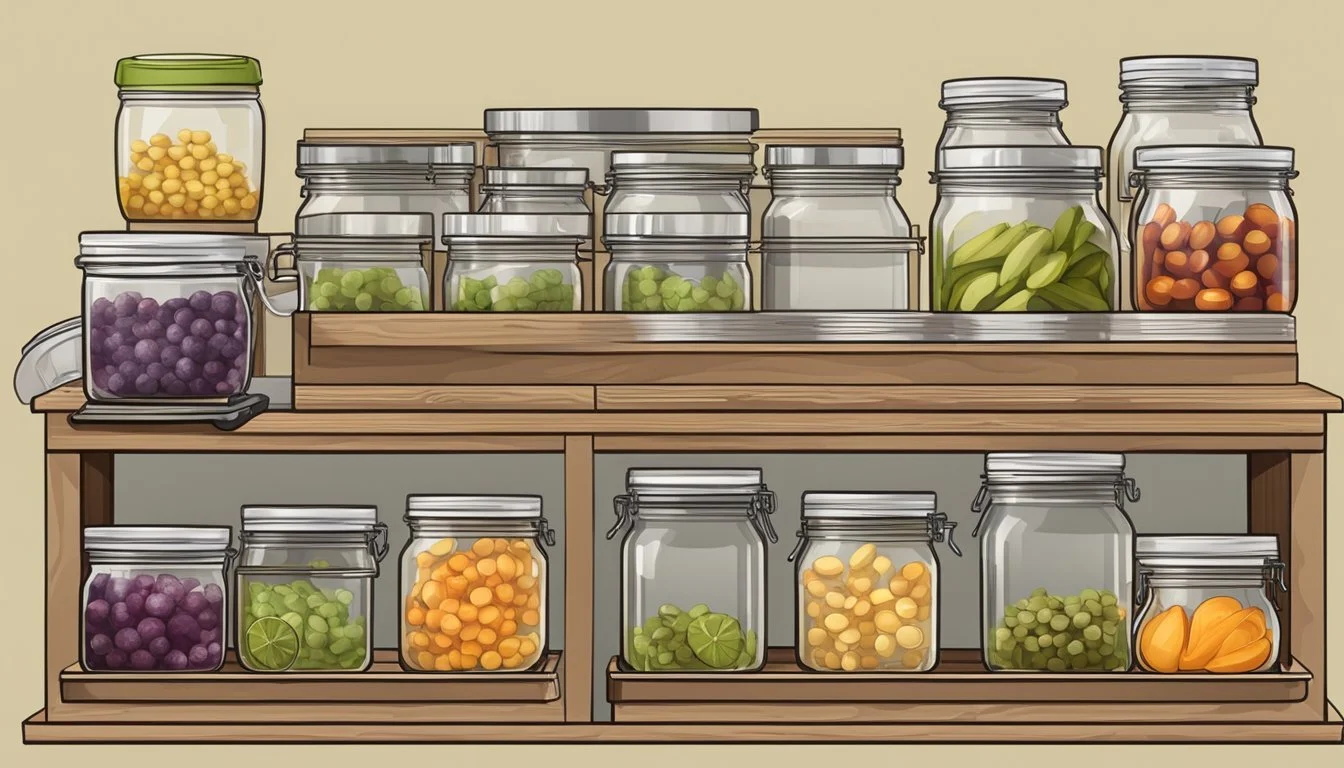
Storage solutions are a critical aspect of any canning station. Clearly labeled jars ensure easy identification of contents and dates, with sturdy shelving to support the weight of canned goods. Dry ingredients used in canning should be stored in cool, dry places, and if possible, within reach of the workspace to streamline the canning process. By taking these factors into account, one can set up a canning station that combines practicality with a touch of personal style, making it an inviting and productive corner of the kitchen.
Designing the Canning Station
Designing an efficient kitchen canning station requires thoughtful consideration of location, counter space, and storage. A well-organized canning station streamlines the preservation process, ensuring convenience and safety.
Selecting the Location
The location of the canning station is critical for functionality. One should opt for a space near a heat source, as canning involves prolonged cooking. Additionally, proximity to a water source and ventilation is advantageous. It is beneficial to choose a location away from the main cooking area to avoid congestion, especially if a pot filler is not an option. A kitchen island, if space allows, can serve as an ideal spot for a canning station.
Optimizing Counter Space
Counter space is essential for preparing, filling, and sealing jars. Ample counter space allows for an organized workflow, allocating areas for different stages of canning. Use materials that can withstand heat and moisture, such as granite or stainless steel. An organized canning station might include:
A designated area for washing produce
Space for chopping and prepping ingredients
A section for filling jars
An area to seal and store jars before moving to permanent storage
One can also consider installing a pull-out surface for additional temporary workspace.
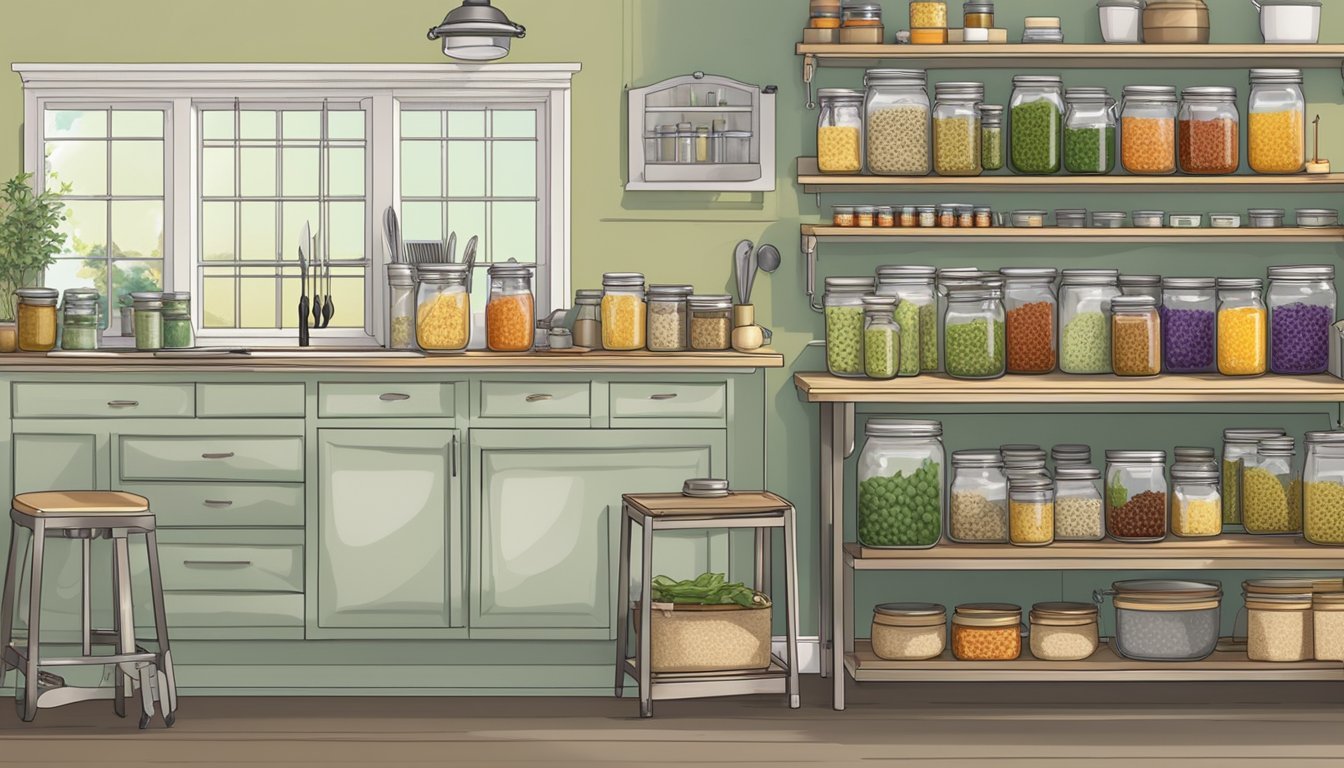
Incorporating Sufficient Shelving
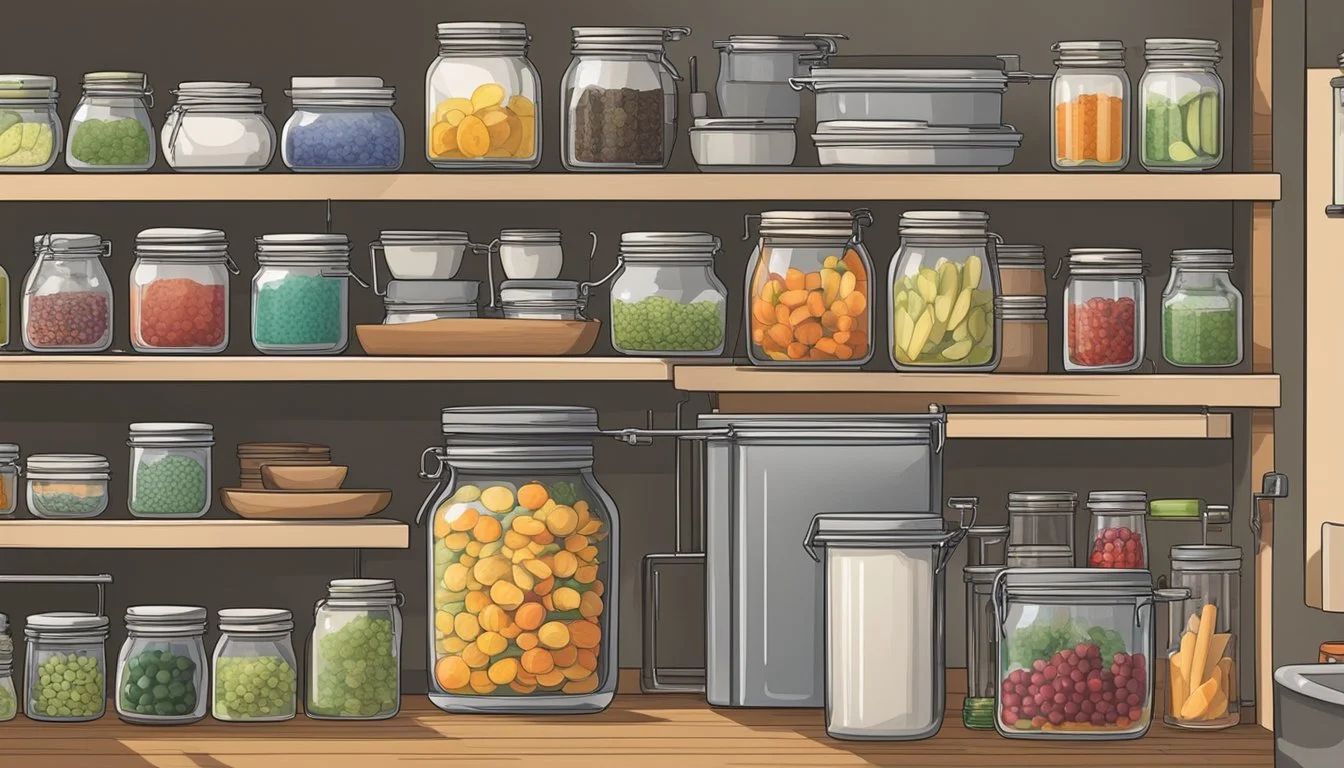
Shelving and storage solutions are crucial for keeping canning tools and supplies organized. Adjustable shelves in cabinets or a walk-in pantry allow for the storage of canning pots, jars, and utensils. Open shelving may provide easy access and visibility. It is essential to:
Utilize vertical space for storing jars both pre- and post-canning process
Have sturdy shelving to support the weight of filled jars
Keep commonly used spices and ingredients within reach
Ensuring that the shelving is made from materials resistant to moisture and is easily cleanable will help maintain hygiene and prolong the life of the canning supplies.
Essential Canning Equipment
Creating an organized canning station requires having the right equipment at hand. The following are the essentials for efficient canning, ensuring safety and longevity of preserved foods.

Canning Jars and Lids
Canning requires specific types of jars, commonly known as Mason jars, which come in various sizes to suit different needs. Each jar must have a corresponding lid and band; the former is integral to creating a vacuum seal, and the latter secures the lid during the processing. It's important to check for chips or cracks in the jars and to use new lids each time to ensure a safe seal.
Canners and Burners
There are two primary types of canners: the pressure canner and the water bath canner. A pressure canner is essential for canning low-acid foods, as it reaches higher temperatures necessary to eliminate botulism spores. A water bath canner is suitable for high-acid foods. One should also ensure their cooking surface, such as a gas cooktop, can accommodate these canners and provide consistent heat.
Canning Utensils and Tools
The right tools make canning easier and safer. A basic list includes:
Jar lifter: To safely remove hot jars from canners
Lid lifter: A magnetic tool to place lids on jars
Canning funnel: For clean and efficient filling of jars
Bubble remover/headspace tool: To eliminate air bubbles and ensure proper headspace
A non-metallic spatula: To distribute contents evenly
Cutting board: Essential for prep work prior to canning
Each tool serves a specific purpose in the canning process and aids in maintaining cleanliness and ensuring the quality of canned goods.
Organizing Canning Ingredients and Supplies
Effective organization is crucial for a smooth canning process. By strategically arranging dry goods, spices, and managing the pantry, one can expedite preparation and ensure that all ingredients and supplies are easily accessible.
Dry Goods Storage
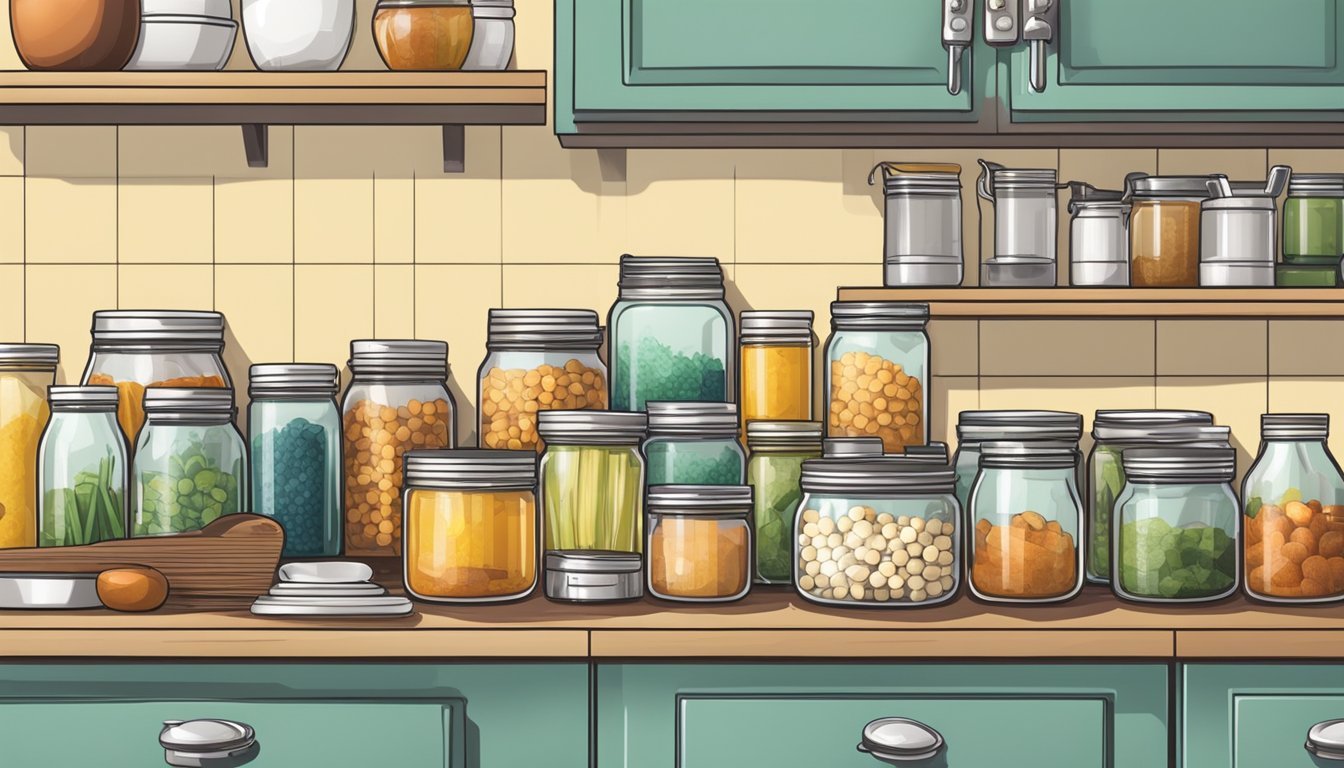
For storing dry goods like oatmeal, flour, and sugar, it's essential to use airtight containers. They should label the containers with the name of the dry good and the date of storage. Shelves or cabinets dedicated to these items will keep them separated from more frequently used foods.
Oatmeal: Store in airtight containers, labeled and dated.
Baking Supplies: Allocate a specific shelf or cabinet section for easy access.
Spice and Condiment Organization
Spices, vinegars, and condiments are pivotal for adding flavor to canned fruits, vegetables, pickles, jams, and more. Use small, clear jars or containers for spices and label each with its name and date. Group similar spices and condiments together, such as all vinegars in one area, to streamline the search process.
Spices: Clear jars, labeled and dated.
Condiments: Group together by type (vinegars, oils, etc.).
Pantry Management
The pantry should be arranged to facilitate the flow of canning activities. Categorize and store canned goods such as fruits, vegetables, preserves, salsas, and chutneys for ease of access. Ensure snacks and other non-canning items are in a separate area to avoid confusion.
Preserves & Jams: Group together and front-facing for easy grabbing.
Canned Goods: Store by category and rotate stock using the FIFO (First In, First Out) method.
Canning Process and Techniques
Canning is a methodical approach to food preservation that requires precision and understanding of various techniques. Here's how one can maintain an organized kitchen canning station with the proper methods and considerations.
Understanding Water Bath Canning
Water bath canning is suitable for high-acid foods, such as fruits, jams, and pickles. The process involves filling sterilized jars with the prepared food, sealing them with lids, and submerging them in a pot of boiling water. The jars must be covered by at least 1 inch of water. After heating, they are processed for a specified time, which varies depending on the recipe and altitude.
Key Steps in Water Bath Canning:
Prepare Jars: Ensure jars are clean and heated.
Fill Jars: Pack food according to the recipe, leaving proper headspace.
Seal Jars: Wipe rims, apply lids, and tighten bands to fingertip tightness.
Process Jars: Submerge in boiling water for the time specified in the recipe.
Cool Jars: Remove jars from water and let them cool undisturbed for 12-24 hours.
Mastering Pressure Canning
Pressure canning is essential for preserving low-acid foods like vegetables, meats, and beans which water bath canning can’t safely preserve. A pressure canner reaches higher temperatures than boiling water, typically around 240°F. This is critical to eliminate the risk of botulism and other foodborne bacteria. Like water bath canning, pressure canning also requires following specific recipe times and pressures.
Key Points in Pressure Canning:
Use Proper Equipment: Ensure the pressure canner is in good working condition.
Vent Steam: Allow steam to vent for 10 minutes before placing the weight or closing the vent.
Monitor Pressure: Keep the pressure constant based on the recipe requirements.
Cool Down Properly: Let the canner cool naturally. Do not hasten the process, as the sudden temperature change can compromise jar seals.
Special Considerations for Outdoor Canning
For those who enjoy summer canning or prefer to keep the heat out of the kitchen, an outdoor canning kitchen can be a great solution. However, outdoor canning requires careful attention to detail, as inconsistent heat sources can affect processing times and seal quality.
Tips for Outdoor Canning:
Consistent Heat Source: Ensure the outdoor burner is powerful enough to maintain a steady boil or pressure level.
Protect From Elements: Use a windscreen if necessary to protect the flame and maintain heat consistency.
Safety Precautions: Keep the canning area free from flammable materials and ensure it is stable.
Equipment Care: Transport jars carefully and keep equipment clean to prevent contamination.
Each canning method serves a purpose and is designed to maximize shelf-life and food safety. By mastering these techniques, one can ensure their canning station operates smoothly and efficiently.
Food Safety and Storage
In a well-maintained kitchen canning station, the paramount priorities are ensuring the longevity of home canned foods and protecting against foodborne illnesses such as botulism.
Prevention of Spoilage and Botulism
Spoilage in canned goods can be avoided by adhering to strict hygiene and preparation standards. This begins with sterilizing canning jars and lids properly before use to eliminate any contaminating microorganisms. Jars must be boiled for 10 minutes and kept hot until ready to be filled.
Here are critical steps to reduce the risk of spoilage and botulism:
Heat Processing: After filling, home canned foods should be processed using a water bath or pressure canner to ensure that any potential Clostridium botulinum spores are deactivated.
Acidity Check: High-acid foods (like fruits) can be processed in a water bath, whereas low-acid foods (like vegetables and meats) require pressure canning.
Seal Check: Inspecting the vacuum seal after processing is vital. The center of the lid should be concave and not flex when pressed. Any signs of spoilage, such as off-odors or bulging lids, indicate the food should not be consumed.
Best Practices for Food Storage
To maximize the shelf life and safety of canned goods, consider the following storage guidelines:
Temperature Control: Store home canned foods in a cool, dry place away from direct sunlight with temperatures ideally between 50°F - 70°F. Avoid placing cans near hot appliances or areas prone to drastic temperature changes.
Labeling: Clearly label jars with the contents and canning date. Use a permanent marker directly on the lid or affix a clear label to the side of the jar.
Food Storage Organization tips:
Visual Accessibility: Arrange jars so that labels are easily read, aligning them in rows on shelves.
First-in-First-out: Organize canned goods so the oldest jars are at the front, ensuring they are used first to prevent spoilage.
Regular Inspection: Periodically check jars for signs of spoilage, such as leaks, rust, or abnormal odors, and remove any compromised goods immediately.
By implementing rigorous food safety measures and organized storage practices, one can extend the shelf life of their canned goods and ensure a safe, enjoyable experience with home preserving.
Advanced Canning Projects
For those ready to take their canning to the next level, advanced canning projects involve precision, patience, and a flare for flavor. These projects often require careful preparation and adherence to safety guidelines to ensure the best quality preserves.
Creating Tomato Sauce and Salsas
Tomato sauce and salsas require the cook to master the balance of acidity and seasoning. Tomatoes should be selected at the peak of ripeness for the best flavor. For tomato sauce, cooks often utilize a food mill or blender to achieve a smooth consistency. The key is to cook the tomatoes down to a thick sauce, monitoring the mixture to prevent burning.
Acidity Check: Ensure the pH level is below 4.6 for safe canning.
Seasoning: Use fresh herbs and spices for a robust flavor.
Salsas mix the brightness of fresh produce with the tanginess of vinegar or lime juice. The preparation process typically includes:
Chopping tomatoes, onions, chili peppers, and cilantro uniformly.
Simmering ingredients to blend flavors.
Adjusting heat levels with various types of peppers.
Canning Fruits and Jellies
Fruit canning and jelly making require an understanding of the natural pectin levels in the fruit and how this affects the setting process. Fruits should be prepared by peeling and coring where necessary and cutting into uniform sizes.
Pectin: Decide whether to add commercial pectin based on the natural pectin content of the fruit.
Sugar: Calibrate the amount of sugar to ensure proper setting without overpowering the fruit's natural flavors.
Jellies are a delicate balance of fruit juice, sugar, and pectin. To create a clear and well-set jelly, the cook should:
Extract juice with a fine mesh strainer or jelly bag.
Combine juice with sugar and pectin, following precise ratios.
Skim off any foam before canning to ensure clarity.
Pickling Vegetables and More
Pickling extends beyond cucumbers; a variety of vegetables can be transformed into tangy treats. The process usually starts with fresh, clean produce and involves a brine made of vinegar, water, and salt, infused with spices and herbs.
Brine Ratio: Maintain a proper balance of vinegar to water for safe acidity levels.
Flavor Profile: Experiment with mustard seeds, garlic, dill, and other spices for unique flavors.
Cooks can pickle by either using a quick refrigerator method for short-term storage or a water bath canning method for extended shelf life. Steps include:
Pack vegetables tightly in jars.
Pour hot brine over the vegetables, leaving appropriate headspace.
Process jars in a water bath canner according to recommended times.
These advanced canning projects allow individuals to preserve the harvest in creative and delicious ways while ensuring the safety and longevity of their canned goods.
Operational Efficiency and Maintenance
Operational efficiency in a canning kitchen is crucial for managing the canning process smoothly, while regular maintenance ensures longevity and safety of the canning equipment. An organized approach to workflow and diligent upkeep of tools can significantly enhance productivity.
Streamlining the Canning Workflow
Design of the Canning Station: The canning station should be set up to allow a smooth transition from one step to the next. Place commonly used items such as jars, lids, and canning utensils on a lazy susan or open shelving to easily access them when needed.
Utilization of Space: Make efficient use of vertical space by installing shelving of varying heights, keeping heavier equipment like the pressure canner and water bath canner on lower, sturdier shelves.
Canning Equipment Layout: Position the propane burner in close proximity to the water bath canner and pressure canner to facilitate easy transfer of jars for processing. Maintain clear counters for prepping and sealing.
Maintenance of Canning Equipment
Cleaning Schedule: Establish a regular cleaning regimen for all equipment, including dispensers and closets used for storage. Check seals and gaskets on canning equipment and replace when worn.
Inspection and Repair: Inspect the propane burner for consistent performance and address any signs of wear or damage promptly. Periodically test the pressure canner gauge to ensure accurate pressure levels are maintained.
Organization of Tools: After each use, clean and store canning tools properly. Use labeled bins or drawers for smaller items to decrease the likelihood of misplacing or damaging them.
Canning in Special Conditions
When canning, it's crucial to consider special conditions such as altitude and processing times to ensure food safety and quality. The canner must adjust methods accordingly to achieve the best results for preserving vegetables and other foods.
Adjusting for Altitude
Altitude has a significant impact on canning because the boiling point of water decreases as elevation increases. This affects the temperature at which foods are processed in the canning jars. For canning at altitudes above 1,000 feet, the canner must increase the processing time or canner pressure to compensate:
For water bath canning, add 1 minute of processing time for each additional 1,000 feet of altitude above sea level.
For pressure canning, the canner must increase the pressure to ensure that the temperature inside the jars reaches a level safe for food preservation. The increase typically ranges from 5 to 15 psi depending on altitude:
Altitude (feet) Pressure (weighted gauge) Pressure (dial gauge) 1,001 - 3,000 15 psi 11 psi 3,001 - 6,000 15 psi 12 psi 6,001 - 8,000 15 psi 13 psi 8,001 - 10,000 15 psi 14 psi
Calculating Processing Times
The canner must precisely calculate processing times when canning different vegetables to ensure safety and prevent spoilage.
For high-acid foods (like fruits), processing times usually do not vary significantly. However, special attention should be paid to the condition and ripeness of the fruit, as this can affect processing times.
For low-acid foods (like many vegetables), processing times can be critical because they require a certain amount of time at the correct temperature to destroy harmful bacteria and enzymes.
A consistent and accurate stopwatch or timer should be used when canning. The processing time starts only when the water returns to a full boil for water bath canning or when the pressure has been reached and stabilized for pressure canning. Any deviation from these specifics can result in under-processed foods, which could be unsafe for consumption.
