
The Ultimate Guide to Seed Saving Screens
Master the Art of Cleaning and Sorting Seeds for Homesteading
In the world of homesteading and gardening, seed saving has become a cornerstone practice for sustainability and self-sufficiency. As gardeners seek to harvest and store seeds for future planting seasons, the process of cleaning and sorting seeds is critical. Seed-saving screens are simple yet essential tools that aid in efficiently separating seeds from the surrounding chaff, leaves, and other debris. By using a set of screens with varying mesh sizes, homesteaders can refine their seed collections, ensuring that only the cleanest and best seeds are kept for future use.
Seed cleaning screens come in different sizes to accommodate the wide range of seed sizes—from the tiny seeds of herbs to the larger beans and peas. The mesh of the screens is carefully selected to allow for the unwanted material to fall through while keeping the desired seeds on the screen. This method complements other seed cleaning steps such as threshing and winnowing, often resulting in a more refined seed product.
Furthermore, the practice of saving seeds with these screens is not just a cost-effective measure; it is also an investment in preserving plant diversity. Gardeners can select seeds from the healthiest and most desirable plants, fostering a cycle of growth that is tailored to their unique homesteading environment. Seed-saving screens are indeed a fundamental part of the gardening toolkit for those looking to maximize their yield year after year.
Understanding Seed Saving and Its Importance
Before diving into details, one must recognize that seed saving is a practice that preserves plant biodiversity and contributes to garden self-sufficiency. Its significance is more critical than ever in an era of dwindling genetic diversity in commercial seed stocks.
The Benefits of Saving Seeds
Cost-Effectiveness: Seed savers reduce their gardening expenses by not having to purchase new seeds each season. By saving seeds, gardeners harness the capacity to propagate their plants year after year at no extra cost.
Preservation of Genetic Diversity: Heirlooms and open-pollinated varieties represent a treasure trove of genetic diversity. Seed saving allows these genetic lines to continue, which is crucial for plant resilience and adaptability to changing environmental conditions.
Adaptation to Local Conditions: Plants that have grown in a particular location over several generations gradually adapt to those specific conditions. Seed savers can select seeds from the best-performing plants, thereby encouraging these desirable traits in future generations.
Cultural Heritage: Many heirloom varieties carry historical significance and stories that are preserved through seed saving. This practice maintains the cultural heritage associated with certain plants and their traditional uses.
Differentiating Between Open-Pollinated, Heirloom, and Hybrid Seeds
Open-Pollinated Varieties: Seeds from these plants will produce offspring very similar to the parent plant if pollinated by the same or a genetically similar variety.
Stability: Greater genetic stability allows the seed saver to maintain consistent plant qualities over generations.
Biodiversity: They promote biodiversity through a wide gene pool adaptable to many growing conditions.
Heirloom Varieties: These are a subset of open-pollinated plants, but with a history that is often traced back to more than 50 years. They are known for their rich flavors and varied, often unique, characteristics.
Historical Significance: Each heirloom variety carries a unique story, which nurtures a gardener's connection to the past.
Flavor: They are often prized for superior taste that stands out from commercial varieties.
Hybrid Seeds: These are the result of a controlled cross between two different parent plants, bred for specific characteristics like disease resistance or higher yield.
Initial Vigor: Typically, hybrids show increased vigor and uniformity in their first generation — a phenomenon known as "hybrid vigor."
Non-reproducibility: Saving seeds from hybrids generally does not result in plants that are true to type; progeny may vary widely from the parent due to the mixed genetic material.
Understanding these distinctions helps the seed saver make informed choices about which seeds to save, with an eye towards preserving genetic diversity, adapting plants to local ecosystems, and honoring the rich legacies carried by heirloom varieties.
The Life Cycle of Seeds
Understanding the life cycle of seeds is essential for efficient seed saving. It enables gardeners to determine the best times for harvesting and cleaning seeds to ensure viability and purity for future planting.
Annual, Biennial, and Perennial Seed Plants
Annuals such as tomatoes and lettuce complete their life cycle in one growing season. They grow, flower, set seed, and die within this period. This characteristic makes them excellent candidates for gardeners who wish to save seeds without a long-term commitment to the plants.
Biennials require two growing seasons to complete their life cycle. The first season is usually for growth, while flowering and seed production occur in the second. Examples include carrots and beets. They often require overwintering, or at least a simulated cold period, to trigger seed-producing flowering in the second season.
Perennials like asparagus and raspberries may not produce seeds in their first or even second year but can continue to do so for many years once they mature. These plants focus on establishing a robust root system in the early years, which sustains them for prolonged periods of growth and seed production.
Stages of Seed Maturity
The process of seed maturity is crucial to the success of seed saving. For annuals and biennials, recognizing the transition from flowering to seed formation is key. Seed maturity typically consists of several stages:
Development: After pollination, seeds begin to form and gradually mature.
Maturation: During this stage, seeds gain weight and the coats harden; they also often change color to indicate maturity.
Desiccation: Finally, mature seeds lose moisture and prepare for dormancy. At the correct moisture content, seeds are primed for storage.
Harvesting at the right stage of maturity is important for ensuring seeds have a high germination rate when planted in the next season. For perennials, observing the plant over several seasons will provide indicators of when its seeds have reached full maturity.
Seed Harvesting Techniques
In the journey of seed saving, a gardener must understand that the specific timing and methods used for harvesting seeds are pivotal to the success of next season's crop.
The Best Time for Harvesting Different Plant Species
Each plant species has its own ideal time frame for seed harvesting, which is crucial for ensuring seed viability. For instance:
Beans and Peas: These should be harvested for seeds once the pods have matured and dried on the plant.
Corn: Seed corn needs to be left on the stalks until they are completely dry and the husks have turned brown.
Tomatoes, Cucumbers, and Squash: Harvest seeds from these species when the fruit is overripe, as it indicates seed maturity.
A gardener must pay careful attention to seed maturity signs, like color changes and pod dryness, to decide the perfect moment for seed collection.
Methods for Collecting Seeds From Various Crops
The approach to collecting seeds largely depends on whether the crop is a dry-seeded plant, like corn, or a wet-seeded plant, such as tomatoes.
Dry-seeded crops (Beans, Peas, Corn):
Seeds are usually collected by hand-picking the dried pods or husks.
The seeds should then be separated from the chaff through threshing.
Wet-seeded crops (Tomatoes, Cucumbers, Squash):
Cut the overripe fruit open and scoop out the seeds.
Seeds should be rinsed and separated from the pulp using a fine sieve.
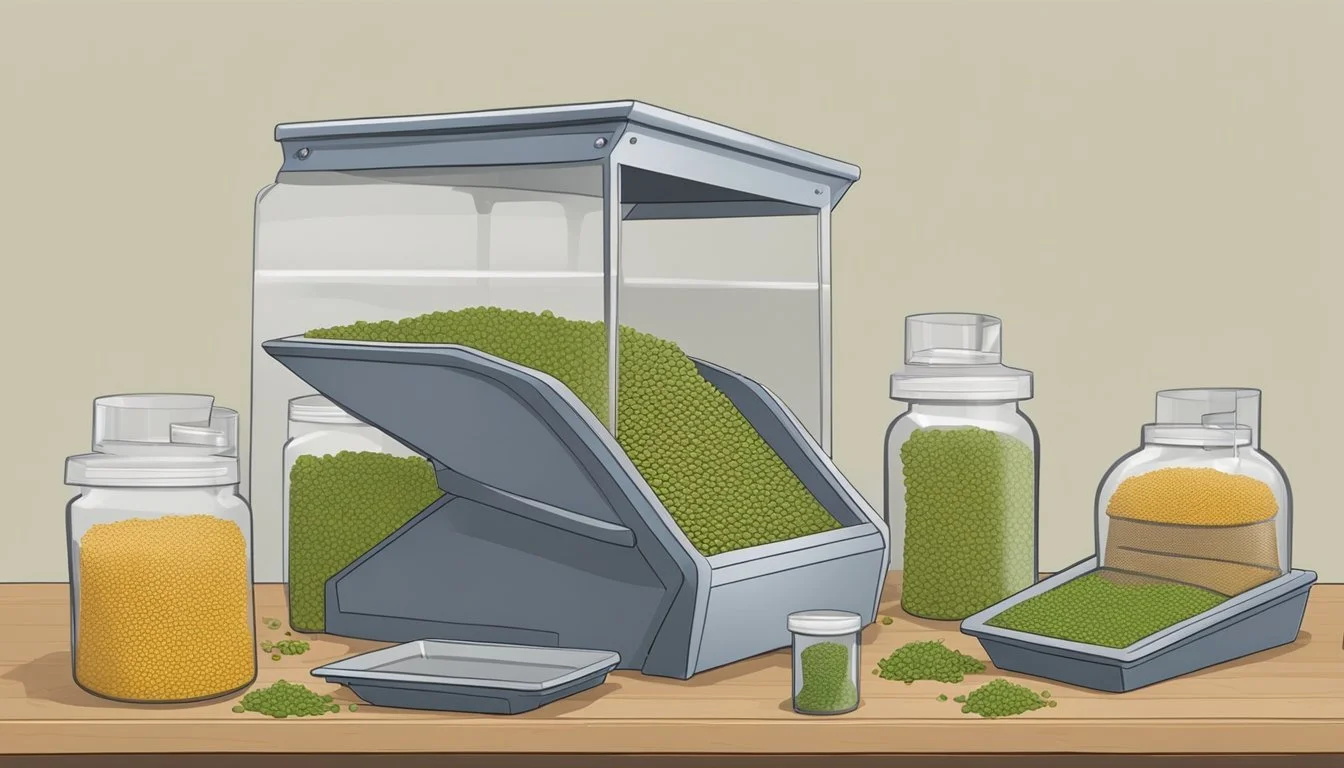
Using screens, a staple tool in seed cleaning, can help in effectively sifting and sorting these harvested seeds, ensuring that only the best are kept for the next planting season.
Initial Seed Cleaning and Processing
In the journey of saving seeds, the initial cleaning and processing phase is fundamental. It involves separating seeds from the plant material and preparing them for storage by employing either dry or wet processing techniques, depending on the type of seeds harvested.
Dry Processing for Dry-Seeded Crops
Dry-seeded crops, such as grains and beans, require dry processing which entails two main steps: threshing and winnowing. Threshing is the act of separating the seeds from the husks or pods. This can be manually done for small quantities by rubbing the seed heads over a screen or using a mechanical threshing machine for larger volumes. Once the seeds are released, winnowing takes over. Winnowing involves removing lighter chaff and debris. One can employ a simple fan or breeze to blow the chaff away from the heavier seeds, which are then collected on a screen or tray beneath.
Threshing methods:
Manual: Rubbing over a screen
Mechanical: Using threshing machines
Winnowing tools:
Natural breeze
Electric fan
Wet Processing for Wet-Seeded Crops
Wet processing is used for seeds that mature within a fleshy fruit, such as tomatoes and cucumbers. The seeds must first be extracted from the fruit, typically by scooping or squeezing. Fermentation might be necessary to remove the seed’s gelatinous coating, which involves soaking the seeds and pulp in water for a few days. This not only cleans the seeds but also helps to eliminate seed-borne diseases. The viable seeds will sink to the bottom while the pulp and non-viable seeds float to the top, facilitating easier separation. Finally, the seeds need to be rinsed and dried thoroughly before storage.
Extraction techniques:
Scooping
Squeezing
Steps for fermentation and cleaning:
Soak seeds and pulp
Allow seeds to ferment for 1-3 days (stirring periodically)
Skim off debris and non-viable seeds
Rinse viable seeds
Dry seeds thoroughly before storage
Advanced Seed Cleaning Techniques
In the journey toward self-sufficiency, advanced seed cleaning techniques play a crucial role. These methods enhance purity and ensure the viability of seeds for future planting.
Winnowing and Its Importance in Seed Cleaning
Winnowing is an ancient process that separates seeds from chaff using air flow. This technique takes advantage of the difference in weight between seeds and debris. Typically, winnowing involves gently tossing the mixture into the air, allowing the lighter chaff to be carried away by the wind, while the heavier seeds fall back down.
Winnow Wizard, a modern apparatus, has revolutionized this process, offering homesteaders a more controlled and efficient way to winnow. Utilizing adjustable air flow, it can be fine-tuned for various types of seeds, improving the seed cleaning quality and reducing the time and effort required compared to traditional methods.
Using Technology: Mechanical Threshers and Specialized Equipment
Advances in technology have led to the development of machines that greatly expedite the seed cleaning process. One such piece of equipment is the belt thresher, which is specifically designed to handle delicate seeds, reducing the risk of damage during the threshing process.
A gravity table is another sophisticated tool that separates seeds by density. It vibrates and uses a fluidized bed technique, segregating seeds from contaminants of similar size but different weights. This ensures that only the healthiest and most viable seeds are retained for planting.
By incorporating these advanced techniques into their seed cleaning regimen, homesteaders can achieve greater efficiency and quality in their seed saving endeavors.
Choosing the Right Screening and Sorting Equipment
Selecting the appropriate screening and sorting equipment is a foundational step in the process of saving seeds. It ensures purity and quality by removing unwanted material and classifying seeds by size.
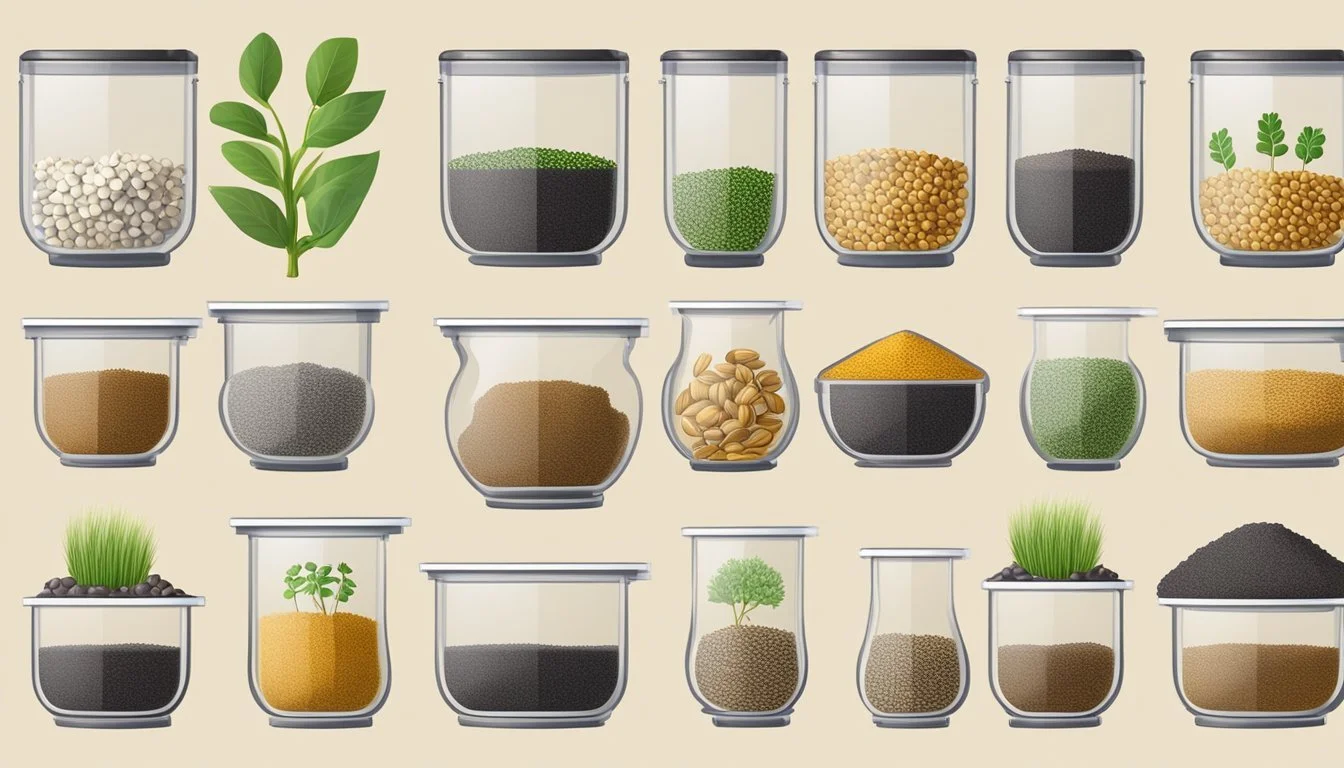
Types of Screens and Mesh Sizes
Screens come in various types with corresponding mesh sizes that cater to different seed sizes. Hardware cloth screens are widely used for their durability and range of mesh sizes. A 1/8" mesh size works well for small seeds, effectively filtering out debris while retaining the seeds. For larger seeds, a 3/8" mesh size is suitable as it allows smaller particles to pass through while keeping the seeds on the screen. Seeds are separated using the principle of gravity, where the heavier seeds remain on the screen, and lighter chaff falls away.
Mesh Sizes for Different Seed Types:
Small seeds: 1/8" hardware cloth
Medium seeds: 1/4" hardware cloth
Large seeds: 3/8" to 1/2" hardware cloth
Strainers may also be used for seed cleaning, but their hole sizes are generally uniform and may not be as versatile as custom-made screens.
DIY Seed Screens and Commercial Alternatives
For homesteaders, creating DIY seed screens can be a cost-effective solution. A simple wooden frame can be constructed to fit the desired size, and hardware cloth of varying mesh sizes can be attached to create a stackable set of screens. This modular setup allows for easy combination and layering according to the seed-cleaning task at hand.
DIY Seed Screen Components:
Wooden frame: 12" x 12" for easy stacking
Hardware cloth: assorted mesh sizes, fitted to frame
Fasteners: nails or staples to secure cloth to frame
On the other hand, commercial seed cleaning screens and equipment offer more advanced features such as adjustable air control, ball tray cleaning technology, and multiple screen configurations, catering to homesteaders who may be managing a wider variety of crops or working with larger volumes of seeds. These units might represent a significant investment but add efficiency and precision to the seed sorting process.
Sorting Seeds by Size, Shape, and Quality
When it comes to seed saving, proper sorting ensures that only the best seeds are preserved for future planting. Effective separation by size, shape, and quality is crucial in establishing a successful homesteading garden.
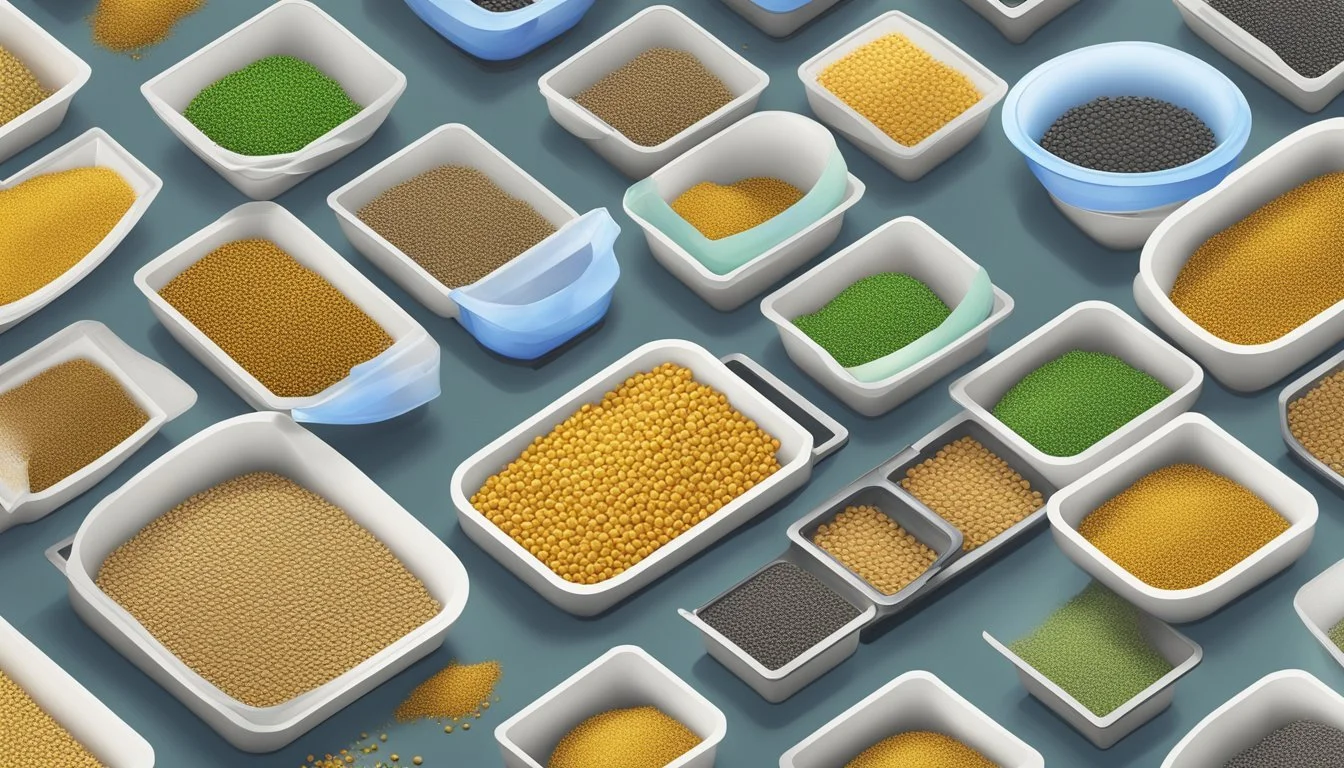
Separating Large Seeds from Small Seeds
Cleaning is the first step in preparing seeds for sorting. After cleaning, one can separate larger seeds from smaller ones using a variety of screens or sieves. Fine mesh screens trap small seeds, while allowing larger seeds to be collected on top. This method improves the overall quality of the seeds selected for storage, by ensuring size uniformity which is particularly beneficial for mechanical planters.
The Role of Shape and Gravity in Seed Separation
The shape of seeds influences how they interact with gravity and separation tools. Round seeds, for example, roll easily on inclined surfaces, which can be utilized to separate them from other shapes. Additionally, gravity tables sort seeds based on both size and density, further improving the quality of the sorting process. This is effective for seeds that are similar in size but differ in shape, allowing for a more refined separation.
Handling and Storage of Cleaned Seeds
After seeds have been cleaned, proper drying and storage are crucial for maintaining their viability and ensuring they can sprout when planted. Attention must be paid to the methods used for drying seeds, as well as the selection of containers and conditions for storing them.
Drying Seeds to Ensure Longevity
Dry seeds thoroughly before storage to prevent mold and decay. Small seeds require 24-48 hours of drying, usually facilitated by airflow from a fan. Larger seeds, like those from pumpkins, need 7-10 days. Using a pillowcase or spreading seeds on newspaper are reliable methods, as they provide good air circulation and absorb excess moisture. The drying process is complete once seeds snap instead of bend when folded.
Appropriate Containers and Conditions for Seed Storage
Store seeds in containers that protect them from moisture and variations in temperature. Commonly used options include:
Paper envelopes, which allow seeds to breathe and prevent condensation.
Mason jars with an airtight seal, ideally placed in a cool and dark location.
Seed storage boxes, compartmentalized for organizing different seed varieties.
Zip-closure bags with all the air pressed out to minimize moisture.
Keep seed storage areas at a consistent temperature, ideally between 32-41°F (0-5°C). The relative humidity in the storage area should be low to discourage any fungal growth. It's important to label each container with the seed type and date of collection to track their age and maintain a rotation system for seed viability.
Common Challenges in Seed Saving and How to Overcome Them
Seed saving can encounter hurdles like contamination and loss of genetic purity. Below, methods to tackle such issues are detailed, promoting a successful seed-saving endeavour.
Dealing with Pests, Mold, and Diseases
Pests pose a significant risk to seed quality and yield. One can manage them through:
Physical barriers: Use fine mesh or netting to shield the seeds from insects.
Clean storage: Store seeds in airtight containers in a cool, dry place to prevent mold and insect infestation.
Mold and disease can ruin saved seeds, making prevention crucial:
Proper drying: Ensure seeds are completely dry before storage.
Desiccants: Include silica gel packets in storage containers to absorb moisture.
Minimizing Cross-Pollination to Maintain Seed Purity
To maintain seed purity, understanding the pollination process is key:
Isolation: Plant different varieties at a considerable distance, especially for wind-pollinated and insect-pollinated plants, to prevent cross-pollination.
Timing: Stagger planting times to ensure varieties do not pollinate simultaneously.
For self-pollinating plants, the risk of cross-pollination is minimal, but still:
Physical barriers: Use bags or cages to enclose flowers of rarer varieties.
Hand-pollination: Sellectively pollinate flowers and then bag them to keep the lineage pure.
It is through these targeted practices that seed savers can overcome common challenges in maintaining the integrity and vitality of their saved seeds.
Seed Saving for Various Types of Plants
Seed saving is a practice that preserves genetic diversity and can lead to more resilient plant varieties. It requires specific techniques tailored to the growth habits and reproductive mechanisms of each type of plant. Below are strategies outlined for saving seeds from flowering plants and common vegetable crops.
Techniques for Saving Seeds from Flowering Plants
Flowering plants exhibit a diverse array of seed pods and dispersal methods. To save seeds effectively, one must wait until the seeds are fully mature. For example, flower heads of plants like marigolds should be dry and brown before seed collection. It's important to note that many flowering plants are hybridized, meaning seeds saved may not produce flowers identical to the parent plant.
Seeds should be carefully extracted from the seed heads or pods and any chaff should be removed. Drying the seeds is crucial; they can be spread out on a clean surface and left in a well-ventilated area away from direct sunlight. Once dry, seeds should be stored in labeled envelopes or containers, kept in a cool, dry place.
Seed Saving Strategies for Common Vegetable Crops
Different vegetables require specific approaches for seed saving:
Tomatoes and Cucurbitaceae Family (squash, melons, cucumbers): These require wet processing. One must scoop out the seeds and the gelatinous surrounding substance, then ferment this mixture for several days, wash, and dry thoroughly before storage.
Peas and Beans: These are among the easiest seeds to save. Allow the pods to dry on the plant until they are brown and brittle. After harvesting, the seeds should be further dried indoors before storage.
Radishes: Plants should be left to bolt and flower. Seed pods can be harvested once they've browned and dried on the plant.
Okra: Seeds are saved from the pods, which should be left on the plant until they are dry and have turned brown.
For each of these vegetables, maintaining pure varieties through adequate isolation or hand-pollination is key, as cross-pollination can affect the purity of future generations. When storing seeds, label them with the crop type, variety, and date of harvest. Seeds are ideally stored in a paper envelope, allowing any residual moisture to escape, within a sealed container in a cool, dry place.
