
The Ultimate Guide to Seedling Trays and Pots
Mastering Indoor Planting for Homesteaders
Starting seeds indoors can be an incredibly rewarding endeavor for homesteaders, providing a head start on the growing season and the opportunity to cultivate a wider variety of plants. Choosing the right seedling trays and pots is crucial to the success of these tender beginnings. These containers serve as the initial home to young plants, where they must find the adequate space, support, and environment to germinate and grow strong enough to eventually be transplanted outdoors.
Seedling trays, often featuring individual cells to house seeds, allow the homesteader to maximize space and manage numerous seedlings simultaneously. Alternatively, pots offer a bit more room for root development for larger or more delicate seedlings that require isolation. Both options aid in the control of soil quality, moisture levels, and plant handling. The key is to match the tray or pot to the specific needs of the plant species being started.
Decisions around seed starting containers can also have implications on a plant's health and growth rate. Considerations such as drainage, material, and size can either impede or enhance the development of the seedlings. Properly selected trays and pots ensure that the young plants are positioned to thrive, setting the stage for bountiful gardens and robust crops in the homesteading milieu.
Understanding Seedling Trays and Pots
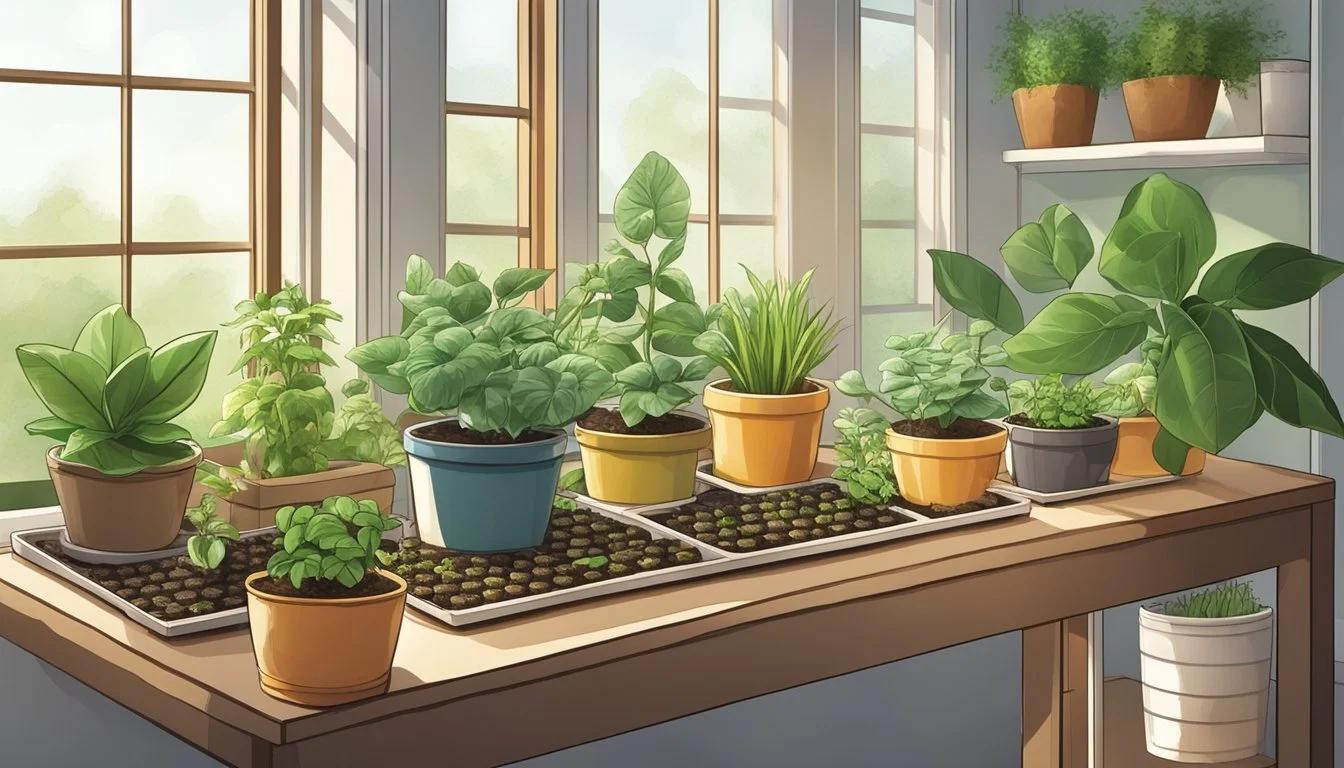
When starting seeds indoors, selecting the appropriate containers is crucial for the success of young seedlings. Seedling trays and pots come in various materials and sizes to accommodate the needs of different plant species.
Cell trays, typically made of plastic, are a popular choice as they keep seedlings neatly organized and make it easy to monitor their growth. These trays are divided into individual compartments or "cells", with sizes ranging from 6 up to 48 cells per tray. These cells provide sufficient space for each seedling to develop without competition for nutrients and light.
For those seeking an eco-friendlier option, peat pots and newspaper pots are biodegradable and can be planted directly into the soil, minimizing root disturbance. Similarly, repurposed egg cartons and toilet paper rolls serve as cost-effective and biodegradable pots that can start seedlings before transplanting.
It's vital to ensure that the selected containers have adequate drainage holes. Proper drainage prevents waterlogging, reducing the risk of root rot and fungal diseases.
Lastly, the choice of potting mix is important to ensure seedlings receive the required nutrients. A lightweight and nutrient-rich potting mix is optimal for seed starting, promoting better root growth and aeration.
Container Type: Cell Trays, Biodegradable: No, Reusable: Yes, Drainage: Yes
Container Type: Peat Pots, Biodegradable: Yes, Reusable: No, Drainage: Yes
Container Type: Newspaper Pots, Biodegradable: Yes, Reusable: No, Drainage: Custom
Container Type: Egg Cartons, Biodegradable: Yes, Reusable: Varies, Drainage: Custom
Container Type: Toilet Paper Rolls, Biodegradable: Yes, Reusable: No, Drainage: Custom
Investing in quality seed starting supplies such as trays and pots, contributes significantly to the development of healthy seedlings, laying the foundation for a successful and bountiful indoor garden.
Essentials of Seed Starting
To ensure your seeds flourish into healthy seedlings, essential factors such as selecting appropriate seeds, preparing the right soil mix, and understanding watering, heating, and lighting needs must be considered.
Choosing the Right Seeds
Selecting seeds that match the local growing season and are within the suitable timeframe relative to the last frost date is crucial. It's imperative to read the seed packet instructions carefully for specifics on germination time and ideal planting conditions. Opt for a variety of vegetable seeds, flowers, and herbs that are known to thrive indoors during the initial growth stages.
Preparing the Seed Starting Mix
A high-quality seed starting mix is essential for good aeration and moisture retention. It often comprises a blend of peat moss, perlite, vermiculite, and sometimes a bit of compost. This soilless mix provides a clean, disease-free environment for seedlings. Potting soil can be used if it is specifically formulated for seed starting. Prepare the mix by ensuring it is moist but not waterlogged before filling your trays or pots.
Importance of Proper Watering Techniques
Seedlings require consistent moisture to germinate successfully. Use a spray bottle or watering can to gently water the soil, preventing disturbance of the seeds. Bottom watering is a technique where water is poured into a tray, allowing the soil medium to absorb moisture from below, reducing the risk of overwatering.
Providing Adequate Heating
Seedling heat mats or heating mats can improve germination rates by maintaining a consistent soil temperature, especially important for warm-season crops that require extra warmth. These mats typically help in regulating the temperature to be a few degrees above room temperatures, which is ideal for most seeds' germination.
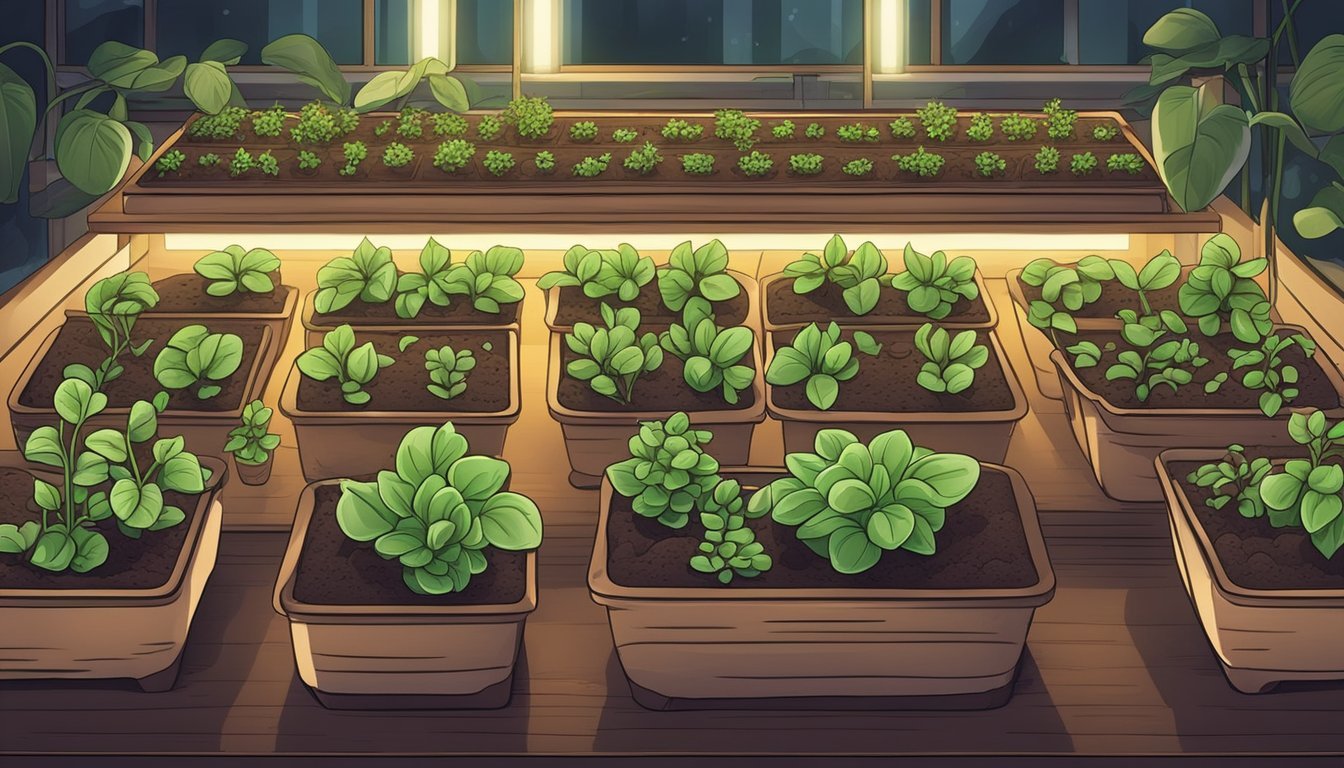
Ensuring Optimal Lighting
After seeds have sprouted, providing enough light is essential for their growth. A grow light or fluorescent lights positioned a few inches above the seedlings can mimic natural sunlight, allowing for about 12-16 hours of light per day. LED grow lights are also an excellent option for their energy efficiency and brightness that supports indoor seed starting. Rotate the trays regularly to ensure even exposure and prevent seedlings from leaning towards the light source.
Remember to adjust height as plants grow to prevent leggy growth and ensure strong, healthy development.
Monitoring and Controlling Humidity

Controlling humidity is critical for seedlings as it directly influences the germination rate and reduces the risk of diseases such as damping off. An optimal moisture level is crucial for healthy seedling growth.
Using Humidity Domes and Misters
Humidity domes are clear plastic covers that fit snugly over seed trays, creating a micro-environment with a higher humidity level. This is particularly important during the early stages of germination when the seedling requires a consistent moisture level. It's advisable to start with a lower humidity setting and increase as the seedling grows. Gardeners should use a mister to lightly mist the soil surface, ensuring the medium stays moist but not waterlogged, to prevent damaging delicate seedling roots.
Recommended Practice:
Start with domes over each tray and monitor daily.
Use a mister to gently dampen the soil surface as needed.
Maintaining Air Circulation
While high humidity is necessary, maintaining proper air circulation is just as important to prevent fungal growth and diseases like damping off. Gardeners should ensure that there is a steady but gentle airflow around the humidity domes to exchange air and prevent stagnation. This can be achieved by slightly opening the vents on the humidity domes if available or periodically removing the domes for short periods. Such practices provide the seedlings with fresh air and help to regulate the moisture levels.
Ensuring Good Airflow:
Open vents on domes or remove domes briefly.
Position fans to create a gentle airflow around the trays, avoiding direct drafts on the seedlings.
Seedling Care and Management
Proper care of seedlings is paramount to ensure their growth into strong, healthy plants. Recognizing each growth stage, avoiding common mistakes, and preparing for the transition outdoors can significantly impact their success.
Identifying and Managing Seedling Growth Stages
The germination process starts with a seed sprouting its cotyledon, or seed leaves, which are not true leaves but serve to begin the process of photosynthesis. Once the true leaves emerge, the seedlings enter a new phase of development where they require more light and nutrients. Gardening enthusiasts should adjust water and nutrient levels appropriately during these stages to promote robust growth.
Cotyledon stage: Provide consistent moisture and warmth.
True Leaf stage: Increase light exposure and start a regular fertilizing schedule.
Preventing Common Seedling Mistakes
A range of issues can plague seedlings, but most mistakes are preventable. Overwatering can lead to fungal diseases and leggy seedlings, while underwatering can stunt growth. To prevent damping off, a fatal fungal infection, ensure proper air circulation and avoid overcrowding.
Mistake: Overwatering
Consequence: Fungal diseases, weak growth
Prevention: Monitor soil moisture, use well-draining pots
Mistake: Underwatering
Consequence: Stunted growth
Prevention: Regular check-ups, consistent watering schedule
Hardening Off Before Transplanting
Hardening off is the process of gradually introducing indoor seedlings to outdoor conditions. This step is crucial to prevent shock that can weaken or kill the plant. Start by placing seedlings outside in a sheltered spot for a few hours each day, increasing their outdoor time over a week or two.
Initial exposure: 2-3 hours in indirect sunlight
Gradual increase: Incremental increase in hours and sunlight intensity
Final steps: Overnight stays outside if temperatures allow
By managing seedling stages effectively, preventing common mistakes, and hardening off before transplanting, gardeners greatly improve the odds of raising healthy plants that can thrive in their garden.
Transplanting and Plant Growth
The success of indoor planting in homesteading pivots on the pivotal steps of transplanting and ensuring robust plant growth. This section outlines the optimal timing for transferring seedlings, effective transplanting techniques, and essential post-transplantation care to promote health and vigor in plants such as tomatoes, peppers, and lettuces.
Choosing the Right Time for Transplantation
For vegetables such as tomatoes and peppers, timing is crucial when transplanting. Transplanting should align closely with the growing season and the last frost date to avoid cold damage. For flowers like sunflowers, the focus should be on soil temperature and maturity of the seedlings:
Vegetables: Transplant 2-3 weeks after the last frost date when seedlings have several true leaves.
Flowers: Transplant when the seedlings are robust and temperatures consistently warm.
Transplanting Techniques
Proper techniques are essential to minimize stress and damage during the transplanting of seedlings. Here's a succinct guide on how to transplant vegetable and flower seedlings with care:
Soil Preparation:
Loosen the soil and add compost to nourish and improve moisture retention.
Ensure adequate spacing between holes for the transplant.
Seedling Removal:
Water the seedlings adequately before transferring to ease root removal and decrease shock.
Gently extricate seedlings from trays, preserving the root structure.
Replanting:
Make corresponding holes in the new location, and settle the seedling without burying it too deep.
Space appropriately: tomatoes require 18-24 inches, peppers 14-18 inches, lettuce 6-8 inches.
Post-Transplantation Care
After transplanting, seedlings require proper care to thrive:
Watering: Keep the soil moist but not waterlogged to foster new root growth.
Lighting: Provide ample light but prevent harsh midday sun immediately post-transplant.
Air Circulation: Ensure good airflow to prevent fungal diseases and enhance growth.
Consistent monitoring and adjusting the care will support healthy development for vegetables and flowers in the homesteading environment.
Seedling Trays and Pots Maintenance
Ensuring the longevity and efficacy of your seed starting setup involves the regular maintenance of seedling trays and pots. This routine enhances plant health and reduces the chances of disease.
Cleaning and Storing Trays and Pots
Cleaning seedling trays and pots is essential for deterring plant diseases and preparing for the next planting cycle. Begin by removing residual dirt with a paper towel or small brush. Next, wash these seed starting components in a solution of warm water and mild soap, then rinse them thoroughly to remove any soap residue. For disinfection, prepare a mixture of half white vinegar and half water in a spray bottle. Thoroughly spray the interior and exterior of trays and containers, allowing the solution to act for 10-20 minutes before rinsing again. For trays with stubborn mineral deposits, a diluted vinegar solution works well. After rinsing, it's important to air dry trays and pots completely to prevent mold growth.
Step-by-Step Cleaning:
Remove loose dirt.
Wash with soapy water.
Rinse with clean water.
Disinfect with vinegar solution.
Allow to sit for 10-20 minutes.
Rinse thoroughly.
Air dry.
Storing your trays and pots in a dry, protected space prevents warping and cracking, ensuring they're ready for use in the next planting season.
DIY Options for Trays and Pots
Homesteaders can exercise creativity and sustainability by crafting DIY seedling containers. Common household items such as newspaper pots, toilet paper rolls, and egg cartons can be repurposed into biodegradable plant containers.
Newspaper pots are economical and can be easily made with a simple folding technique.
Toilet paper rolls can be cut and folded at one end to create a bottom, making them ideal for single seedlings.
Egg cartons, particularly those made of cardboard, are excellent for starting seeds and can be planted directly into the soil as they decompose.
Using these items not only reduces waste but also provides a low-cost alternative to buying new containers each season. These DIY solutions can be easily composted or tilled into the soil after transplanting, which enhances soil structure and promotes sustainability in gardening practices.
Planning Your Indoor Planting Strategy
When approaching indoor planting, a gardener should first have a clear plan. Garden planning is a crucial step that ensures a streamlined process from starting seeds to successful germination and growth. It is the foundation for a thriving indoor garden.
One should start by selecting appropriate seed varieties suitable for indoor conditions. It is essential to read seed packets thoroughly, understanding the specific needs of each plant species. This prepares the gardener for the conditions that their seeds will need to flourish.
The timing of sowing seeds is key. A detailed schedule based on the last frost date for outdoor plants and specific growth cycles for indoor plants will keep the process organized. One must also consider:
Lighting requirements: Some seeds need ample light to germinate, while others require darkness.
Temperature: Consistent warmth is often necessary for successful seed germination. Using a heat mat can be beneficial.
Moisture control: Seed starting mix should be moist but not waterlogged. Moisture levels are critical for growing from seed.
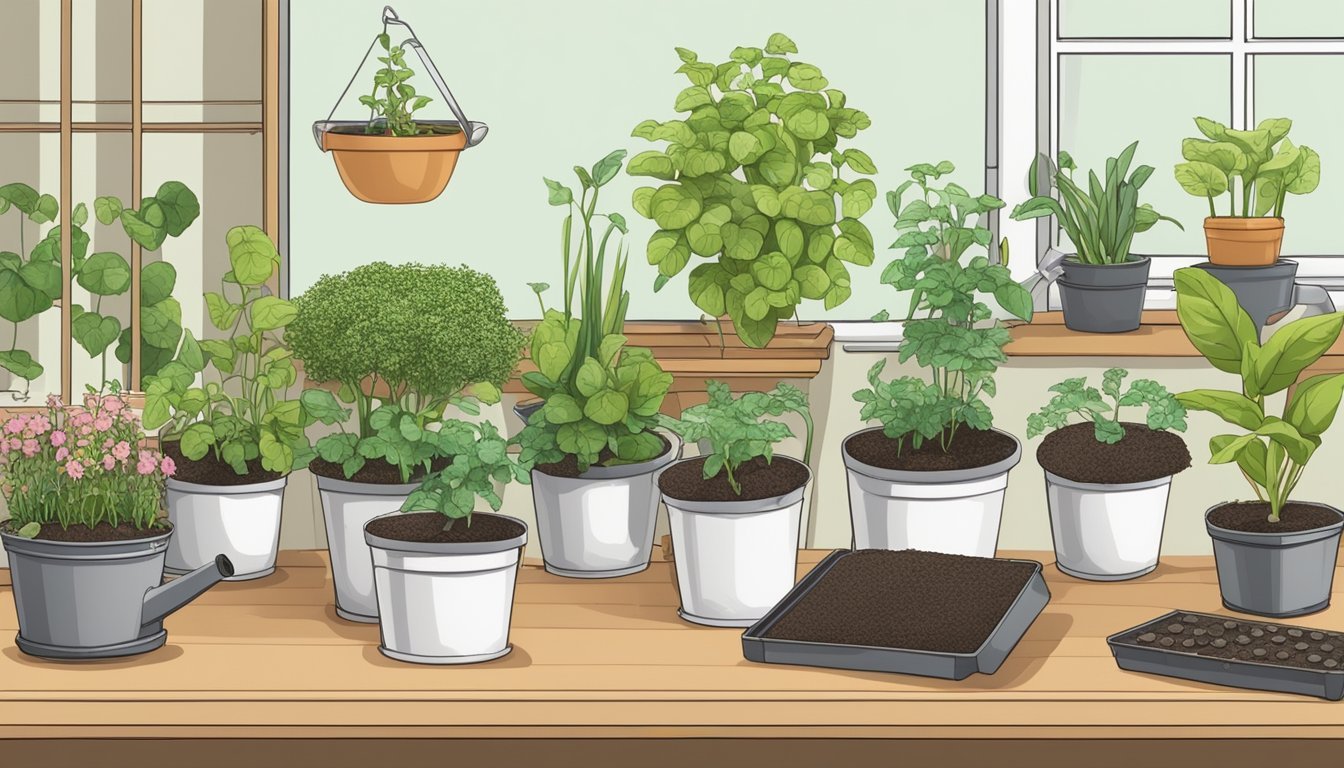
Once these factors are considered, choosing the right containers is the next step. Options include:
Type: Cell trays, Benefits: Efficient space use, simple transplanting
Type: Open trays, Benefits: Cost-effective, good for large quantities
Type: Soil blocks, Benefits: Eco-friendly, eliminates container transplant shock
Each container type has its merits, and a gardener should select based on their space, budget, and environmental preferences. Finally, a gardener should ensure all planting equipment is clean to prevent disease, and proper labeling of newly sown seeds will maintain organization throughout the growing process.
Advanced Techniques and Tips
To optimize the germination of seeds and foster a conducive environment for seedling growth, one needs to employ strategic approaches in the use of trays, pots, and environmental controls. These advanced techniques are critical for enhancing germination rates and establishing a mini greenhouse environment that nurtures seedlings through their delicate stages.
Maximizing Germination Rates
Initiating the germination process requires precise soil conditions and controlled lighting. For best results, garden soil should be avoided due to potential pathogens; instead, one should utilize potting soil which is usually sterile and optimized for seed starting.
Soil Preparation: Mix potting soil with water until it feels like a damp sponge, avoiding an overly soggy consistency that could lead to seed rot.
Lighting: Employ a combination of natural and artificial light, ensuring seedlings receive 12-16 hours of light per day. Use timers to maintain a consistent light cycle.
To further enhance germination, a technique is to soak seeds overnight to soften the seed coat, thus accelerating germination. Patience is key; different seeds have varying germination rates, and one should not hastily discard pots that appear inactive.
Creating a Mini Greenhouse Environment
Replicating a greenhouse effect can significantly improve seedling development. This involves managing humidity and temperature in a controlled, enclosed space by deploying clear plastic covers or domes.
Humidity Control: Place clear plastic over the seedling trays to maintain high humidity levels, mimicking a mini greenhouse climate.
Temperature Management: Keep temperatures consistent, ideally between 65-75°F (18-24°C), using heat mats if necessary.
Action: Soil Moisture, Tool/Method: Spray bottle, Purpose: Gently maintain soil moisture without overwatering
Action: Humidity Management, Tool/Method: Clear plastic cover or dome, Purpose: Create a humid environment akin to a mini greenhouse
Action: Temperature Control, Tool/Method: Heat mats, Purpose: Ensure optimal warmth for germination
These specialized techniques, when applied with diligence, lead to a successful start for a wide variety of plants. By providing an environment that caters to the specific needs during the seed germination and early growth phases, gardeners can expect robust seedlings ready to transition to more permanent planting environments.
Final Thoughts on Homestead Indoor Planting
For those beginning their homesteading journey, starting seeds indoors is a skill that can extend the growing season and amplify harvests—despite garden size or local climate. With the right seedling trays and pots, gardeners encourage strong, healthy starter plants that transition with greater success to outdoor environments.
Proper Containers: Picking the correct size and type of container is crucial. Seedling cells and trays with adequate drainage prevent waterlogging, while size selection should accommodate the growth of roots without crowding.
Soil Considerations: They should use a high-quality seed starting mix, which promotes adequate water retention and aeration. Compaction hinders root growth, so a light touch is imperative during soil preparation.
Moisture Regulation: Homesteaders can employ bottom watering techniques to ensure even moisture distribution. This process reduces the risk of disrupting delicate seeds and maintains consistent humidity levels.
Temperature Control: A heat mat can significantly improve germination rates by maintaining the optimal soil temperature. This is particularly beneficial for seeds with higher heat requirements.
Light Source: Adequate lighting is integral once seeds have sprouted, with many homesteaders using grow lights to simulate natural sunlight. Seedlings require sufficient light to develop into sturdy plants.
Seed starting indoors can be a rewarding endeavor for homesteaders. By creating a controlled environment, they can closely monitor and foster young plants, resulting in a more robust garden. As seeds grow into thriving plants, the satisfaction of a well-tended indoor start becomes a cornerstone of homestead success.
Supplementary Information
In the pursuit of a successful indoor planting venture, understanding the details on seed and plant labels as well as knowing where to find comprehensive resources for seed starting can enhance gardeners' experience and outcomes.
Understanding Seed and Plant Labels
Seed and plant labels provide critical information regarding the specific needs and characteristics of the plant. These labels typically include details such as the common name and scientific name of the plant, the required lighting conditions, water needs, ideal soil temperature for germination, and expected germination time. Plant markers are indispensable in keeping track of different varieties, especially when starting multiple seeds. Good labeling prevents confusion and assists in the careful monitoring of growth progress.
Label Components:
Common Name: Easy identification for everyday use.
Scientific Name: Helps distinguish between similar species.
Light Requirements: Sun, partial-shade, shade-tolerance.
Watering Needs: Frequency and amount of water necessary.
Soil Temperature: Optimal range for seed germination.
Germination Time: Expected period for sprouts to emerge.
List of Resources for Seed Starting
A myriad of resources are available to help with seed starting. Books, online forums, and extension services can provide in-depth guidance tailored to various levels of gardening expertise. Some essential seed starting supplies include seed trays, potting mix, heat mats, grow lights, and a watering system. Gardening organizations may also provide seasonal planting guides and workshops on how to begin a thriving indoor garden.
Essential Supplies:
Seed trays and pots
High-quality potting mix
Heat mats for soil temperature control
Grow lights for adequate lighting
Watering tools for consistent moisture
Resource Types:
Gardening Books
Online Gardening Forums
Agricultural Extension Services
Local Gardening Workshops and Seminars
