
The Traditional Art of Making Raw Milk Butter at Home
A Step-by-Step Guide

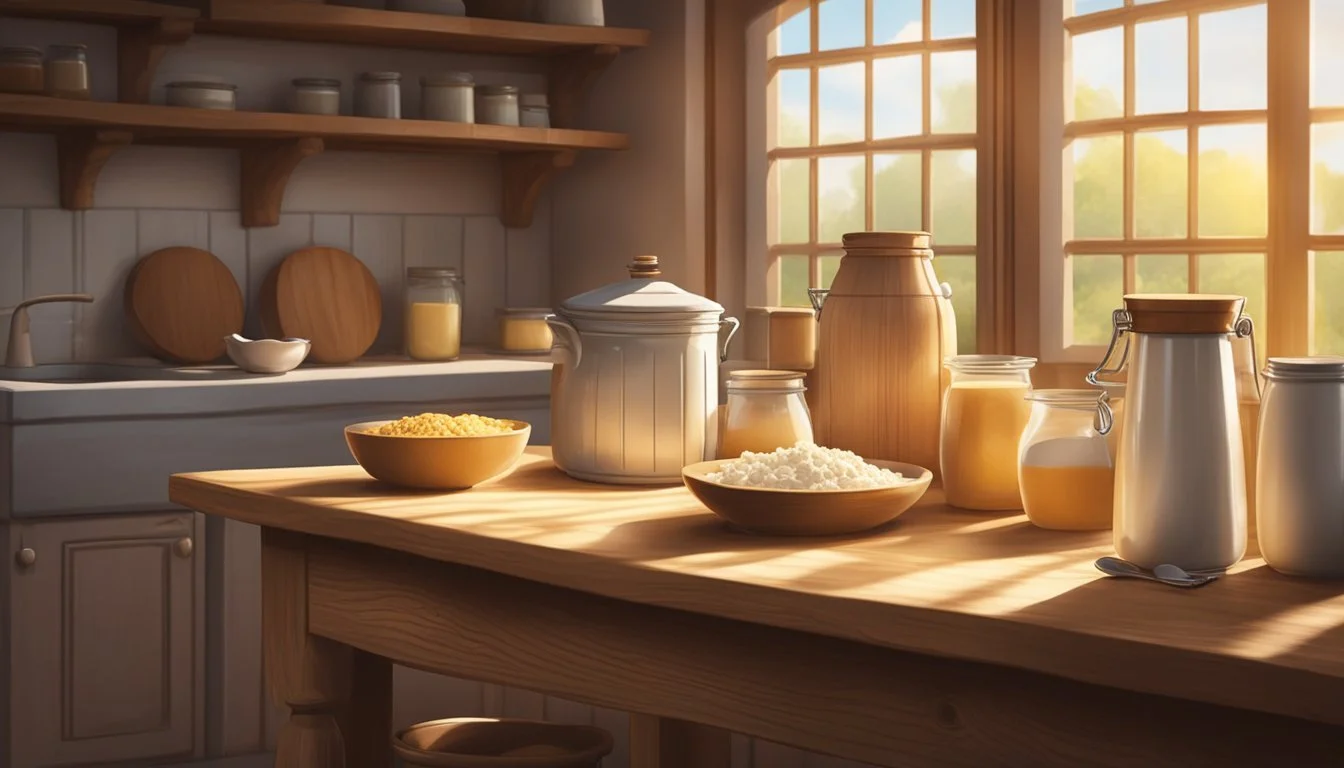
Making butter from raw milk is a practice steeped in tradition, connecting us to a simpler time when homemade staples were the norm, not the exception. This artisanal process transforms the rich cream from raw milk into a flavorful and nutritious spread that has graced tables for centuries. The emergence of store-bought alternatives has not diminished the allure of homemade raw milk butter, prized for its superior taste and potential health benefits derived from its unprocessed nature.
The craft of churning raw milk into butter is a testament to culinary patience and skill. The method begins with allowing the raw milk to sit, enabling the cream to separate and rise to the top, a critical step for ensuring a pure and rich cream base. This cream is then churned, a process that agitates and separates the butterfat from the buttermilk, leading to the formation of butter. The result is a product that retains more of the nutritional profile of raw milk, including fat-soluble vitamins and beneficial enzymes that may be reduced in commercial butter-making processes.
Homemade butter carries with it not only the traditions of past generations but also potential health and nutritional benefits that are associated with less processed foods. Proponents value it for its richer flavor profile and its connection to a less industrialized food system. Integrating the making of raw milk butter into modern life offers a satisfying way to link past and present while indulging in a practice that has been refined over millennia.
The traditional art of making raw milk butter at home is a delightful and rewarding experience that connects us to our culinary heritage and the natural world. Using raw milk for butter-making not only imparts a rich and creamy flavor but also preserves the nutritional integrity of the milk, making it a healthier choice for culinary enthusiasts.
In addition to butter, raw milk can also be used for a variety of other homemade delights such as raw milk soap making and raw milk homemade ice cream. This showcases the versatility and potential of raw milk in creating artisanal products that are both nourishing and delicious.
Furthermore, embracing the tradition of raw milk processing at home can contribute positively to the environment by promoting sustainable practices and reducing the carbon footprint associated with commercial dairy production. It also encourages a deeper appreciation for the source of our food and the importance of supporting local farmers and producers.
For those interested in sourcing raw milk, exploring options such as raw milk vending machines, raw milk co-op guide, and raw milk CSA partnership can provide valuable insights into accessing this wholesome and natural ingredient for culinary adventures. Embracing the traditional art of making raw milk butter at home is not only a delightful culinary pursuit but also a step towards a more sustainable and connected way of living.
Understanding Raw Milk
Raw milk serves as a cornerstone for traditional butter-making due to its rich, natural composition that is important for texture and flavor.
Composition of Raw Milk
Raw milk is a complex liquid comprising numerous components that are crucial for making high-quality butter. It contains:
Fat: This is where the butter comes from after churning.
Proteins: Vital for nutrition and contribute to the milk's physical properties.
Carbohydrates: Lactose is the primary carbohydrate in milk.
Vitamins: Raw milk is rich in fat-soluble vitamins such as A, D, E, and K.
Minerals: It has an array of minerals like calcium and phosphorus.
Enzymes: Essential for various biological reactions, some of which contribute to flavor development in butter.
Beneficial bacteria: These can improve gut health and contribute to the milk's natural defense systems.
A table detailing the nutrients in raw milk:
Nutrient Role in Butter Making Presence in Raw Milk Fat Becomes butter when churned High Proteins Nutritional value, texture Moderate Carbohydrates Energy source Low Vitamins (A, D) Nutritional value, flavor Varies with diet of the cow Minerals (Ca, P) Nutritional value Varies with diet of the cow Enzymes Flavor development, digestion Naturally occurring Beneficial bacteria Health benefits, safety Naturally occurring
Benefits of Using Raw Milk for Butter
Using raw milk for butter-making has its unique advantages:
Improved Flavor: The butter from raw milk often has a deeper, more complex taste as opposed to pasteurized milk due to the presence of beneficial bacteria and enzymes.
Nutrition: Raw milk butter retains more fat-soluble vitamins and minerals which are essential for a balanced diet.
Beneficial Bacteria: They play a role in fermenting the butter, which can enhance digestive health.
Absence of Processing: It avoids the degradation of nutrients that can occur during pasteurization.
However, it's important to note that the consumer should ensure the raw milk comes from a reputable source to minimize any health risks associated with pathogens that can be present in unpasteurized milk.
Cream Separation Techniques
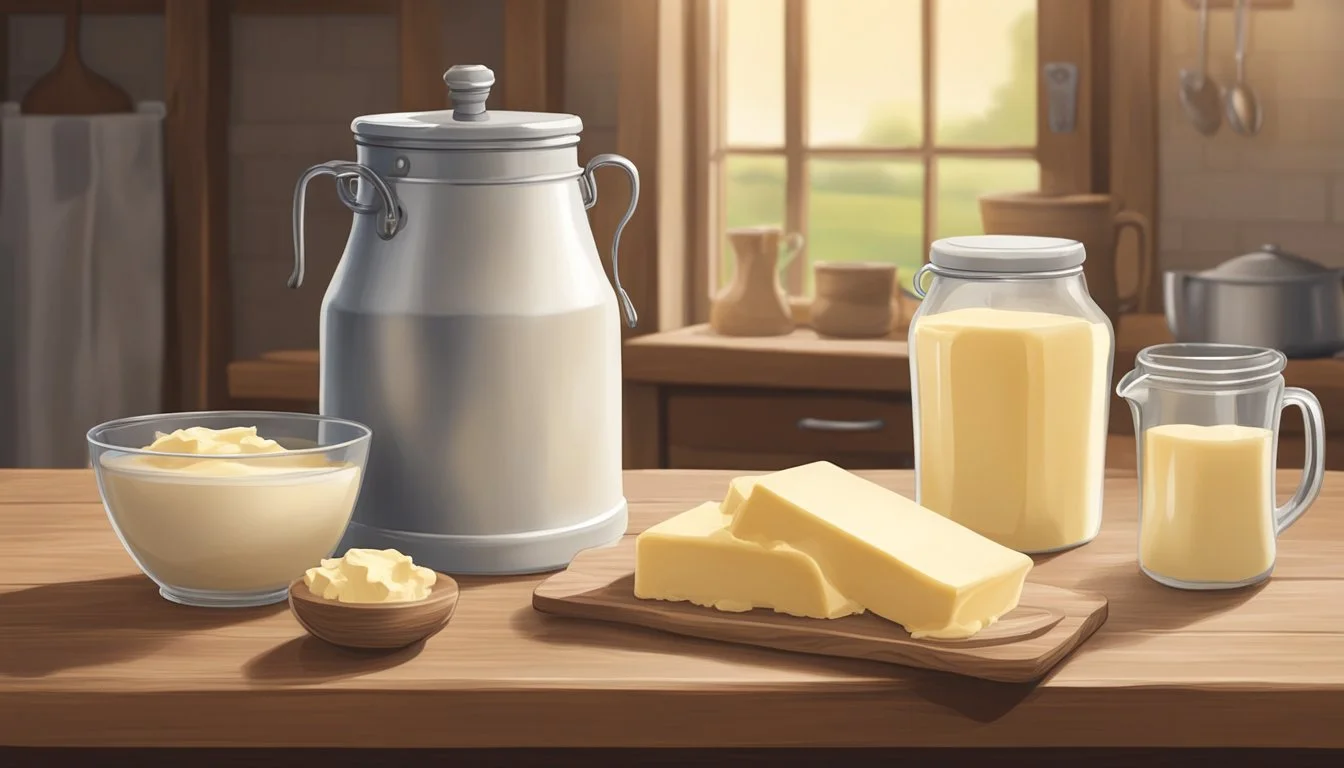
The pivotal first step in traditional raw milk butter making is the separation of cream from milk. Whether one opts for the manual skimming method or employs a mechanical cream separator, achieving a pure layer of cream is essential for high-quality butter.
Skimming Cream from Raw Milk
One begins by pouring the raw milk into a large, clear container, allowing it to rest undisturbed in a refrigerator for about 24 hours. This period of rest enables the cream to rise to the top due to its lower density compared to milk. After the resting period, they will observe a distinct layer of heavy cream that can be gently skimmed off. This can be accomplished using a ladle or spoon to carefully collect the cream, taking care not to disturb the milk below.
Using a Cream Separator
For those preferring a more expedient and efficient method, a cream separator is the tool of choice. This device operates on the principle of centrifugal force; when raw milk is introduced into the separator, it spins rapidly, causing the cream and milk to separate due to their differing densities. The cream exits through a higher spout while the skimmed milk is discharged from a lower one. Cream separators come in different sizes suitable for home or commercial use, and typically yield a more consistent and voluminous separation of cream compared to manual skimming.
The Churning Process
The churning process is essential for transforming raw cream into butter. It involves agitating the cream until the fat molecules separate from the liquid and form butter.
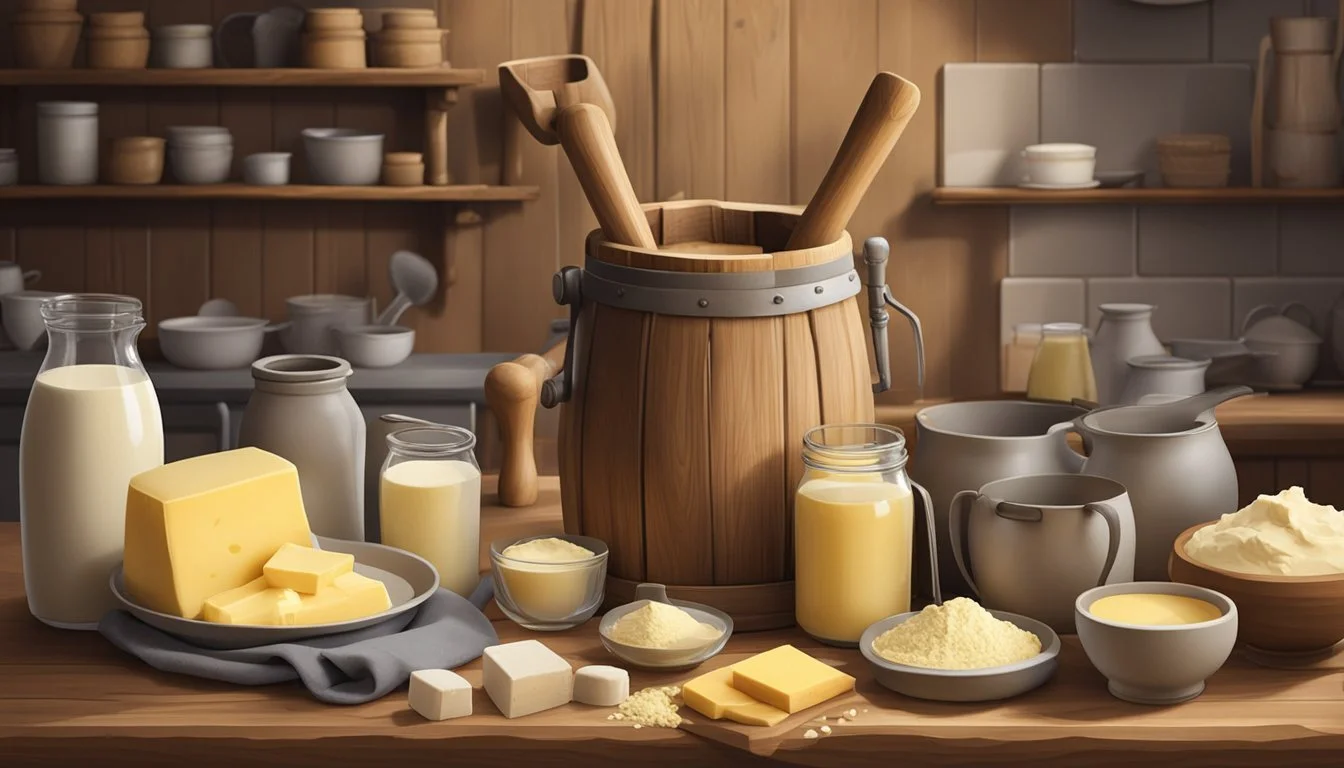
Choosing the Right Tools
For making butter at home, one needs the appropriate equipment to efficiently churn cream. The traditional tools include a butter churn which can range from a simple mason jar to a more complex dasher churn. Those preferring a modern approach might opt for a stand mixer, food processor, or blender. Each tool requires different levels of manual effort and involvement.
Mason jar: Great for small batches and requires shaking by hand.
Dasher churn: A manual tool where one plunges a wooden dasher up and down.
Stand mixer: Good for larger quantities, using the whisk attachment.
Food processor/blender: Offers quick processing but can heat up the cream.
A wooden spoon or spatula is also invaluable for collecting and shaping the butter post-churn.
Churn or Blender: Pros and Cons
Deciding between a churn and a blender depends on various factors such as quantity, effort, and tradition.
Churn:
Pros: Provides a traditional butter-making experience and typically yields a consistent result.
Cons: Can be labor-intensive and less suitable for smaller batches.
Blender/Food Processor:
Pros:
Faster: Can complete the churning process in a shorter time span.
Less manual labor: Requires less physical effort compared to a churn.
Cons:
Heat: Can generate heat which may affect the butter's texture.
Control: It might be harder to achieve the same texture control as with manual churning.
A stand mixer strikes a balance between tradition and convenience, offering a hands-free churning process with the ability to handle larger batches more comfortably.
Choosing the proper tool is a balance between personal preference, the quantity of cream, and the desired involvement in the butter-making process.
Culturing Butter
Culturing butter is a method that takes advantage of beneficial bacteria to ferment cream, enhancing the flavor and shelf-life of the butter produced. This process involves adding a culture to cream and allowing it to ferment before churning.
Creating Cultured Butter
To create cultured butter, one begins with raw milk, which is separated to yield the cream. A culturing agent, often a tablespoon of buttermilk, yogurt, or a specialized culture like Flora Danica, is introduced to the cream. This mixture is then left at room temperature to ferment for a time span typically ranging from 12 to 48 hours. During this time, bacteria in the culture metabolize lactose, producing lactic acid and imbuing the cream with complex, tangy flavors. Following the fermentation, the cultured cream is churned until it solidifies into cultured butter, and the remaining liquid—buttermilk—is separated.
Flavoring with Herbs and Salt
Flavoring cultured butter involves two main additions: salt and herbs. Salted butter is made by mixing salt into the freshly churned butter, which not only enhances flavor but also acts as a preservative. Common measurements are about 1 to 2 teaspoons of salt per pound of butter, depending on taste preferences. For those who desire an aromatic kick, one can add finely chopped herbs such as chives, rosemary, or thyme directly into the butter. This combination of herbs and the fermented flavor profile creates a unique taste experience that differentiates cultured butter from its conventional counterpart.
Rinsing and Shaping Butter
After churning, butter contains some residual buttermilk that needs to be rinsed out to improve the flavor and increase shelf life. Once rinsed, shaping the butter for storage or use is both an art and a practice of tradition.
The Rinsing Method
To rinse the butter, one should first gather the solid butter using a ladle and place it in a bowl of cold water. The temperature of the water is crucial; it should be cold enough to keep the butter solid while removing remaining buttermilk. They should gently knead the butter with clean hands or utensils to expel the buttermilk. This process might need to be repeated several times, with the water changed each time until it remains clear, indicating that most of the buttermilk has been washed away.
Steps to Rinse Butter:
Place the butter in a bowl of cold water.
Gently knead the butter.
Repeat the process, changing water until it is clear.
Remove the butter and gently pat dry with a cheesecloth.
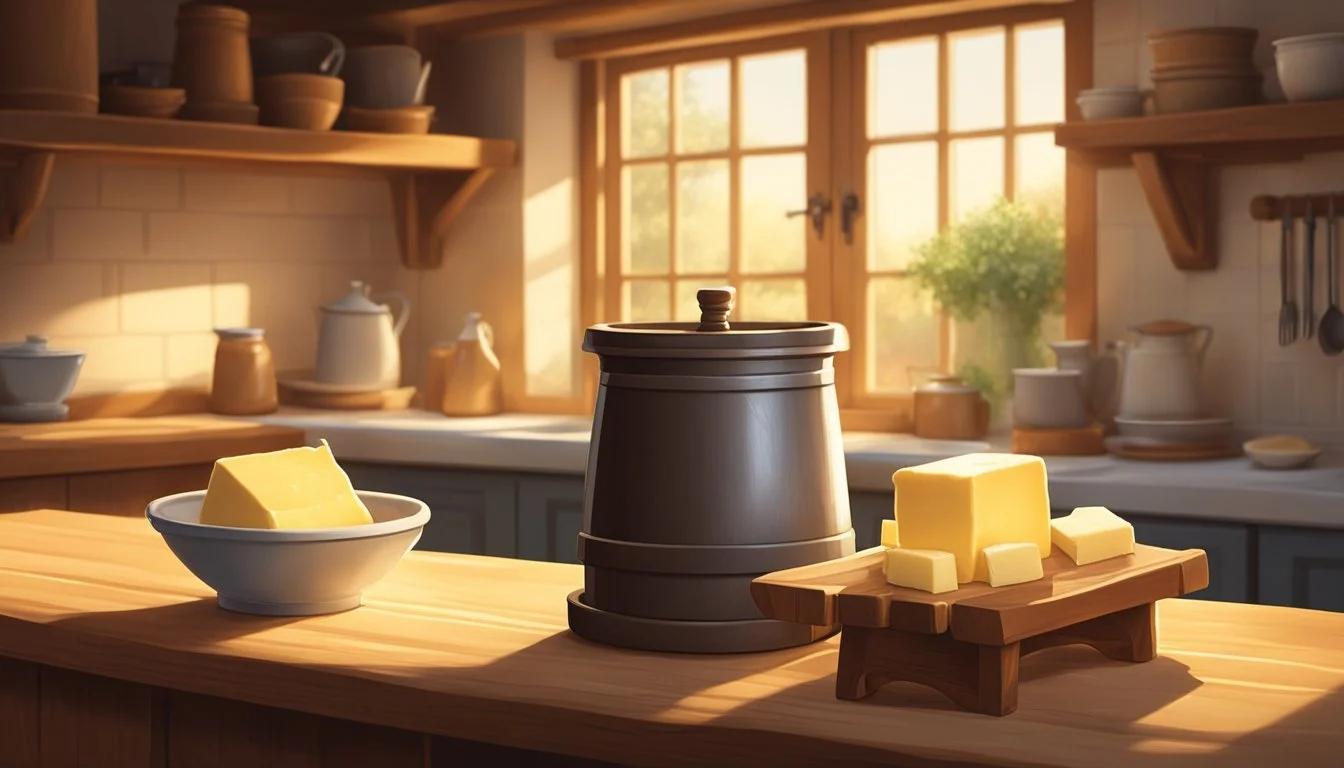
Molding Your Homemade Butter
Once the butter has been thoroughly rinsed, it's ready for molding. A butter mold can be used to shape butter into decorative blocks, sticks, or other shapes. Butter molds come in various designs and sizes and are often made of wood or plastic. When using a mold, they need to ensure it's clean and slightly chilled. They then pack the butter into the mold, pressing firmly to ensure there are no air pockets. After a short period in the refrigerator to set, the butter can be turned out from the mold and stored or served as desired.
Key Points for Molding Butter:
Choose a clean, chilled butter mold.
Press the butter firmly into the mold to prevent air pockets.
Chill briefly in the refrigerator to set the butter's shape.
Carefully release the butter from the mold.
Storage and Preservation
Proper storage and preservation of homemade butter are critical for maintaining its flavor and freshness. Attention to removing moisture and controlling temperature will ensure the longevity of your butter.
Best Practices for Storage
When storing butter, one should ensure that it is kept in an airtight container or wrapped tightly in aluminum foil or parchment paper to prevent the absorption of other flavors from the refrigerator. It is best refrigerated at temperatures below 40°F (4°C). Butter can be portioned for ease of use; however, large batches should be divided to minimize exposure to air during retrieval.
Airtight storage: Seal in containers or wrap tightly.
Temperature regulation: Store below 40°F (4°C).
Portioned batches: Divide larger amounts to reduce exposure to air.
Extending Shelf Life of Butter
To extend butter's shelf life beyond the typical refrigerator storage timeline, freezing is an excellent option. Butter can be frozen for up to six months. When freezing, one should wrap the butter in multiple layers to prevent freezer burn and flavor tainting. For best results, thaw the butter in the refrigerator when ready to use. It's important to pat the butter dry to reduce the presence of excess moisture before freezing.
Freezing: Freeze up to 6 months.
Wrap in multiple layers.
Thaw in the refrigerator before use.
Moisture reduction: Dry butter thoroughly before freezing to prevent spoilage.
Troubleshooting Common Issues
When making butter from raw milk at home, crafters may encounter issues affecting the texture and taste of the final product or issues with cream separation and spoilage. Identifying the root causes is crucial for successful troubleshooting.
Solving Texture and Taste Problems
Texture Issues:
Too Soft or Runny: This often occurs if the butter hasn't been churned long enough. Continue churning until it reaches a firmer consistency.
Grainy or Crumbly: If the butter has a grainy texture, it may be over-churned or too cold. Allow it to sit at room temperature briefly before kneading it gently.
Taste Complications:
Bland Butter: The addition of salt, while optional, can enhance the flavor. Incorporate salt incrementally, tasting as you go.
Off-Flavors: Potential causes include high bacterial content in the cream or spoilage. Ensure the cream is fresh and has been stored correctly.
Handling Separation and Spoilage
Separation Issues:
Incomplete Separation: If the cream has not fully risen, extend the resting time in the refrigerator. Ensure the milk is undisturbed to allow proper cream separation to the top.
Failure to Churn: A common issue is cream not turning into butter, frequently related to the cream's temperature. Aim for a cream temperature around 62 to 63°F (17°C) for optimal churning.
Spoilage Concerns:
Sour or Rancid Butter: Can indicate bacterial growth. The cream should be pasteurized if not consumed quickly and always kept refrigerated.
Visible Mold or Discoloration: This is a clear sign of spoilage. Discard the product to avoid health risks and examine storage methods and sanitation to prevent future issues.
By systematically addressing these points, butter-making enthusiasts can refine their craft and achieve consistently delightful homemade butter.
Health Considerations and Benefits
Home-produced raw milk butter carries several health and nutritional benefits, primarily resulting from its content of positive fats and natural vitamins. Consumers should be aware of these factors when selecting or making dairy products.
Understanding the Good Fats
Raw milk butter is a source of good fats, including omega-3 and omega-6 fatty acids. Good fats offer various health benefits, such as supporting brain function and reducing inflammation. The fats found in butter can also aid in the absorption of fat-soluble vitamins, which are crucial for various bodily functions.
Omega-3 fatty acids: Contribute to brain health and cognitive function.
Omega-6 fatty acids: Play a role in healthy skin and hair, and bone health.
Raw milk butter also contains CLA (conjugated linoleic acid), which has been associated with fat loss and improved body composition.
Digestive and Nutritional Advantages
The production process of raw milk butter ensures that many of the enzymes and beneficial bacteria remain intact, potentially aiding in digestion. These enzymes can facilitate the breakdown of food, making it easier for the body to absorb nutrients.
Digestive enzymes: Help in digesting food efficiently.
Beneficial bacteria: May provide probiotic effects that support gut health.
Raw milk butter is naturally rich in fat-soluble vitamins, such as vitamins A, D, E, and K. These nutrients are essential for many body processes, including maintaining healthy vision, immune function, and bone density.
Vitamin A: Important for vision and immune function.
Vitamin D: Aids in calcium absorption and bone health.
Vitamin E: Functions as an antioxidant.
Vitamin K: Necessary for blood clotting and bone metabolism.
Laws and Regulations
When embarking on the journey of creating homemade raw milk butter, individuals must be acutely aware that the legal landscape is shaped by both federal and state-specific regulations. Ensuring compliance with these laws is paramount for the safe and legal production and distribution of raw milk products.
Raw Milk and Butter Legality
The legality of raw milk and butter varies by state in the United States. Some states, like Massachusetts, empower local governments to set their own regulations regarding raw milk sales. Others have specific statutes that directly impact the sale and distribution of raw milk:
Sale on Farms: In many states, raw milk can only be sold directly on the farm where it is produced.
Retail Sales: A few states permit the retail sale of raw milk, but under strict regulatory guidelines.
Cross-border Sales: It is generally prohibited to sell raw milk across state lines unless it is for the purpose of pasteurization.
Individuals should consult their state agricultural department or public health authorities to get the most up-to-date and relevant information for their particular location.
Pasteurization Requirements
Pasteurization is a process mandated by federal law for all milk and milk products intended for direct consumption. Following are essential points regarding pasteurization:
Federal Law: The pasteurization process heats milk to a specific temperature for a set time period, which aims to eliminate pathogens that can cause foodborne illnesses.
State Compliance: While federal law oversees the interstate commerce of milk, states can impose their own pasteurization requirements that meet or exceed federal standards.
Unpasteurized Milk: Some states allow the sale of unpasteurized milk, but it remains subject to state-specific regulations which can be quite stringent in order to protect public health.
In conclusion, understanding both federal and state laws governing raw milk and its derivative products, like butter, is a critical step before one begins the traditional art of home churned butter.
Conclusion

Making butter from raw milk at home is a rewarding process that marries tradition with culinary craft. The steps involved are clear-cut and revolve around careful separation of cream, patient churning, and precise washing of the final product.
Summary: Home butter-making allows individuals to create a product that is both superior in flavor and quality to many commercial alternatives. They have control over the ingredients and can avoid additives found in store-bought butter.
Let raw milk settle to separate the cream.
Skim off the cream.
Culture the cream (optional) for flavor development.
Churn the cream until butter forms.
Wash the butter with cold water to remove buttermilk.
Knead the butter and shape as desired.
Final Thoughts: Those who undertake this process are often met with a sense of accomplishment. It is essential to remember the simplicity and patience required in this method can yield a product that enhances any dish it accompanies. The nuances of taste in homemade butter reflect the quality of raw milk used and the maker's attention to the craft.
One should always respect the time-honored skills behind this artisanal endeavor and enjoy the unique taste of their homemade butter. Furthermore, the process itself encourages a deeper understanding of food origins and promotes a hands-on approach to cooking.
