
Vegan Sourdough Bread
Recipes and Tips for Perfect Loaves Every Time

Vegan sourdough bread combines the time-honored tradition of sourdough fermentation with plant-based ingredients, resulting in a bread that is both ethical and hearty. By omitting dairy and other animal-derived products, this bread is suitable for those following a vegan lifestyle, while still offering the distinctive tangy flavor and chewy texture sourdough is known for. The process of making vegan sourdough bread involves cultivating a starter from flour and water, which acts as a natural leavening agent, allowing the bread to rise without the need for commercial yeast.
The art of sourdough bread-making is often viewed as a complex craft, but it can be accessible for beginners as well. The key to a successful vegan sourdough lies in maintenance of the starter and understanding the stages of dough development. Once the starter is bubbly and active, it is combined with flour, water, and salt to form a dough. This mixture is then allowed to rise over several hours, benefiting from a long fermentation period that not only develops the bread's flavor but also improves its digestibility.
Crafting vegan sourdough bread also opens up a world of creativity in the kitchen. Bakers can experiment with different types of flour, such as whole wheat or rye, to create unique variations of the classic loaf. Techniques such as folding and shaping the dough contribute to the bread's final texture, while scoring before baking ensures the bread expands properly in the oven. Whether baked in a cast iron dutch oven to simulate a professional steam-injected oven, or on a simple baking sheet, the crust will turn out crispy and the crumb soft and tender. With careful attention to detail and a bit of patience, home bakers can produce artisan-quality vegan sourdough bread that is as delightful to the senses as it is to the conscience.
Understanding Sourdough
Sourdough bread is a unique and traditional form of bread that requires time, patience, and a bit of science to perfect. It leverages the natural fermentation of wild yeasts and bacteria to rise, offering a healthier alternative to bread made with commercial yeast.
Sourdough Basics
Sourdough baking begins with a sourdough starter, a symbiotic culture of bacteria and wild yeast. The starter is created by combining flour and water and allowing it to sit at room temperature for several days. During this time, it captures wild yeast and bacteria from the environment, which ferment the dough. This fermentation process is what makes sourdough rise without the need for commercial yeast.
Key steps in making sourdough bread include:
Initial Mixing: Combine starter, flour, and water.
Resting: Allow the dough to rest, typically for 30 minutes.
Kneading: Develop the gluten by kneading the dough.
Rising: A slow fermentation allows the dough to rise over several hours.
Shaping: Form the dough into its final shape before baking.
Scoring: Cut shallow slashes on the dough’s surface to control expansion.
Baking: Utilizing high heat to achieve the desired crust and crumb.
Benefits of Sourdough
Sourdough bread is not only about taste but also about health advantages. Lactic acid bacteria, present in sourdough, significantly enhance the nutritional profile and digestibility of bread. These bacteria produce an acid that changes the pH of the dough, improving the bread's flavor and keeping it fresh longer. Sourdough also has a lower glycemic index compared to bread made with commercial yeast, which can be beneficial for blood sugar control.
The Science of Fermentation
The essence of sourdough lies in its fermentation process. This natural process is where the wild yeast and bacteria in the starter convert the sugars in the flour into carbon dioxide gas and alcohol. The carbon dioxide creates air pockets, resulting in the characteristic rise and fluffy texture of sourdough bread. Slow fermentation is a hallmark of traditional sourdough and can take anywhere from several hours to days, adding complexity to the bread's flavor and contributing to its healthy properties by breaking down gluten and increasing nutrient availability. The wild yeast and bacteria unique to sourdough starters contribute a range of flavors that would be impossible to achieve with commercial yeast.
By understanding these fundamental aspects of sourdough, bakers can better appreciate the craftsmanship that goes into creating this distinctive and delicious type of bread.
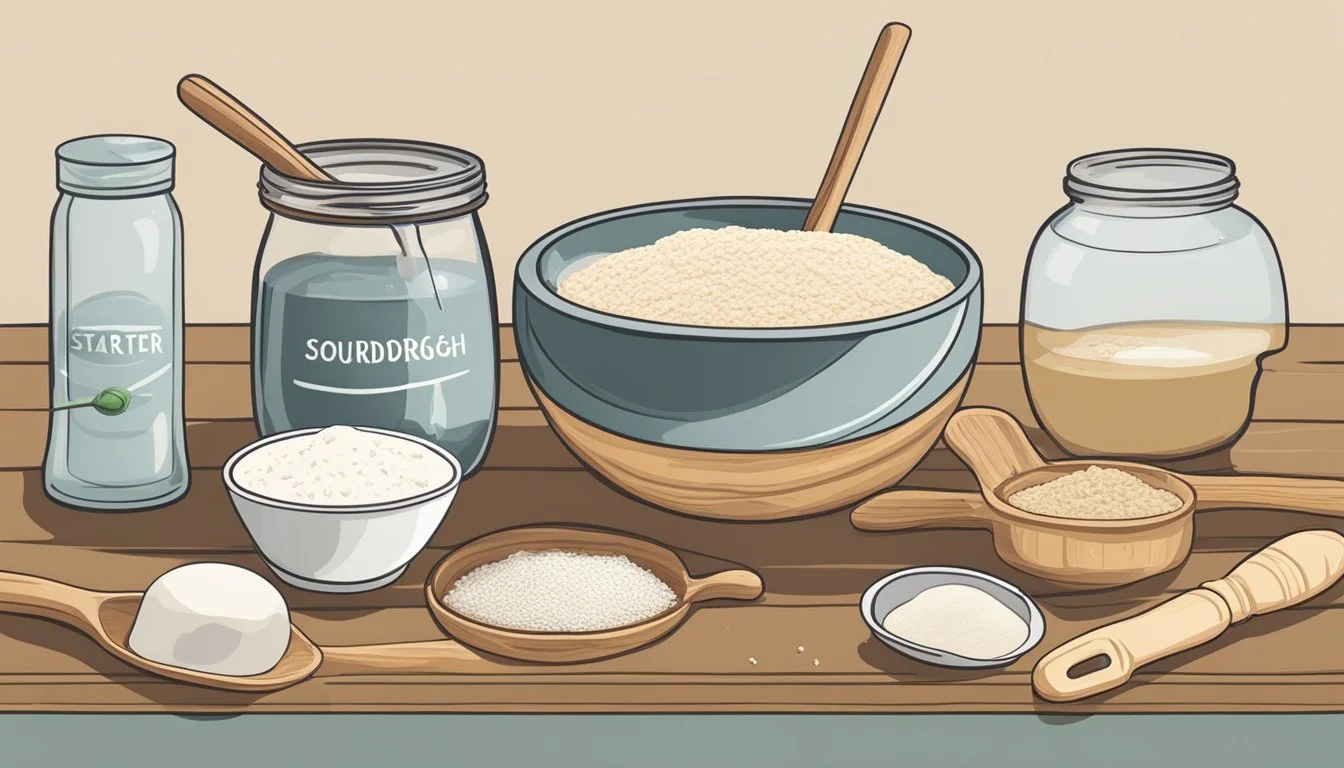
Ingredients for Vegan Sourdough
Creating a successful vegan sourdough bread hinges on the careful selection of a few critical ingredients. These components work together to form the bread's structure, taste, and nutritional profile.
Choosing the Right Flours
The base flour for sourdough is typically all-purpose flour or bread flour, both of which are vegan-friendly and provide the necessary gluten for a strong dough structure. For a healthier variant, one can incorporate whole wheat flour, using a ratio of 100 grams to 400 grams of white flour. Gluten-free alternatives can include flours like rice flour, though results may vary in texture.
Water Quality and Hydration
Water activates the flour's gluten and the sourdough starter. The baker should use water that is at a warm temperature to ensure the best results. Chlorine-free water is ideal, as chlorinated tap water can inhibit starter growth. Hydration levels can vary, but a rough guide is 75% water to flour ratio for standard loaves.
Salt and Seasonings
Salt regulates yeast activity and strengthens the gluten network, enhancing the bread's flavor. Approximately 2% of the flour's weight in salt is sufficient. Sea salt is a common choice, but any non-iodized salt should serve well. Additional seasonings are optional, but they should complement the bread's natural flavors.
Customizing with Add-Ins
For added texture and nutrition, seeds (like sunflower or flaxseed), nuts, or dried fruits (What wine goes well with dried fruits?) can be included. These should be added after the initial mix to ensure even distribution without disrupting gluten development. Bakers should be cautious not to overload the dough, as too many add-ins can affect the bread's structure.
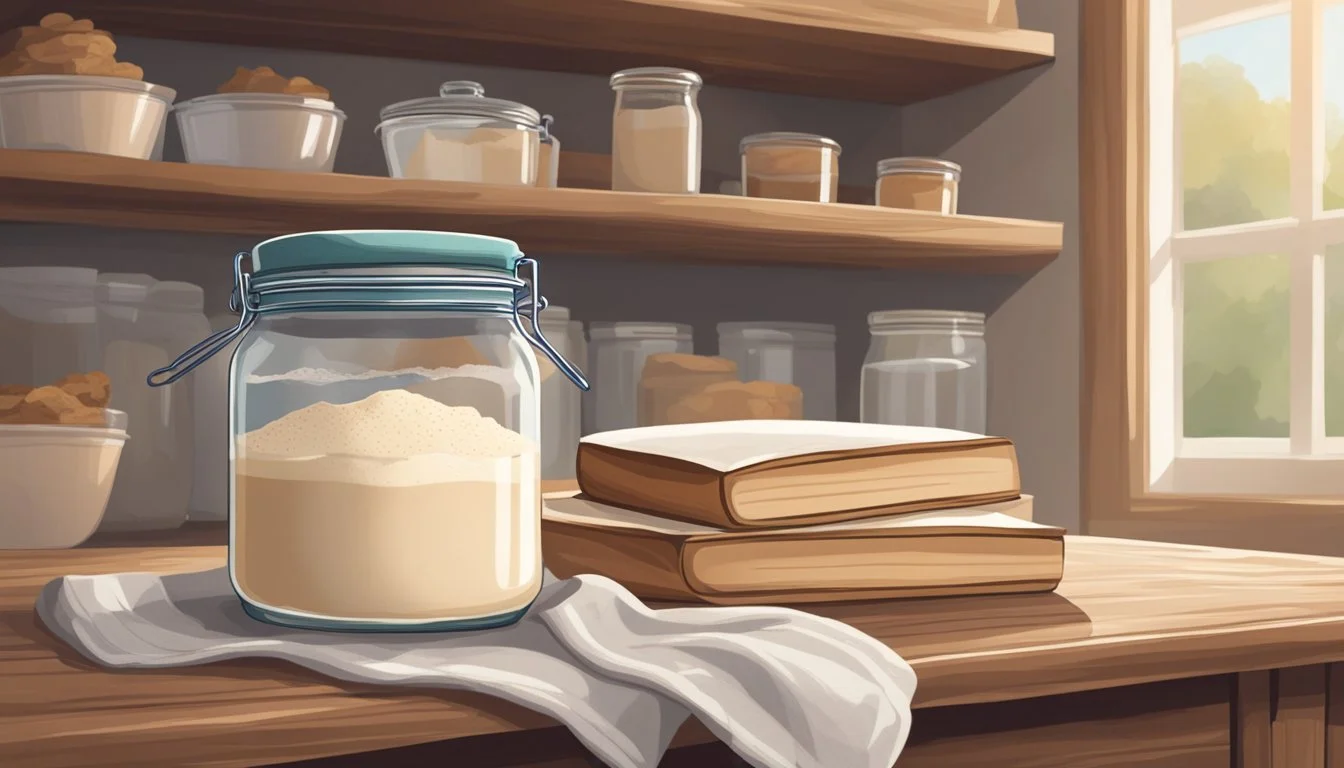
Creating Your Starter

Creating a vegan sourdough starter is a straightforward process that requires patience and attention to detail. The starter is the heart of sourdough bread, influencing both its taste and texture.
Starter 101
To begin a sourdough starter, one must combine flour and water in a specific ratio, usually a 1:1 by weight for a 100% hydration. This mixture will cultivate wild yeasts and bacteria from the environment. Whole wheat flour is often recommended for the initial mix due to its high nutrient content, which aids in the fermentation process.
Day 1 Example:
1 cup of whole wheat flour
¾ cup of water (non-chlorinated)
Feeding and Maintenance
Feeding the starter involves adding equal parts of flour and water to the existing starter. It is a critical practice to ensure that the starter remains active. The amount and frequency of feeding can influence the sourness of the bread. Generally, feeding is done daily, with some enthusiasts preferring a twice-a-day schedule for an extra vigorous starter.
Typical Feeding Ratio:
1 part sourdough starter
1 part water
1 part flour
Assessing Starter Health
An active sourdough starter will display a number of signs that indicate good health. It should have a pleasant, slightly sour aroma and a bubbly appearance, with the capacity to double in volume after feeding. The starter is ready for baking when it passes the float test, a simple procedure where a small amount of the starter should float in water.
Health Checklist:
Pleasant sour smell
Visible bubbles
Ability to double in volume
Floats in water
Mixing and Kneading Dough
In vegan sourdough bread-making, mixing and kneading the dough are critical steps that develop gluten and structure for an optimal loaf. Proper technique in these stages ensures the dough has the necessary elasticity and strength.
Autolyse: The First Step
Autolyse, a resting period for the dough before kneading, is crucial in hydrating the flour and initiating gluten development. To start, one should mix flour and water into a shaggy dough without yet adding starter or salt. This mixture should then rest, typically for 30 minutes to an hour, allowing the enzymes in the flour to begin breaking down the starches, which boosts the dough's extensibility.
Kneading techniques
Kneading strengthens the dough's gluten network, providing the chew and structure characteristic of good bread. There are various kneading techniques, but two are primarily used in vegan sourdough:
Hand Kneading: Push and fold the dough on a surface for about 8-10 minutes until it becomes smooth and supple.
Stand Mixer: A stand mixer with a dough hook can be used on a low to medium setting, typically kneading for 5-8 minutes.
During this process, one might also perform a series of stretch and folds, where the dough is periodically stretched and folded over itself to enhance gluten formation without overworking the dough.
When to Stop Kneading
Knowing when the dough is sufficiently kneaded is vital. The dough should be tacky but not sticky, and should pass the "windowpane test," where a piece stretched between fingers becomes translucent without tearing. At this point, the gluten has developed enough structure and elasticity, signaling that kneading is complete. Over-kneading could damage the gluten structure and affect the final loaf's texture.
Proofing and Shaping
Proper proofing and shaping are crucial for developing the ideal structure and flavor in vegan sourdough bread. The techniques described ensure the bread attains sufficient rise and a hearty crumb.
First Proof
After mixing the dough, it enters the first proof, also known as the bulk ferment. During this stage, the dough should rest at room temperature for an extended period, often between 6-12 hours, allowing the yeast to ferment the dough and create gas bubbles. This process develops the bread's flavor and structure. Using a proofing basket can help maintain the dough's shape and support the structure during this stage. The dough is fully proofed when it passes the poke test; it should slowly spring back, indicating it has the right balance of gas and elasticity.
Shaping Your Sourdough
Once the first proof is complete, the dough requires proper shaping. This involves gently stretching the dough to form a circle, and then folding it to create tension on the surface. These folds help strengthen the dough's structure. Common shapes include rounds, batards, or baguettes. After shaping, it's important to place the dough seam side down into a lightly floured proofing basket, which helps maintain its shape and surface tension.
Final Proof
The final proof lets the shaped dough rise one last time before baking. This stage is usually shorter, lasting about 30 minutes to several hours, depending on room temperature and the dough's activity. The dough in its proofing basket needs to rise until it shows signs of being fully proofed. This can vary based on individual recipes and environmental factors. If the dough springs back slowly when poked and retains a slight indentation, it is ready to bake.
Baking Techniques
Mastering vegan sourdough bread requires attention to certain baking techniques that affect the bread's oven spring, crust, and crumb.
Scoring the Dough
Scoring refers to the process of making shallow cuts on the surface of the sourdough loaf before baking. This is typically done with a sharp blade or a lame. Scoring controls where the bread will expand during oven spring. It is a crucial step for creating an attractive and professional-looking loaf. One should score the dough right before placing it in the oven, using swift, decisive movements to cut about a quarter inch deep.
Using Steam in Baking
Introducing steam during the initial phase of baking is essential for achieving a glossy crust with great texture. The steam allows the bread to expand freely, enhancing the crust's development. Bakers often use a Dutch oven to retain steam around the dough. Placing a pan of water in the oven or spraying the walls with water are alternative methods to increase humidity during the first 10 to 15 minutes of baking.
Determining Doneness
To ensure that the sourdough bread is fully baked, one should check that the internal temperature has reached 200-210°F (93-99°C). A thermometer is a reliable tool for this. The bread should also sound hollow when tapped on the bottom and have a deep golden-brown crust. If a Dutch oven is used, removing the lid towards the end of baking can aid in developing a crispier crust. After baking, the loaf should rest on a cooling rack before slicing to allow the crumb to set and avoid a gummy texture.
Vegan Sourdough Recipes
In this section, one can explore various methods to craft delicious vegan sourdough bread, including simple basic recipes, gluten-free options, and innovative variations that add a twist to the traditional sourdough.
Basic Vegan Sourdough Bread
To make a basic vegan sourdough bread, one will need a sourdough starter, flour, water, and salt. A simple recipe might instruct one to mix the starter with water before adding flour and salt. The dough should then be kneaded until smooth and left to rise, typically for about 10-12 hours, depending on the recipe. For those preferring less hands-on effort, a no knead sourdough bread recipe would involve simply mixing ingredients together and allowing the dough to rise overnight.
Ingredients: sourdough starter, water, flour, salt.
Rising Time: 8-12 hours.
Gluten-Free Sourdough Variations
Crafting a gluten-free sourdough bread can be a delightful challenge, and it often involves substituting traditional wheat flour with a blend of gluten-free flours. The key is maintaining the structure and airiness typically provided by gluten. Recipe notes should specify suitable flour blends and may suggest the inclusion of psyllium husk to improve texture.
Gluten-Free Flour Blend: rice flour, tapioca flour, potato starch.
Binding Agent: (e.g., xanthan gum, psyllium husk).
Creative Vegan Sourdough Twists
Beyond the classic loaf, creative variations also thrive in vegan sourdough baking. For example, adding mashed bananas can give birth to a delightful sourdough banana bread. On the other hand, adapting the basic dough into sourdough sandwich bread can involve shaping techniques and adjusting baking times. Variations offer a plethora of opportunities for substitutions and personalization, such as using different types of flour, incorporating seeds or nuts, or even sweetening with alternative sugars.
Substitutions: whole grain flour, alternative sweeteners.
Additions: seeds, nuts, dried fruits.
Storage and Preservation
Ensuring your vegan sourdough bread maintains its flavor and texture requires proper storage methods. Shelf life can be optimally extended through appropriate preservation techniques.
Keeping Sourdough Fresh
Freshly baked vegan sourdough bread can be kept at room temperature for several days. For maximum freshness, they should store it in a bread box or airtight container. Bread should be in a cool, dry place to prevent mold growth and staling. A bread box creates an environment with just enough air circulation to keep the crust crispy while maintaining the interior moisture. If using a plastic bag, it must be noted that while it may keep the bread soft, it will also soften the crust.
Freezing and Reheating
For long-term preservation, freezing is an effective method. Bread should be allowed to cool completely before slicing and storing in freezer-safe bags. Freezing can preserve quality for up to three months. To reheat, users should place the frozen bread directly into a preheated 325°F (162°C) oven for about 15 minutes. This process helps restore a delightfully crispy crust and a warm, soft interior. If one freezes the entire loaf, they can thaw it overnight at room temperature before reheating to achieve the best results.
Troubleshooting and FAQs
In this section, readers will find solutions to common problems encountered in vegan sourdough baking, as well as advanced strategies to enhance their baking process.
Common Sourdough Problems
Inactive Sourdough Starter: A vigorous starter is crucial. If the starter isn't doubling in size within 4 to 6 hours after feeding, it may be inactive. Ensure the starter is kept warm (around 75°F-80°F) and fed regularly. If the starter is still sluggish, try a smaller feeding ratio, like 1:1:1 (starter, water, flour by weight), to accelerate activity.
Hydration Issues: The amount of water in the dough can affect the outcome. Vegan sourdough recipes generally have a hydration level of 65-75%. If the dough is too dry or too wet, adjust the hydration by a few percentage points in the next batch.
Overproofing: This occurs when the dough has fermented too long. Signs include a lack of volume increase and a deterioration of dough structure. The ideal proofing time varies, but overproofed dough typically cannot be salvaged and must be started anew.
Underproofing: Conversely, underproofing leads to dense bread. The dough needs more time to rise, so allow it more time during bulk fermentation and final proofing, observing the dough rather than the clock.
Advanced Tips and Tricks
Final Dough Temperature: Controlling the final dough temperature can improve consistency. Aim to maintain the dough around 75°F-80°F during bulk fermentation. This will encourage the wild yeast and bacteria to work effectively.
Scoring Techniques: Proper scoring controls how the bread expands in the oven. Use a sharp blade to make decisive cuts. The depth, angle, and pattern of scoring can influence oven spring and crust development.
Cooling: Allow sourdough bread to cool properly, which can vary from 1 to 24 hours depending on the flour type. A proper cooling period ensures the crumb structure sets and flavors develop fully before slicing.
In summary, understanding the signs of active sourdough starter, managing dough hydration, and mastering proofing times are foundational for troubleshooting sourdough baking, while control of dough temperature, scoring, and cooling can elevate the baking process.
Health and Nutrition
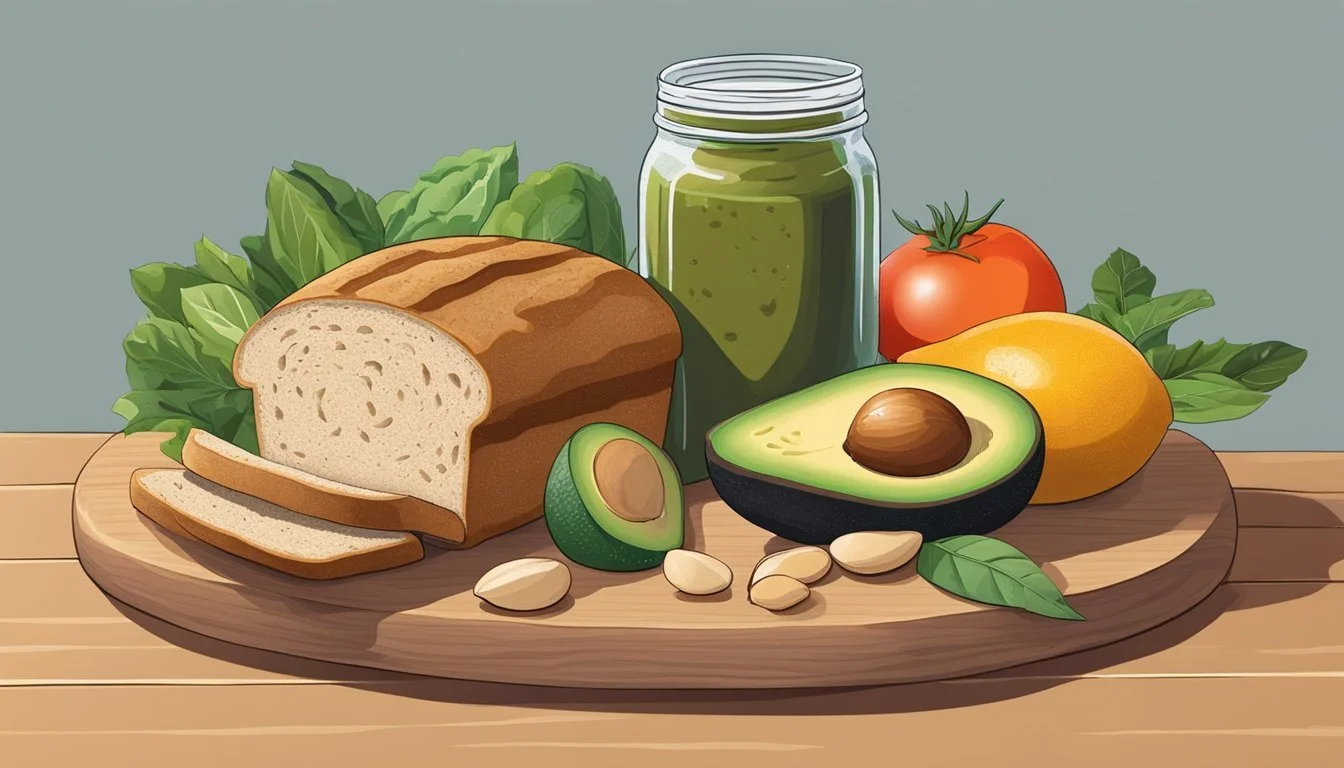
Vegan sourdough bread offers a range of nutritional benefits, making it a wholesome choice for those seeking a plant-based diet. The primary ingredients typically include whole grain flours, which are excellent sources of complex carbohydrates. These are essential, as they fuel the body throughout the day and provide a feeling of fullness due to their high fiber content. Whole grains contribute significantly to dietary fiber intake, which supports digestive health and can help maintain a lower glycemic index.
In terms of protein, sourdough bread made with whole grains can contribute to one's daily needs, although it may not be as high in protein as breads supplemented with seeds or nuts. Protein is crucial for tissue repair and immune function. The fermentation process that characterizes sourdough also aids in mineral absorption, which can be beneficial to overall health.
Calories in vegan sourdough bread are primarily derived from the carbohydrates it contains. However, the calorie content can vary depending on the specific ingredients used, so individuals monitoring their intake should consider this.
A distinct health advantage of sourdough bread is its potentially lower impact on blood sugar levels. The natural fermentation process helps to reduce the glycemic index compared to regular bread, which can be advantageous for blood sugar management.
Below is a concise nutrient profile per average slice of whole grain vegan sourdough bread:
Nutrient Value Calories ~120 Kcal Protein ~4g Carbohydrates ~24g Fiber ~3g Sugars ~1g Fat ~1g
It is important to note that sourdough's health benefits are most pronounced when the bread is made from whole grain flours, as refining grains tends to strip away valuable nutrients. Consumers should check product labels for ingredients to ensure they align with their dietary preferences and health goals.
Conclusion
In the journey of creating homemade sourdough bread, the vegan approach offers a unique and ethical alternative to traditional methods. The key to success lies in the precision of the process: from maintaining a bubbly sourdough starter to the nuanced art of scoring the bread before it bakes. Bakers should trust in their skills as they measure, mix, and knead their dough, ensuring that each step is performed with care.
The rise of the dough is a testament to patience, often requiring 8-12 hours to double in size. During this time, the characteristic tangy flavor of the sourdough develops, promising a delightful taste experience. The baking process demands attention to temperature specifics, often ranging from 325 °F (162°C) to a hot 480°F (250°C), depending on the chosen recipe.
Vegan sourdough bread baking is not just a culinary task, but a rewarding endeavor. It allows bakers to produce bread that is not only delicious but also aligns with vegan values. With this guide, individuals can feel confident in their ability to create marvelous sourdough bread that rises to the occasion, sporting a crisp crust and soft interior.
As they master the subtleties of this craft, bakers may also find a community of like-minded enthusiasts, eager to share their experiences and variations of vegan sourdough recipes. The process fosters creativity, allowing each baker to contribute to the rich tapestry of bread baking.
One's effort in the kitchen is a reflection of dedication to both culinary arts and compassionate living. Each loaf is a triumph, symbolizing the harmonious blend of tradition, nutrition, and ethics.
