
The Difference Between Dry and Liquid Measuring Cups
Accurate Baking Explained
Measuring cups are essential tools in both cooking and baking, fulfilling the fundamental task of gauging ingredients accurately. In any kitchen, the precision of measurements can be the difference between culinary success and mishaps. There are two distinct types of measuring cups—dry and liquid—and understanding their differences is key. While they both serve the same primary function of measuring volume, their designs are optimized for their specific types of ingredients, which can range from flour and sugar to milk and oil.
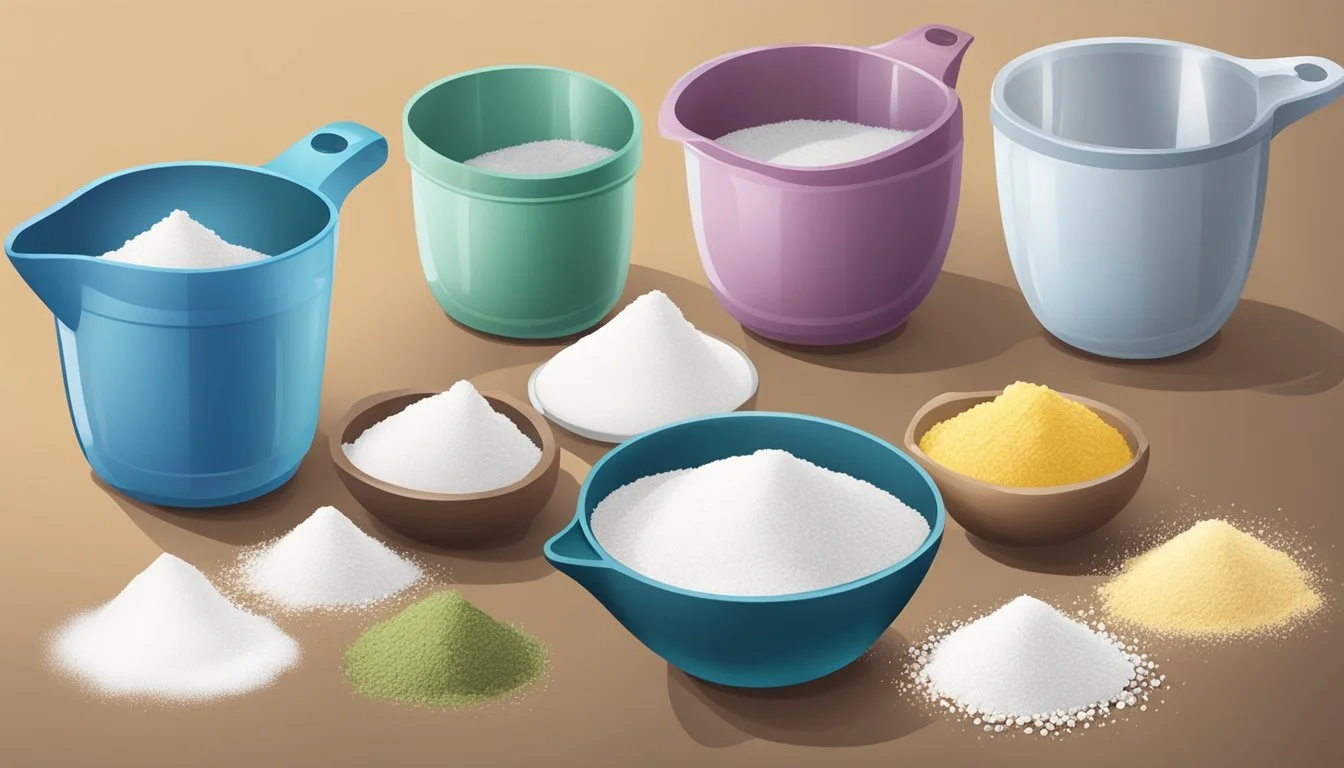
The design and usage of dry measuring cups are tailored for ingredients that are scooped and leveled. Typically coming in sets of graduated sizes, dry cups are meant to be filled to the top with a dry ingredient, then leveled off with a straight edge to ensure a precise measurement. This method is particularly important in baking, where even a slight variation in an ingredient like flour or sugar can affect the texture and density of the final product.
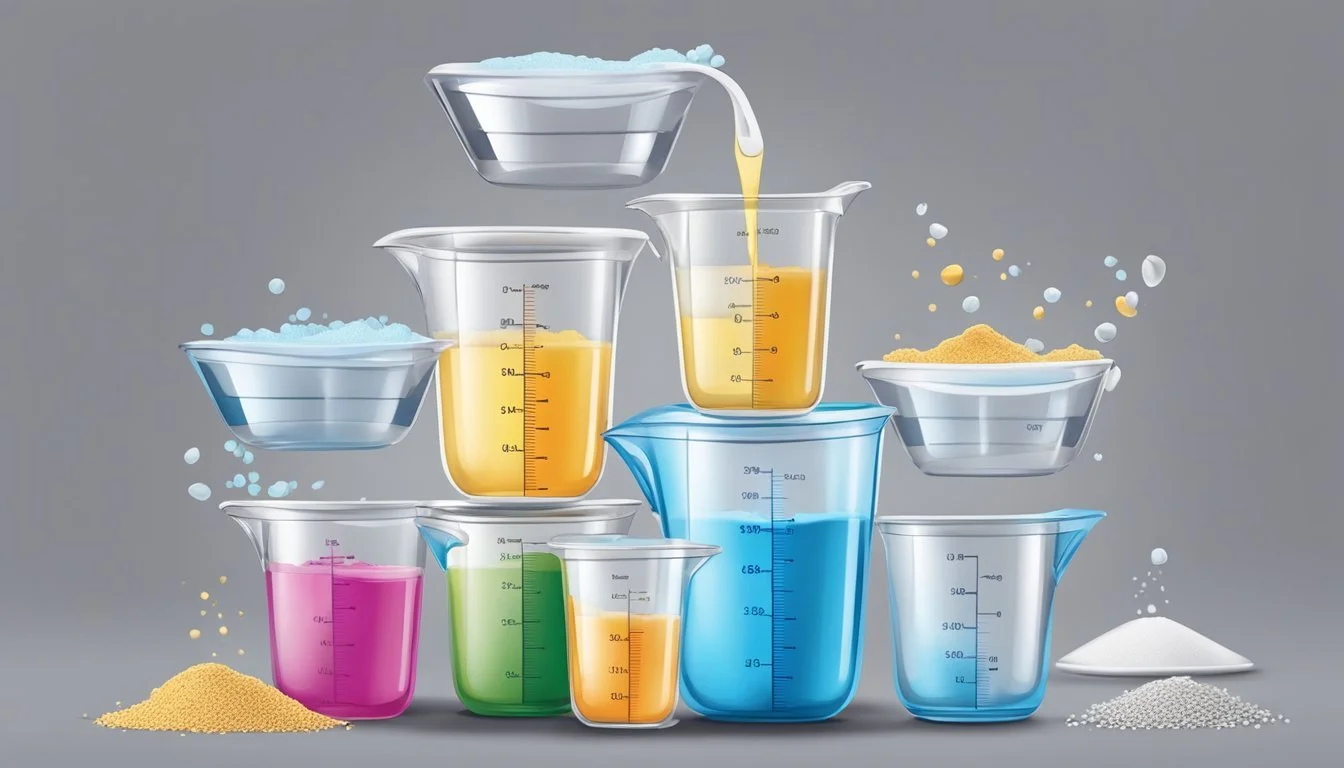
Liquid measuring cups, on the other hand, are usually made of glass or clear plastic and feature a pouring spout and measurement markings on the side. The transparent nature of these cups allows cooks and bakers to pour a liquid in and read the measurement at eye level. This design accounts for the meniscus—the slight curve at the surface of a liquid in a container—and ensures that liquids can be measured accurately without spilling. The distinction in design between dry and liquid measuring cups is a testament to the varying needs of kitchen tasks, and utilizing the correct type can make all the difference in the outcome of a recipe.
Types of Measuring Cups
In the realm of cooking and baking, precise measurements are essential. There exist two main categories of measuring cups designed for specific ingredients: dry and liquid.
Dry Measuring Cups
Dry measuring cups are designed to precisely measure dry ingredients, such as flour, sugar, grains, and chopped nuts. They are typically made from metal or plastic and come in standard sizes of 1 cup, 1/2 cup, 1/3 cup, and 1/4 cup. The correct way to measure with these cups is to fill the ingredient to the brim and then level it off with a straight edge, ensuring an accurate amount without excess.
Materials Used: Metal, Plastic
Common Sizes: 1 cup, 1/2 cup, 1/3 cup, 1/4 cup
Usage: Fill and level off
Liquid Measuring Cups
Liquid measuring cups are used for measuring volume of liquids such as water, milk, and oils. These cups are generally transparent with measurement markings and have a pouring spout. The cups are usually made of glass or clear plastic, which allows the cook to check the liquid level at eye height to ensure accuracy. Sizes vary, with the most common being 1 cup, 2 cups, and 4 cups.
Materials Used: Glass, Clear Plastic
Common Sizes: 1 cup, 2 cups, 4 cups
Usage: Measure to marking at eye level
Physical Differences
Dry and liquid measuring cups differ not only in their intended use but also in their physical attributes, including the materials they are made from and their design features.
Materials and Construction
Dry measuring cups are commonly constructed from materials such as metal, plastic, and sometimes wood. They are built to be sturdy and can be leveled off easily for precise measurements. In contrast, liquid measuring cups are typically made from glass or transparent plastic to allow the user to check the liquid level at eye height.
Design Features
A key design feature of dry measuring cups is their straight edges and flat brims, which are essential for accuracy as they allow users to level off the dry ingredients with a straight edge. They usually come as a set with different sizes to scoop and level dry ingredients such as flour and sugar.
Liquid measuring cups, on the other hand, are designed with handles and spouts, particularly a pouring spout, to facilitate the transfer of liquids without spilling. They also have measurement lines marked on the side indicating the volume, allowing for the precise measuring of various quantities of liquid. The reader should note the importance of the liquid cup's spout for clean pouring, as opposed to the lack of a spout on dry measuring cups, which are not intended for use with liquids.
Measuring Techniques
When using measuring cups, accuracy is vital for the integrity of the recipe, whether one is measuring dry or liquid ingredients. Different implements and methods are used to ensure precision.
Using Dry Measuring Cups
A user should start by selecting the correct size cup for the measurement needed. For dry ingredients like flour or sugar, scooping the ingredient into the cup without shaking or tapping on the counter is important. Once the cup is overflowing, they level off the excess with a straight-edged knife or other level tool, ensuring a precise measure without compacting the contents.
Step-by-Step:
Scoop the ingredient into the cup
Level off the excess with a straight edge
Using Liquid Measuring Cups
Liquid measuring cups typically have a spout and measurements marked on the side, allowing for accurate readings of the liquid's volume. The user should set the cup on a flat surface and pour the liquid into it. They must then stoop to eye level with the measurement markings to read the meniscus, the curved surface of the liquid. The lowest point of the meniscus should align with the desired measurement marking.
Step-by-Step:
Pour liquid to the required level
Check the meniscus at eye level
Measurement Accuracy

Precise measurement is essential for consistent results in cooking and baking. It ensures the correct ratio of ingredients, leading to the desired taste and texture. When discussing measurement accuracy, the focus on leveling and the difference between volume and weight stands out.
Importance of Leveling
For dry ingredients, the leveling process is crucial to ensure an accurate measure. To achieve this, one typically fills the measuring cup with the ingredient until heaping, then uses a straight edge, such as the back of a knife, to level off the excess. This method helps avoid packing down ingredients, which can lead to using more than the recipe calls for, potentially altering the final product.
Evaluating Volume vs. Weight
The accuracy of volume measurement with cups can vary, while weighing ingredients on a kitchen scale in grams or ounces can significantly increase precision. Dry cups are designed to measure volume, optimal for ingredients like flour and sugar. However, weight is more accurate, as a cup of flour can weigh differently depending on various factors, such as settling or scooping technique. Conversely, liquid measuring cups are marked in milliliters (ml) or fluid ounces, and are transparent with a spout for easy pouring. Using these cups to measure liquids allows one to read the volume at eye level to ensure the liquid's meniscus aligns with measurement markings, thus increasing accuracy.
When one mistakenly uses dry measuring cups for liquids, or vice versa, the result can be significant measuring mistakes. For better precision, it is advisable to use a liquid measuring cup for liquids and a kitchen scale for dry ingredients whenever possible. This approach minimizes inaccuracies and helps ensure that the volume in milliliters or fluid ounces matches the weight in grams or ounces for a truly precise measure.
Use Cases in Recipes
In the realm of cooking and baking, the precision of ingredient measurements can be the difference between success and an unwelcome surprise. Understanding when to use the appropriate measuring tool is crucial, especially when it comes to the specific needs of dry and liquid ingredients.
When to Use Dry Measuring Cups
Dry measuring cups are intended for ingredients that can be leveled off to ensure accuracy. Bakers typically reach for them for:
Flour: To measure all-purpose flour, a dry cup is filled and the excess is swept off to avoid packing.
Sugar: For granulated or cocoa powder, the same fill-and-level technique applies.
Brown Sugar: Despite being a dry ingredient, it often requires packing into the cup until firm.
Baking Powder: It must be measured precisely to prevent disrupting the recipe's balance.
The list of dry ingredients usually measured with dry cups includes but is not limited to:
Flour (all-purpose, cake, bread, whole wheat)
Sugar (granulated, confectioners', light or dark brown)
Cocoa powder
Baking powder and baking soda
Dry herbs and spices
Using dry cups for these items allows for a consistent measure by filling to the brim and using a straight edge to remove the excess.
When to Use Liquid Measuring Cups
Liquid measuring cups, usually made of glass or plastic with a pouring spout, cater to the measurement of:
Liquids: Water, milk, and oil are poured in up to the desired marking.
Sticky Ingredients: Honey, molasses, and corn syrup slide out more easily due to the cup's design.
Dairy: Items like yogurt and sour cream benefit from the clear markings when consistency is needed.
The following is a guide to using liquid cups:
Check the measurement at eye-level to ensure accuracy.
For thin liquids like water and milk, fill to the mark.
For thick liquids like cooking oil, honey, or syrup, coat with a bit of oil first so they pour out cleanly.
Dairy like liquid yogurt or sour cream should settle to the mark before the final measurement is taken.
It’s important to note that one should not substitute one type of measuring cup for the other, as they are not interchangeable. Liquid cups account for the meniscus, the curve seen at the top of a liquid column, allowing for a precise measurement.
Common Measuring Mistakes
In the pursuit of culinary precision, cooks frequently commit two main types of measuring errors. They often use measuring cups interchangeably for dry and wet ingredients and struggle with accurately measuring sticky substances.
Interchanging Measuring Cups
One should not use dry measuring cups for liquids and vice versa. Dry measuring cups are designed to be filled to the brim with a level surface, ensuring accurate measurement of ingredients like flour, sugar, and cocoa powder. Accuracy diminishes if these cups are used for liquids, as it's impossible to get a level measure. Similarly, using liquid measuring cups for dry ingredients could result in inaccurate amounts due to the inability to properly level off the excess.
Dealing with Difficult Ingredients
Measuring sticky ingredients like peanut butter, molasses, and honey can lead to inaccuracies due to their tendency to cling to the measuring tool. It is crucial to use the right technique when dealing with such ingredients. For instance:
Packing: With brown sugar and similar ingredients, compacting is necessary to ensure precision.
Shaking: This can help settle flour or powdered sugar for a proper measure.
Coating: Lightly greasing measuring cups can improve the release of sticky substances without leaving too much behind.
Cleaning and Maintenance

Proper maintenance of measuring cups ensures their longevity and accuracy in baking and cooking. This section outlines effective cleaning methods and provides storage solutions for dry and liquid measuring cups.
Proper Cleaning Methods
For dry measuring cups:
Wash with warm, soapy water after each use to remove residue of flour, sugar, or other dry ingredients.
Use a soft sponge or cloth to avoid scratching the surface, especially if they are made of metal or plastic.
For liquid measuring cups:
Rinse immediately after use to prevent liquids like oils or syrups from drying and sticking.
Dishwasher-safe materials like glass or certain plastics can be placed on the top rack for a thorough clean.
Additional Tips:
Avoid using abrasive cleaners or scouring pads, as they can damage the surface.
Cooking spray residues can be removed with a baking soda paste or vinegar soak.
For a deep clean, fill with hot water and a drop of bleach, let stand for five minutes, then rinse thoroughly and air dry.
Measuring spoons and small mixing bowls should be treated with the same care—hand-washed or placed in the dishwasher according to material type.
Storage Solutions
Storing measuring cups correctly is crucial for preserving their form and measurement markings.
For dry measuring cups:
Nest them together by size and store in a dry cabinet or drawer.
If they come with a ring or hook, hang them within easy reach to prevent clutter.
For liquid measuring cups:
Store upright in a cupboard or on a shelf to avoid dust collection inside.
Additional Considerations:
Keep measuring spoons in a separate drawer or hung on a hook to prevent loss.
Large mixing bowls can serve as storage vessels for measuring cups to save space.
Baking and Cooking Tips
When creating recipes, precision in measuring ingredients is fundamental for success, especially in baked goods like cake, cookies, and muffins. These tips focus on the correct usage of measuring tools for consistent quality.
Achieving Consistent Results
For dry ingredients such as flour, sugar, oats, nuts, berries, and chocolate chips, cooks should always use dry measuring cups. These cups are designed to be filled to the brim and leveled off with a straight edge for accurate measurement. A chef fills the dry measuring cup so it overflows, uses a flat utensil or the back of a knife to remove the excess, and achieves a level surface.
For liquids, one should use a liquid measuring cup, characterized by a pour spout and space above the highest measurement line, which prevents spilling. Ingredients like milk, water, and oil need to be read at eye level on a flat surface to ensure the correct volume is captured.
Table: Measuring Common Baking Ingredients
Ingredient Measuring Tool Tip Flour Dry measuring cup Sweep to level with straight edge Sugar Dry measuring cup Fill and level Milk Liquid measuring cup Read volume at eye level Nuts/Berries Dry measuring cup Fill to brim, level off Chocolate Chips Dry measuring cup Fill without packing
Selecting the Appropriate Size
Selecting the appropriate size of measuring tool is crucial to the science of baking, ensuring ingredients are added in the right proportions. Smaller cups are preferable for quantities such as a few tablespoons of cocoa powder or half a cup of chocolate chips. Conversely, larger measuring tools are ideal for ingredients required in bulk, like two cups of flour or oats. This helps bakers avoid the compaction of ingredients, which can lead to inaccurate measurements and alter the texture of the resulting baked good.
Small measurements (< 1/4 cup): Use dedicated measuring spoons.
Medium measurements (1/4 to 1 cup): Use standard dry measuring cups.
Large measurements (> 1 cup): Use an appropriately sized cup or a graduated liquid measuring cup for dry goods if necessary.
By using the appropriate tools and techniques, every recipe has the potential to yield the intended delicious outcomes.
