
The Ultimate Guide to Using an Ice Cream Maker for Homemade Dairy Products
Mastering Artisanal Treats on Your Homestead

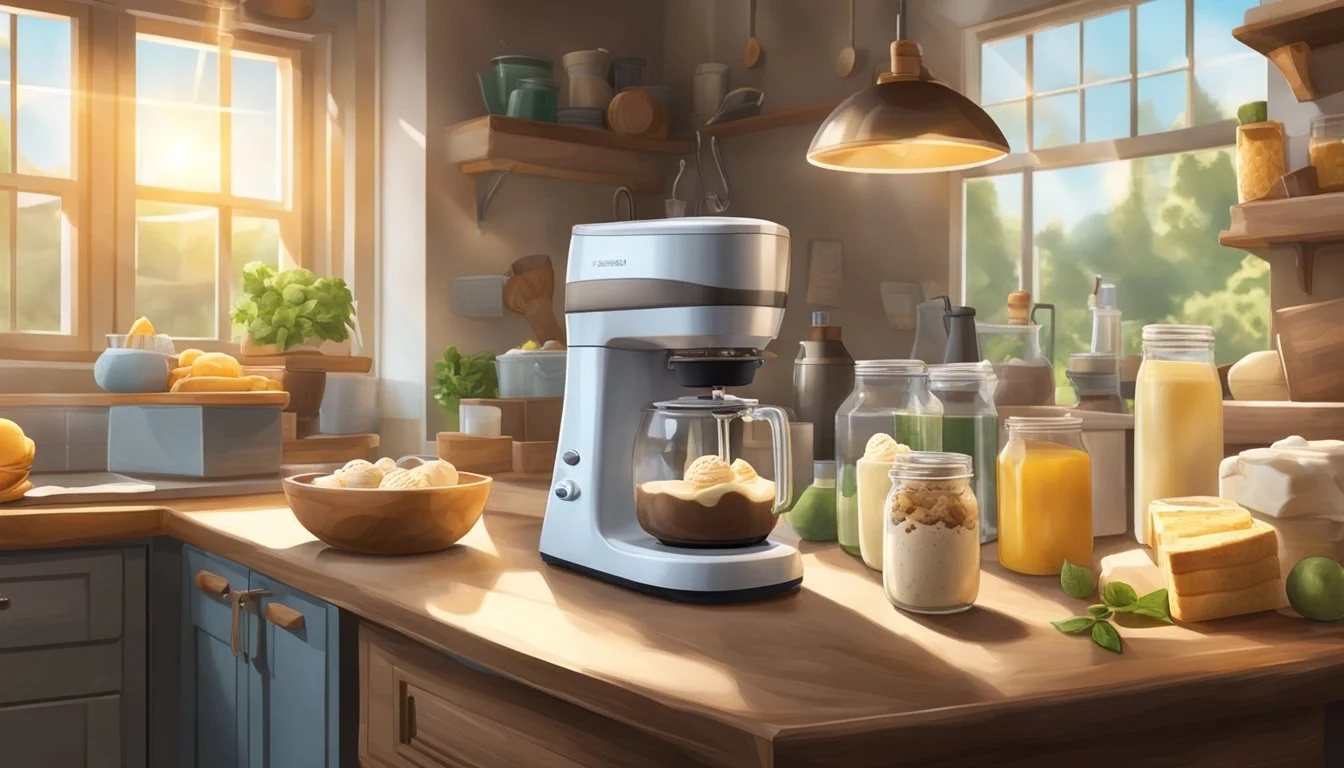
Homemade ice cream is a delightful addition to any homestead, offering a creamy and customizable treat that brings together the timeless craft of dairy production with modern culinary creativity. The use of an ice cream maker simplifies the process, churning out consistently smooth and aerated desserts. By understanding the functions of an ice cream maker and the science behind dairy-based frozen treats, homesteaders can produce a variety of flavors catered to their own preferences, utilizing fresh ingredients directly from their efforts in dairy farming.
The key to successful homemade ice cream lies in balancing the ingredients' ratios and thoroughly chilling the mixture before churning. Utilizing an ice cream maker, dairy enthusiasts can easily whip up classic flavors or experiment with innovative combinations that can't be found in stores. Whether it's creating a velvety custard base using eggs and milk or opting for a simpler mixture with cream and sugar, the churn of an ice cream maker incorporates air into the blend, resulting in the satisfying texture of homemade ice cream.
Considering dietary restrictions or preferences, homesteaders may also explore non-dairy alternatives, such as coconut, almond, or soy milk. Using ingredients like xanthan gum helps to emulate the creamy texture traditionally provided by dairy, ensuring that the joy of homemade frozen desserts can be shared by all. As more households seek control over their food sources and ingredients, mastering the use of an ice cream maker stands out as an essential skill for any modern homesteader aiming to combine self-sufficiency with delicious culinary creations.
The Basics of Ice Cream Making

Making ice cream at home is a rewarding experience that involves understanding the harmony of ingredients and the mechanics of an ice cream maker. Achieving the perfect texture and flavor requires a careful balance of fat, sweetness, and air incorporation.
Understanding Ingredients
The creation of a creamy texture in homemade ice cream hinges on the selection of high-quality ingredients. Milk and cream serve as the foundation, providing the necessary fat content that contributes to the ice cream's richness and mouthfeel. The use of eggs can vary, with some recipes calling for them as stabilizers, which also helps to create a smoother texture. Sugar is essential not only for sweetness but also for the softness of the ice cream, as it lowers the freezing point.
Fat: It's crucial for creaminess; aim for a mix of milk and cream.
Sugar: Adds sweetness and affects texture; ensures sugar is well-dissolved.
Eggs: Optional, can be used to create custard-based ice creams for added stability.
Understanding the role of each component is paramount. For example, too little fat can make the ice cream icy, while too much can make it too buttery. Similarly, the right amount of sugar and eggs, if used, must be balanced to avoid an overly sweet or eggy flavor.
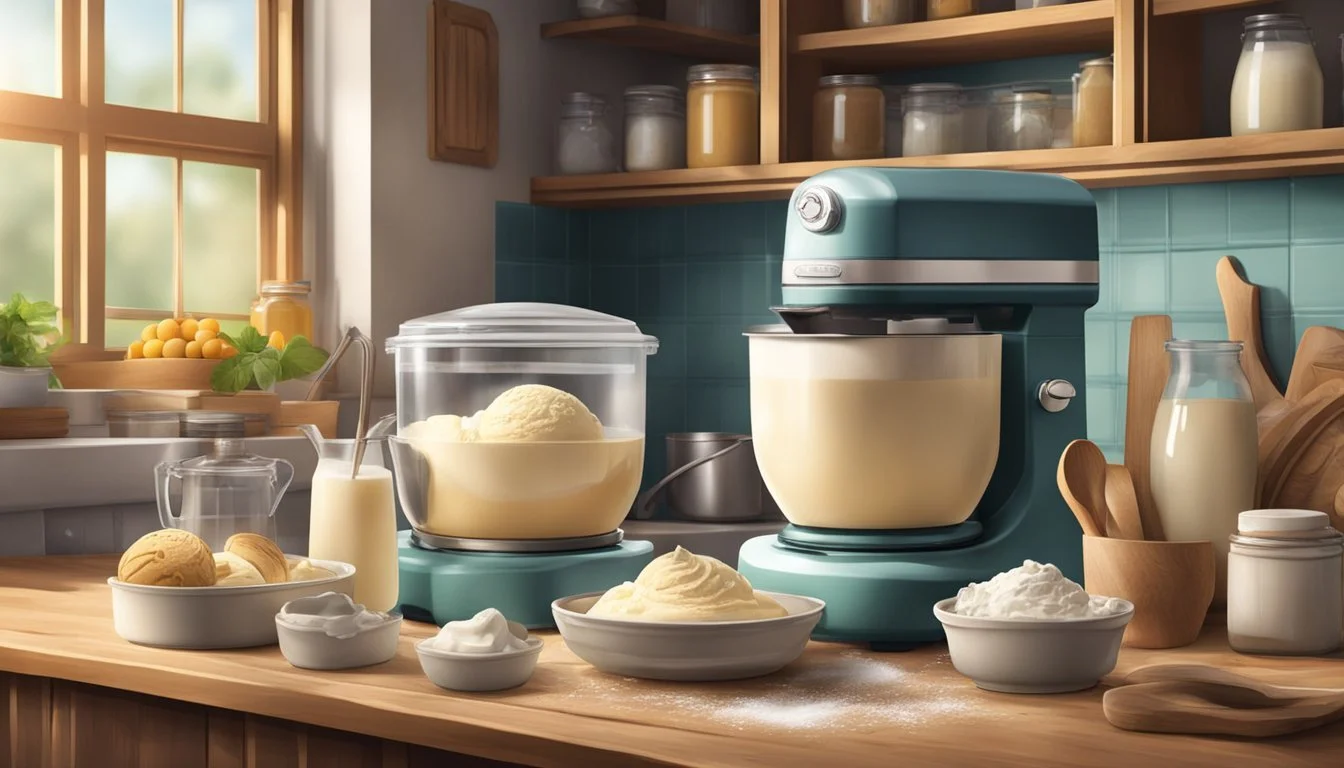
Types of Ice Cream Makers
Choosing the right ice cream machine is essential for incorporating air into the base during freezing, which is critical for a smooth and light end product. Ice cream makers vary widely, from manual hand-crank models to fully automated machines. Here's a brief overview:
Manual Ice Cream Churns: Require physical effort to churn, promoting air incorporation and mixture cooling through the addition of ice and salt.
Automatic Ice Cream Machines: Some models have a pre-freeze bowl, while others come with a built-in freezer for convenience.
Regardless of type, the objective remains the same: to churn the base mixture while freezing to break down ice crystals and introduce air, achieving the desired creamy consistency. Users must follow their specific machine's instructions for best results, including the careful balancing of salt and ice in traditional models or pre-freezing bowls in modern machines.
Crafting Your Recipe
Crafting the perfect ice cream recipe involves understanding the roles of ingredients, developing an enticing flavor profile, and refining the base for a smooth and delectable dessert.
The Role of Each Ingredient
The cornerstone of any ice cream is its base, which typically consists of milk and cream. Dairy alternatives like almond milk, coconut milk, or nut milk can be used for a non-dairy treat. Sugar provides sweetness, while egg yolks add richness and help create a custard-like consistency. Vanilla extract acts as a foundational flavor, and stabilizers such as guar gum can be employed for texture.
Milk/Cream: Primary liquid base, provides the creamy texture.
Sugars (e.g., white sugar, maple syrup): Sweeten the dessert. Maple syrup can also add a rich, complex flavor.
Eggs: Thicken the base, contributing to a creamy texture.
Dairy Alternatives: Provide options for those with dietary restrictions.
Building a Flavor Profile
The flavor profile of an ice cream can range from classic vanilla, chocolate, and strawberry to innovative combinations involving peanut butter, fruit compotes, or add-ins like chocolate chips. The quality of the flavoring agents, such as pure vanilla extract or high-grade cocoa powder, profoundly impacts the end result.
Classic Flavors: Time-honored and universally loved.
Fruit Purees/Add-Ins: Natural sweetness, colors, and textures to the ice cream.
Sweeteners: Balance taste, with options like sugar or maple syrup for depth.
Unique Combinations: Encourage experimentation with flavors.
Perfecting the Ice Cream Base
For a smooth and robust base, the ratio of ingredients is critical. Integrate dairy or dairy alternatives with sweeteners until the sugar is fully dissolved. If eggs are used, they should be tempered and combined to avoid curdling. Chilling the base thoroughly before churning ensures the ice cream will not melt too quickly during the process.
Dairy/Dairy Alternates: Start with cold ingredients to prevent premature melting.
Egg Integration: Slowly incorporate tempered eggs for a smooth custard.
Sweetener Distribution: Ensure the sugar or syrup is completely dissolved.
Through meticulous attention to each component, one can master the creation of homemade ice cream crafted to personal taste preferences, achieving delightful treats that epitomize the homestead's self-sufficiency and culinary creativity.
Dairy-Free and Vegan Options
Crafting dairy-free and vegan ice creams can be a delightful addition to your homestead's repertoire, utilizing plant-based milks and alternative sweeteners and thickeners to tailor to dietary needs while ensuring delicious results.
Choosing Plant-Based Milks
The selection of plant-based milks is a crucial step in the ice cream making process. When preparing homemade dairy-free ice cream, one's choice often revolves around coconut milk for its higher fat content, which contributes to a creamy consistency. Almond milk is another popular option, often chosen for its subtle nutty flavor and lower calorie content. Both milks can serve as excellent bases for the ice cream while ensuring it remains vegan and non-dairy.
Coconut Milk: Provides rich, creamy texture due to higher fat content.
Almond Milk: Offers a lighter option with a mild taste.
One can also consider other nut milks, like cashew or macadamia, that bring their unique profiles to the dessert. For an ice cream with a more neutral taste, one might choose soy milk or oat milk, which still offer the necessary creaminess.
Vegan Sweeteners and Thickeners
Vegan sweeteners not only lend sweetness to the ice cream but can also influence the structure. Maple syrup and agave nectar are popular choices; they mix well with other ingredients and add distinctive flavors.
Sweeteners: Maple Syrup, Description: Provides a rich, caramel-like sweetness.
Sweeteners: Agave Nectar, Description: Offers a mild, versatile sweetening option.
Sweeteners: Coconut Sugar, Description: Imparts a subtle caramel flavor and low GI benefit.
Thickeners play an integral role in achieving the right consistency in dairy-free ice cream. A pinch of xanthan gum, derived from a fermentation process, can emulate the thickening properties that eggs typically provide in traditional ice cream. It ensures the mixture binds well, preventing ice crystals and resulting in a smooth texture.
Xanthan Gum: Gluten-free thickener that provides a smooth consistency similar to that of traditional ice creams.
Arrowroot or Cornstarch: Can be used as thickeners, mixed with a portion of the base to avoid clumping.
Natural flavors, such as vanilla bean, can be steeped in the base to infuse the ice cream with depth of flavor. Moreover, incorporating a variety of fats and fibers from the plant-based milks and thickeners can contribute to a well-rounded mouthfeel and stability, much needed in vegan frozen desserts.
The Churning Process

The churning process is crucial in creating that smooth, scoopable consistency sought after in homemade ice cream. It incorporates air into the frozen treat and affects the final texture by breaking down ice crystals and distributing the fat and protein evenly.
How to Churn for Optimal Texture
To achieve the optimal texture in homemade ice cream, one must pay close attention to the air incorporation and consistency. Air is essential for creating a light and creamy texture, and it's introduced during churning.
Key Steps for Churning:
Ensure that the ice cream base is cold before churning.
Churn the ice cream until it has thickened to a soft-serve consistency.
Maintaining a balance between too much and too little air is imperative; an insufficient amount results in a product that's heavy and too dense, while too much can make it unpalatably airy. The proteins in the mixture, especially if dairy-based, help stabilize the air cells which contribute to the desired creamy consistency.
Timing and Freezing Techniques
Proper timing and freezing techniques are paramount for creating the perfect frozen dessert.
Churning Times by Machine Type:
Manual ice cream makers: typically require 20-40 minutes of churning.
Electric ice cream makers: often take 15-25 minutes.
Compressor ice cream makers: may only need 10-15 minutes.
Once churned, transferring the ice cream to a pre-chilled container and letting it freeze for several hours is crucial for allowing the product to firm up. The goal is to achieve a frozen dessert that's firm yet scoopable. It's important to monitor the freezing process, as over-churning or insufficient freezing can negatively alter the texture, causing either a buttery consistency or the formation of large ice crystals.
Enhancing Your Homemade Treats

Crafting homemade dairy treats with an ice cream maker can elevate the dessert experience on your homestead. To truly enhance the end product, both innovative flavor combinations and thoughtful add-ins are essential.
Innovative Flavor Combinations
Creating a unique and memorable ice cream begins with the flavor base. Homesteaders can experiment with a blend of traditional and unconventional flavors for a distinctive twist. For a creamy and novel taste, consider using honey or maple syrup as the sweetener. Spices such as cinnamon or cardamom can add warmth and depth, while peppermint offers a refreshing zing.
Classic fruits such as strawberries, blueberries, and raspberries contribute both vivid color and a natural sweetness. When paired with complementary spices or flavorings, the result can be quite sophisticated. Here's a brief table showcasing some potential combinations:
Base Flavor: Chocolate, Complementing Flavor: Peppermint, Resulting Taste: Rich with a minty kick
Base Flavor: Honey, Complementing Flavor: Lavender, Resulting Taste: Floral and sweet
Base Flavor: Vanilla, Complementing Flavor: Cinnamon, Resulting Taste: Warm and comforting
Base Flavor: Raspberry, Complementing Flavor: Basil, Resulting Taste: Bright with an herbal note
Incorporating Add-Ins and Toppings
Moving beyond the flavor base, the ice cream's texture and appeal can be further enhanced through strategic add-ins. For a simple yet effective addition, chunks of chocolate or crushed cookies create contrasting textures within the delicious ice cream.
Consider the following list of add-in ideas to inspire variety:
Fresh Fruit: Chunks of strawberries or whole blueberries add freshness.
Nuts: Toasted almonds or pecans for a crunchy element.
Chocolate: Shavings or chips for a double dose of cocoa.
Baked Goods: Pieces of brownies or cake can infuse a soft, chewy texture.
Remember, the density and size of add-ins should be balanced to ensure they are well distributed throughout the ice cream. Toppings such as whipped cream, fresh fruit, or a light drizzle of honey can add a finishing touch just before serving. Add toppings immediately before serving to maintain texture and presentation.
Special Diets and Allergies

For those on the homestead looking to make homemade dairy products with an ice cream maker, catering to special diets and allergies is crucial. Ensuring everyone can enjoy these treats requires thoughtful recipe modification and ingredient selection, particularly for those needing dairy-free, gluten-free, or reduced sugar options.
Creating Gluten-Free and Egg-Free Options
Gluten-Free Ice Cream: Ice cream typically does not contain gluten; however, cross-contamination can be an issue for people with celiac disease or gluten intolerance. To make gluten-free ice cream, ensure all added ingredients such as thickeners or flavorings are certified gluten-free. Almond milk ice cream is a popular choice, as almond milk does not contain gluten and offers a creamy base with beneficial proteins and typically lower saturated fat.
Egg-Free Ice Cream: Traditional ice cream recipes often include egg yolks for a richer texture. For those with egg allergies, alternatives such as cornstarch or commercial egg-replacement products can thicken the ice cream base without using eggs. Here is how to replace egg yolks in a standard recipe:
Egg Replacement:
1 egg yolk = 2 tablespoons cornstarch
Mix cornstarch with a small amount of the base to make a slurry before combining it with the rest of the mixture.
Low Sugar and Low-Fat Varieties
Low Sugar Options: Reducing sugar content in ice cream can be challenging as sugar contributes to both the sweetness and the texture. Alternative sweeteners like stevia or erythritol can be used in place of traditional sugars. These sweeteners have fewer carbohydrates and do not spike blood sugar levels the way regular sugar does.
Low-Fat and Dairy-Free Varieties: Non-dairy ice cream options are ideal for vegans and those with dairy allergies. Coconut milk, cashew milk, and soy milk are excellent bases for dairy-free ice cream, offering rich textures without animal-derived saturated fats. Low-fat ice cream varieties can be achieved by using skim milk or other low-fat milk alternatives, though this may impact creaminess.
Remember, when creating non-dairy ice cream, thickeners might be necessary to achieve the desired consistency without the fat content of cream. Xanthan gum is a common thickening agent that works well in vegan and dairy-free ice cream recipes.
Advanced Techniques and Variations
For those who have mastered the basic process of making homemade ice cream, advancing to more complex techniques and exploring variations can enhance their dairy creations. This exploration can include infusing ice cream with alcohol to add new dimensions of flavor, and venturing into cultured frozen desserts, such as yogurt or cheesecake-flavored ice cream, offering a delightful twist on traditional ice cream recipes.
Alcohol-Infused Ice Cream
Infusing ice cream with alcohol involves careful consideration of the recipe's balance, as alcohol affects the freezing point of the mixture. For a standard quart of ice cream, it's recommended to add approximately 2 to 4 tablespoons of alcohol to avoid impacting the consistency. Use full-fat heavy cream to ensure a rich texture, as the fat helps offset the alcohol's freezing point depression. Flavorful choices for infusion can include bourbon, rum, or liqueurs, which can be added to the base mixture before churning.
Strawberry Cheesecake Ice Cream Variation
Incorporate cream cheese and a strawberry swirl into the base.
Fold in a splash of strawberry liqueur after churning for an adult twist.
Cultured Frozen Desserts Like Yogurt and Cheesecake
Creating cultured frozen desserts opens the door to a world of tangy and rich flavors. Utilizing cultured dairy products like yogurt, these desserts are often lower in calories compared to traditional ice cream and provide a different texture and complexity.
Yogurt-Based Frozen Dessert:
Start with whole milk yogurt, which provides a robust flavor and creamy consistency.
Mix in fresh fruit, honey, or vanilla for a classic approach.
Cheesecake Ice Cream:
Blend softened cream cheese into the base to achieve the iconic cheesecake richness.
Incorporate beaten egg yolks for a smoother texture, ensuring the mixture is cooked to a safe temperature.
For a Strawberry Cheesecake version, fold in a fresh strawberry puree post-churn.
Tool Spotlight: Ice Cream Makers
Making homemade ice cream can be a delight for those seeking dairy freshness on their homestead. Ice cream makers are crucial in controlling ingredients and enjoying customized flavors.
Manual vs. Electric Machines
Manual Ice Cream Makers:
Requires physical effort to churn.
Generally more affordable.
Offers a traditional ice cream-making experience.
Electric Ice Cream Makers:
Automates the churning process.
Can be more expensive but offer convenience.
Typically churns faster than manual options.
Both types of machines involve pre-freezing the bowl unless they come with a built-in freezer component.
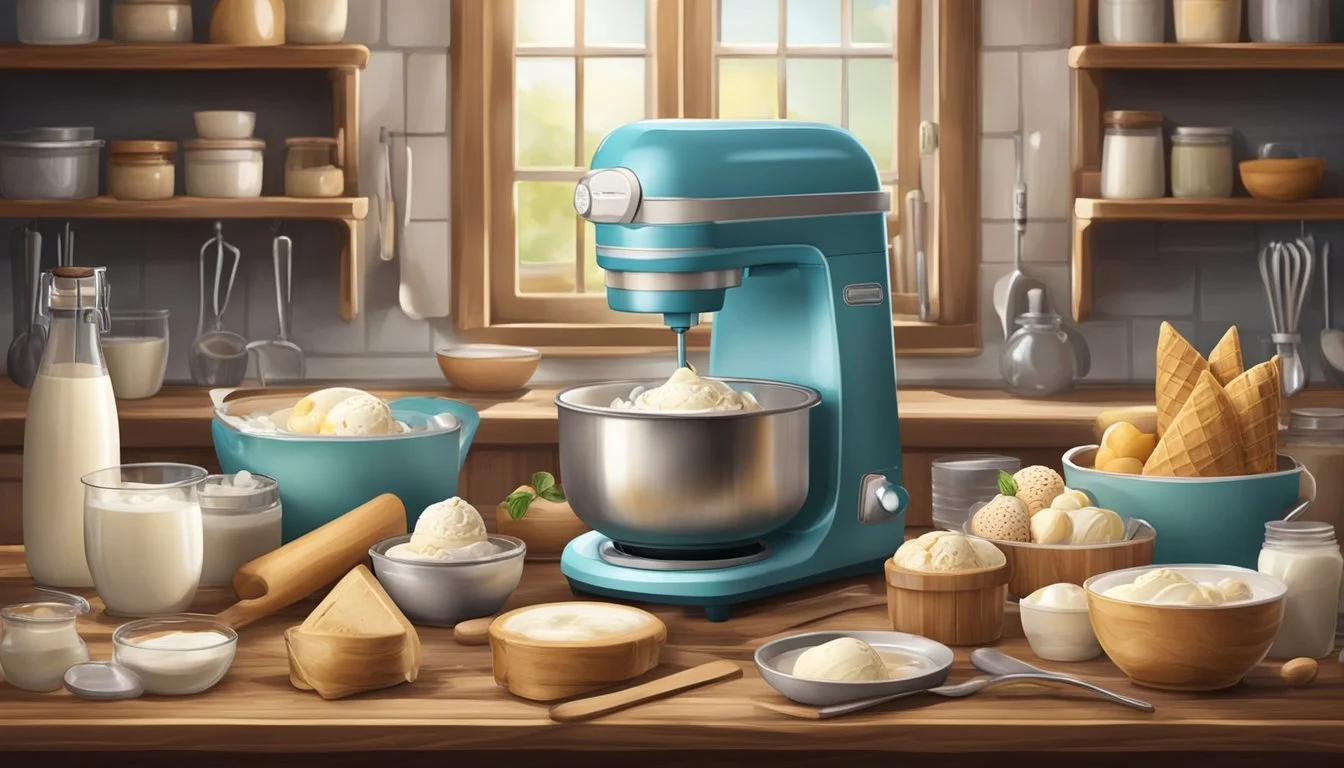
Reviews: Top Models and Attachments
Cuisinart Ice Cream Maker:
Well-regarded for consistent results.
Often includes a double-insulated freezer bowl.
KitchenAid Ice Cream Maker Attachment:
Transforms a KitchenAid stand mixer into an ice cream machine.
Churns up to 2 quarts of ice cream in about 20-30 minutes.
When choosing between a standalone ice cream machine and an attachment like the KitchenAid, one should consider kitchen space, frequency of use, and versatility. The attachment is ideal for those who already own a compatible KitchenAid mixer and are looking to maximize appliance use.
Storing and Serving Tips
Proper storage is crucial for maintaining the quality and flavor of homemade ice cream, while thoughtful serving enhances the dining experience. Here are focused tips for freezing and storing your ice cream as well as serving it in a way that it remains an irresistible treat, especially during summer months.
Best Practices for Freezing and Storing
When freezing homemade ice cream, always choose freezer-safe, airtight containers. This prevents freezer burn and ensures that the ice cream maintains its texture and flavor. It is recommended to use shallow, flat containers because they promote an even freeze, helping the ice cream to stay scoopable. Keep the temperature at 0°F (-18°C) or colder to minimize ice crystal formation. For organization and freshness, label the containers with the content type and date of freezing.
Serving Suggestions for an Optimal Experience
For a delightful serving experience, it is important to thaw the ice cream slightly. Take it out of the freezer and let it sit for a few minutes until it softens marginally, but is not melting. Use a warmed ice cream scoop for seamless serving. This little wait ensures that the ice cream is at the perfect texture, enhancing its natural flavor and making it easier to serve. Additionally, during summer when temperatures are higher, reducing the thawing time ensures the ice cream doesn’t become too soft too quickly.
Homesteading with Homemade Ice Cream
Many homesteaders take pride in creating their own dairy products, with homemade ice cream being a particularly delightful treat. Using fresh ingredients directly from the homestead, one can make rich and flavorful ice cream that epitomizes self-sufficiency and sustainable living.
Incorporating into a Sustainable Lifestyle
Homemade ice cream is an excellent addition to the homesteader's sustainable lifestyle. By utilizing fresh dairy from one's own animals, homesteaders can reduce waste and control the quality of their ingredients. This practice closes the loop in the food production cycle: Milk and cream can be sourced from cows or goats, while fresh fruit from the garden can be utilized for natural flavoring and sweetness.
To start, homesteaders should:
Collect fresh dairy: Gather milk and cream from cows or goats.
Prepare the ice cream mix: Blend the milk and cream with sugar until the sugar is fully dissolved.
Add flavors: Incorporate fresh fruit or other natural flavorings from the homestead.
Tips and Tricks for Making Ice Cream on Your Homestead
Making homemade ice cream can be an enjoyable process with the right tips and tricks:
Pre-cool ingredients: Chill dairy and ice cream mix before churning to improve the texture.
Optimal proportions: For creamier ice cream, a ratio of 2 parts cream to 1 part milk is suggested.
Avoid overfilling: Fill the ice cream maker no more than two-thirds to allow for expansion.
Below are some practical steps homesteaders can follow:
Set up your ice cream maker: Ensure the bowl of your ice cream maker is frozen at least 12 hours prior to use.
Churn efficiently: Once the mix is prepared, churn it according to the manufacturer's instructions until it reaches the desired consistency. Avoid over-churning, as it might lead to an undesirable texture.
Storage: Store the finished product in an airtight container in the freezer to maintain its freshness and consistency.
